
In painting, it is really possible to look at a picture and say, “Oh, that is by so-and-so.” If you are familiar with a painter, you become familiar with his / her style. You can tell by the light, by the brushwork, by the colors, by the subject. It’s like your face in the mirror – you know it instinctively. This knowledge of what someone’s style “looks like” makes me question myself: What is my style?
The fact is, I don’t have a style, unless I were to call it messy and scribbly. This occurs when I don’t think about a composition or what I want to do, but just do. I cannot say this produces much which I like. Once I am involved in working on a piece, I do seem to be able to deal with compositional elements, and can say when to finish, and say, oops! shouldn’t have done that!
So, when does one’s own style emerge? Is it a conscious choice? Is it something which develops slowly?
This question came to me last night when I was putzing around, following another Peter Sheeler video and practicing his exercises. There is an ethical question here: is it acceptable to do this? I think it is, as he is posting his videos online for people to learn from – and I have been learning, most certainly! The lack of ethics would be to pass them off as my own.
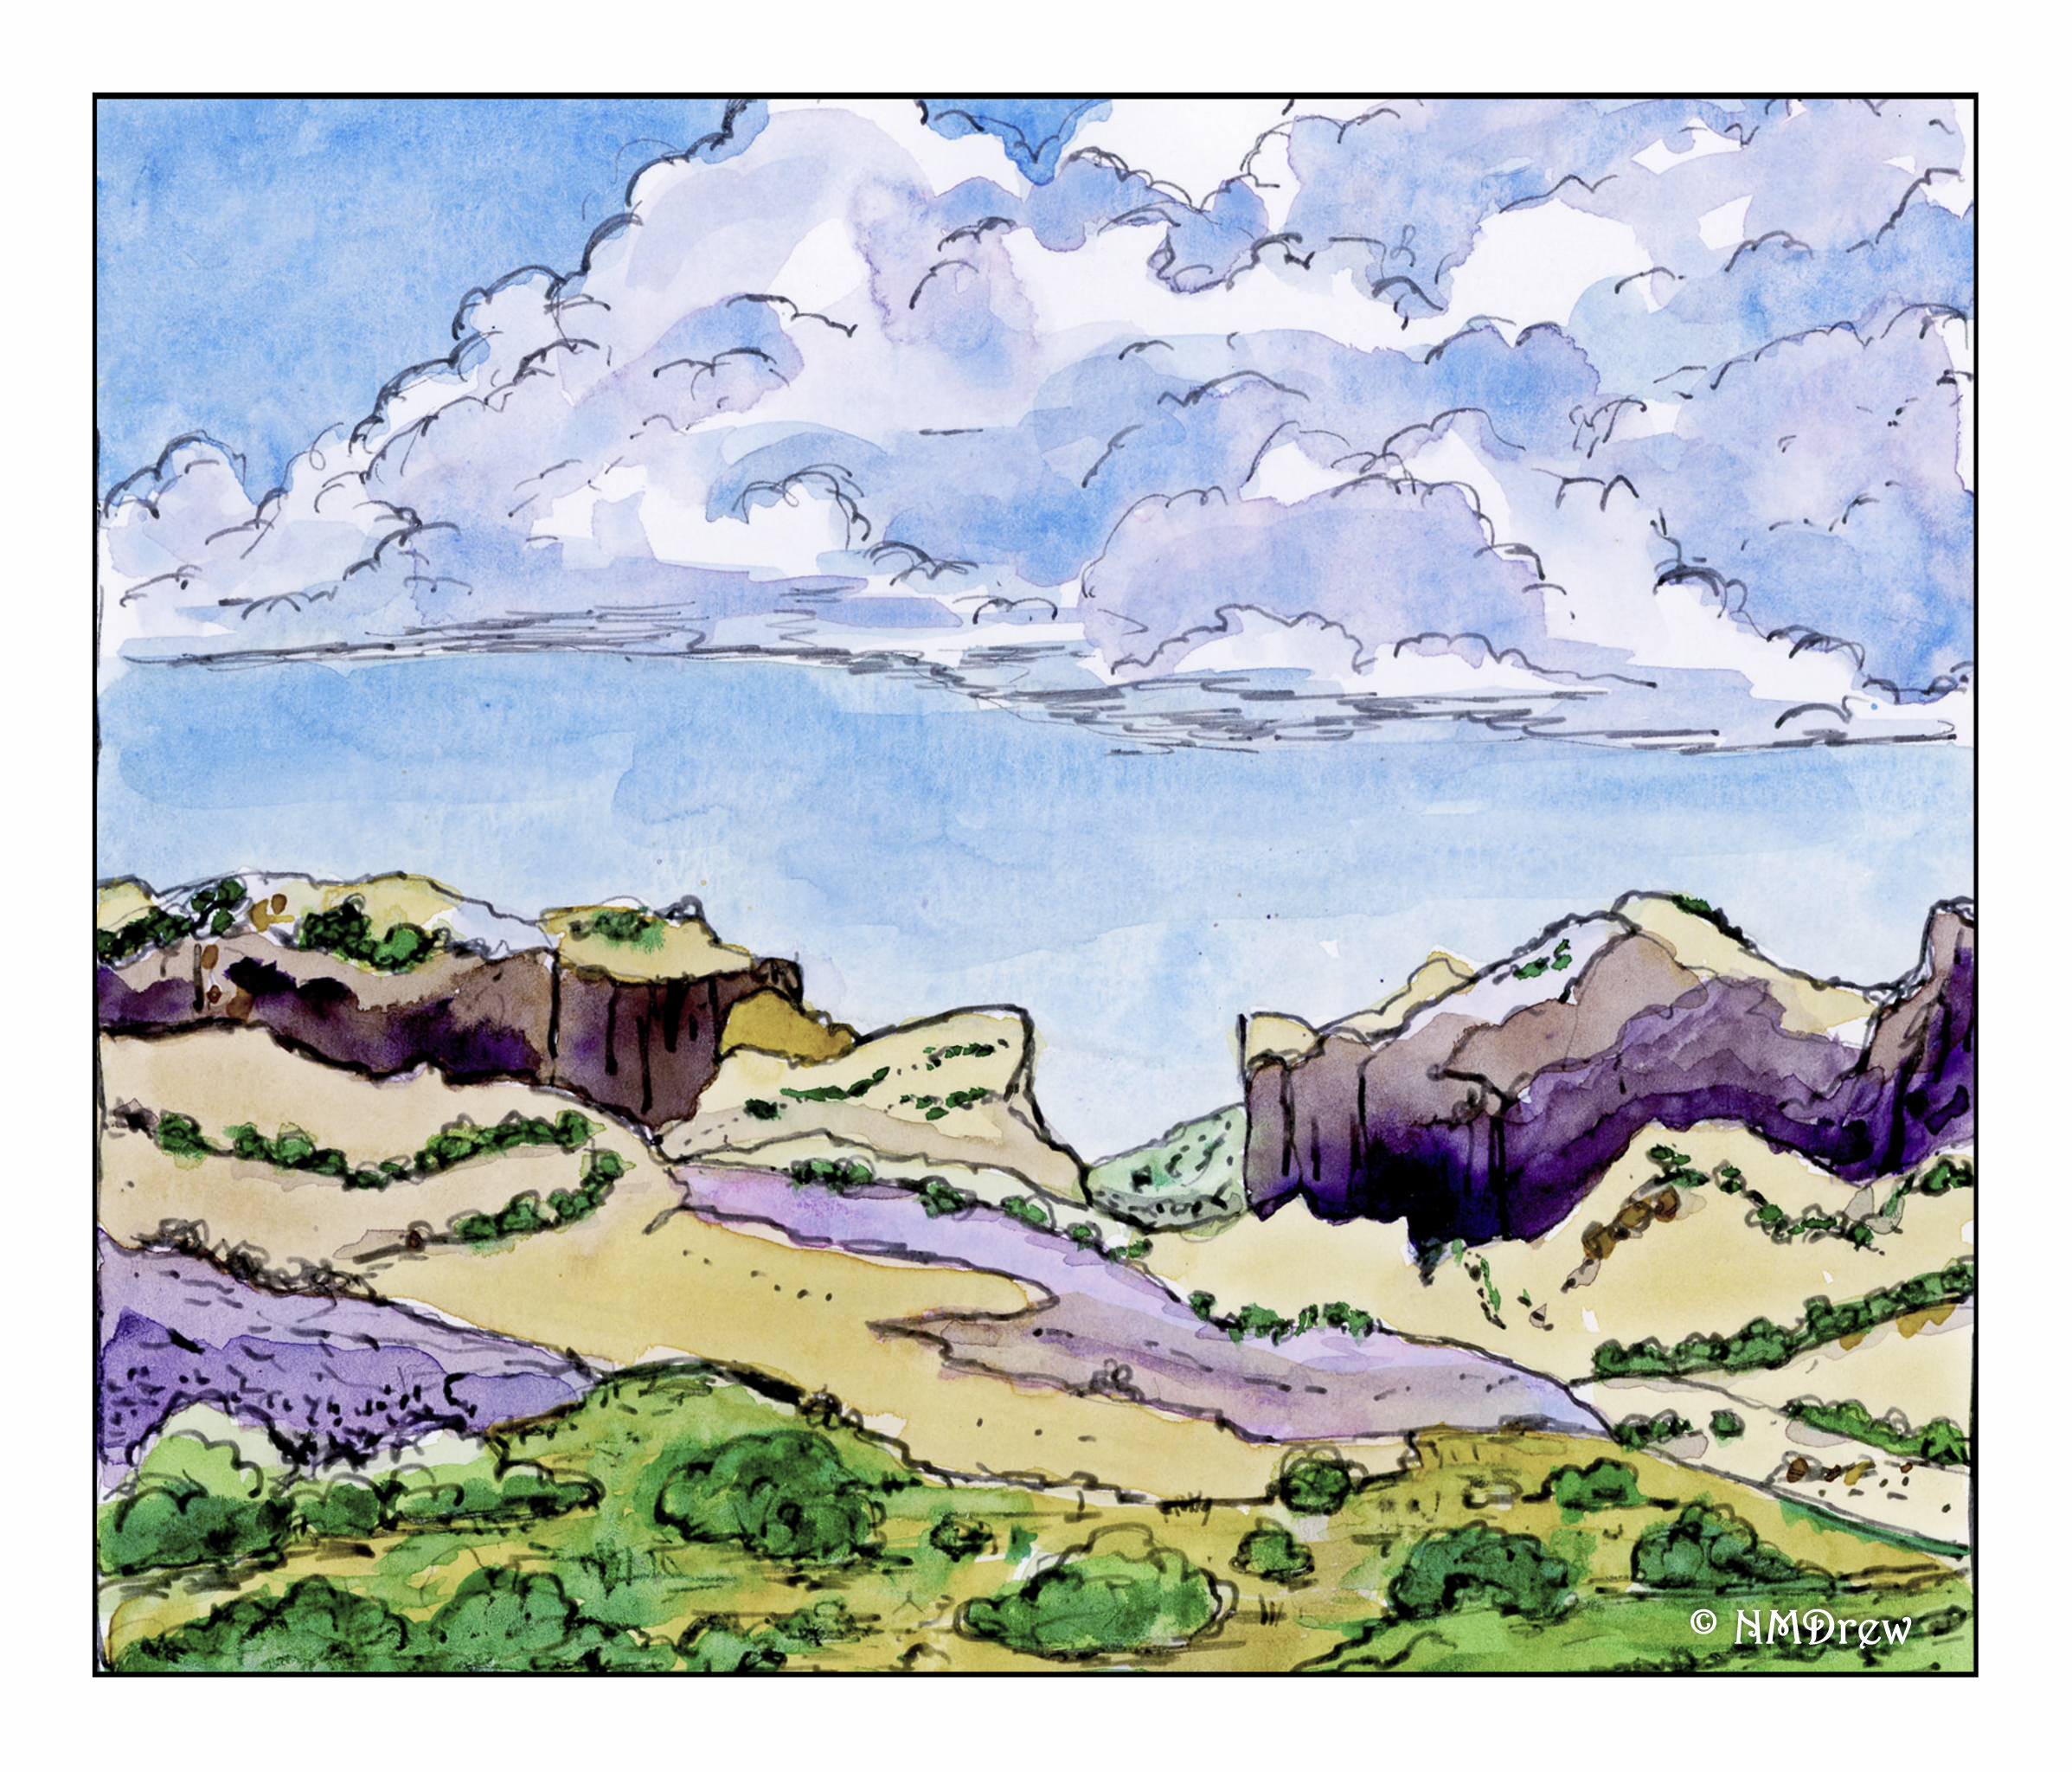
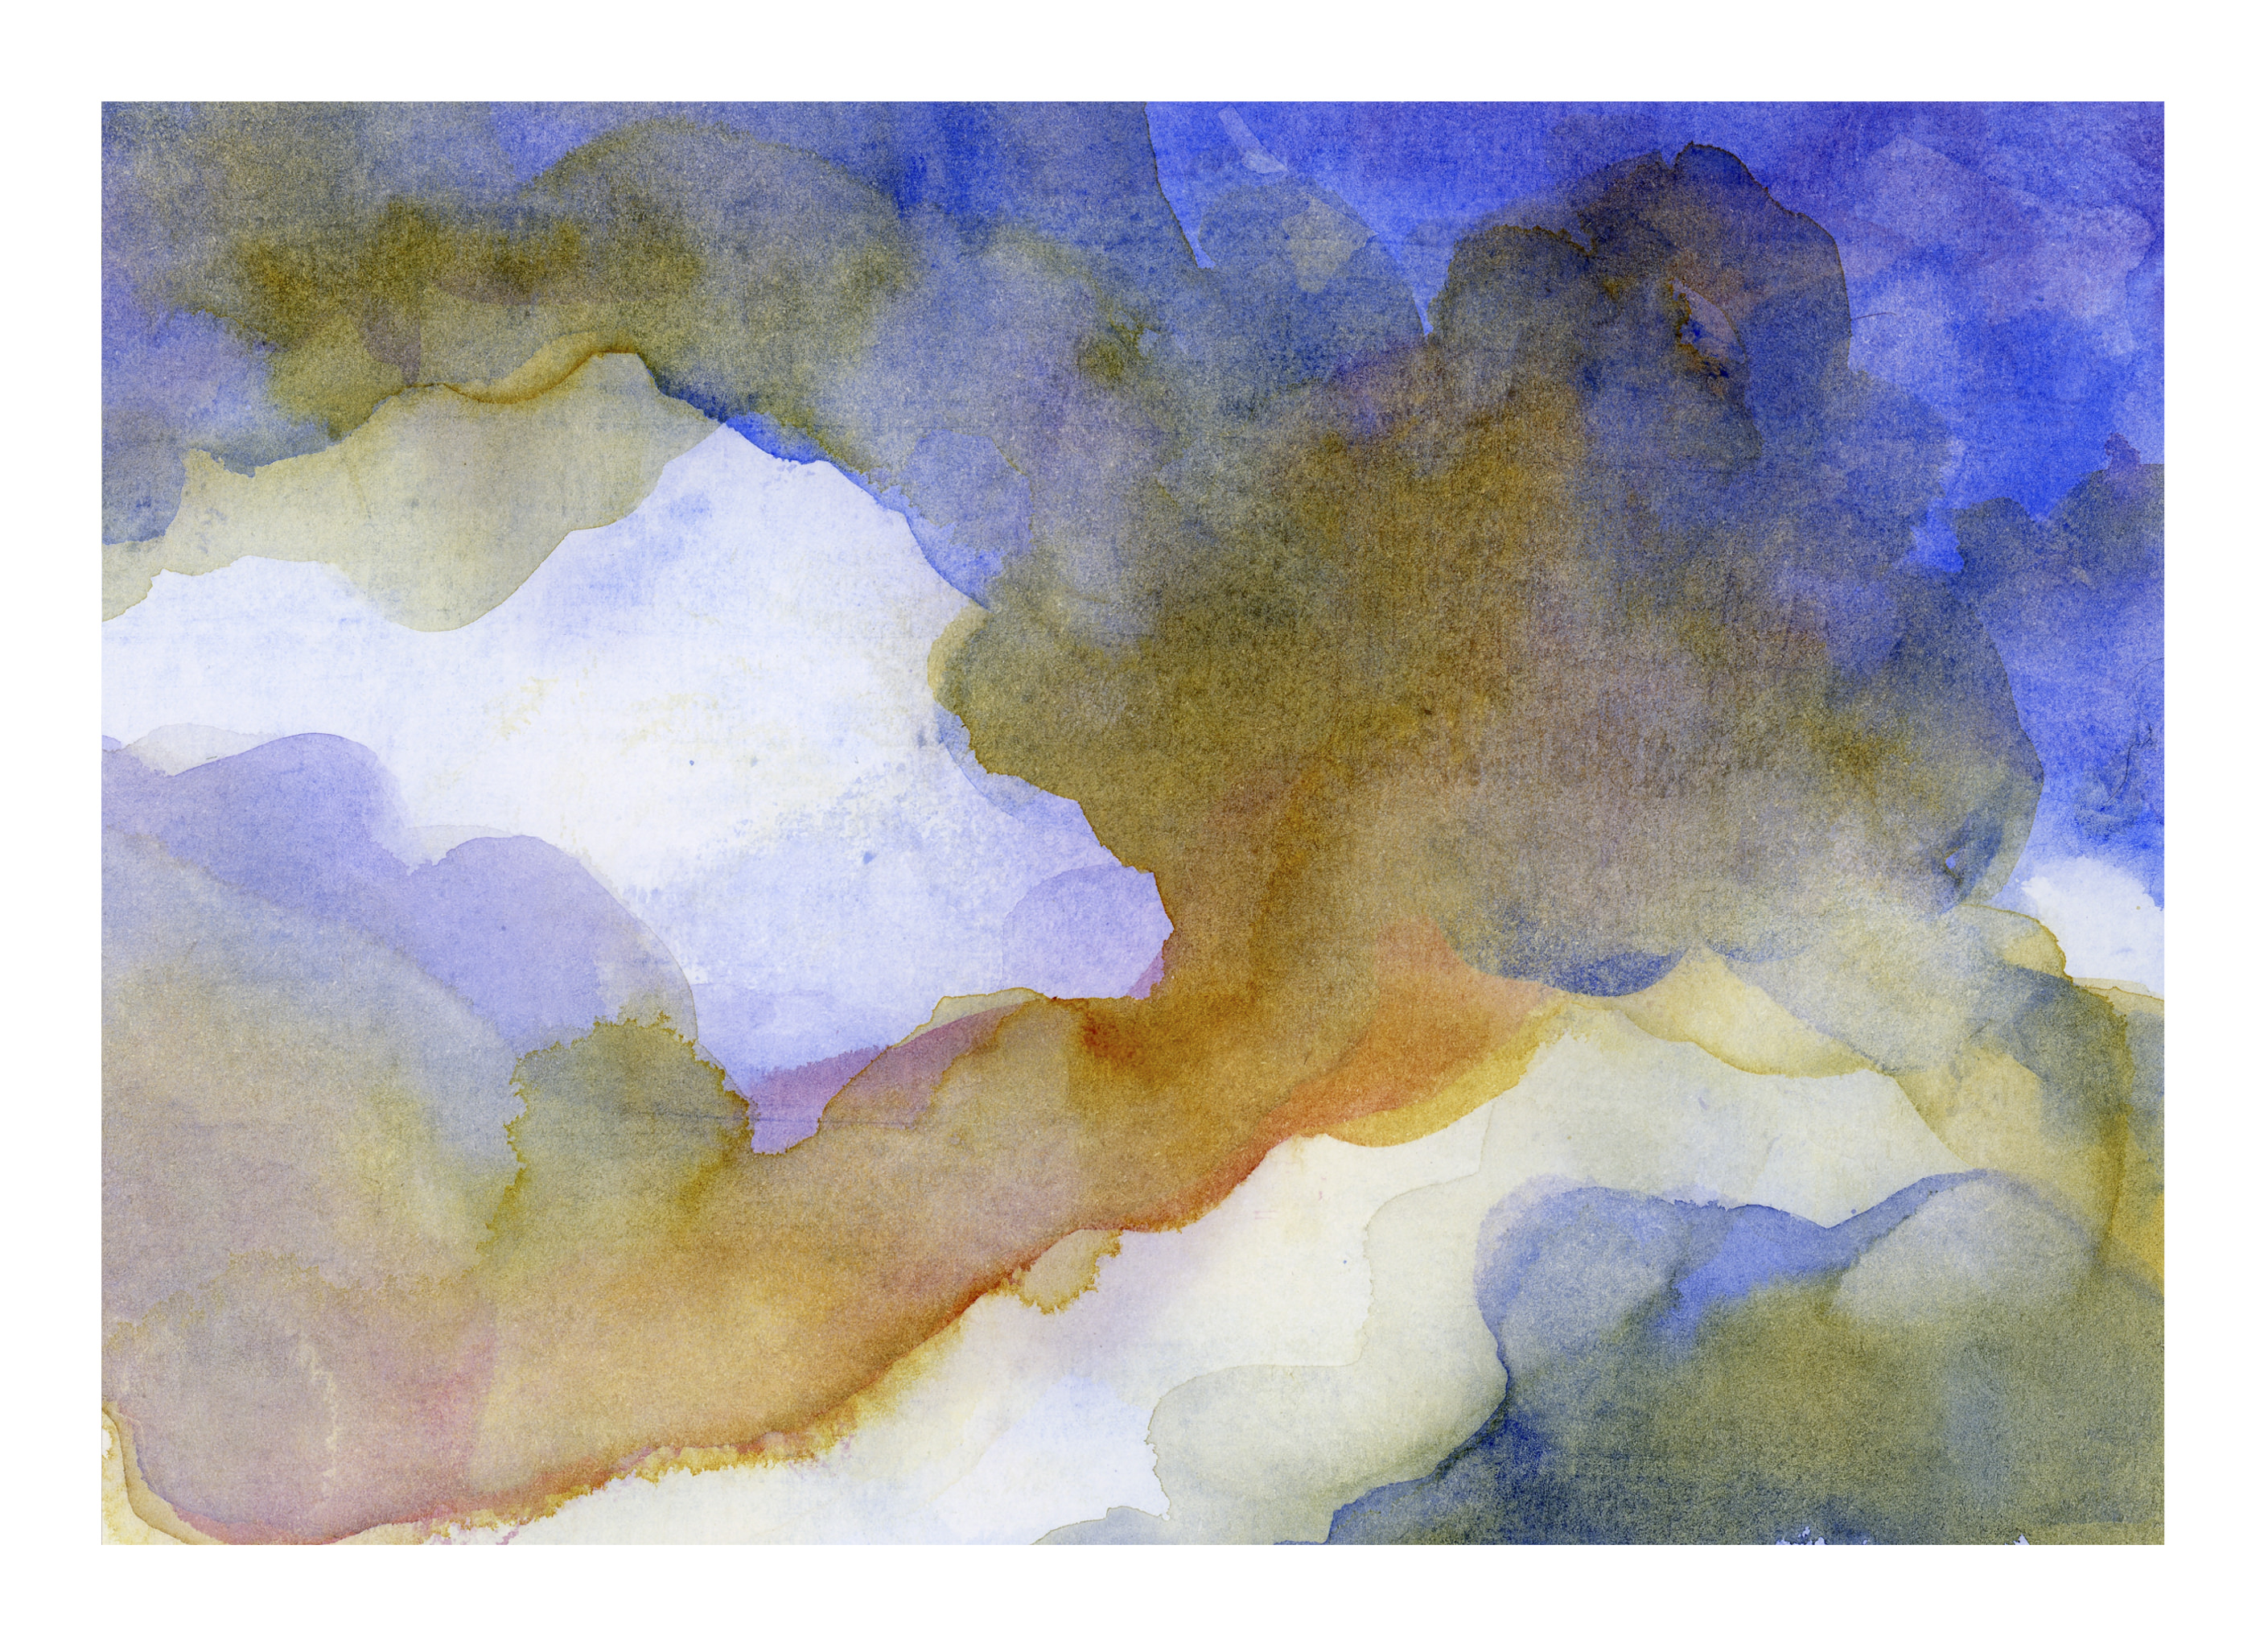
The lesson from last night was using wet-in-wet to paint trees. Mine are not as successful, mostly because my paper is not the same as he uses. The lesson was good, though, as the focus was on the trees and the bloom of the colors on a wet surface. The rest of the lesson was good as I watched him put in shadows which, left to my own imagination, would not have shown up. The lesson there is to think about where the sun is coming from, imagine it, see it in the mind’s eye, and then paint it. That’s a valuable lesson.
Thus: Peter Sheeler’s video on wet-in-wet.
And my own painting.
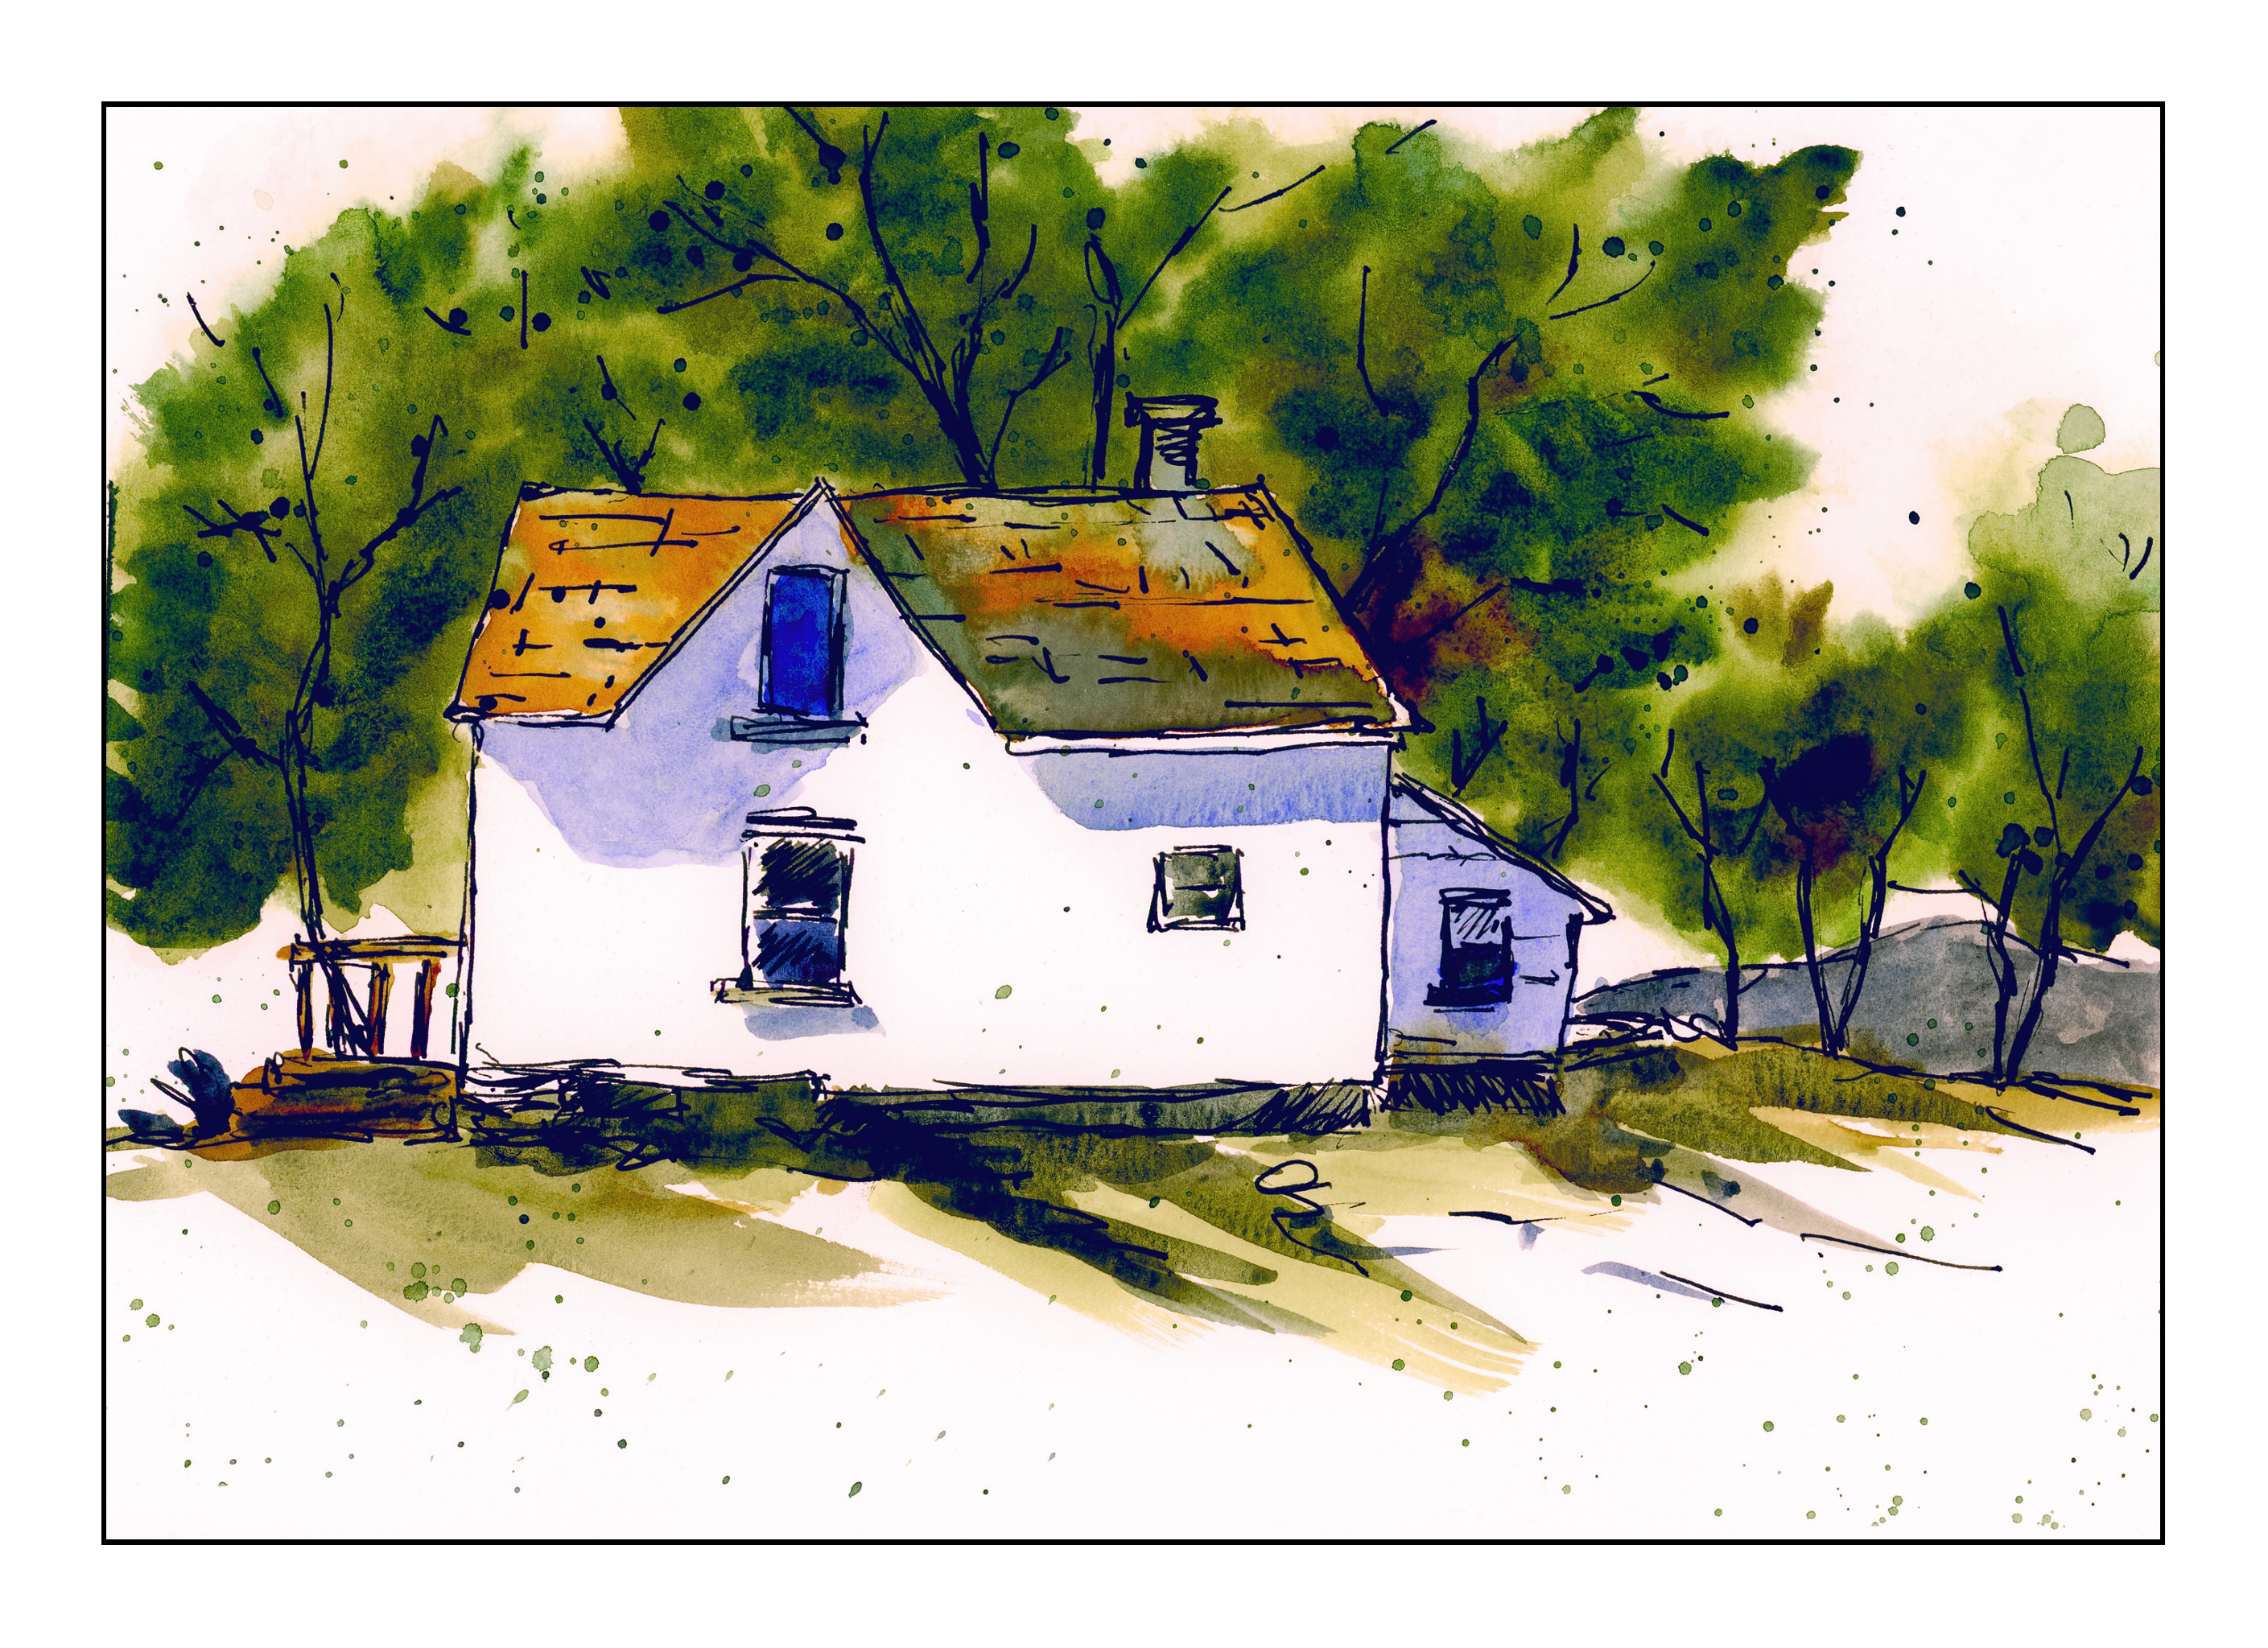
I found it interesting to see myself adding the spatters and the shingles on the roof, which weren’t in Peter’s original drawing. Is this the beginning of my own style?


")

")


