One of the painting classes I am taking is one on portraits. The teacher, Barbara, does beautiful work in oils. She is detailed, observant, laissez-faire, and is getting me into enjoying painting portraits of people. For me, I like people I don’t know. Personal portraits are too personal, and while I have done some decent pencil drawings, paint is another story altogether.
If you like free, public domain images of all sorts, check out Pixabay. It’s free and I use it over and over again. For portraits and figures, as well as anything else you might want including “adult” matter (i.e.nudes), you can find it. Many of my art teachers like my photos I use in painting class, and unless I have taken them, most come from this resource.
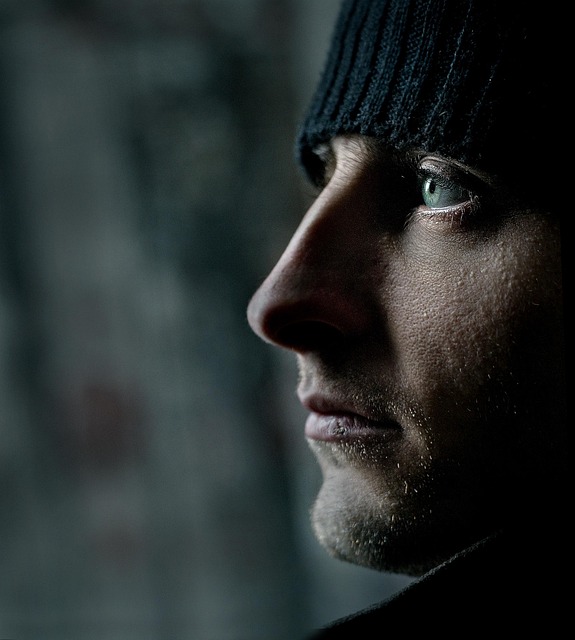
I am giving myself an exercise to paint portraits. How many, no idea. Different positions are certainly ones to study – profile, 3/4, frontal, looking up or down, etc. I also intend to do bodies, working on action and movement, but that is for another time. Today’s post is my painting of the model above.
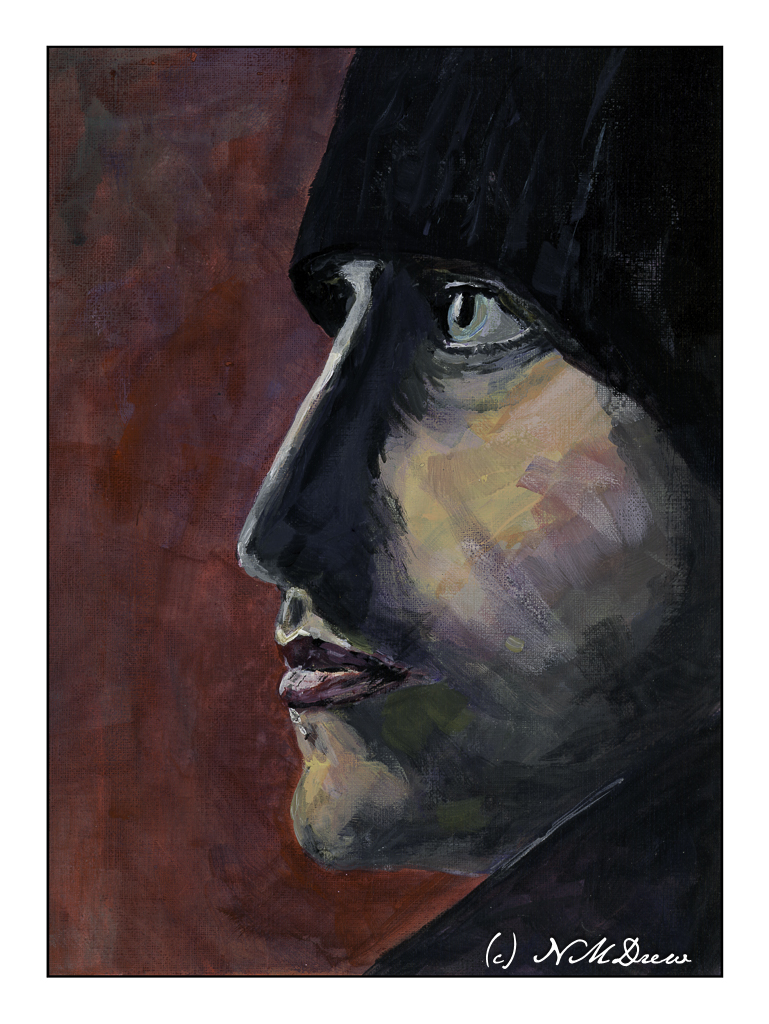
What drew me to this portrait was its simplicity. Profiles are a good place to begin. The strong light and contrast in this portrait makes things not too subtle, which I think is a good place to begin for a portrait. Below is my painting.
My chosen medium is fluid acrylics, which are about the consistency of heavy cream. In the beginning, I laid in the background with thinned paint, and the same for the general features of the face. As I progressed, I increased the paint’s density by not thinning it, but as time progressed I varied its thickness depending on the opacity I wanted.
Besides rendering good values, I also wanted to focus on brushwork. I have said many times I tend to be a dabber, using a round pointed brush. I set that aside and worked in flats ranging in size from 1/4 inch to about an inch. One of these flats is also an angle brush. For tiny details I did use a fine round.
Altogether, this was painted over 3 days, using time to let the paint dry (or a hair dryer) and take time to step away from the painting. That way I could review what was done and think about changes. In the end, I am pleased with this painting quite a bit.
Fluid acrylic paint, Canson XL oil paint / acrylic paper, 9×12, finished size 8×11.