On to “Brushwork”!

A few months ago I joined Ian Roberts’ online class “Mastering Composition.” First several weeks were simply drawing exercises, learning about values and shapes to create a 3D effect on the flat surface of paper. Two weeks ago we began the “Brushwork” component. I decided to use oils for this section simply because I have not painted with oils since high school – back in the last century.

What I like about Roberts’ class is he makes sense. He discusses things on very pragmatic terms as well as on a bit of a more esoteric plane. Both are satisfying. Exercises are clear and with stated purpose. The key components thus far are values and edges. He says, “If you can’t see it, you can’t paint it.” And that is true. If you don’t look and observe and get picky, well, it’s just not there.

Week One

Simple value studies of a landscape. I did 4, in 4 different mediums in order to decide which I wanted to default to – I chose oils (see above).

Watercolor
Gouache
Acrylic
Oils

I won’t say any of them are great, but by posting them, fellow students give feedback. It’s useful as others see what you do not. As well, it is also useful to give feedback as it sharpens your eyes.

Week Two

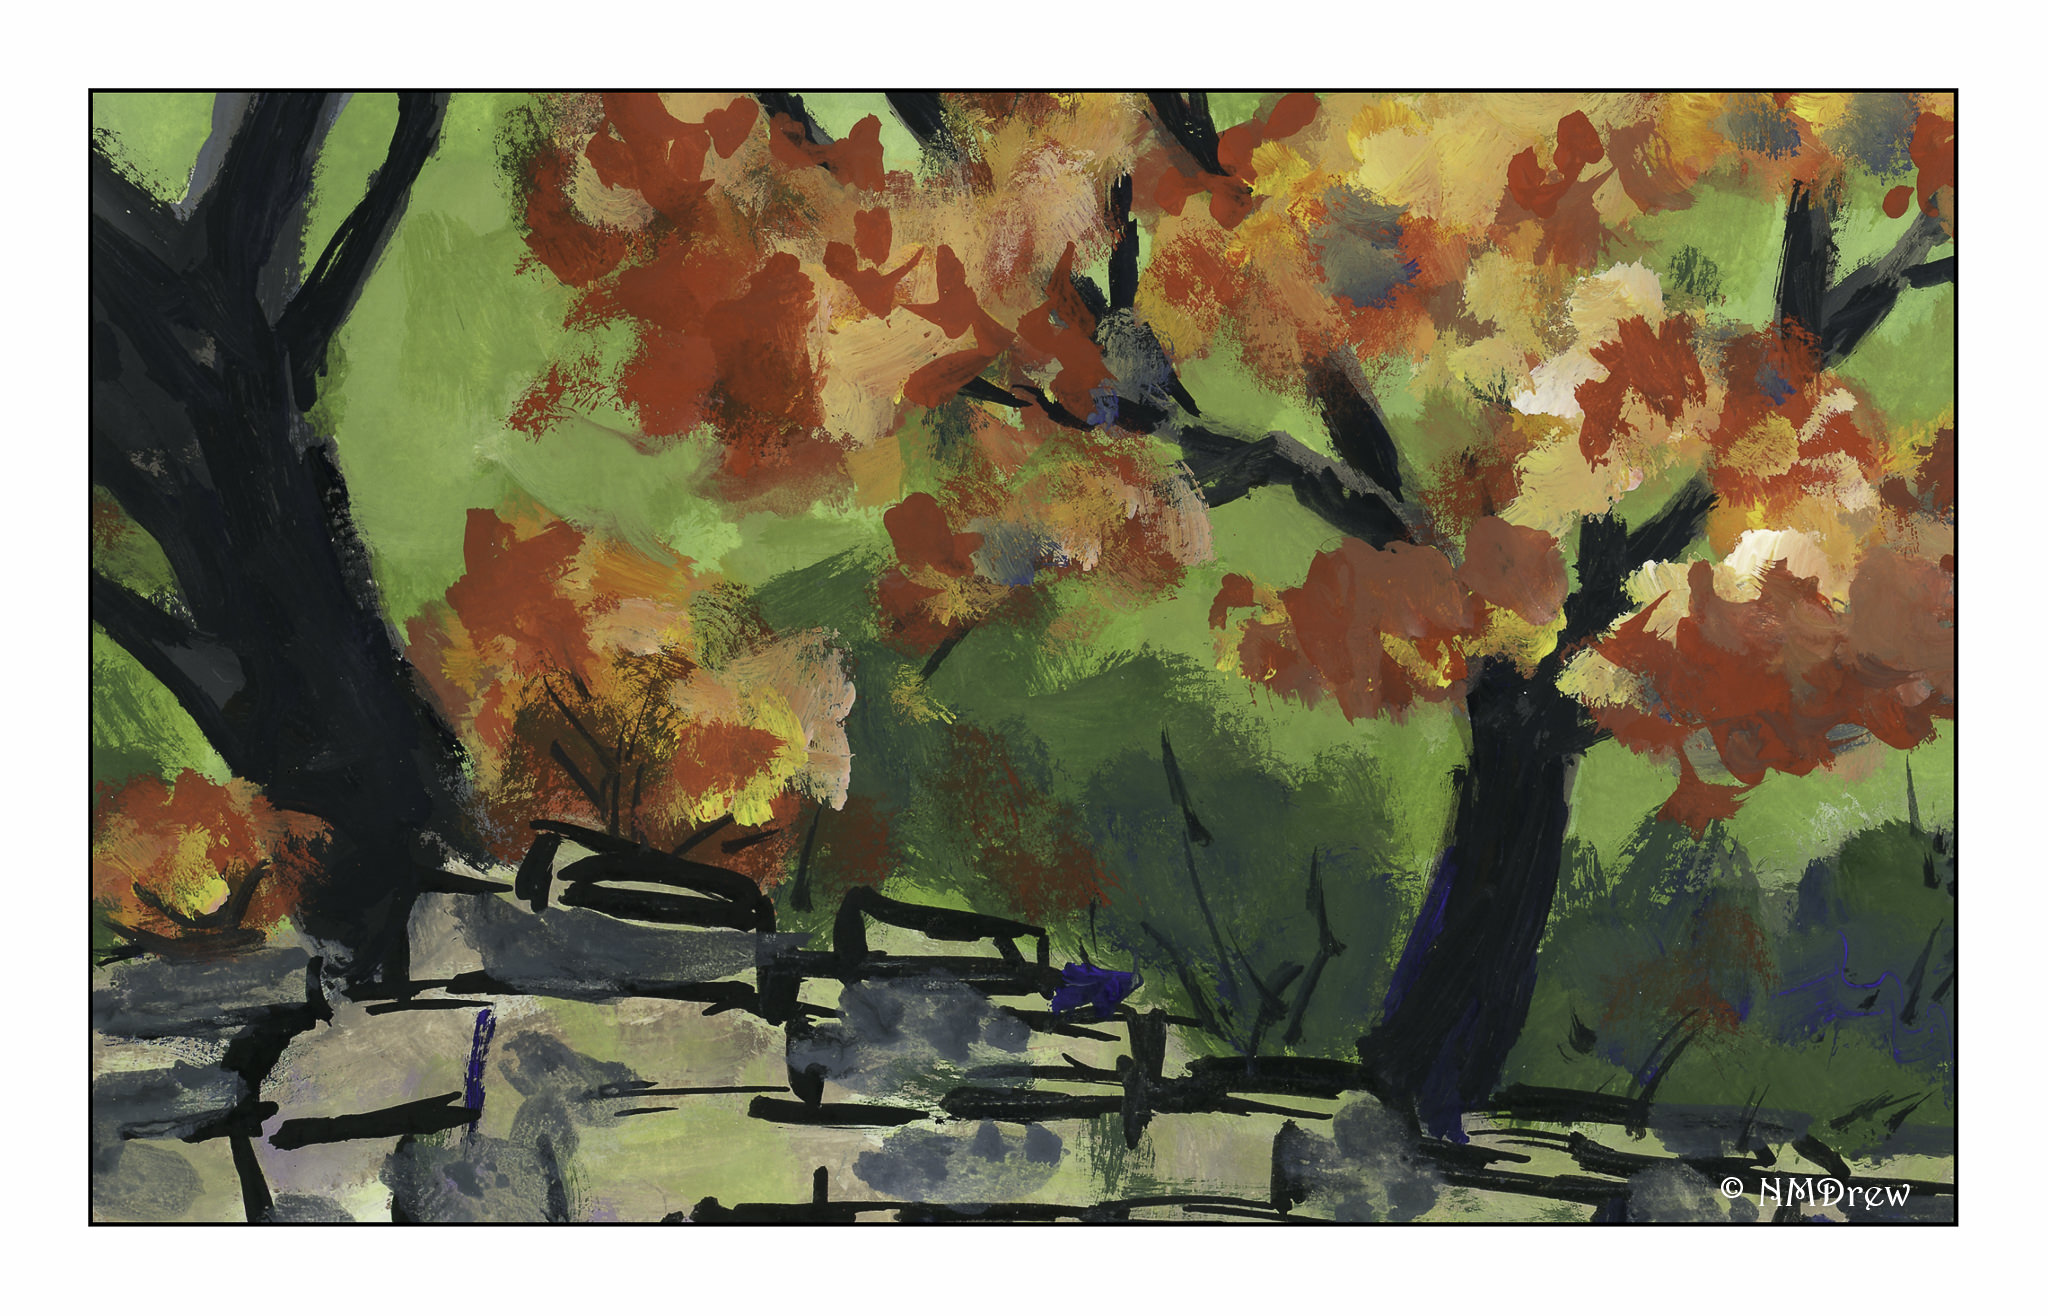
Now, onto still life, demonstrated by Roberts and then practiced by students. This was followed by a landscape. The still life focused on edges and values – and so does the landscape. The landscape is ours alone to do – no demo! I tried to make my landscape simple masses. Parts work, parts are illogical, and taking a photograph of both was a pain as they are both still wet. Oh, well.

Still Life in Oils

This was a fun study, and it was a challenge to really take the time to look, and to see, edges, shadows, shapes, etc. Overall, I am pleased with it. My sphere is a bit on the floating side, but I can fix that later. As well, it is fairly bright but monitors make it look darker or lighter, depending on which one I am using.

Landscape in Oils

This one is a challenge. It is wet and hell to photograph! One thing I have learned is that I will need to come back with a fine brush after it has dried to clean up some of the whites on the guardrails and perhaps elsewhere.

Thoughts

By far, this is the best online course I have ever taken! If you want to paint and learn a few things, you might check out Ian Roberts. He is on YouTube, so how he is there is how he is in the Zoom class meetings.

Stay tuned for Week Three and Week Four!

A Study After Edward Wesson

Edward Wesson was a master English watercolorist.  He is renown for the simplicity of his work – clear color masses, defined work.  It is his economy of color and shape that are attractive to many painters as he says a lot with very little.

I, on the other hand, am prone to overdo and use rather bright colors.  My perspective is often wonky.  To counter this, I look for painters, such as Wesson or Seago or Hannema or Kautzky whose work I admire for its elegant use of colors or lines or both.  Copying another artist is good intellectually, as it requires thinking about what the artist did, and how.  Great practice!  Today, I chose Wesson.  Below is my interpretation.

My mountain in the distance is more detailed than Wesson’s.  I chose to make the trees on the shore in the midground lighter than in his painting as I think he meant to do it, but had laid in the dark of the hill on the left already.  My beach comes nowhere as beautiful as his – too much detail.

My husband remarked that this is definitely something he would define as NOT “my” style.  I agree.  I was looking to create something a bit spare, and to a degree I did, but I had to blot the sky (too dark) and re-wet the mountain.  I like the middle ground green hills, and the reflections on the water.  My beach sucks!  All in an afternoon’s work.

Mountain Hut: A Study in Warm and Cool Greens

If you have been following along here, besides Inktober 2019, I am also working my way through Rick Surowicz’s online class “Abandoned.”  Here I am trying to apply some of the points learned in his class about greens, how to mix them, and how to create warm and cool greens to demonstrate environmental temperature and distance.

To mix a cool green, Surowicz used Cerulean Blue (to give coolness), Sap Green at times tempered with Pyrrol Red, Raw and Burnt Siennas.  Varying the mixture in strength and dilution determines if it is light or dark.  Here I applied the mixture to the hills behind the hut, as well as put a few streaks into the foreground.

Warm greens hold the same formula as cool greens except the Cerulean Blue is not used.  The result is a warmer green, and depending on need, the Pyrrol Red is added, creating a darker green while keeping it in the warm arena.  The Raw Sienna creates a warmer, yellower green, and the Burnt Sienna creates a more autumnal tinge to the grasses in the foreground.

In addition to creating warm and cool greens, I also worked on lines to demonstrate direction and texture, as well as to break up horizontal and vertical.

As a study, this has been successful.  Critiquing it, I would say that the right lower portion of the stone hut should be lighter so as to contrast much better with the middle ground.  Right now it recedes and gets lost.

Practice is important in all we wish to master – here, a practice study to apply some lessons.

Painted on Fluid 100 CP 140# paper.

Clouds Above the Fields

I don’t know about most people who paint, but I expect every painting to be a masterpiece.  Of course, this is silly.  I don’t think about practicing things, such as painting clouds.  However, I watched a few YouTube videos on cloud painting and decided to give it a go.  I found a picture on Pixabay I liked, filled with clouds, and a plowed field stretching to the horizon.  To me, it just seems a bit ridiculous not to try to paint a masterpiece each time – really, practice – so a finished picture it is.

Clouds really are variable, but there is a tendency to overwork them.  Here, I simply tried to get a sense of white-white-white and ways in which clouds have contrast, shadow, distance, and how they look in the sky.  These are rather poofy ones, without any defining characteristics other than that.

Since this was practice, I put in some black ink lines just to see how they “feel” in a painting.  Don’t know if I like them . . .