World Watercolor Month 2019 – Days 1-6

Click to enlarge!!

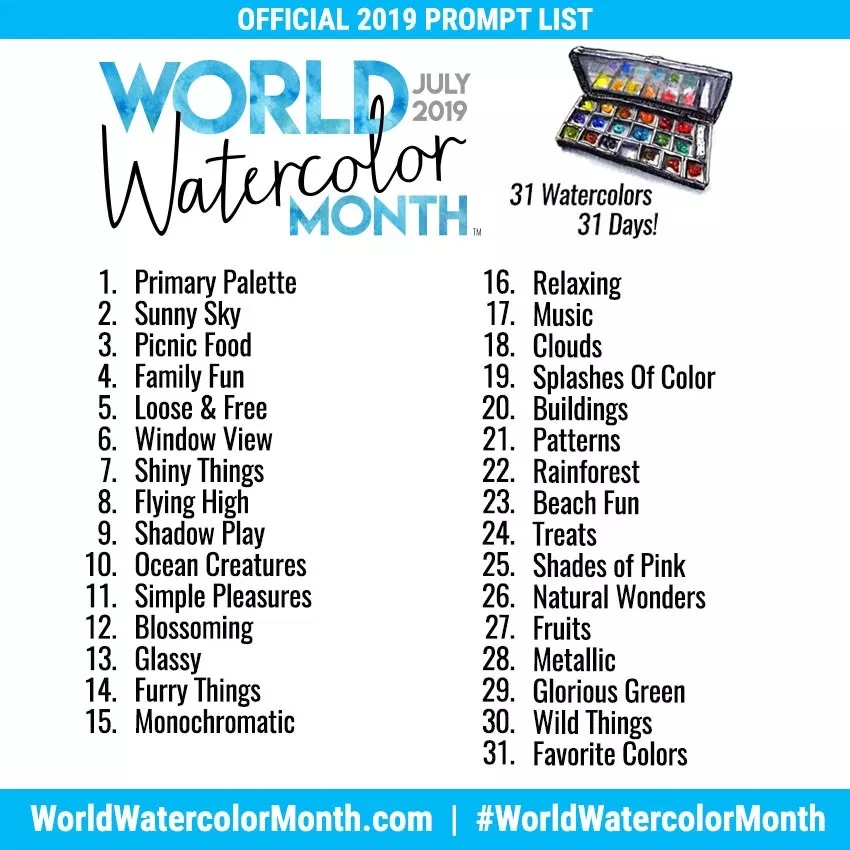
It seems that as the global world contracts, our ability to reach out expands. The internet is both demon and angel in this regard. I get tired of the constant barrage of news and texts and sales from varying companies, all on my phone and on my computer, but then one finds wonderful communities that meet one’s needs or interests. Such a community is Doodlewash, and Charlie O’Shields Facebook group. Annually he posts World Watercolor Month, which has prompts to follow. While he does this every month, World Watercolor Month is especially delightful as people from all over the world paint the subject matter and post it somewhere online, such as Instagram (using the hashtag #worldwatercolormonth2019), and elsewhere. It’s a lot of fun to see what other people produce and how they interpret the prompts.

So, here we are on Day 6 – World Watercolor Month is July. Last year I did Inktober and had so much fun, learned a lot, and thus I decided to do World Watercolor Month 2019. Being retired, there is finally time! The prompts I have done so far are:

  1. Primary Palette
  2. Sunny Sky
  3. Picnic Food
  4. Family Fun
  5. Loose & Free
  6. Window View

Here are my interpretations.
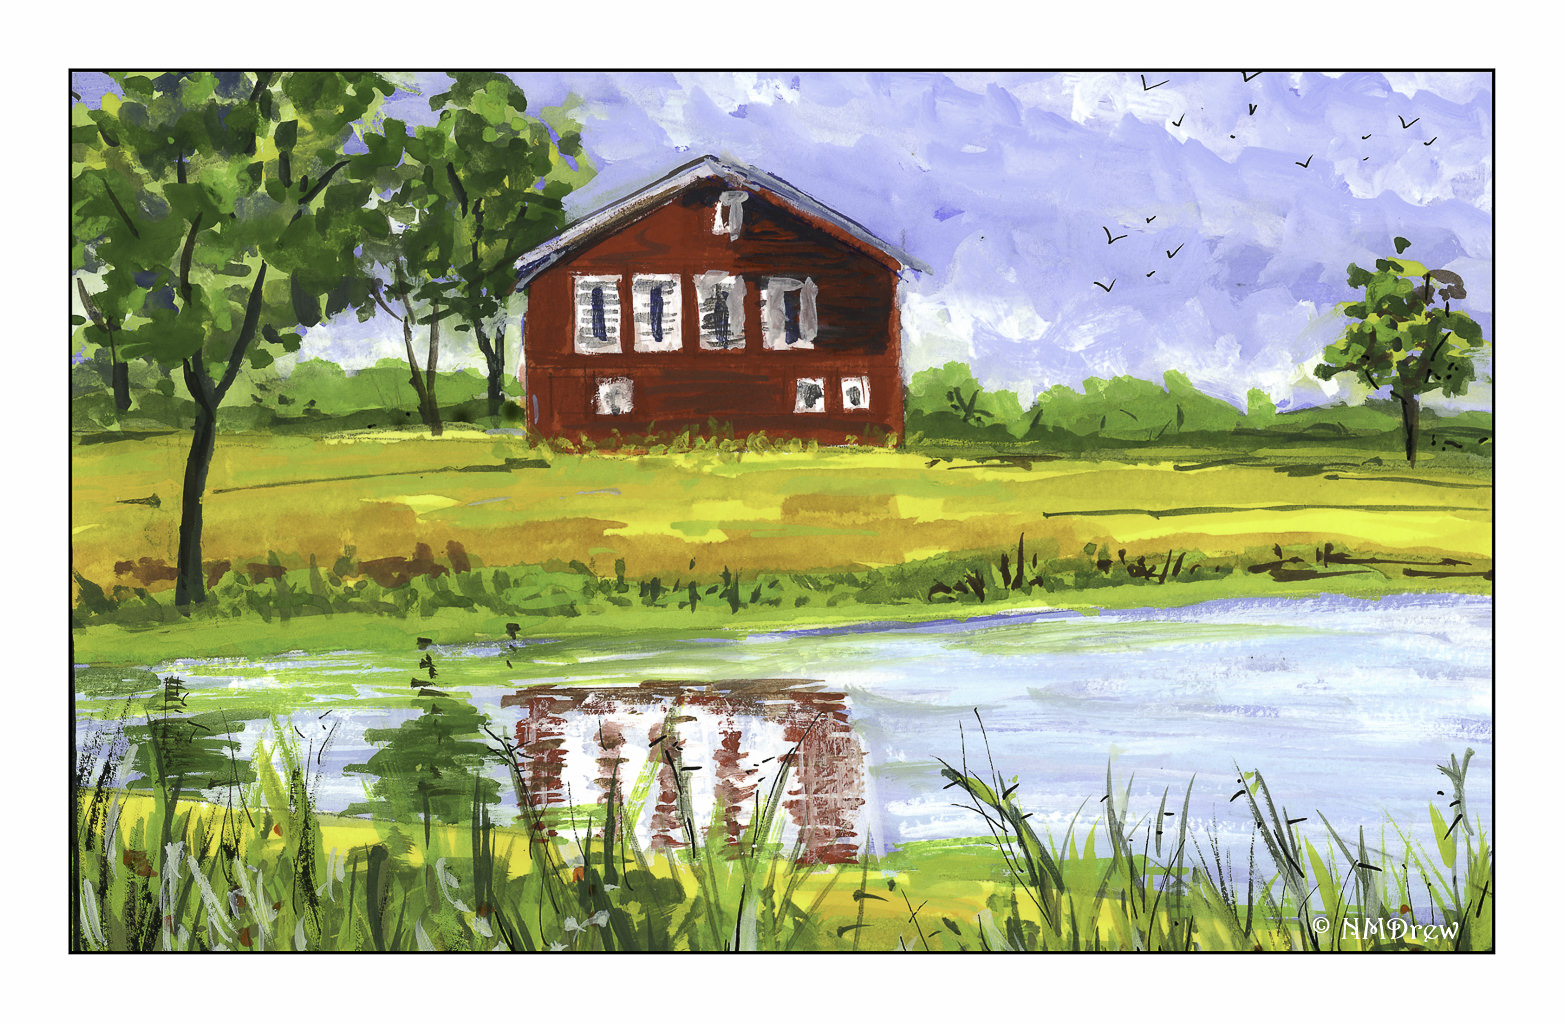
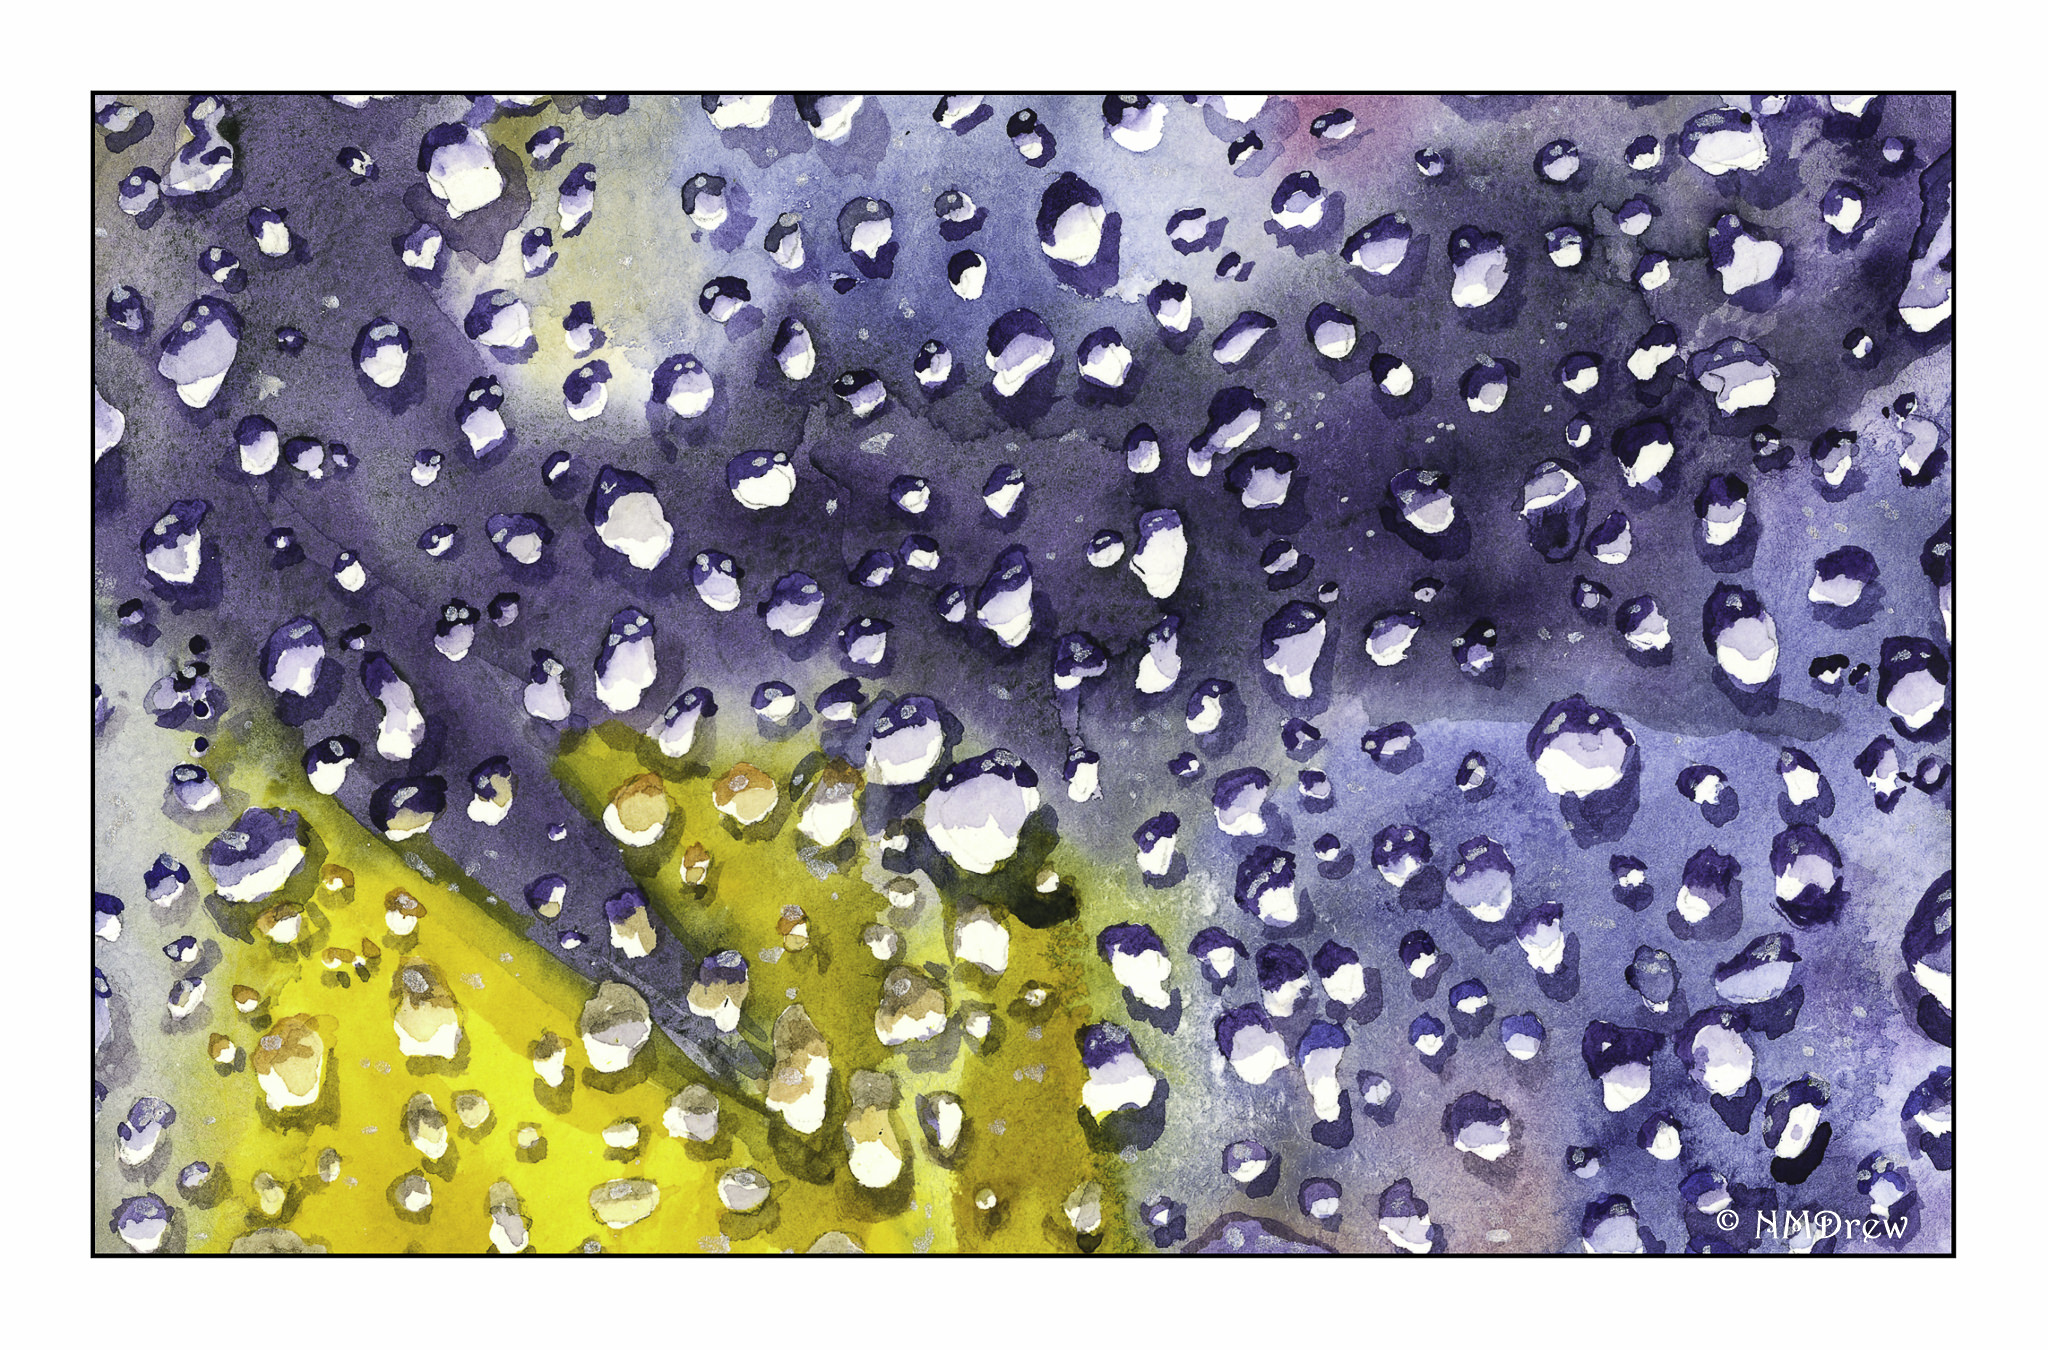
1. Primary Palette – Blue, Red, Yellow – With Some Secondaries Created from the Primaries
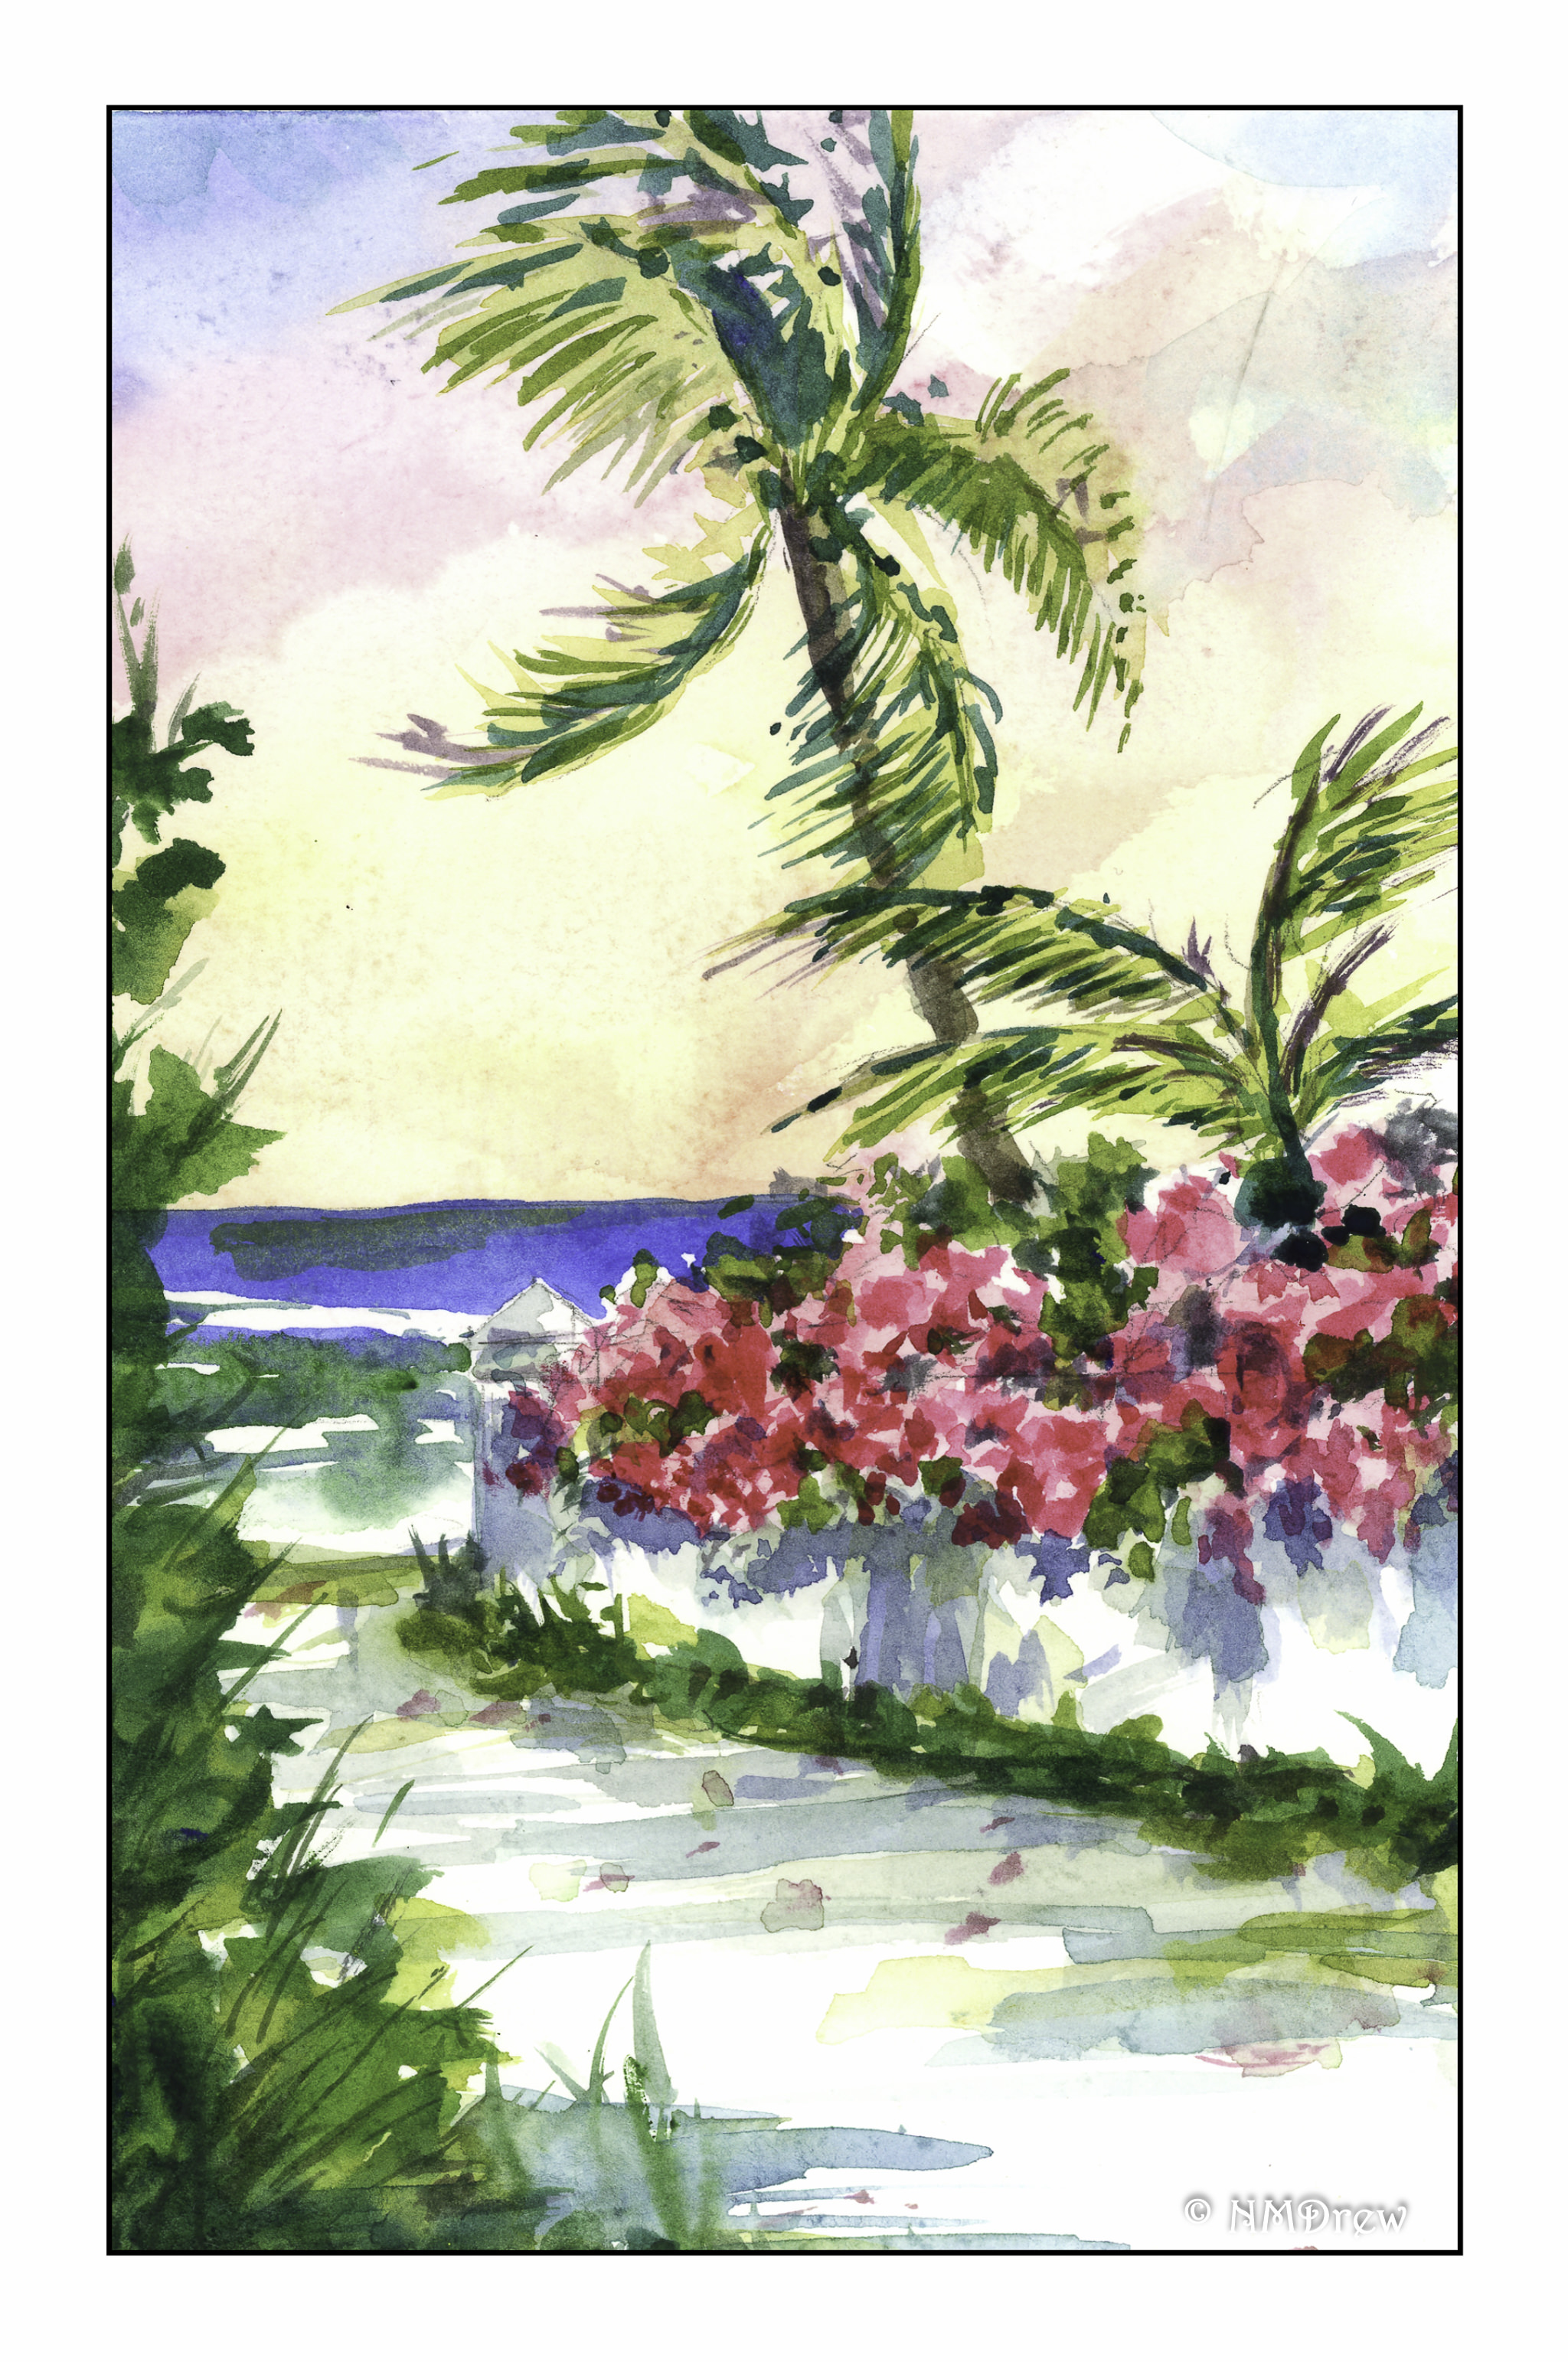
2. Sunny Sky
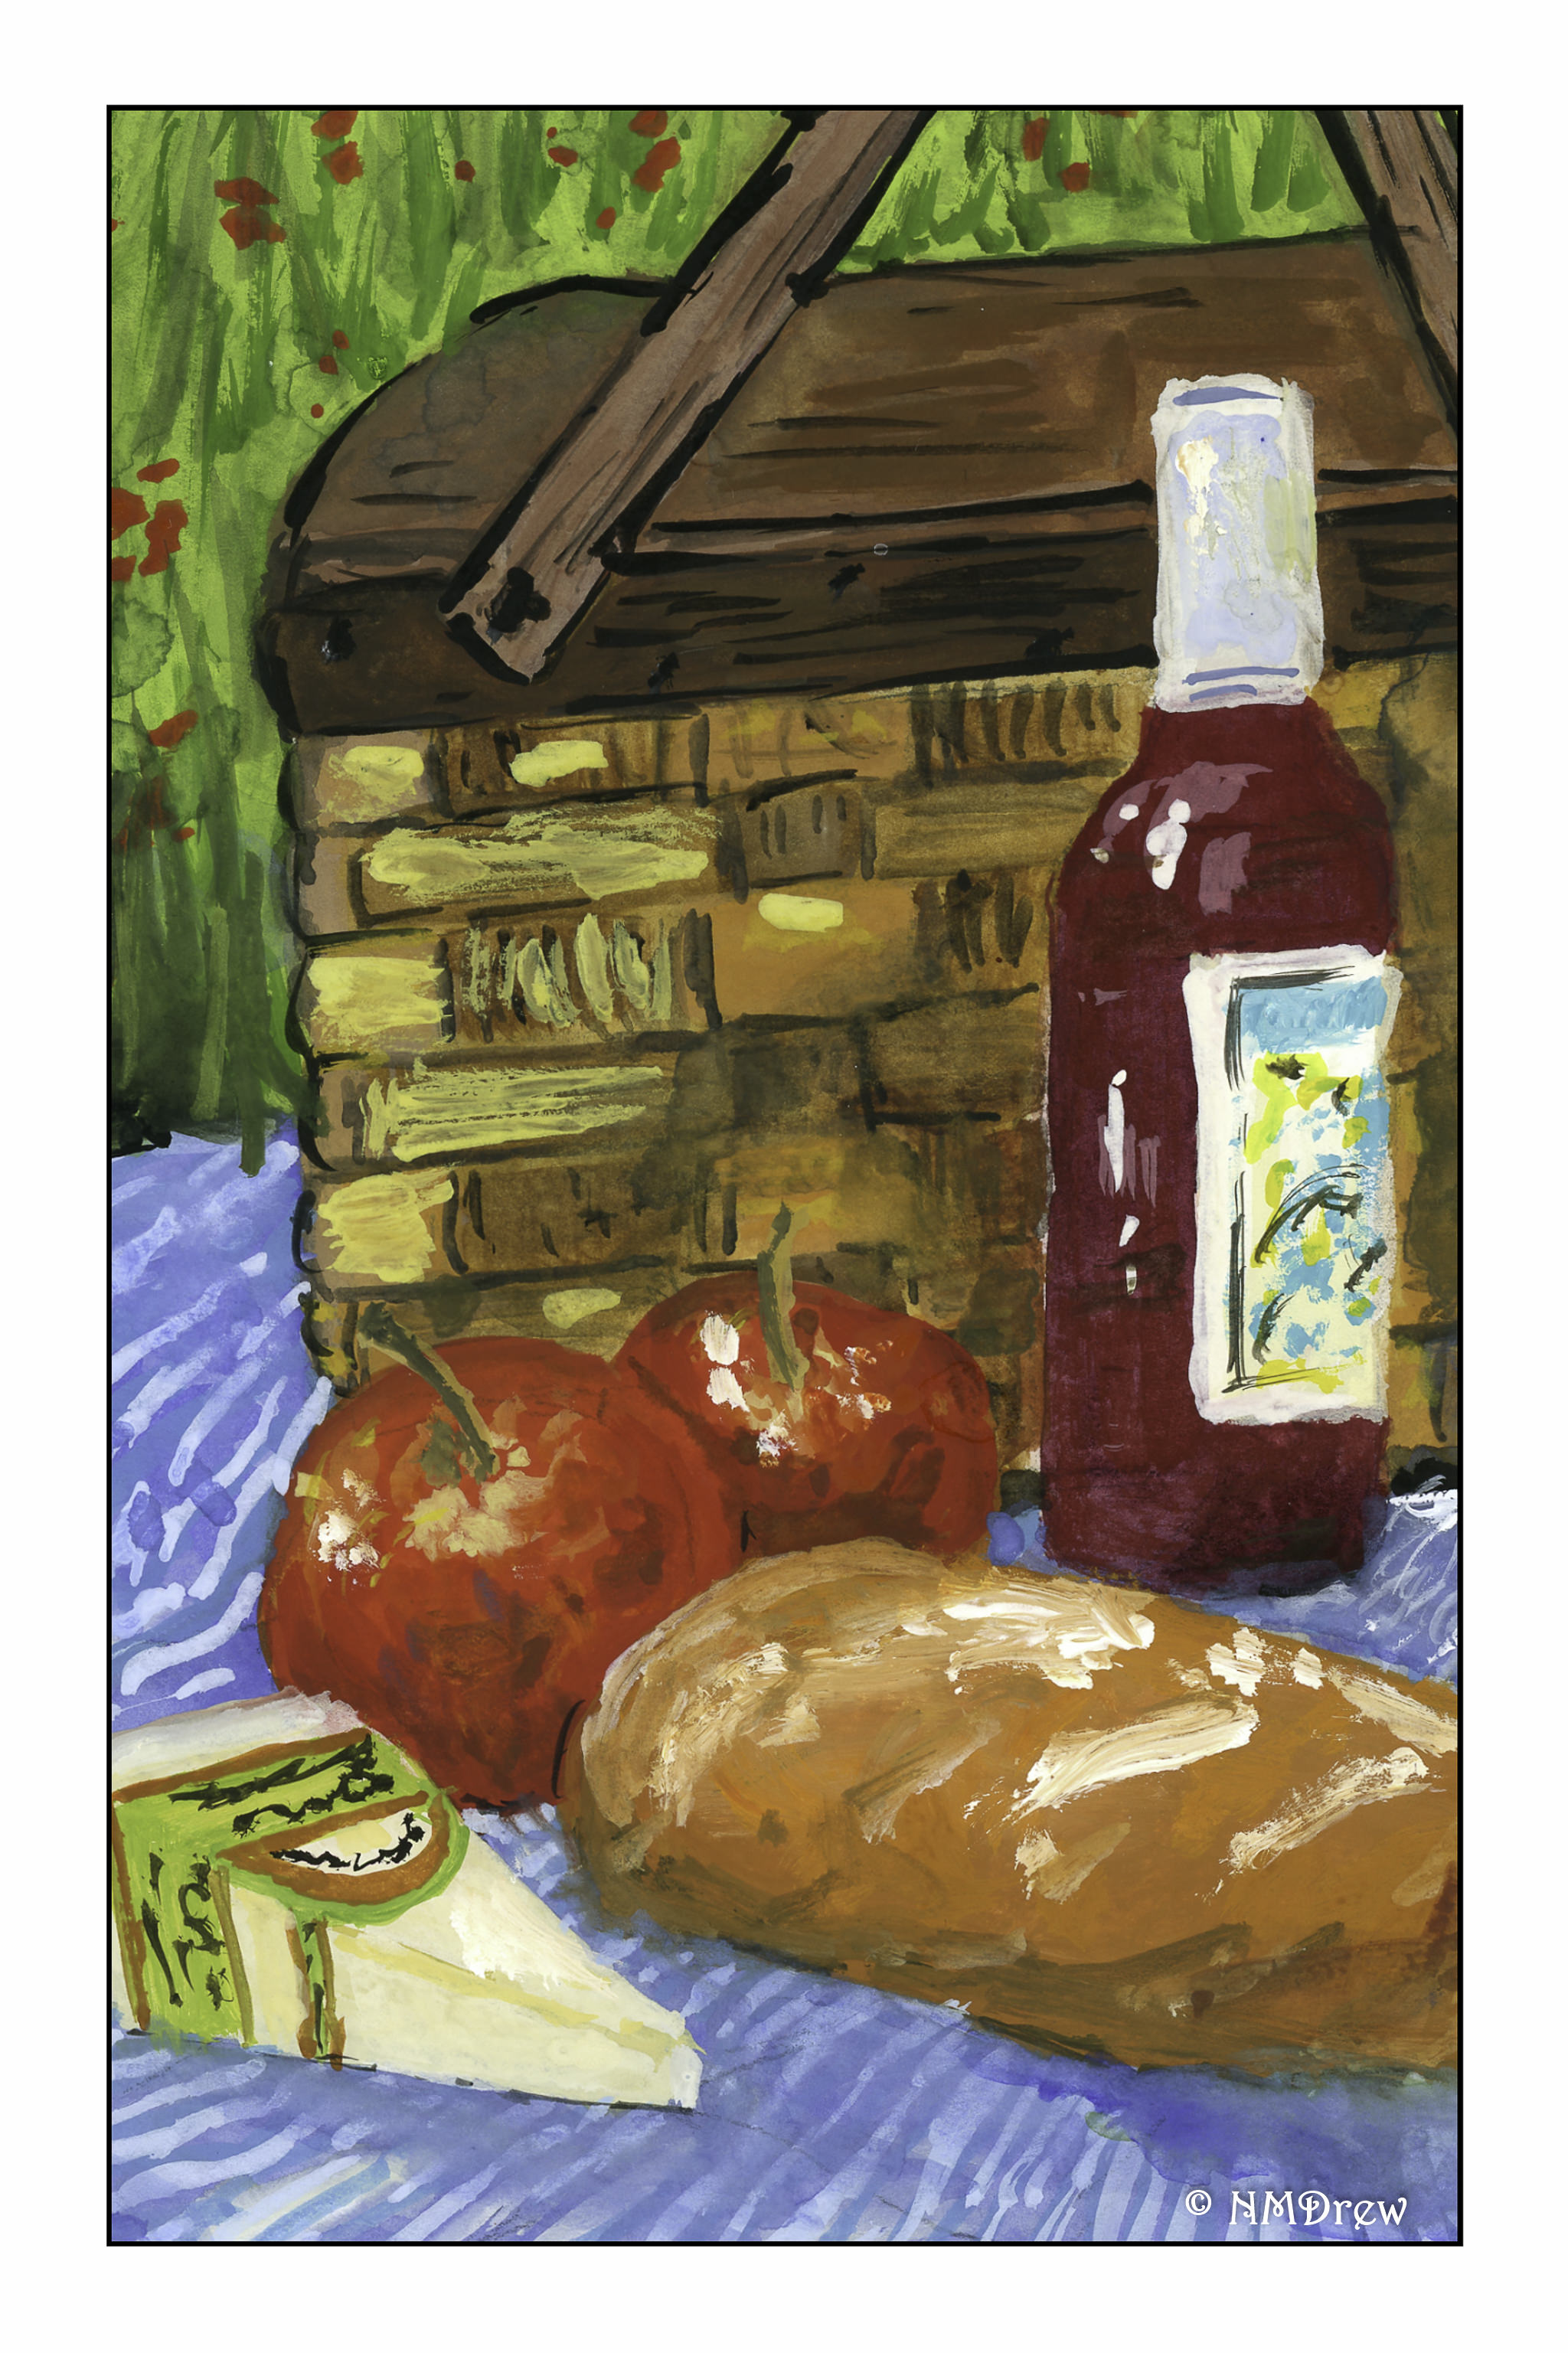
3. Picnic Food
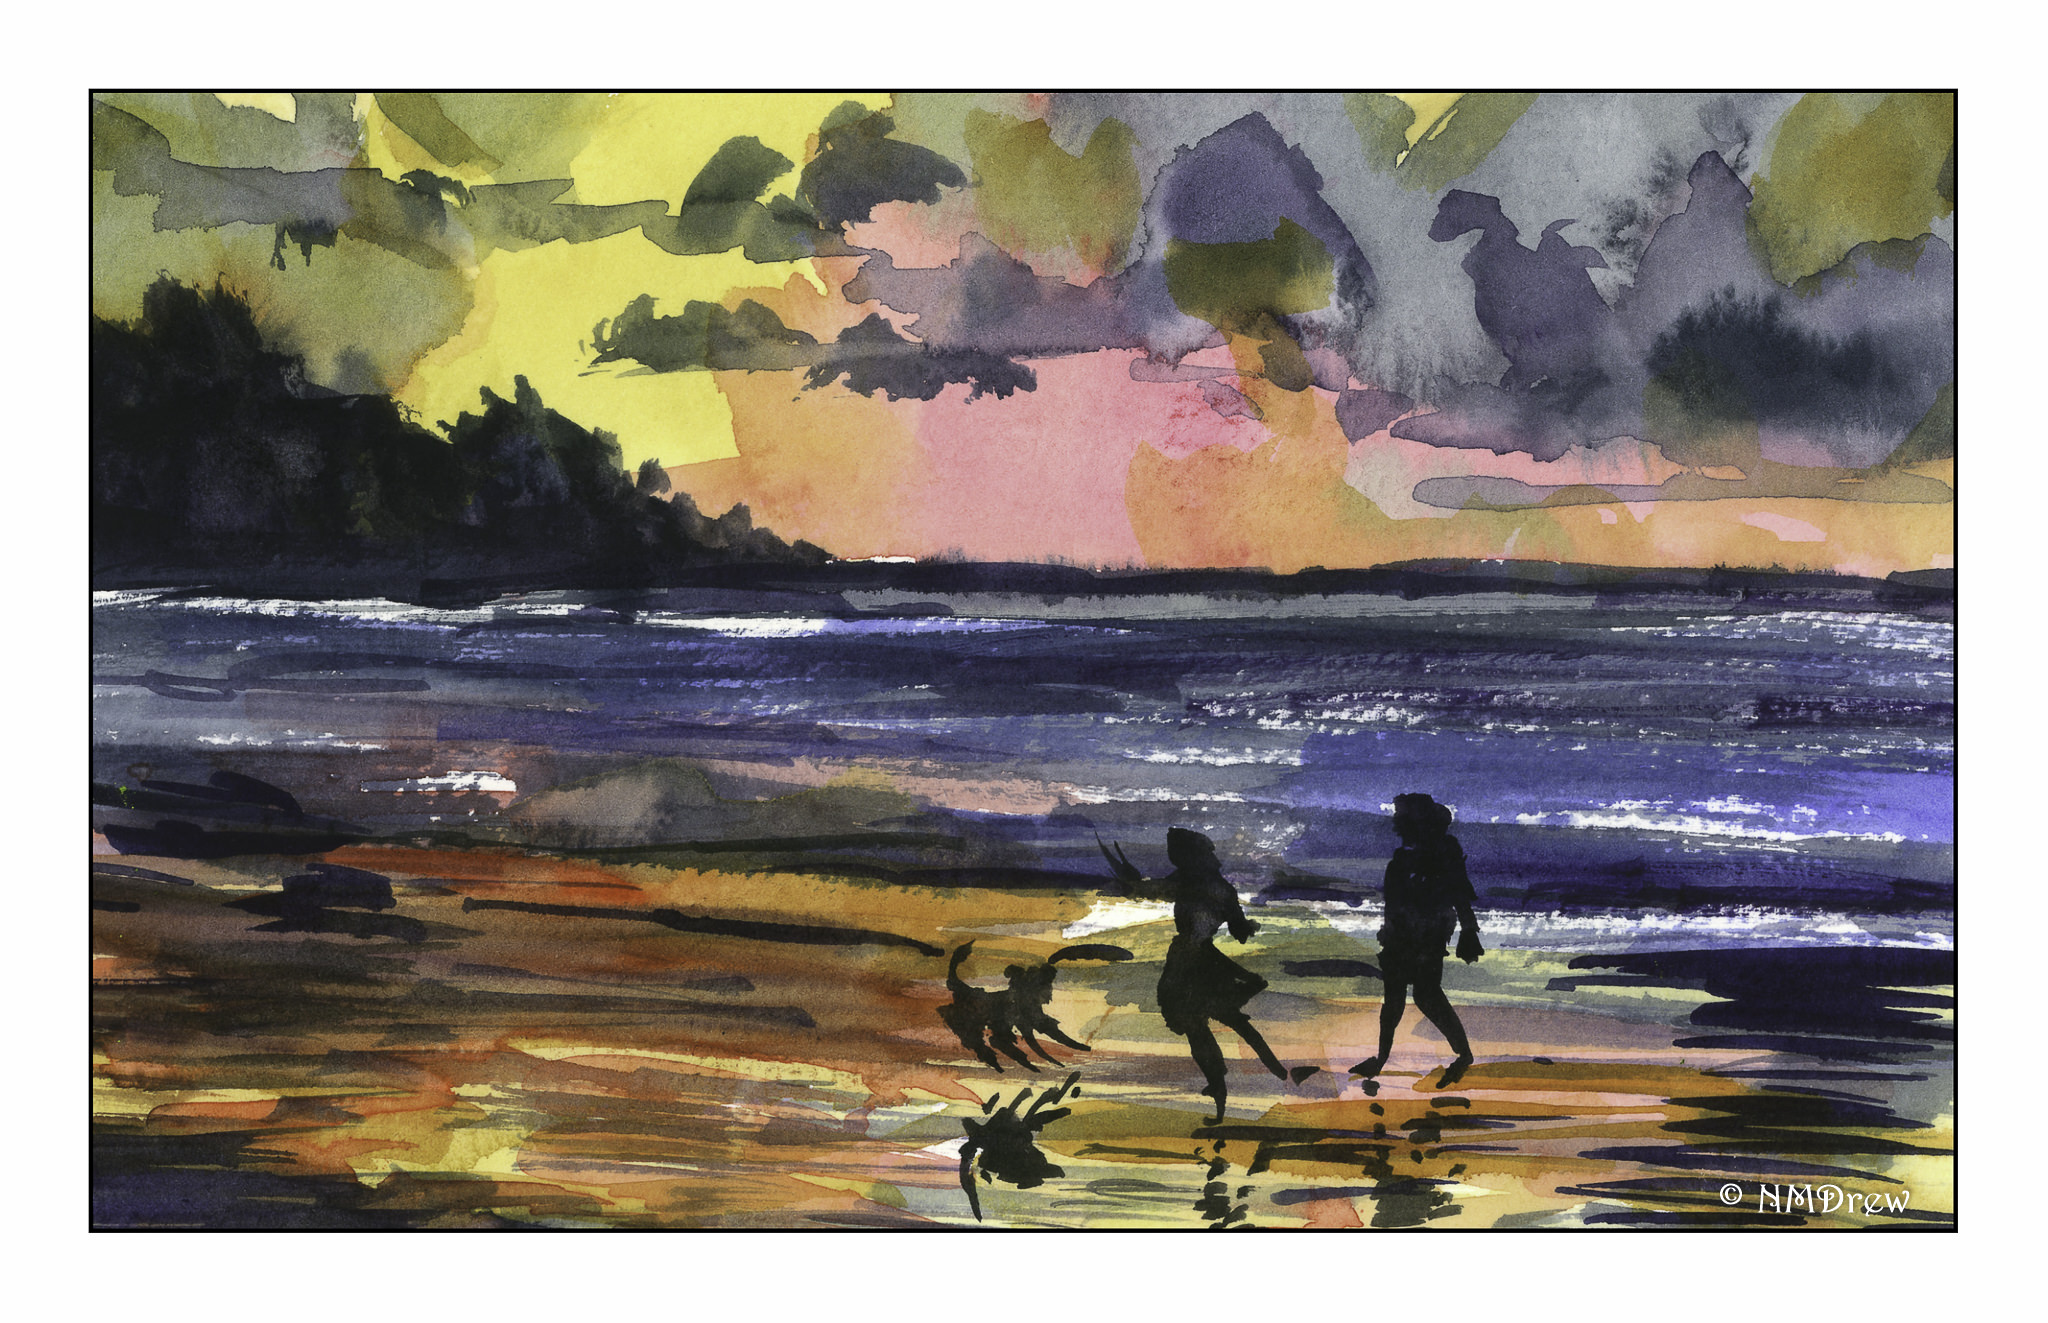
4. Family Fun – Let’s Dance on the Beach!
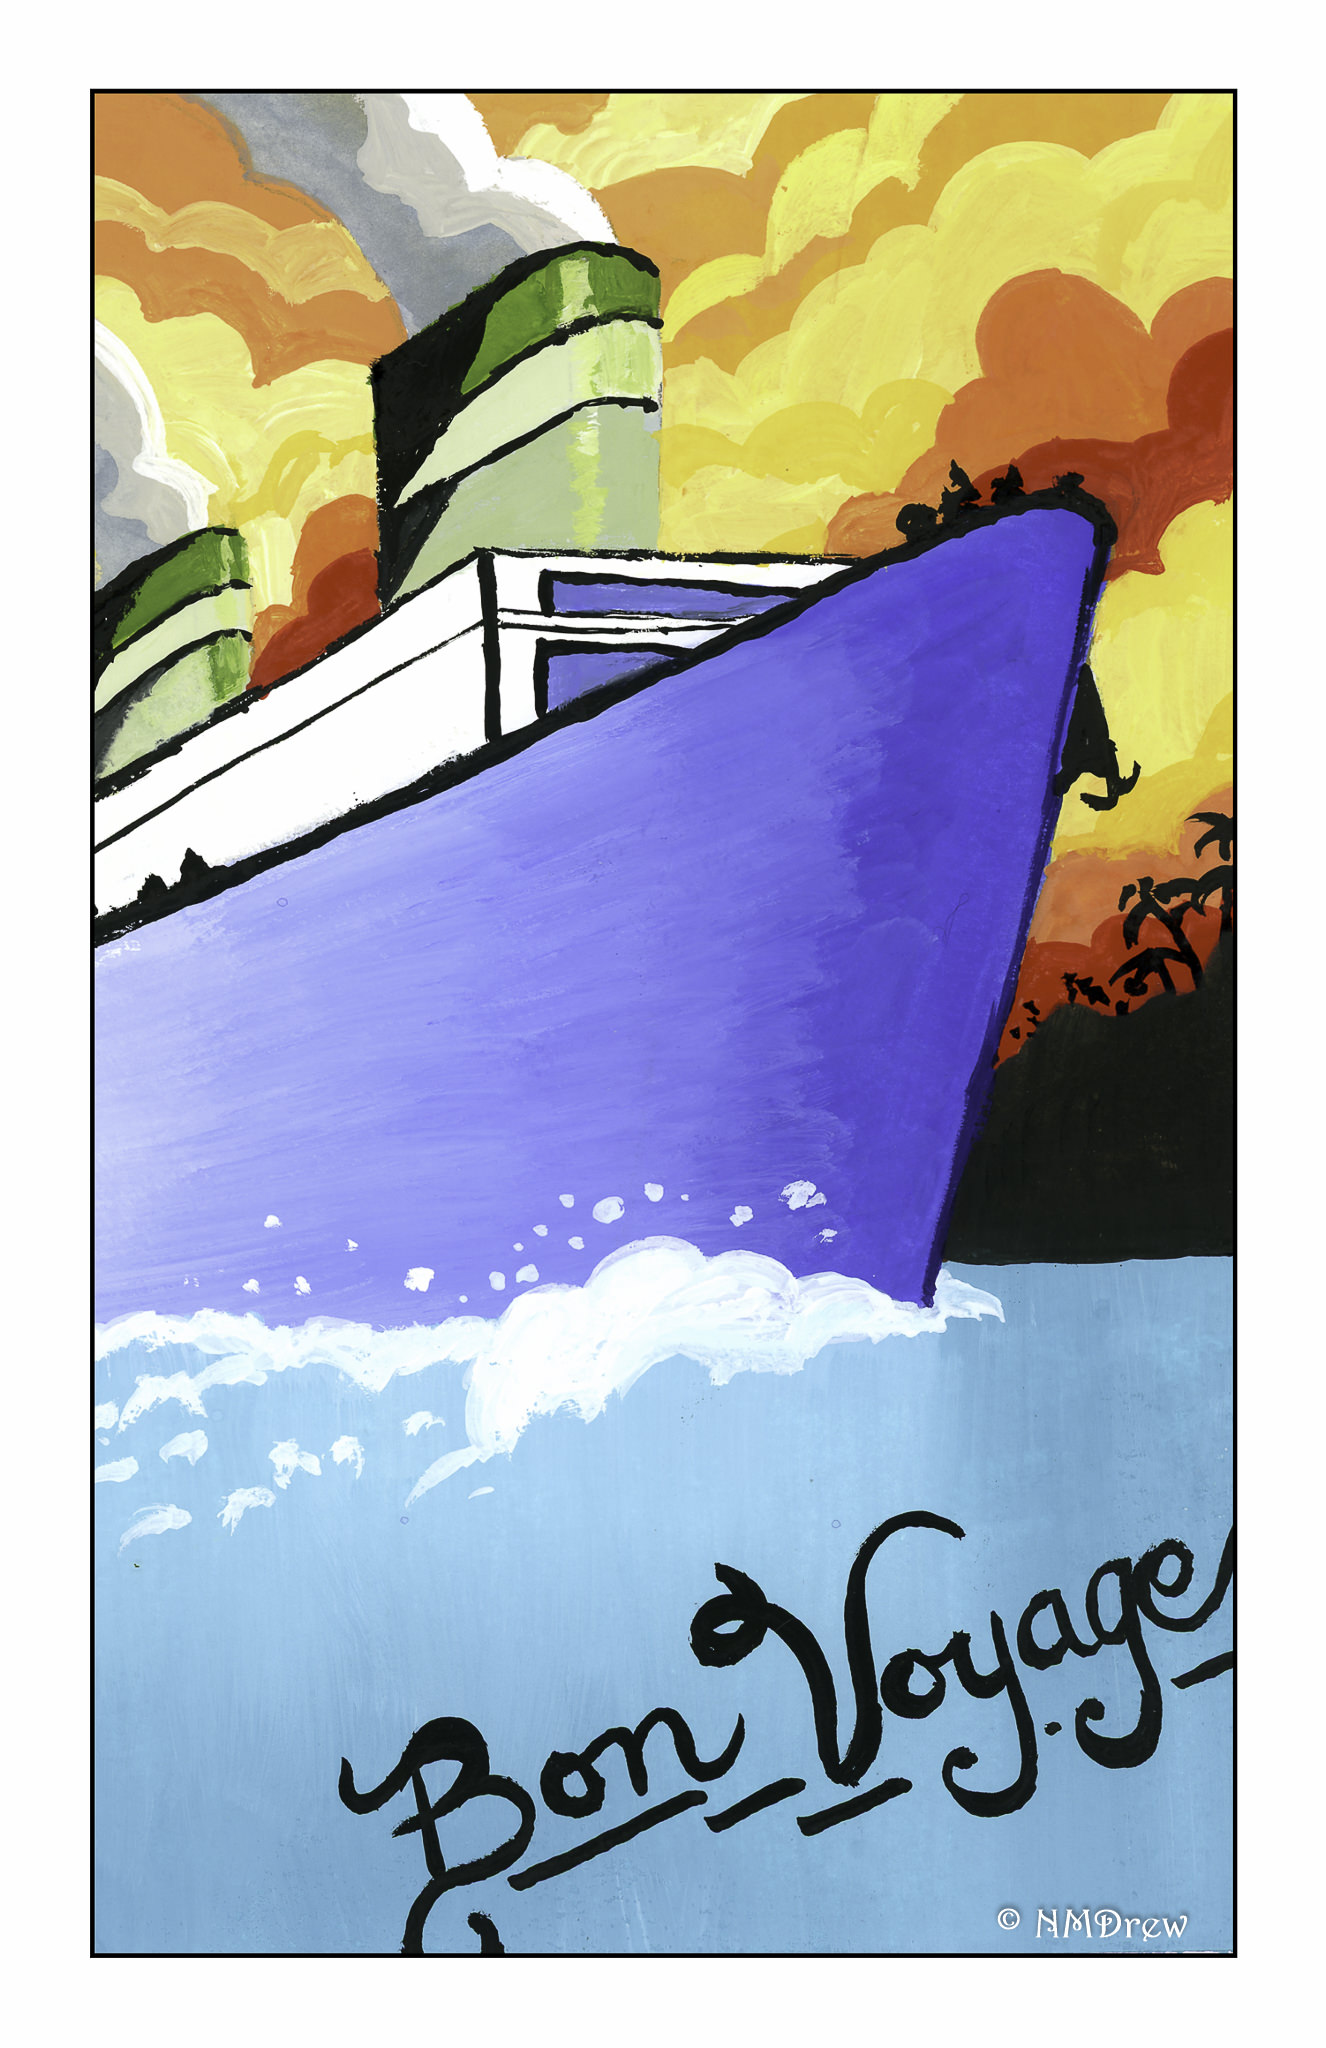
5. (Foot) Loose & (Fancy) Free – Sale the World!
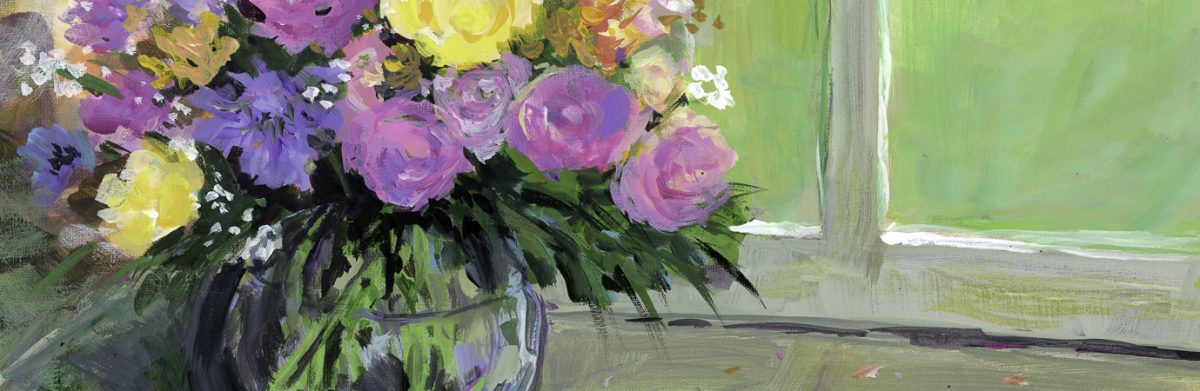
6. Window View – Looking In? Looking Out?

One of the goals I have for this project is to alternate between transparent watercolor and water-based gouache, which is often known as opaque watercolor. Both require different techniques. In watercolor, you work light to dark, and leave paper unpainted to depict white. You can cheat by using liquid frisket to mask out areas, but there are challenges in using it, and sometimes frustrations. You can also cheat by using the water-based white gouache to touch things up, but purists frown on this. Gouache, being opaque, allows you to build up layers, and you work, in general, from dark to light. Dark gouache colors dry lighter than they appear wet, and lighter colors dry darker. What a head spin! Gouache also requires a lot more time to paint a picture that seems simple compared to watercolor – but that is my experience so far. I am pretty new to gouache, so I am really in the baby steps of learning how to use the medium.

I hope that I will be able to continue to do my paintings every day for July. I am alternating days of watercolor and gouache, with odd-numbered days being in gouache, and even-numbered days in watercolor. We have another water leak in our house, but hopefully the planned repair will be quick and cheaper than the last, without any jack-hammering the foundation. This might keep me out of the studio a bit, but I plan to continue painting so will be moving things to other parts of the house a bit and create a studio space somewhere . . .

Enjoy the wonders of summer!
Iron Gall Ink – A Quick Update

I spent most of the day dyeing with indigo on yarn . . . and some silk. A long day! But, on the list of things to do was to decant the iron gall ink I have been making over the past week.

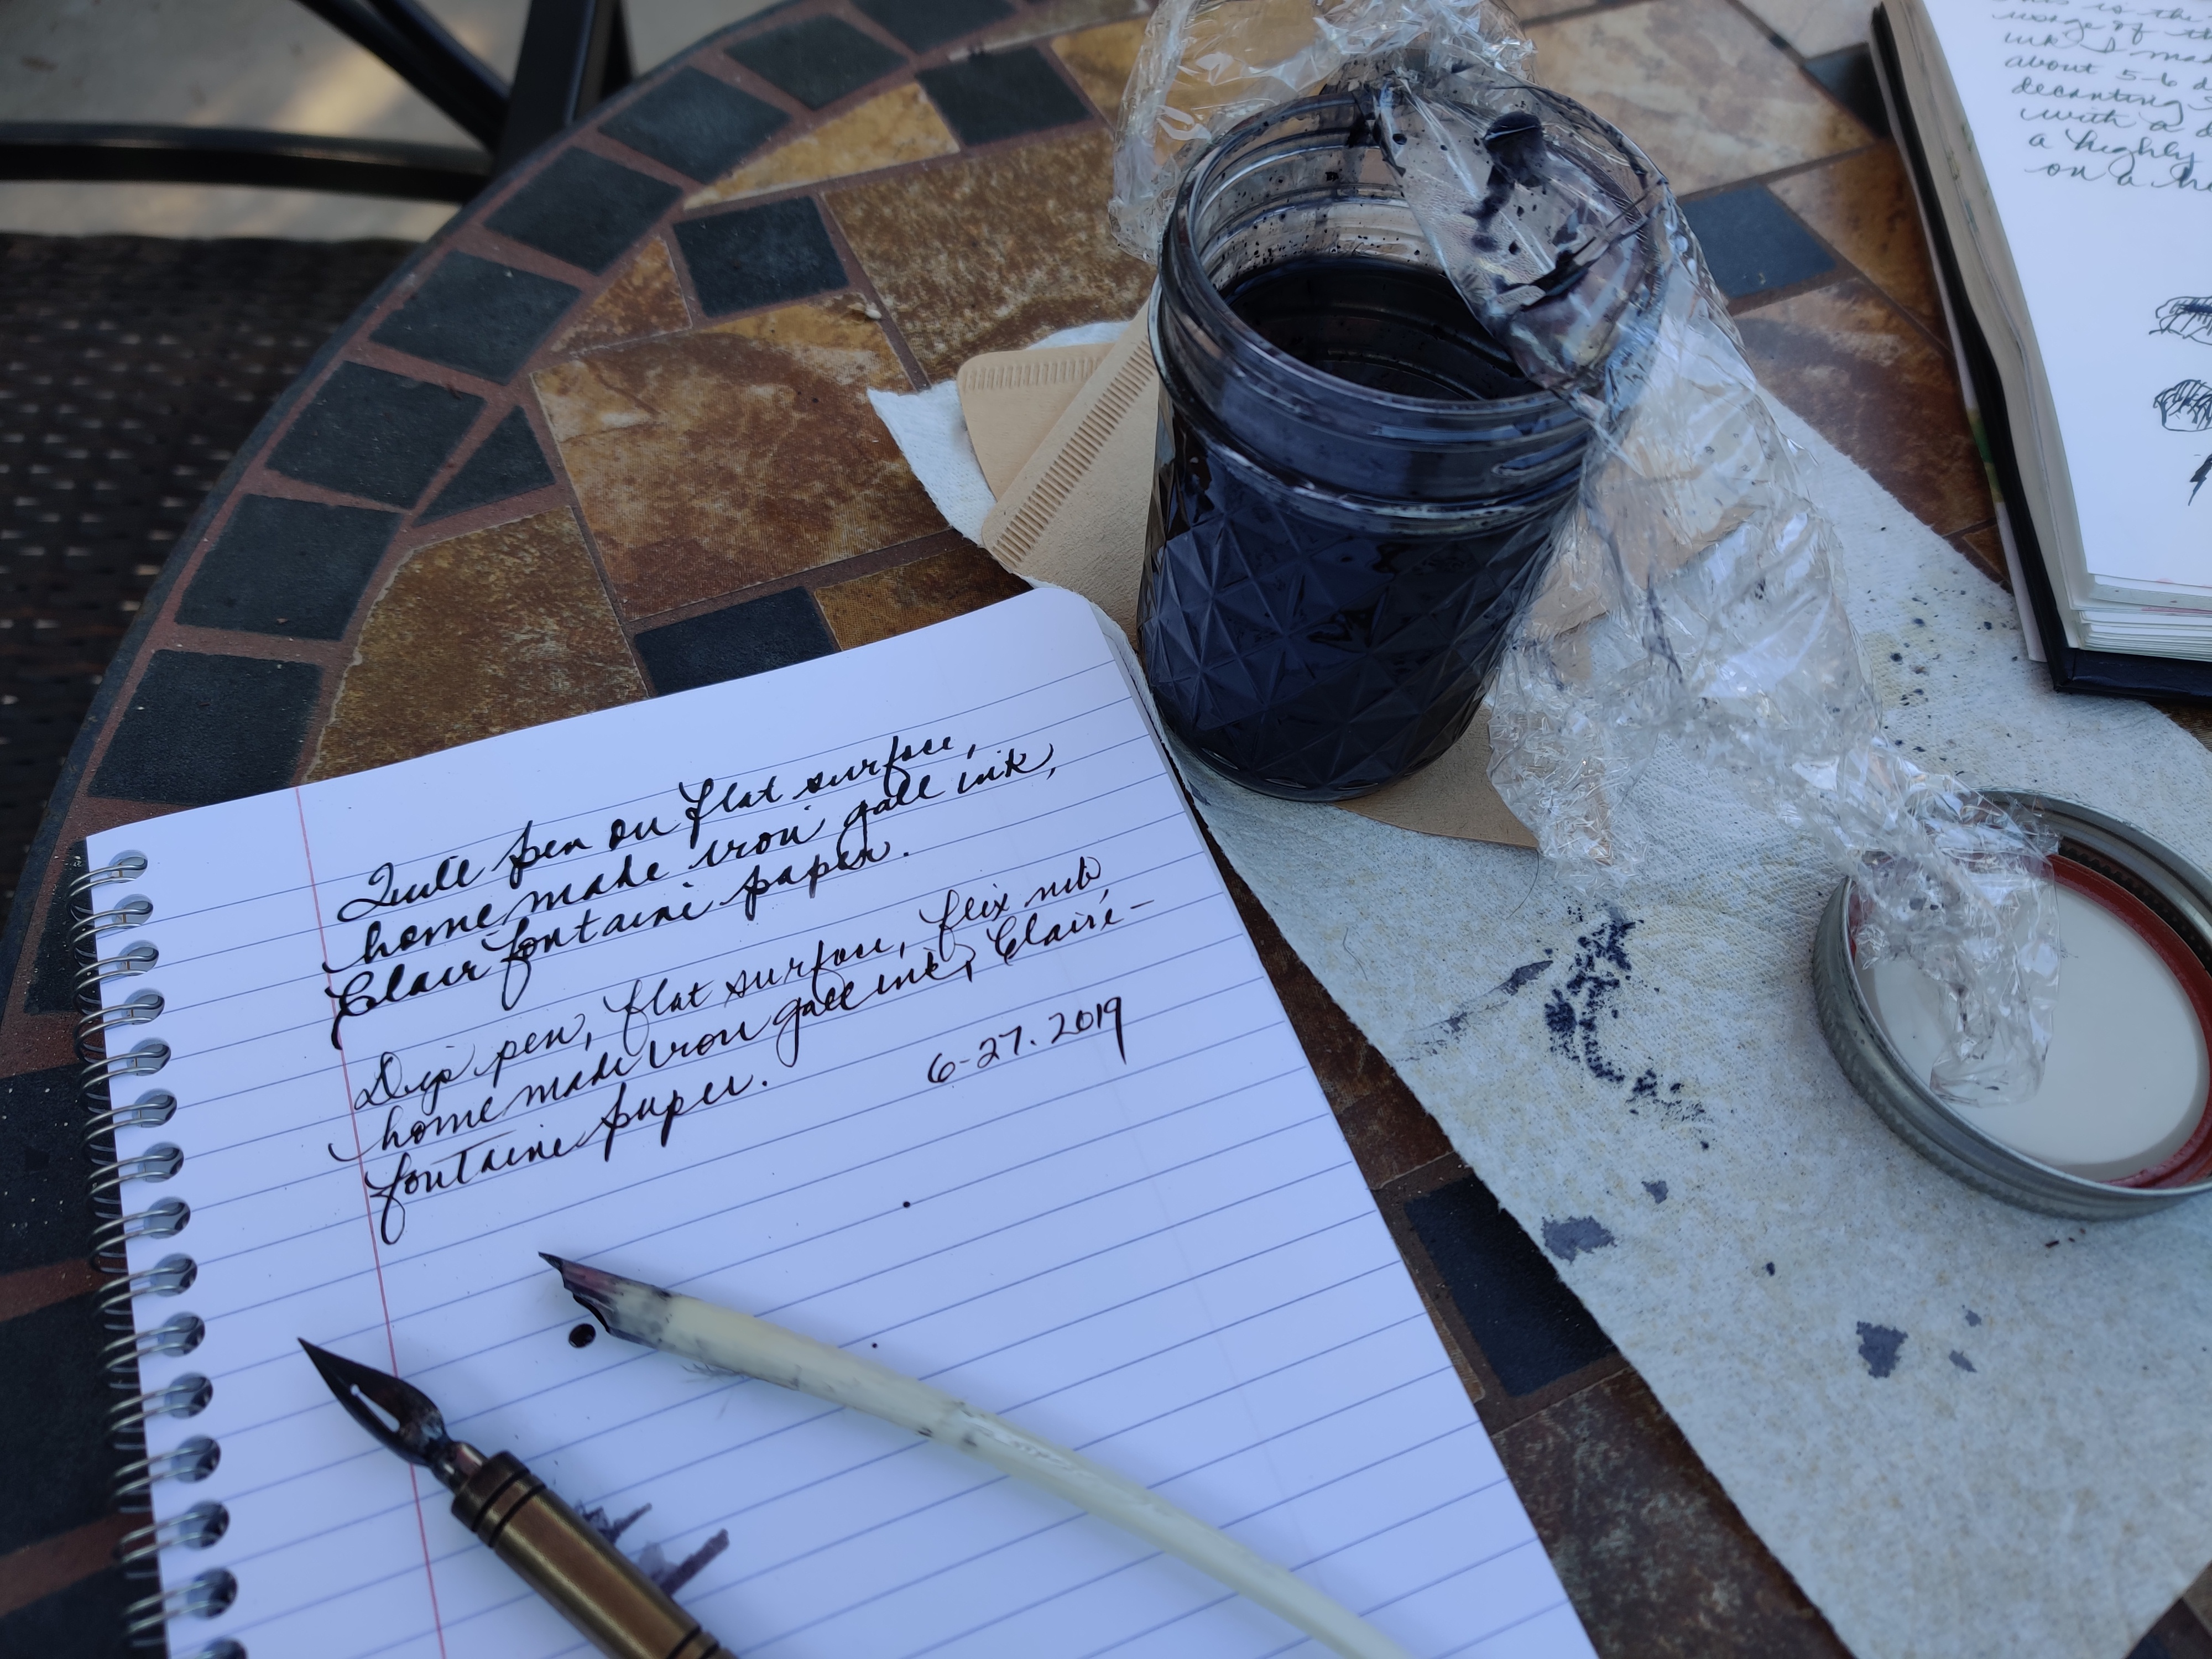
Success! It is a really beautiful ink! It flows well off the flex dip pen nib as well as the quill I cut a few days ago. I’ll blog a bit more about it later, as at the end of a long day, I’m really tired, but really content with both the dyeing and the ink.

Gum Arabic – The Last Ingredient

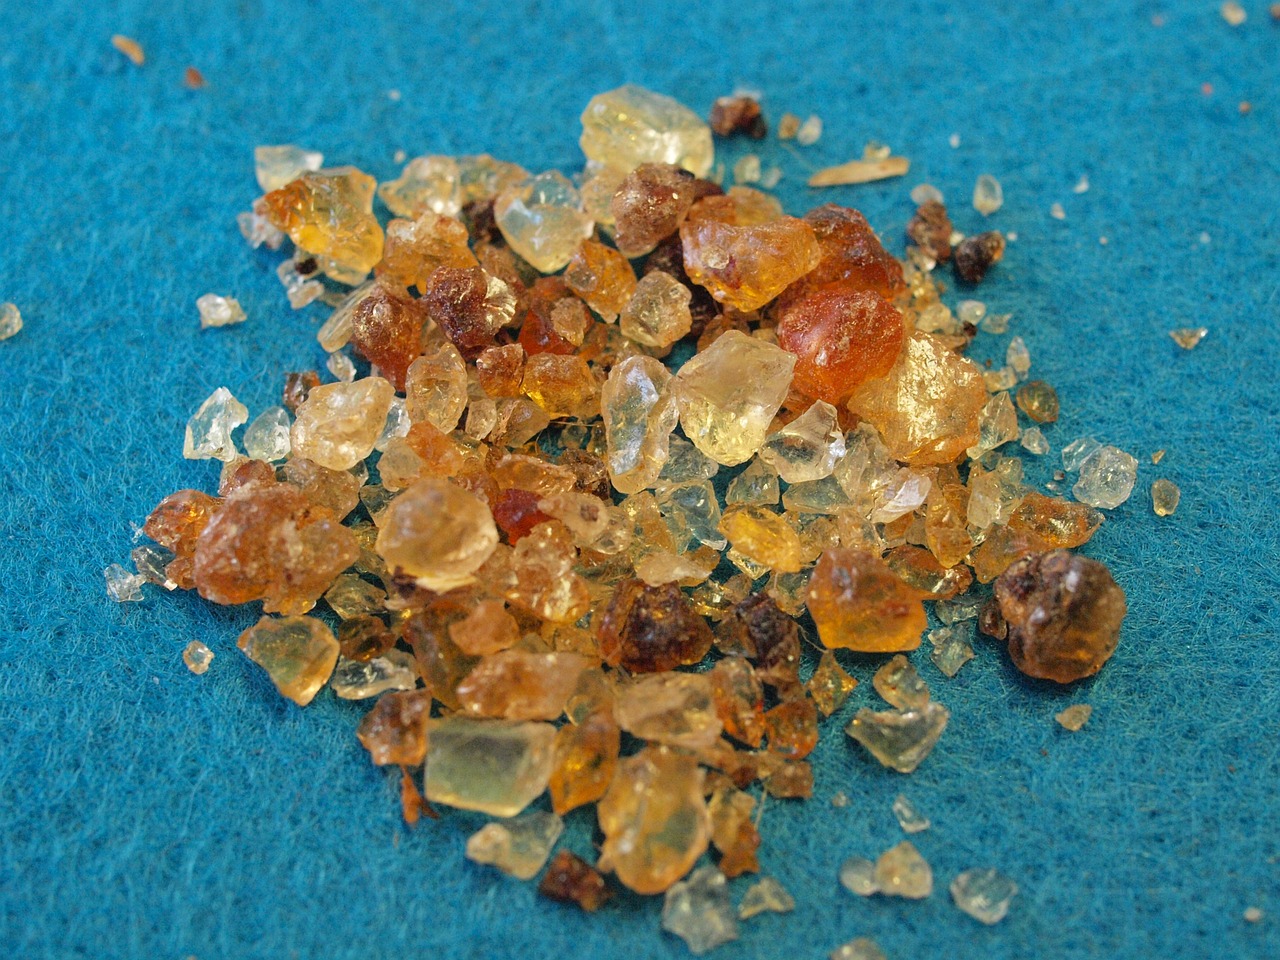
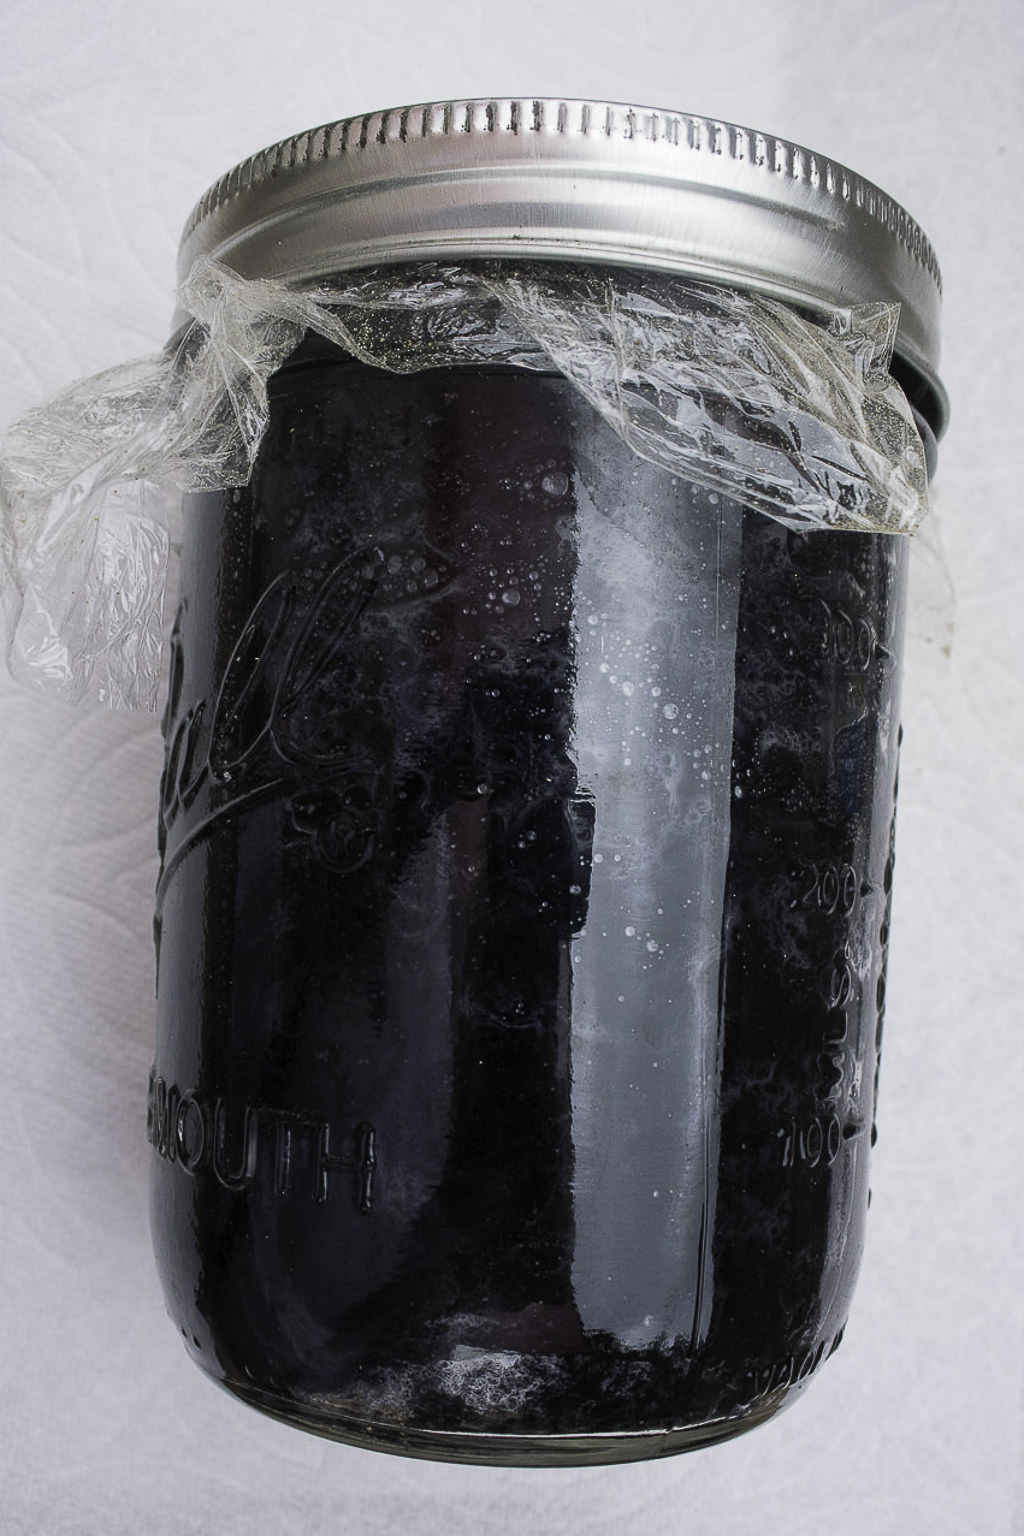
Today is the final day for adding ingredients to the iron gall ink.  I added 25g. of gum arabic to the ferrous gallate (new name for the oak gall / ferrous sulfate heptahydrate solution) to create the final product of ink. Until the gum arabic is added, the solution is really just a solution or a liquid. My gum arabic was in a powdered form, so I simply placed it on top of the liquid in the jar, and shook it a lot. Since adding it, I am continuing to shake it. The gum arabic to the left is in its most common form – hardened sap. It has a jewel-like quality, I think – a lot like amber – and besides using it in ink, it is edible and has many uses in the food industry.

Gum arabic, the hardened sap of the acacia tree, is used a binder in ink, controlling the ink’s viscosity – how the ink flows.  It adds more control into the ink’s behavior, such as eliminating or lessening feathering, bleeding or cracking when use on paper or parchment. An element of luminosity or shine is another characteristic it imparts to ink.

In addition to controlling viscosity, gum arabic helps the ink to adhere to the paper. The water in the ink evaporates, and left behind is the colored portion of the ink; it is the gum arabic which acts as a glue to stick the ink’s pigment to the paper.

An ink – or watercolor paint or gouache – needs the gum arabic to give it the right consistency or body to flow easily, but not messily, from the pen or brush. Other pigmented inks may also crack, and the addition of the gum arabic helps prevent this; I don’t believe that iron gall inks suffer from cracking.

Soon enough, the ink and quill will be put to the test of actually using it!  Stay tuned . . .


Chemistry Magick & A Quill Scraper

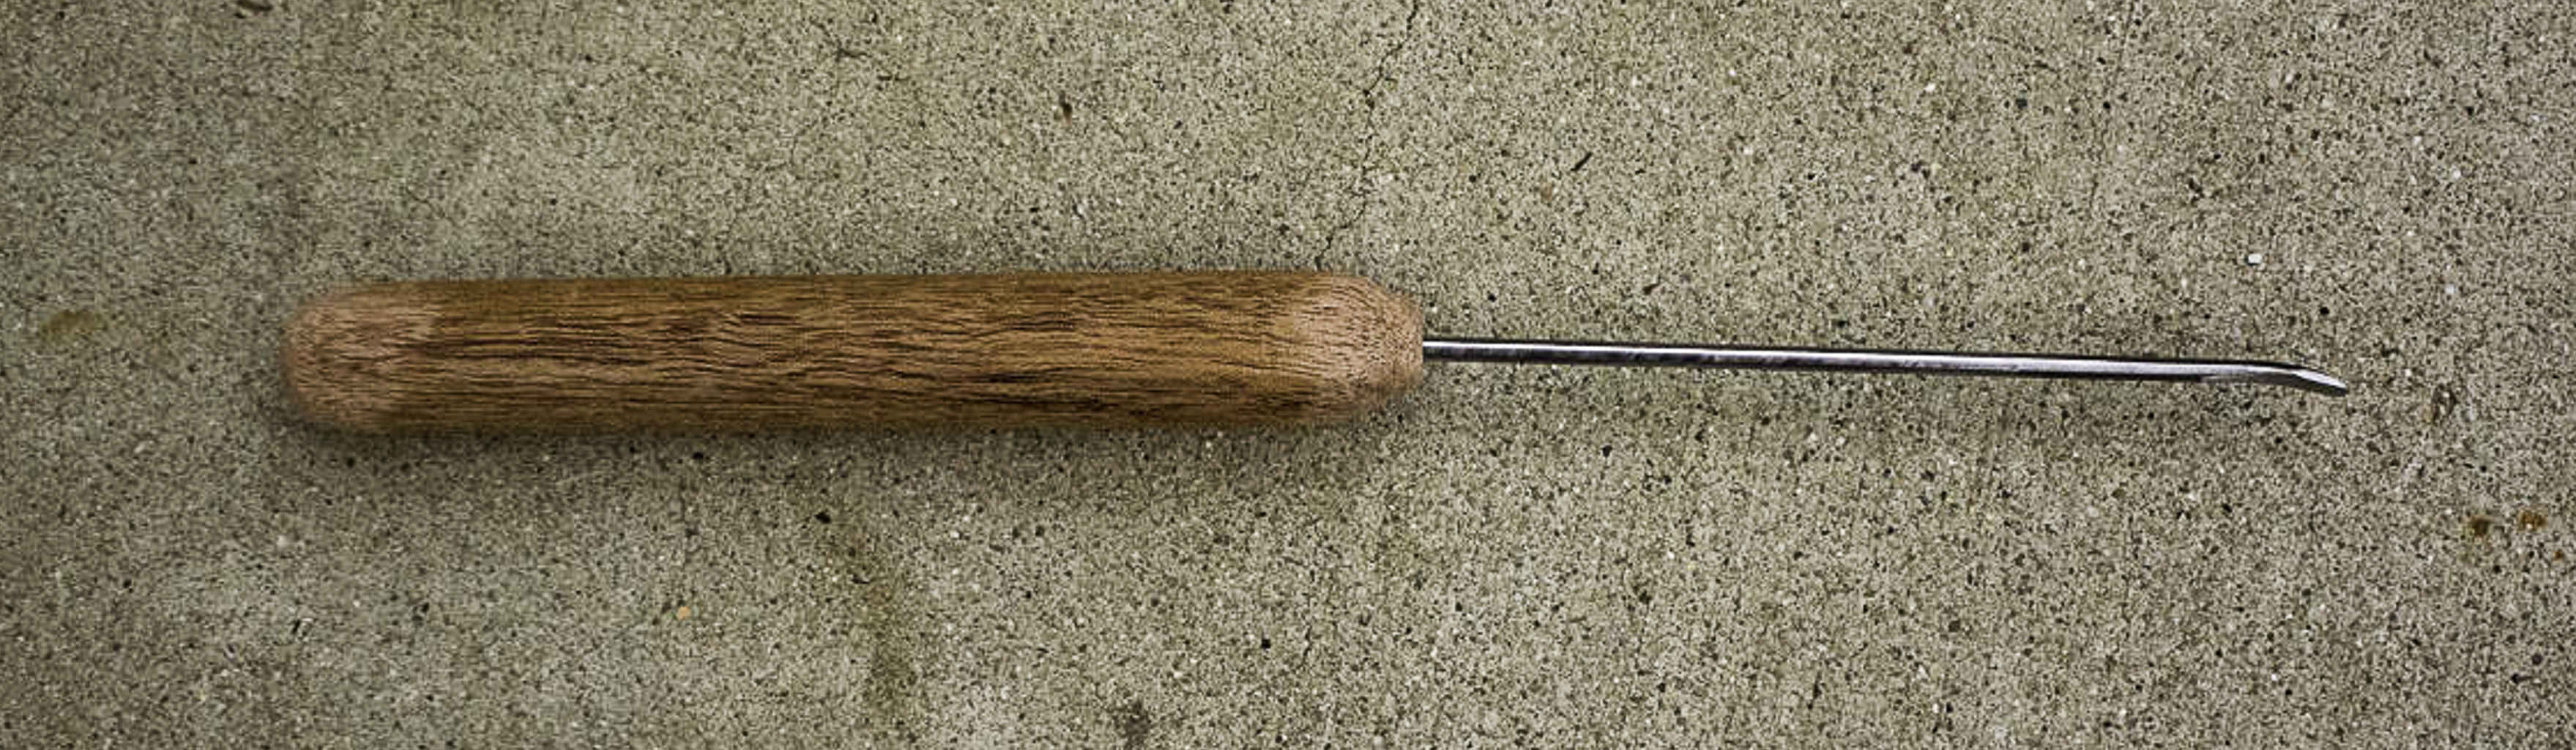
Early this morning, Josh and I went to the hardware store.  We bought supplies for Thursday’s indigo dyeing adventure and a piece of steel wire to make a quill scraper, a tool used to scrape out the membranes inside the feather’s quill, which is where it attaches to the bird.  Once home, Josh headed out to the garage, and within about 45 minutes produced a scraper, similar to the one found in yesterday’s quill cutting video with Mr. Ruud.  All told, it measures about 8″ in length and is a dandy little item.

Quill scraper made with a piece of steel wire, inserted into a wooden handle. End shaped and bent. Total length is about 8 inches / 40 cm. Works very well!

And then, a bit of housework – dusting! It’s gotta be done – a bit of lunch, a nap, and onto the magic of adding Ferrous Sulfate Heptahydrate to my slightly fermented jar of oak galls.

Ferrous Sulfate Heptahydrate was not hard to find.  I bought it from Amazon and had it within a day or so.  The jar is about 113 g. – I need 50 g. for the ink.  Thus, I weighed it out.

From here, it was time to add it to the oak gall mix, which has been out in the sometimes-sun since Saturday. I shook is multiple times everyday.

And now – oh, this was so exciting and beautiful! – the addition of the Ferrous Sulfate Heptahydrate to the oak gall mixture!

Ferrous Sulfate Heptahydrate as it settled into the oak gall and water mixture. So lovely!

And now, shaken up, the dark ink of the Iron Gall Ink!

Shaken mixture of Ferrous Sulfate Heptahydrate and Oak Galls!

And now, another 24 hours out in the sometimes-sun. Stay tuned for the addition of Gum Arabic (25 g) tomorrow!

The First Quill

While we wait for the ink to ferment, along with kimchi (more later!) and the current batch of beer, I have taken some quills to begin to re-learn how to cut them.  What an adventure it has already proven to be.

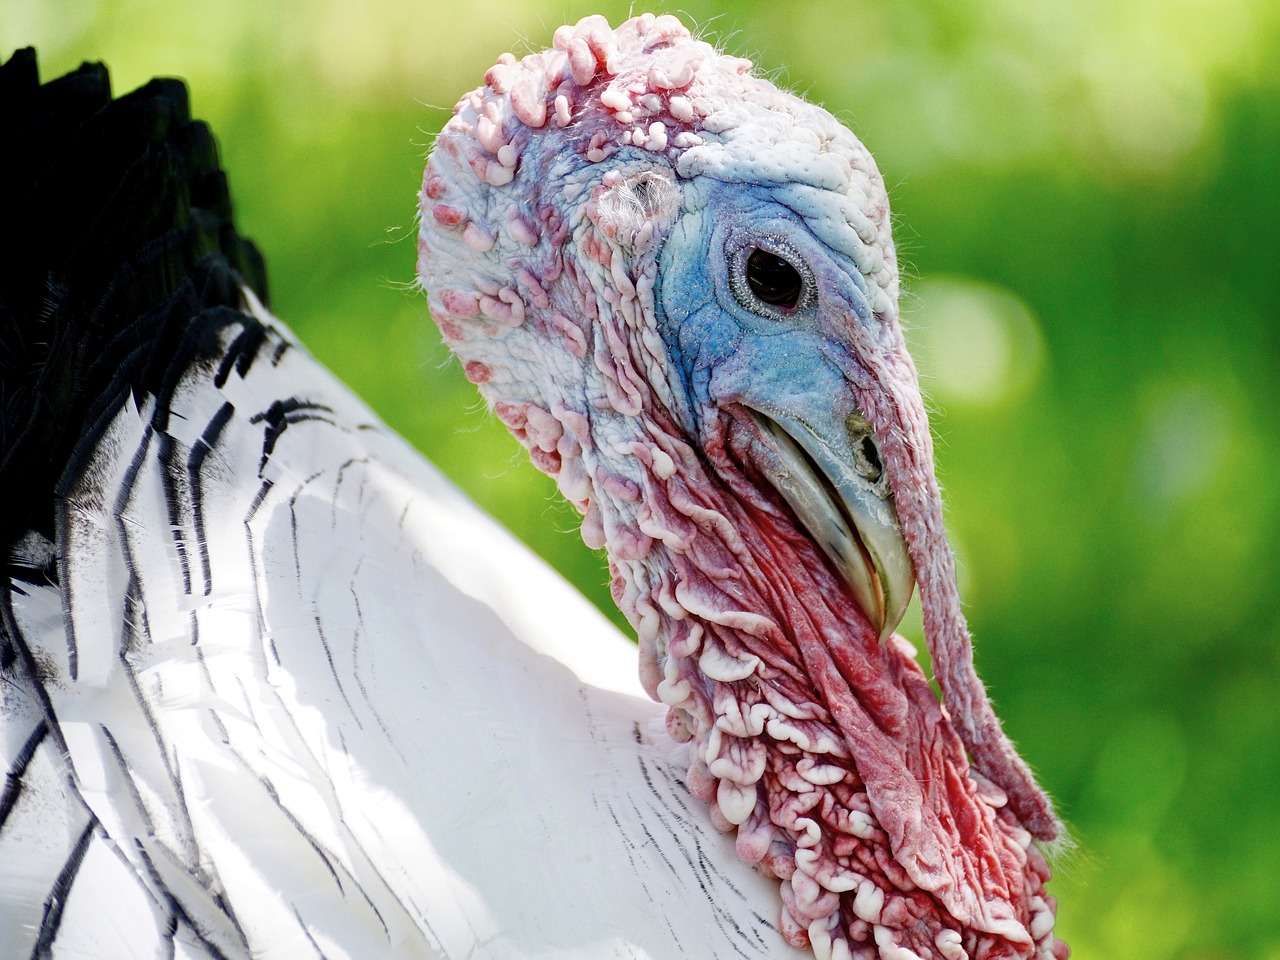
To begin with, I bought a quarter pound of white turkey feathers from a local feather company.  They are white, and what I was able to do was to look at the diameter and width of the quill part – not the feathers, as they are not important – but the thickness and length of the lower end of the feather, the part to create the nib of a quill pen.

Yesterday, I stuck the quills in a glass of water to soak overnight.  I made sure there was enough water to cover the lower end of the quill up to where the first barbs begin.  One feather had its tip intact, but the remaining four had been cut away or removed.  According to varying sites, the end should be cut away prior to soaking.  After soaking the quills, I attempted to do the following, in this order:

  • Scrape out the membrane within the quill.  I used a variety of things, some of which were more satisfactory than others – in particular, I used a couple of threading hooks for my spinning wheels.  They weren’t especially good.  Nor was a bent paper clip or seam ripper.  I have seen scraping tools fashioned out of bicycle spokes and mounted in a handle – I will try to devise one over the next few days.  The soak in the water gave the feathers a rather fowl (yes, deliberate pun!) smell – light and rather disgusting.  Perhaps they soaked too long.  The next round of quills, I will try to remove the membrane without soaking them overnight, and then move into heating them, as in Step 2 below.
  • After scraping out the membranes – none really seem to become clear as suggested by varying videos on YouTube – I hardened the quills in hot sand.  I put some fine sand into a sauce pan on the stove and heated it up.  I heard you can spit on the sand (or sprinkle some water drops if you are disinclined to spit) and if you hear a hiss, the sand is hot enough to harden the quills.  I measured the temperature of mine, aiming for 350 F, and ended up with a bit more.  From there, I moved the pot onto a trivet on the patio, and inserted sand into the quill tips and left each quill to clarify (what it is supposed to do) for about a minute.  I cycled through the quills.  At times I could hear the quills hissing in the sand – water evaporating or the sound of scorching from touching the bottom of the pan?  Three quills were scorched, and two were not.
  • After the hardening / clarifying process I looked at my quills.  They looked kind of sad and did not smell delightful.  After choosing a scorched quill, I watched this video by Dennis Ruud, a master quill cutter. 
  • While I did not follow all his steps, I did attempt to create a quill as he did – with some success.  My first quill was not at all clarified, nor was it especially good.  Still, the process of learning was most important.  The fact the quill was rather scorched and deformed meant I had to cut off a lot of the area that would become the nib.  Wah!  Still, I made the attempt – and was really rather pleased with the result.  I used different Xacto blades for the final product.
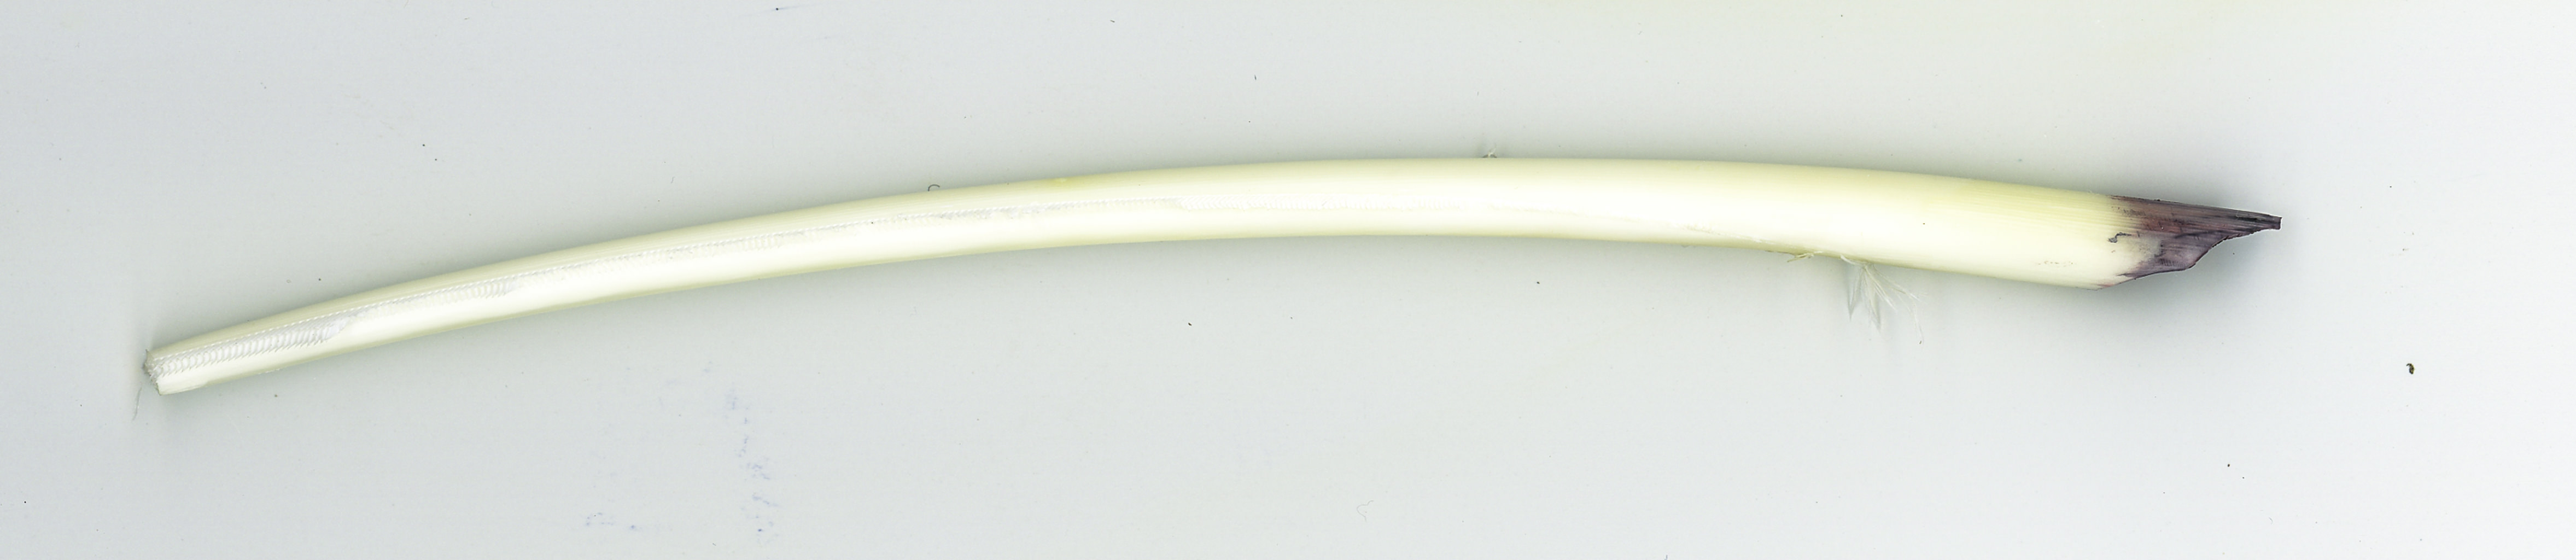
  • Finally, I stripped away all the feathers using slices from the Xacto knife as well as trimming them with scissors.  Ultimately, all I was left with was the shaft and a nib, total length about 8 inches / 20 cm.

  • And then I practiced writing . . .

The quill nib was broader than I would have preferred, but the pen held up well despite all the flaws.  The paper itself is very smooth, and having a hard finish, not especially absorbent.  As a result of both the hard finish on the paper and the broad nib, it took a bit of time for the ink to dry.  I tried script and printing using the quill turned to about 35-45 degrees to create a thick-thin element.  Still, for my very first quill in ages and ages, I was pretty darned pleased with it!