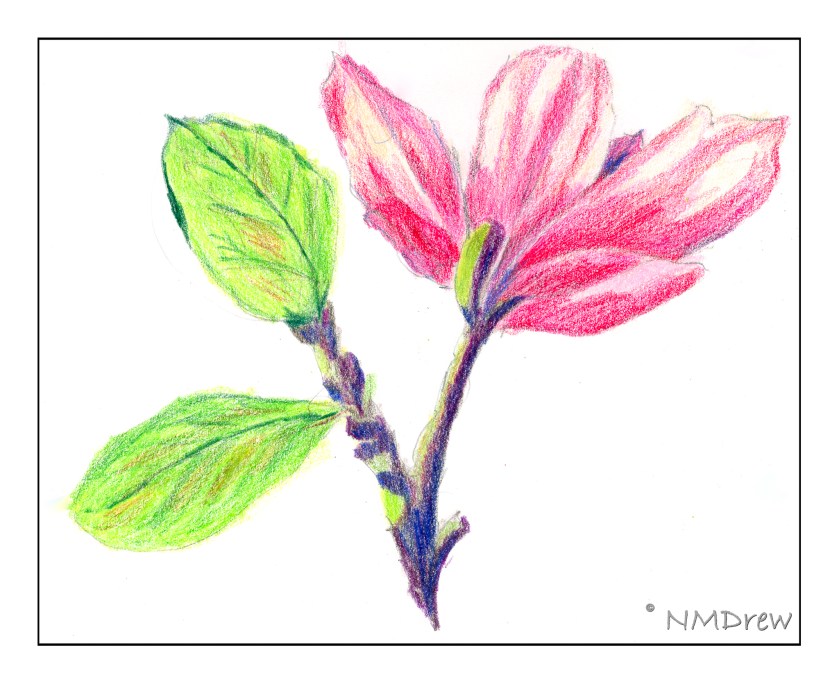
Magnolia Blossom

The last day of my Pencil Portrait class was last Wednesday morning, and it was a rather sad time for me. I have learned so much. The next session will be in the classroom, on a morning which is not good for me. Interestingly, by happenstance, by good luck, I came home and found out that a colored pencil drawing class begins this coming Thursday! Thursdays are always open in my schedule . . . . Email can be great – if you read it!

I am not sure what to expect from a colored pencil class, much less in a socially distanced and masked classroom. Hopefully it will work out well, and the teacher will be logical and good. It is not often that you see such an offering as more traditional media classes are apt to be offered.

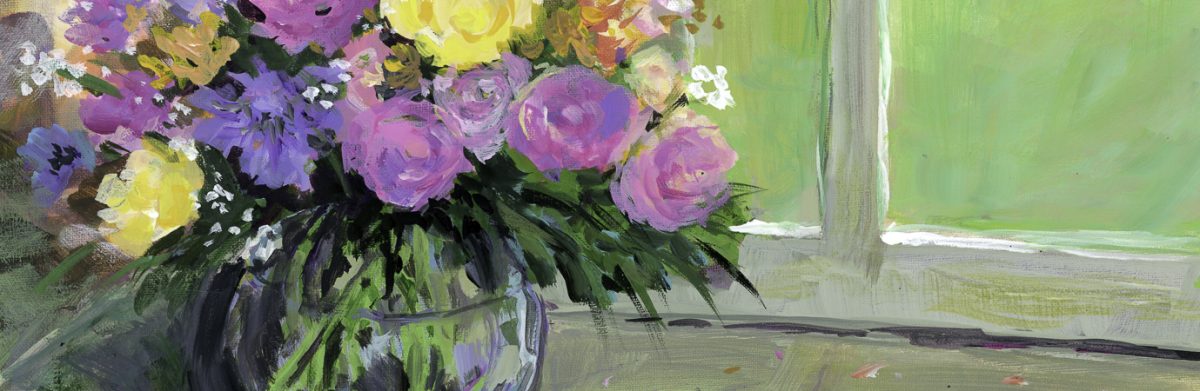
In my library I have a few books on colored pencils, so I dug them out. One that is really a rather interesting one is called “Creative Colored Pencil Workshop” by Carlynne Hershberger and Kelli Money Huff. It combines pencils with other media. The magnolia blossom is a quick take on one of their very first studies. I like to warm up so I will be doing a bit of colored pencil drawing over the next few weeks, but plan to really continue to work on painting in gouache and / or watercolor as well.
More Pencil Portraits

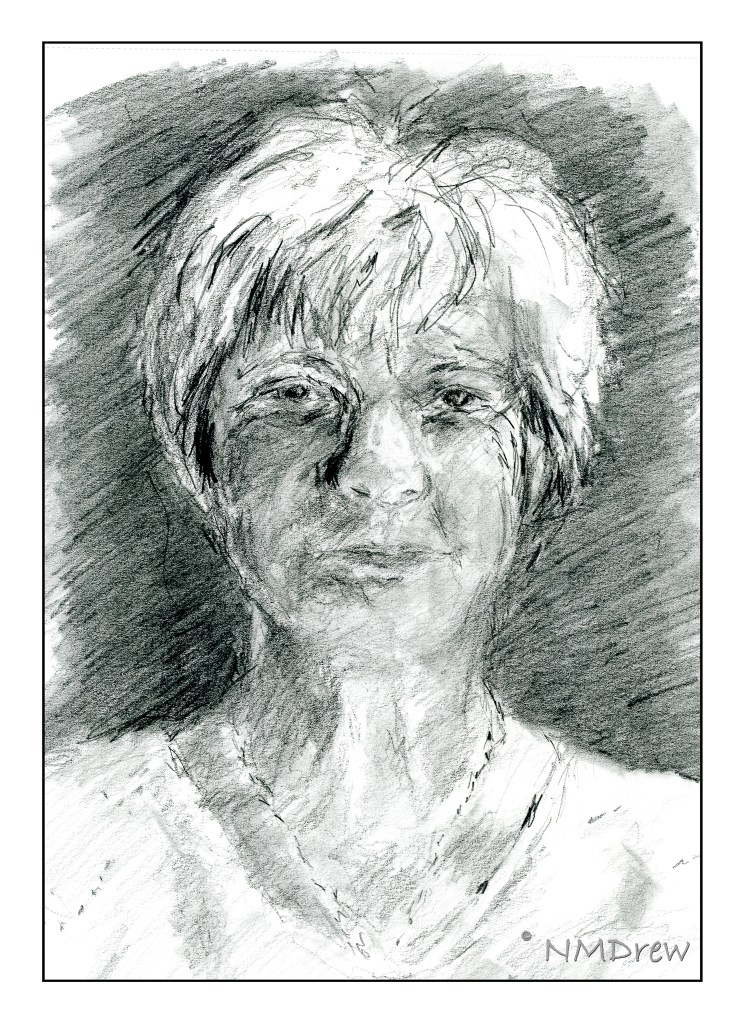
Last year I started a pencil portrait class, and since have continued with it when offered. It used to be through the local adult school, but with Pandemia, that was quickly shut down. Thus, the teacher offered it to us outdoors at a local park, and I jumped on it, as did others.

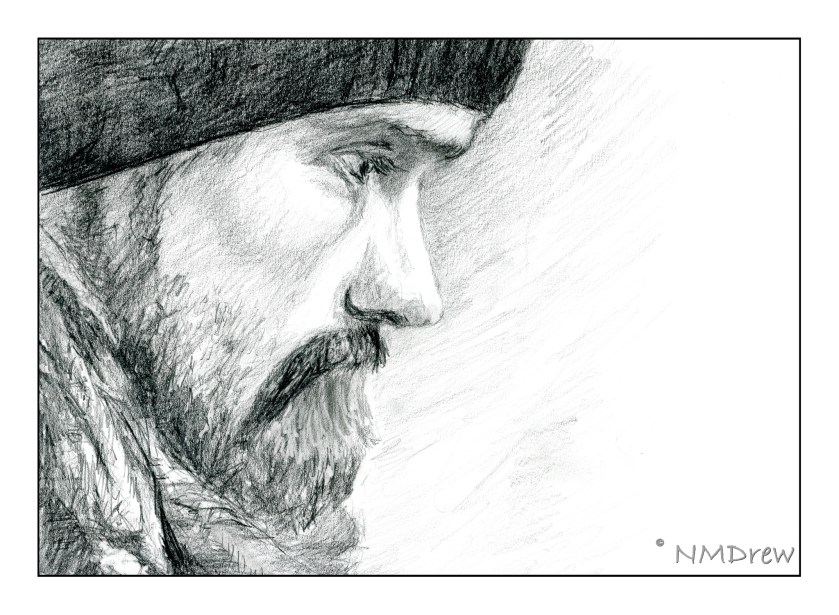
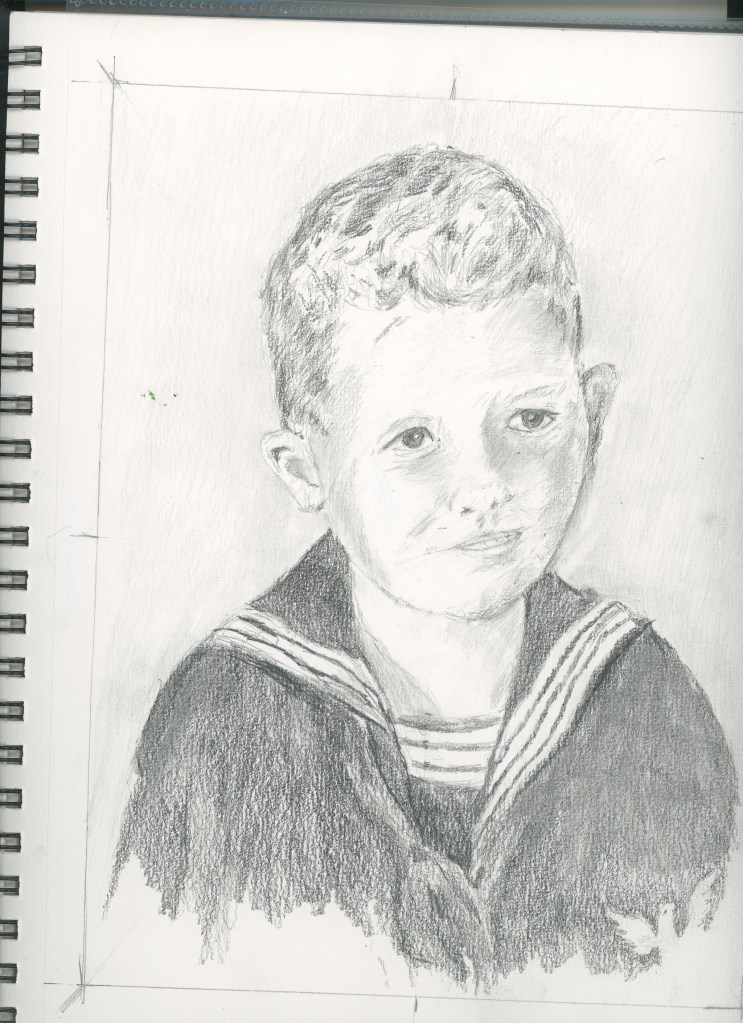
The above portrait is the first one I did this year. I was determined to do it within the two hours we have for the outdoor class, rather than the 10 hours I took for the little boy below last summer. The style is rough and quick, but important in the sense of working to get proportions and shadings correct.

This little boy is from a photograph from the mid 1950s. He is really sweet and I think I managed to catch his character. He looks older in the drawing than he did in the photograph.

I think I may have posted this drawing here or on another blog, but this one I was determined to catch a different position of the head. Proportions change when the head position changes, and I was rather pleased with this one!

This profile I completed last week. The photo I used as reference came from Pixabay, a great resource for royalty-free photos. I decided to print out the photo on my laser, forcing black and white, and then using it taped upside down on my drawing board, as suggested by Betty Edwards in her book “Drawing on the Right Side of the Brain”. It worked! At the end, I turned it right side up to put in the eyelashes . . .

This is my current WIP. I started it last Wednesday. As with its predecessor, this one is also being done with the portrait upside down, and from a photo on Pixabay. It’s about 75% done I think. I need to work on the lights / darks and shadows a bit more, as well as make the hair more distinctive.

I got a few others in my class turning their reference photos upside down! The one thing they noticed, as did I, is that the shadows and shapes become dominant – you aren’t drawing a person any longer, but you are copying light and dark, shape and shadow. It’s amazing how well it works.

Well, time to wander off. The day has been spent reorganizing my life, meaning the garage, the closet, the studio, and the bedroom. Cocktail or whisky, anyone?

More Impressions of Slater’s Bridge

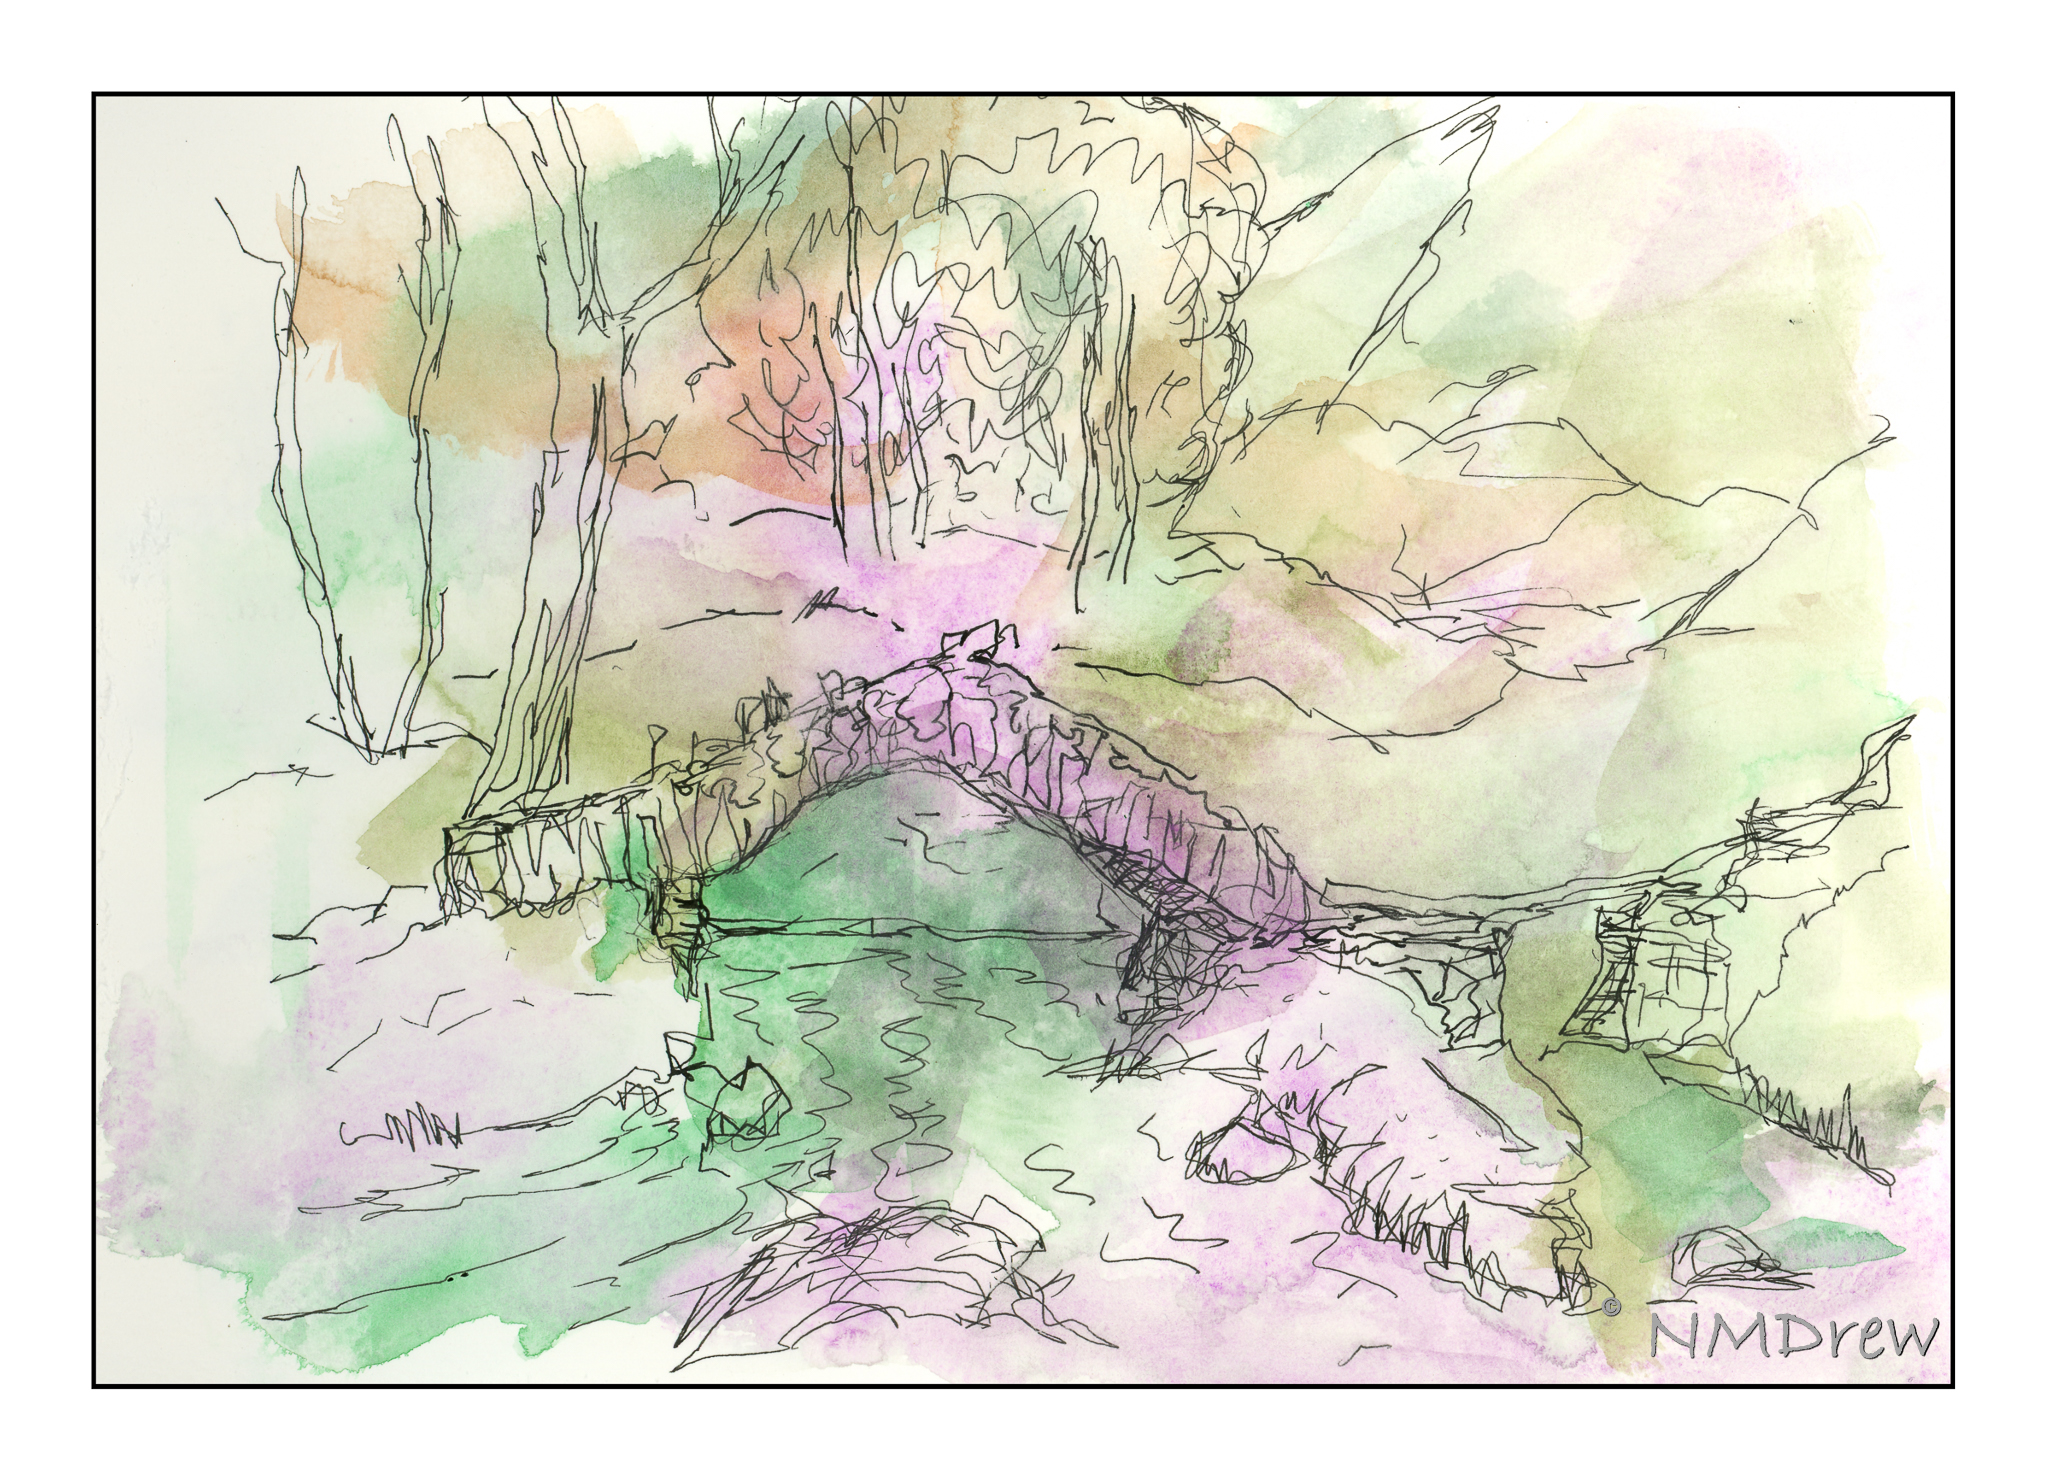
I have been rather lazy today, too lazy to set up to paint. So, an old exercise came to mind: make a messy color mix on paper and draw over it with ink. I had Slater’s Bridge already chosen as the subject matter for this exercise  (partly for Ms. Fragglerocking, partly because I think it’s such a lovely bit of stonework). As a result, I plopped on colors and then drew the bridge from different angles.

This was the first one. No idea how the cobalt violet would work, but used leftover watercolor paint from my dirty palette along with fresh colors. Then I drew. I admit, I came in and added some color after I added the drawing to get a bit more definition. It sort of felt like cheating!

So, with the thought of cheating in mind, I did this one. Yes, I deliberately put manganese blue at the top, and then just added the cadmium orange and greens. However, I didn’t add any colors after finishing the ink drawing.

Daily work – daily play – daily adventures in art!

Atilt

We had only a 2-week session of out pencil portrait class. We met in a park behind the local library for a couple of hours for the past two Wednesdays, and I will miss them so much! Perhaps next year? I hope so.

Our teacher, Steve, is a lovely man, encouraging with a sharp eye and pithy, simple suggestions. I know I have improved a great deal in the few sessions we have had.

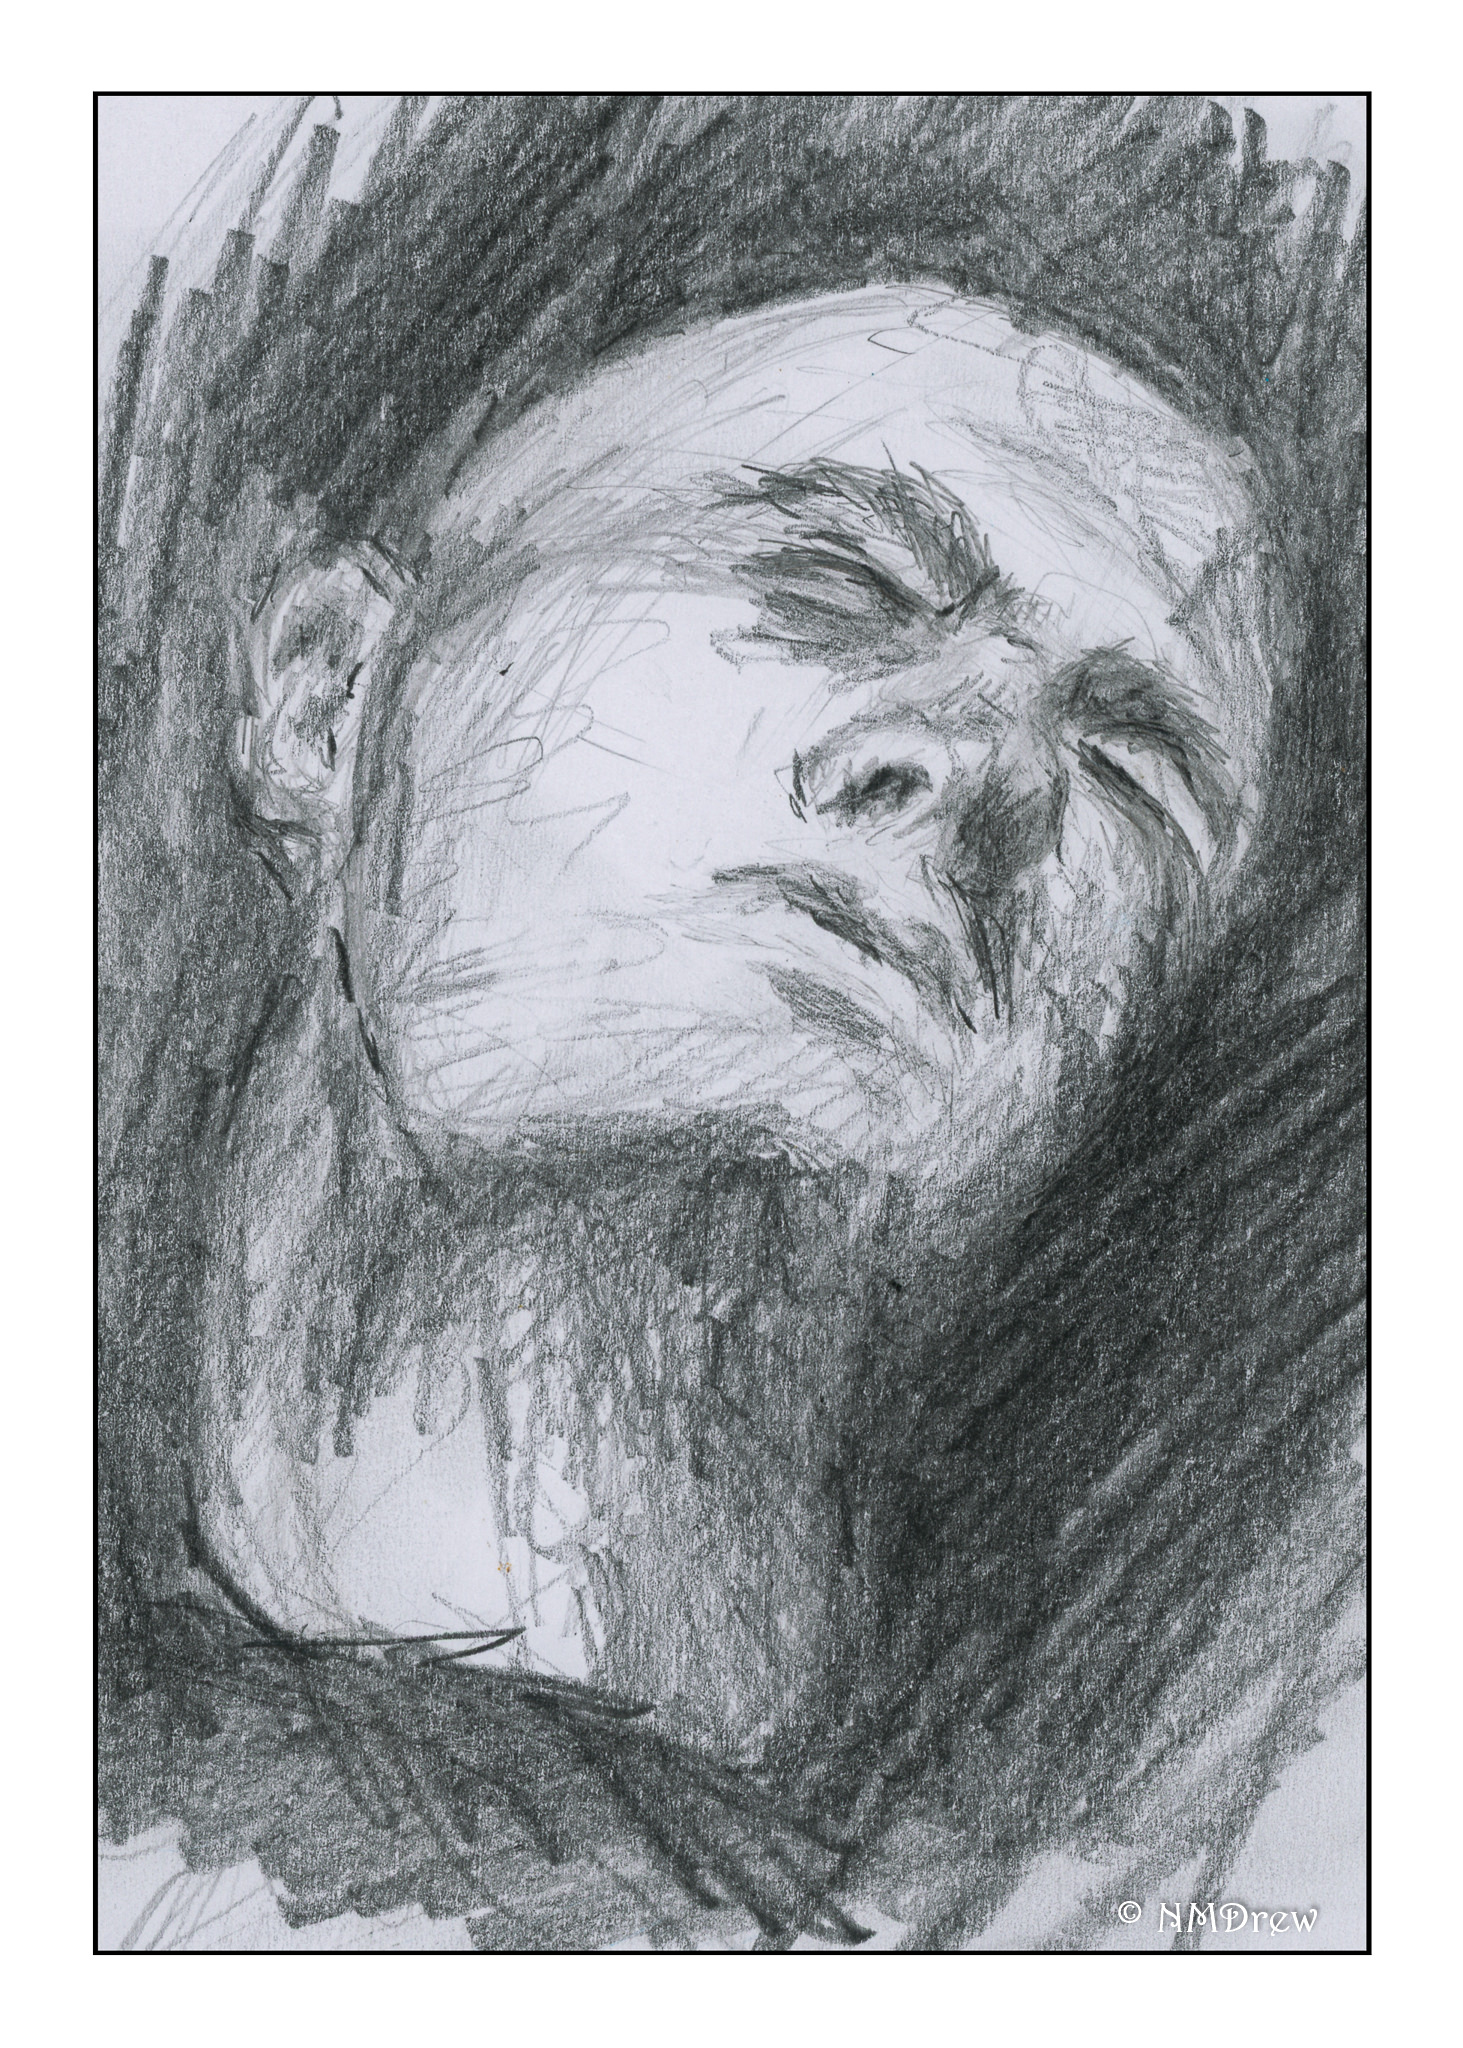
So, for today’s portrait, I chose to use the photo below, found on Pixabay. I love the expression in this photo, as well as the challenges it posed – the tilt of the head, the odd angles, the contrast. My own drawing failed to catch this beautiful face, but it did work as far as placement of eyes, nose, mouth, ear. It was really a tough study!

The pencil portrait class has gotten me interested in drawing faces. I’ve done three so far. Maybe something to schedule every Wednesday morning to keep my hand in it, and hope Steve will honor us with another series next year.

Inktober 2019: Days 1-6

This year for Inktober 2019 I decided to work only with iron gall ink, which I made earlier this year.  I am using pen nibs and brush to create the drawings, always done directly with the pen and no preliminary pencil drawing.  The first two pictures are not exclusively iron gall ink, but may be a mix of permanent ink and iron gall.

#1:  Ring 

Tomato cages – I saw these when I was out on the patio trying to figure what to use for rings.

#2:  Mindless

Mindless = Brainless – been watching zombies on TV!  How mindless is that?


#3: Bait

All kinds of bait – jail bait, take the bait, etc.  I chose a fish lure and a mouse trap.  Still warming up at this point for Inktober and getting the groove back, as they say.  This is when the pure iron gall ink begins.  And I decided to do away with the frames I usually use for my photographs.

#4: Freeze 

Again, still warming up.  This one had me stumped.


#5: Build  

Here is when the brain began to work and imagination started warming up.  Heavy equipment for building.  I think it would be a lot of fun to drive one of these things!

#6: Husky  

For those of you who speak English, but may not be aware of the term, “husky” can be big and strong, at least in American English. I like Sumo wrestlers, and though I don’t know much about the sport, I like to watch it now and again.