
Isolation, Boredom, and Depression in the Time of Covid-19

Jolly title, don’t you think? But, it is stuff we all need to think about.

Once more, here in California we are back to shelter-in-place, places being mandated to be closed, and keeping contacts to a minimum. It’s no hoax, this coronavirus, and we have no desire to tempt fate, or virus gods, but by the same token, where do you draw a line? If the virus doesn’t kill you, isolation, boredom, and depression is probably killing some and may kill others.

It is important to acknowledge the negative effects all these have on others and yourself. From there, devising and working at strategies to counter all these is vital for survival and, hopefully, returning to a sense of thriving. A failure to acknowledge these negative effects, avoiding them, does no one any good as it is a perpetration of a  massive lie and denial of reality.  Facing these awful things gives us truths, and from there, actions to change the effects of these realities.

Life is not returning to normal, no matter what we are being told, or would like to believe. It may never return to the previous status quo – how can it? Our federal government is not doing much to help. There are daily lies and threats. That is depressing. It is also frightening. Fearful of our futures and fates, what can we do? It breeds a sense of helplessness, and that leads to all sorts of trouble.

It’s not like there is any fixed goal, such as vanquishing a tangible enemy, but rather an insidious, invisible foe. While we do not have children and aren’t out of work, I cannot but wonder how families are coping with home schooling and working at the same time, how people are coping with a lack of food, money or places to live. The US has few safety nets for people, and our culture of the rugged individual against the world is uncharitable. Self-reliance is important, but mutual aid is equally important, especially in troubled times. Now, we are isolated to stay healthy, and what few communities we may have are being taken away from us.

I admit it: this isolation and lack of social contact is taking its toll on me. I am depressed. I am bored. I am beginning to stay at home far too much; some health issues are preventing outings for now, and a number of my friends are ensconced in their own health and family issues. Texting is not a conversation or connection. A phone call is a rarity these days – it seems no one makes phone calls and has conversations like they used to do. Seeing a close friend or family member isn’t happening, and if it does happen, you wonder about the consequences. These daily intimacies, so taken for granted, have been removed from our normal lives. Finding fulfillment is difficult at this point.

This, to me, is what it must have been like to live in the uncertain times of WW2, or as a family who had members overseas fighting one of America’s stupid wars. Anxiety about loved ones. Fear about the future. A lack of accessibility to material goods. Not seeing the ones you love as they die alone in nursing homes. Wondering if you will end up in the hospital without access to medical care. These deprivations are not the norm for most of us. Doing without is the new norm, and while certain physical deprivations can be handled, the fear and isolation of normal human interactions preys upon the mind and spirit in sneaky ways. This is where self-reliance and introspection are necessary; making decisions to do something or not do something is an investment in yourself and others.
Writing about the effects of isolation, boredom, and depression helps me clarify what is going on in my murky emotions. Thinking about these and giving them names takes away their nameless horror. From there, yes, I can work on changing the nature of my daily life. I will get out of the house more, make a phone call to those who enjoy talking with me and ignore those who don’t seem to care, or let go of those who do not have the ability, such as a friend who is critically ill right now, and whose company I dearly miss. Valuing what I have and taking action is far better than wallowing in the fog of not thinking about the truth of what is my reality.

Yep, very self-centered. Understanding the inner world is vital for acting in the external world. Aimless actions and mindless reactions do little for me. I don’t feel my way around life, but try to find my place and the place of others within the context of my own reality. Then, perhaps, I can be of some help to others rather than a depressing blob of hopelessness.

The Leather Queen & No. 5

Where to begin? The best laid plans of mice and women can tumble away into oblivion. What once was planned is now unplanned. Chaos moves in and takes the reins. So be it.

Let us begin with yesterday. It started well enough. The Factory Dress is complete with only the need for a bit of top stitching along the front and a dab of fray check on a spot. That never happened because I set it aside for a quieter moment when I had the No. 5 open to sew a muslin (toile) for a shirt I am planning for Josh. I laid out the pattern and cut out the necessary pieces so the muslin could be basted together. But first, to be a good sewing machine owner, I determined I should oil my trusty and unrusty No. 5.

I popped open the machine to access the metal parts beneath the machine itself. And pop it did. The stretchy drive band I use on it snapped. Pure hell as these stretchy bands need to be melted together with a steady flame, a steady hand, and a lot of patience.

Let’s take a time out. I will not repeat what I said.

Okay. Moving on, the melting of and mending of the drive band for the No. 5 did not take place. Attempted and failed. Thus, I oiled the lovely girl and pondered my options whilst doing so. I finally decided to try, for the second or third time, to install the traditional leather drive band, of which I have several. Historically I have tried and failed each time. To succeed at last required thought. To YouTube for what to do in order for a successful installation. This was my fortunate and happy find – lengthy, wordy, informative.

From there, it was planning and thinking. I needed to cut the leather drive band to the correct length. I needed to make a hole it the other end. Should be easy enough, but past experience showed me that the leather is hard to cut with a pair of ordinary scissors. The hole is hell to make as the rounded band rolls to and fro, escaping as you make the hole. I don’t have a drill I can use without adult supervision. And, accessing the grooved wheel is a bitch to get to. I had to plot. The under carriage of the No. 5 is a tight fit, and I am no longer my svelte and agile younger self.

The under carriage of The Free No. 5 – here the leather drive band is installed. Behind it you can see the drawers that were in the way.

In the end, it was so simple to reach the wheel I was stunned. I pulled out all the drawers on the side of The Free No. 5 to access the drive wheel. Before doing that, I was reaching inside from the knee space. Moving the machine away from the wall helped a bit, but not a lot. Removing the drawers for easy access was amazing. Click on the pictures to read the little captions below each one.

Next, inserting the drive band to wind it around the wheel to get the correct length. There is a slot in the wheel to help you guide the band around, but I didn’t do that at first. I didn’t think about it, just thought, hmm, interesting. Of course, if the manual mentions it, I don’t know as I didn’t look. Moving on, the drive band got stuck quite tightly where it shouldn’t. I had to pull and tug on it while turning the wheel. In between, I cleaned up the dust behind the machine. At least I had stretched out the drive band as recommended in the above video.

Three choices of drive band – two stretchy ones of different diameters, and one traditional leather drive band, complete with staple for attaching to the other end.

Finally loose, stretched in the machine and across my shoulders as suggested in the video, I reinserted it for the 5th time, using that nifty little groove to guide it from top to bottom and back to the top. I measured, and cut. Then, make the hole needed to join one end of the drive band with the other. A jig of wood and tape to keep the band steady, a hammer, a fine nail. All ready to reinsert, top to bottom to top, and then splice.  Again, click on the pictures below to read the nifty little captions below each one.

My adventure was done. The belt was installed. My dirty floor was a bit cleaner. The splice was beautiful as I had a great pair of pliers to make a smooth cut as well as to press the wire flat into the drive band. All came together as if it were meant to be. It only took about three hours of my day, but I have emerged victorious and well educated on installing a leather drive band on a 110-year-old sewing machine.

Leather queen indeed.

An electric-powered sewing machine would have been easier, but not as much fun.

2020 Watercolor Review

I have been trying to paint daily – not happening! – in one of three media: watercolor, gouache, and pastels. Today I am just going to present a slide show of what I have done in watercolor this year. Like anything that is being measured, it goes up and down as far as “success”, and that is subjective. What I think is good may not be in another’s opinion, and vice versa. The thing is to keep doing it, sometimes spontaneously and other times with a bit, or a lot, of forethought.

Indigo Batik & Miraculously Easy Wax Removal

Warning!    A very long and windy read.  Get your coffee or tea, put your feet up, and follow along . . .

I was going through my archives thinking I might have written something up about the last time I did indigo dyeing, but I  guess I didn’t.  So, we shall begin sort of at the beginning!

Indigo is a wonderful dye, and I have used a variety of methods to extract the blue color.  Over the 40-odd years I have been dyeing, I have used urine, sulfuric acid, and finally a kit.  The kit is the best and easiest and least time consuming or hazardous.

Indigo is a plant that is used to dye fabrics of all kinds – plant and animal fibers, cotton and silk – for centuries.  In the dye bath, it is a disgusting greenish yellow – not like spring’s new leaves, but a pukey army green.  It also doesn’t smell appetizing. To create a dye bath, you can use all sorts of chemicals, save your urine, or buy a simple kit.  I like the kit that is available from Jacquard – small, easy, convenient.  For the bulk dyer, this would not be a good buy, but for a small once-in-awhile dyer, it is great.  You can buy it from Dharma Trading, Amazon, or KnitPicks, to name a few places.

Indigo Tie Dye Kit

Last year, my MIL Judy came by and we did a bunch of indigo dyeing. We dyed yarn and fabric, doing flammegarn and batik as well.

Flammegarn dyeing involves taking a skein of white yarn and tying off areas of it. The binding material acts as a resist. The yarn is then submerged into the dye bath, and the color is taken up.  Multiple colors can be used, and multiple dippings.  The result is a randomly mottled yarn. I believe this is originally a Scandinavian technique – the name implies such – but I am sure other cultures have done it as well.

Batik is the use of a resist on fabric to prevent colors from dyeing the fabric. Wax is the traditional resist. Multiple layers and colors can be built up, and complex patterns can be created. You can apply the wax with a brush or a stamp, a stencil, or a djanting tool.

Removing the string resist in flammegarn is easy, but removing the wax resist in batik is problematic. Removing the wax from the fabric is a chore. Boiling or near-boiling water is needed to melt the wax. Once that is done, by dipping the cloth multiple times into boiling water, it is then further treated. It can be sent to the dry clearer and chemical solvents used (ick!), or you can iron it between layers of newsprint using a very hot iron to remove the last of the wax. I have always done this, but it never really did the trick. There was always a residual coating of wax that never seemed to leave the fabric, even after multiple washings in hot water, in the sink, in the washing machine, and ironing. However, I have now discovered how to remove wax quite easily!

First, though, let’s back track a bit. Judy took a brush and a lot of wax to her fabric (cotton or linen or a mix thereof we are not sure). Here is her material, dyed and waxed and now awaiting wax removal. This material is very stiff, and if you want to crumple it up in a ball, forget it. Instead, you really have to fold it! The wax then cracks and falls off if it is really thick. I don’t think you want to take it to your sewing machine in this condition! The fabric measures about 40″ wide and about 1.5 yards long.

Yesterday morning, Josh and I worked on getting the wax out. Below you can see what we did. Josh pulled out his brew rig, which runs on natural gas from our home, and set up my 4-gallon pot with water on the middle burner. Behind Josh is his 15 gallon hot liquor tank that he uses to boil water in beer making. It has a temperature gauge on it along with a spigot to which you can attach a hose. You don’t want to lift this boiling water, so he uses the spigot and hose to move hot water to his other kettles when brewing. This set up worked out really well for us as from the liquor tank we could easily and safely move the boiling water into the galvanized wash tub you see next to him. (All that red stuff behind the brew rig are car panels for the 818S!)

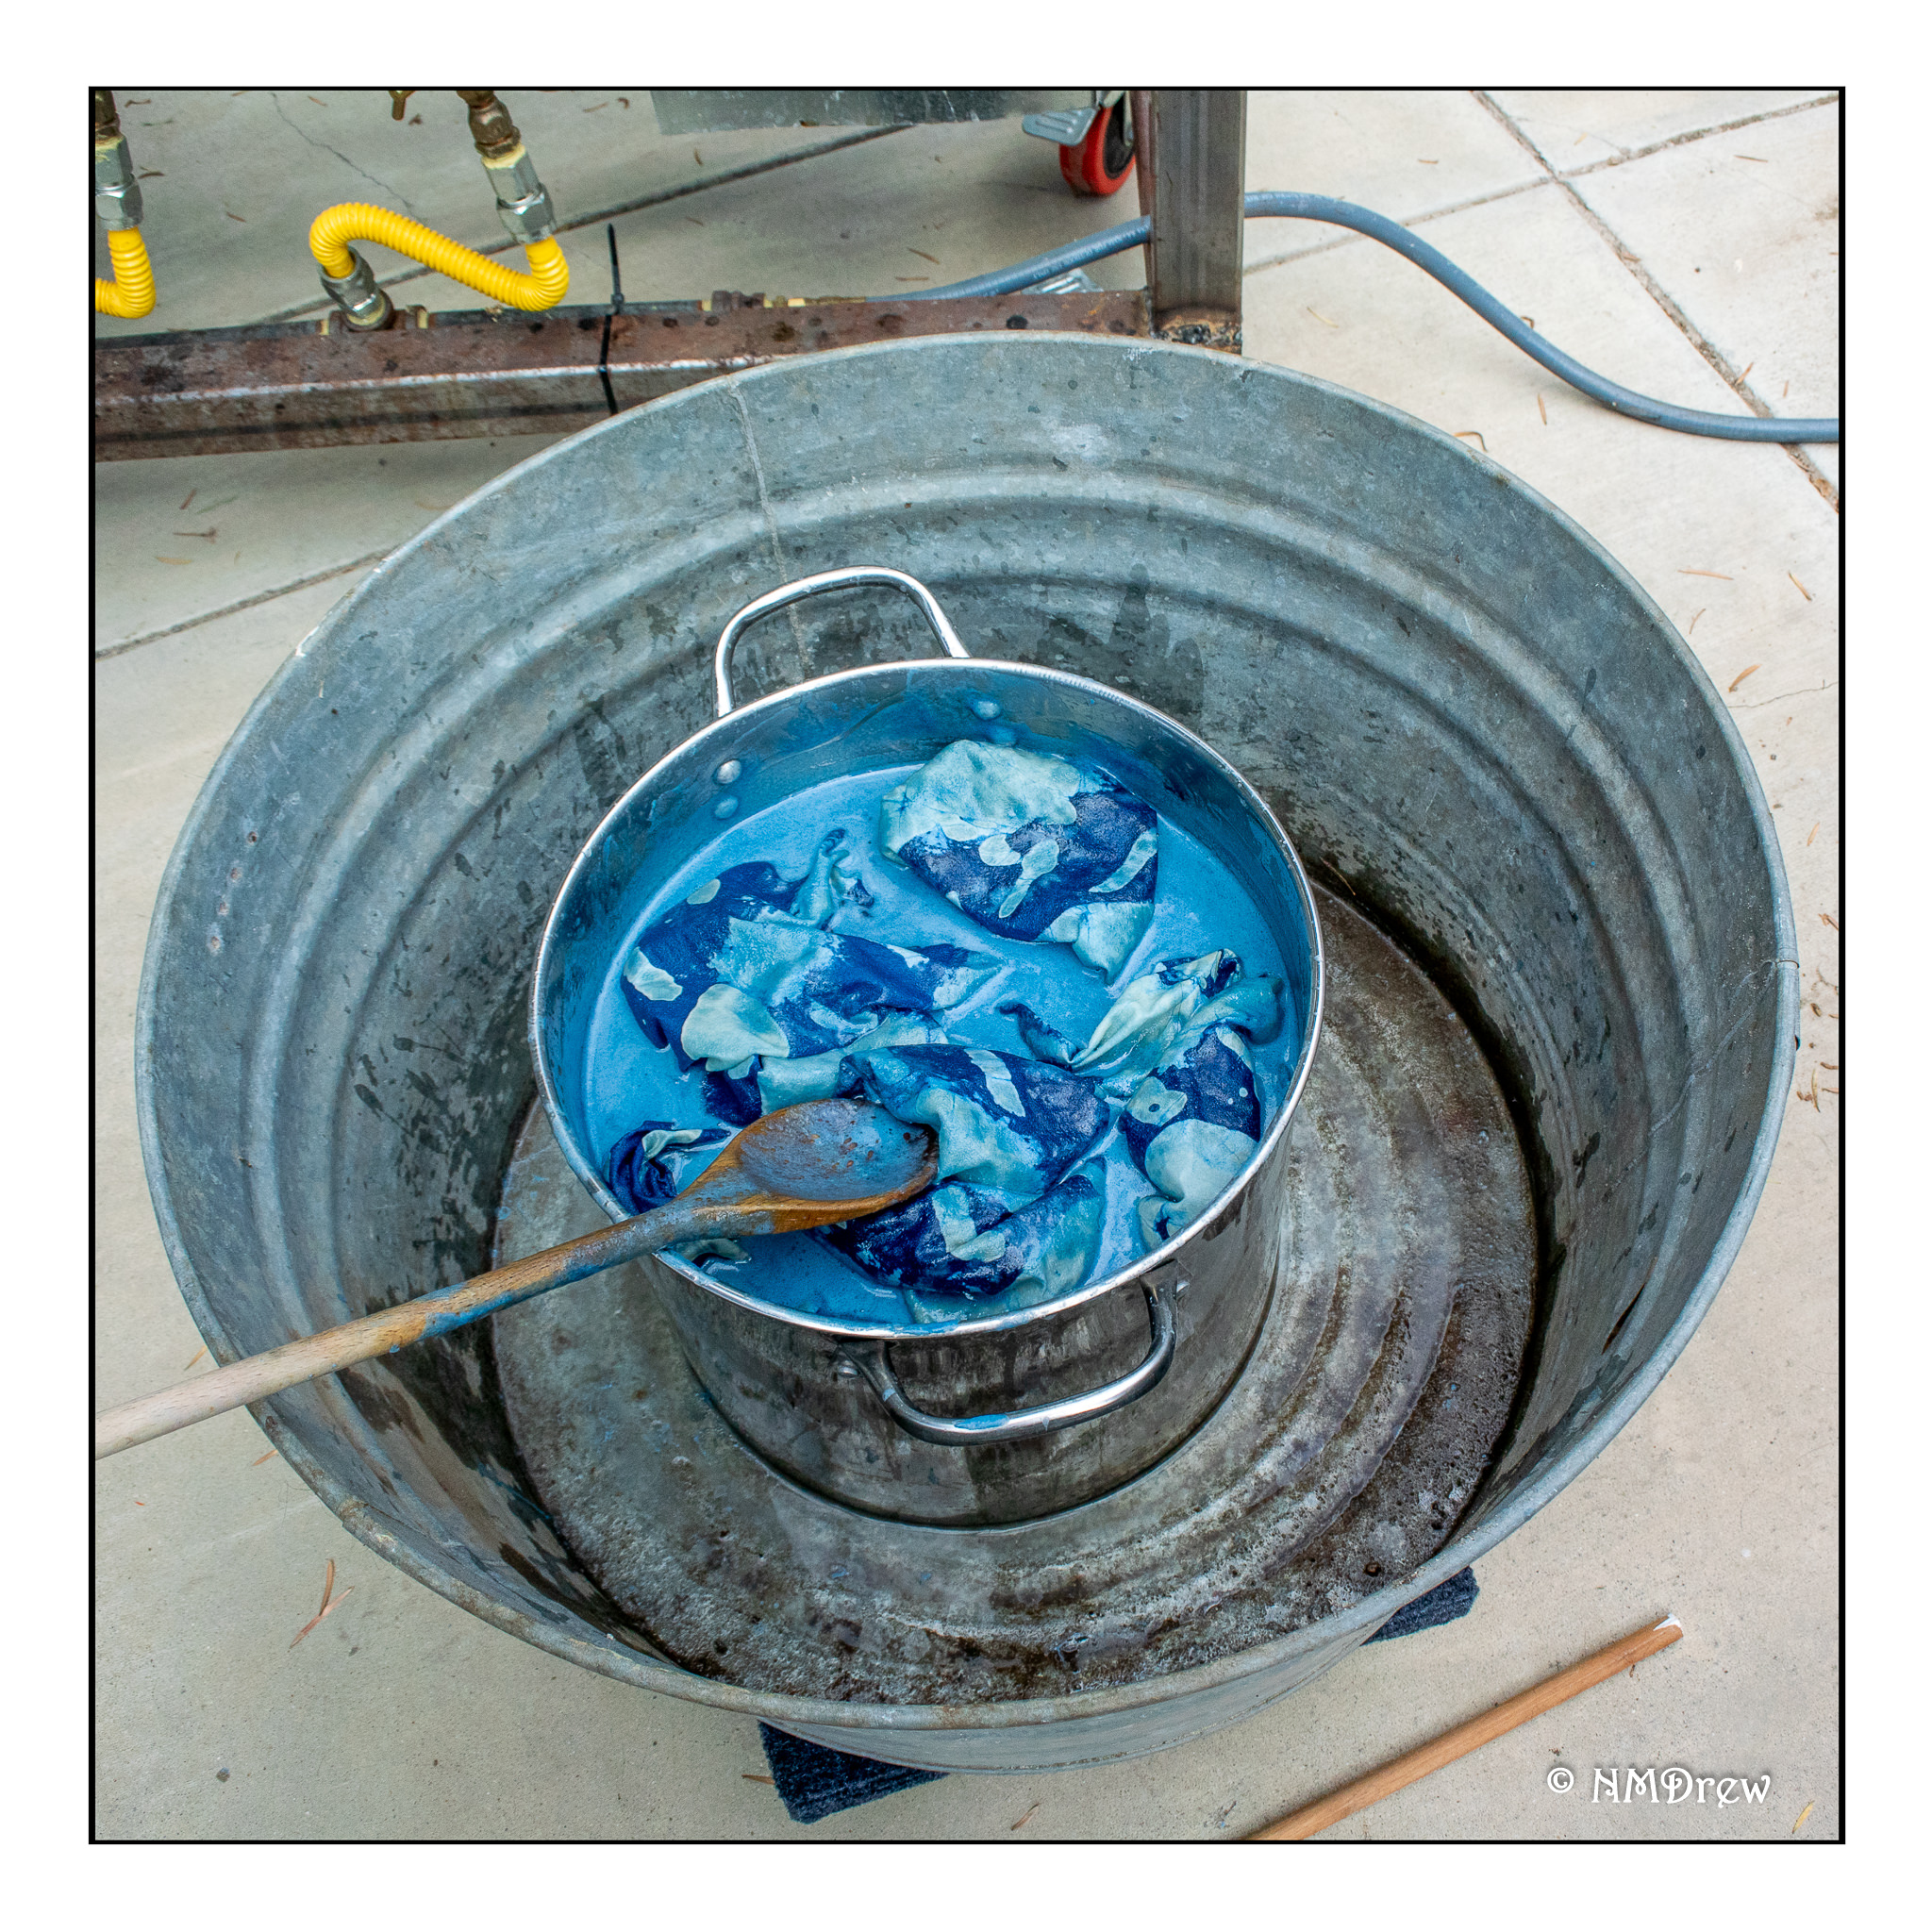
The 4-gallon kettle took minutes to bring to a boil, and so we moved it into the galvanized tub. The indigo-dyed cloth was submerged, and stirred. The wax began to melt out of the cloth, and some of the indigo dye bled out. I used wooden dowels and spoons to lift the material in and out of the water, stirring it and mushing it around.

Here is a close-up of the spoon, fabric, melting wax and hot water. Water dripped and splashed into the galvanized tub – I used that to scrub out the dirt before we added the water from the liquor tank. Pretty efficient, eh?

After several dippings and stirrings, the fabric was removed from the 4-gallon kettle. Wax and murky water remained behind. You can see the liquid wax on the top of the water, and the hardened wax on the sides of the pot. It is interesting to note that the water has a greenish cast – water when you are dyeing indigo is also green. The blue color of indigo does not occur until the fabric or yarn is pulled out of the dye bath and exposed to oxygen.

Using the dowel and spoon, the fabric was lifted out of the pot and allowed to drip into the 4-gallon kettle. Here are the remains of the wax after the water was discarded. This was taken the next morning after the water had cooled and the wax had risen to the surface of the water. You don’t want to be pouring this stuff down your pipes!

The secret for easy wax removal is now revealed!  Read on, oh fans, read on!

The wash tub was then filled with hot water from the liquor tank – 15 gallons of boiling water. About 1/4 cup of dish soap (Dawn concentrate) was added to the water and stirred into the water. And that is the secret! The soap emulsifies the wax and allows it to be dispersed into the water or something.

The fabric wanted to float to the surface of the water, even after squishing out the air bubbles. I stirred and lifted the fabric again, making sure to mix it all up really well in the soapy water. Interestingly, no suds developed. Before sealing it to cool, I weighted the fabric down in the tub with some bricks to ensure it did not rise to the surface and collect any wax which had been removed. Then, we sealed if for the night! We used the wheels from the donor WRX. Our goofy dogs wanted to taste the soapy water, and I wasn’t inclined to let them indulge.

The wash tub and tires sat over night, to let the water to cool. The bricks would prevent the fabric from floating and getting re-waxed. The next morning, the tires were removed, and this is what we saw! No wax on the cold water’s surface!

I was really quite surprised. Never have I had such an easy time removing wax from fabric before. I pulled the material out of the tub, placing it into a bucket, and taking it to the kitchen sink. I wore some nitrile gloves (I didn’t want to turn blue) and rinsed and squeezed the fabric in the sink. From there, once the water was clear, the whole thing was carted to the washing machine, loaded in with hot water and laundry soap. When the cycle was done, into the dryer  for the final step of ridding the batik of wax.

And the washer and dryer are perfectly fine, thank you very much.

The fabric is now supple, easily crumpled into a ball, and ready to be sewn into a skirt of some sort. I think it would make a great sarong! Here are more pictures of the final cloth – all it is needs is a bit of ironing and styling.

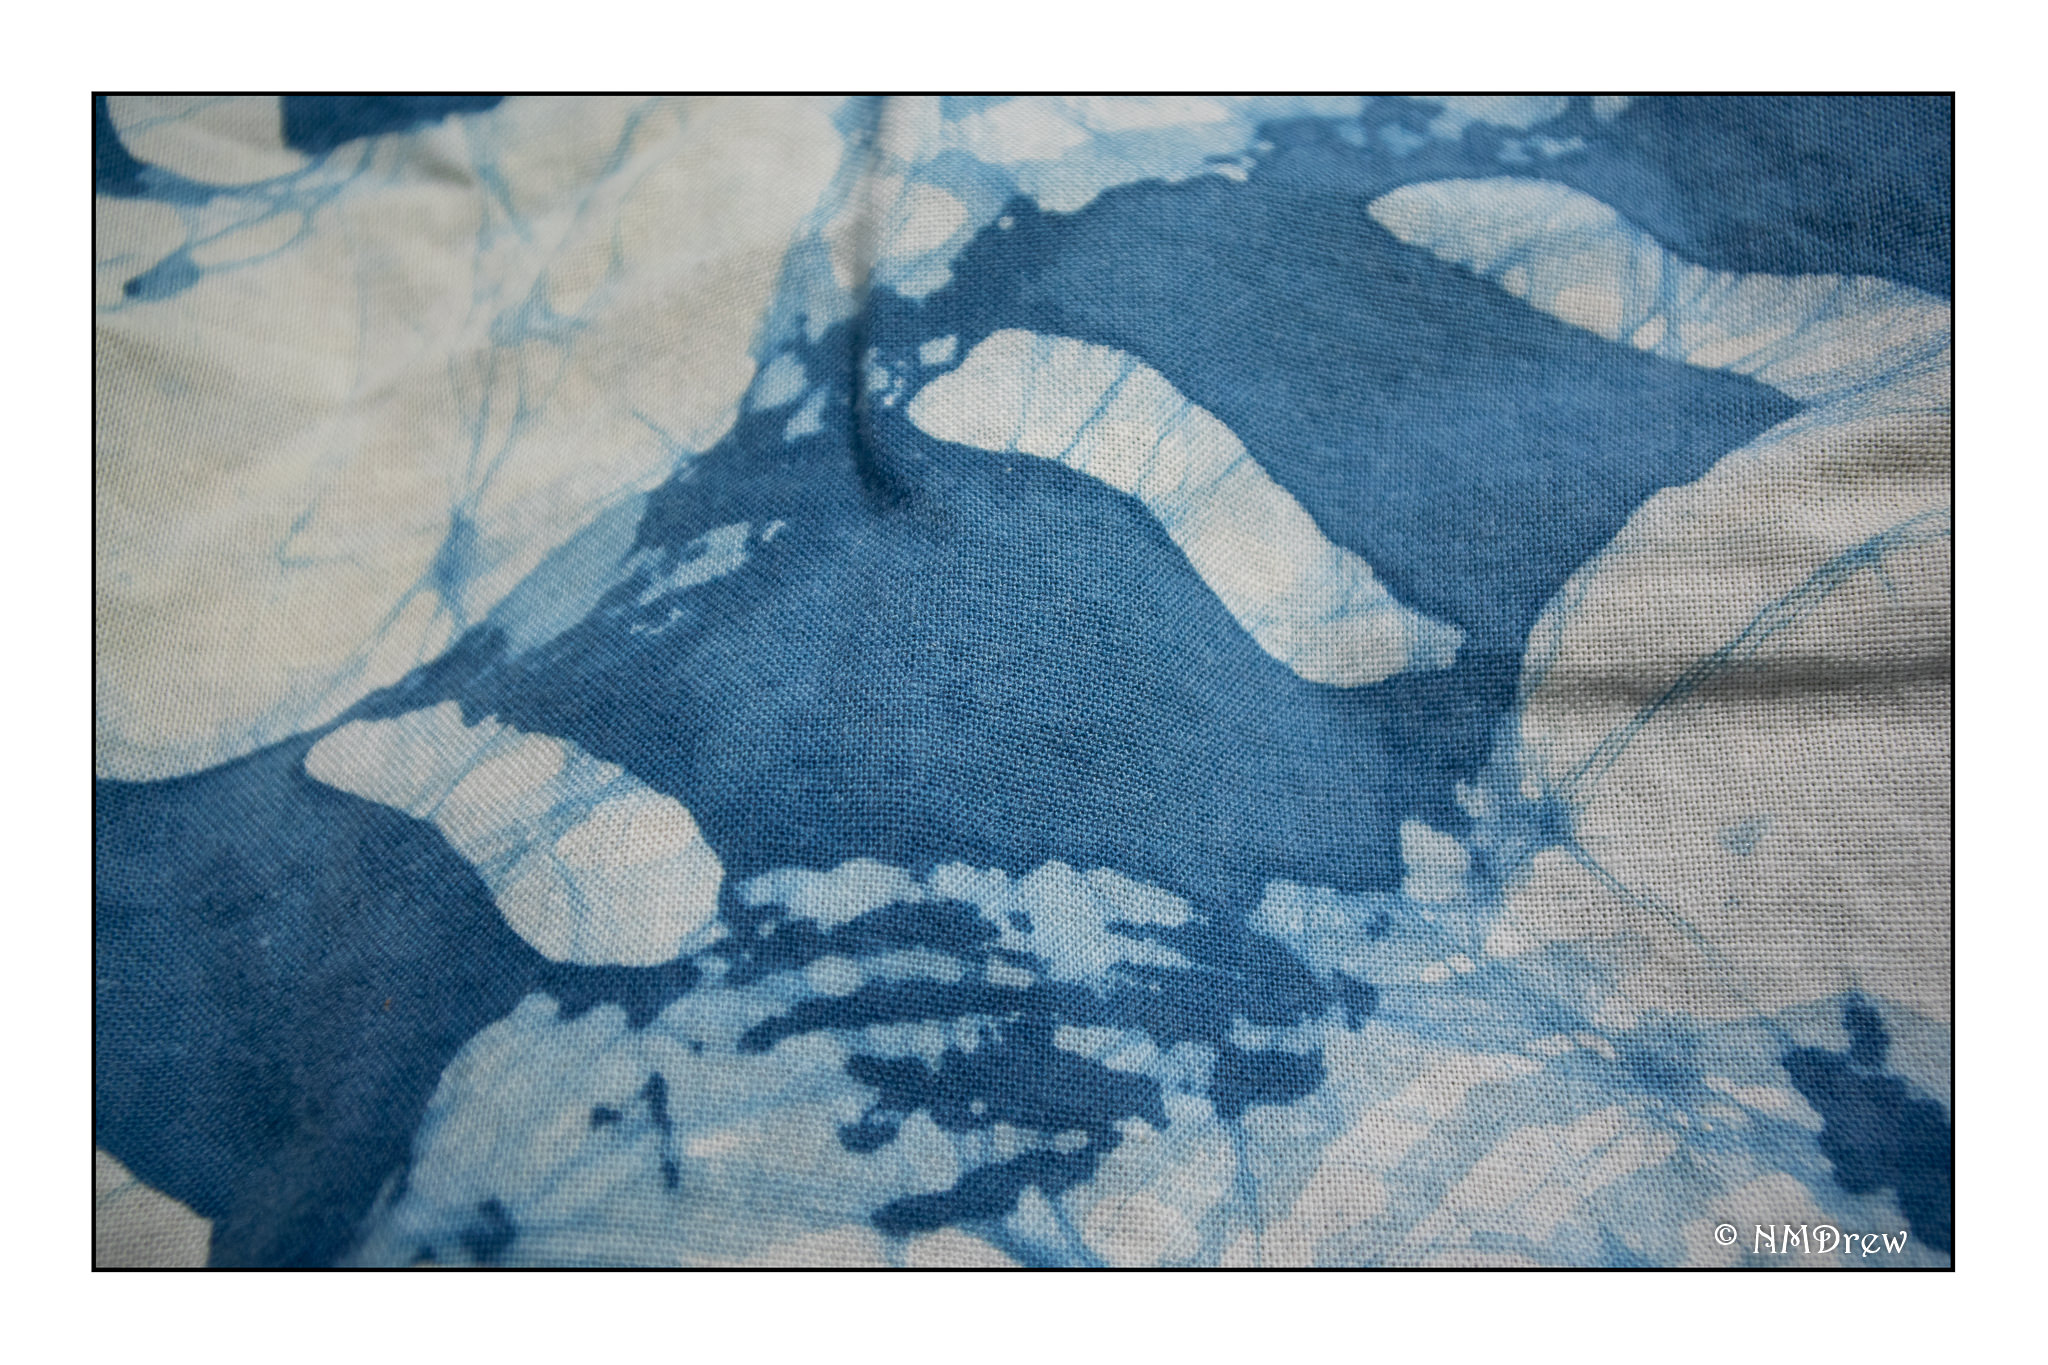
A close up shows how the wax cracks and the dye seeps in, as well as how it colors areas with less wax. The thicker the wax, the less likely the indigo or dye is to seep in. Because the wax was thickly applied, cracks easily develop. Areas where thinner wax is applied and not worked into the fibers are more likely to take some dye, albeit less intensely.

Finally, a closer shot showing the weave of the fabric – and I think it is linen! The texture of the weave is more irregular that cotton, but the fine weave of the fabric made me wonder.

And, at last, this beautiful indigo-dyed linen fabric is crumpled up and ready for its next iteration!

The Free No. 5 or the Singer 66-1? – Part I

Because The Factory Dress is based on 1920s dress designs, I plan to use either my treadle machine or my 1920 hand crank machine. Both would be appropriate for the time period. Even if electrified, they would be fine, unless you didn’t have electricity.  I’ll hand sew when necessary.

I think it would be fun to give some background on both machines. The Free No. 5 is not famous, but the Singer 66 is. If you go to eBay and search “The Free Sewing Machine” you will find a lot of them for sale. Anyway, a treadle machine allows you to use both hands as you sew. With a hand crank machine, the right hand provides the power, not your feet. Today, we will explore a bit about the The Free No. 5 treadle machine.

The Free No. 5 Treadle Sewing Machine

The Free No. 5 is a knock-off of a Singer 127 vibrating shuttle machine. It is a full-sized machine, having an 8″ harp and a vibrating shuttle mechanism. ISMACS has a number of brief articles about the No. 5 and other models made by Free.

This video shows you most of the basic functions of The Free No. 5, even though the blurb under the YouTube video says it is NOT a No. 5, for all intents and purposes, it is. The model “No. 5” is not painted on the head, but the decal pattern is the same ans the No. 5, the sewing cabinet is the same, and so on.  If you watch the video, listen to the sound of the machine as it sews – I love it!

I bought my No. 5 about 20 years ago from a gentleman in Billings, Montana.  He shipped it freight and it arrived on my doorstep in pristine condition.  It was beautiful, and still is.  Being new to vintage machines, I did not realize it had a long bobbin.  In fact, it was the only long bobbin machine I had ever seen.  I thought all sewing machine bobbins were round!!  Well, eventually they evolved into roundness, but here I was, perplexed and frustrated.  Thanks to the internet, and especially YouTube, I finally learned how to use the vibrating shuttle successfully.  Interestingly, one of my closest friends told me she had grown up sewing on this same machine, but the Singer 27 version!

The story behind my No. 5 is, to me, so interesting.   This man buys and sells  household goods as a living, and this household was a prize.  The story itself seems rather incredible.  He found a household for sale, upstairs, downstairs, and in the basement.  The house was ca. 1920 or earlier, but had been seriously remodeled to the point that new flooring was put in, a trap door about 3’x3′ constructed over the former opening to the basement, and forgotten.  Only a skinny person could manage the staircase.  In he went to find not  only my machine, vintage  and pristine and barely used, but also antique Stickley furniture in the same condition.  How do you get such items out of a 3’x3′ opening?  You take it apart and carry it up the stairs.  The story, he said, was this machine was bought for the former owner who hated sewing – into the basement it went.  And there it stayed until the 1990s.

My machine has proprietary attachments, but it does take a 15×1 sewing needle – at least there I didn’t get a lemon.   I have a bunch of attachments, too, and original long bobbins.  The original bobbins are longer than the new ones being made and are quite nice to use.  Despite the length differences, the new ones work fine with a few tricks.

To be continued . . . .