I had the second cataract surgery yesterday, on the left eye, and had the same lens implanted as I did in the right – closer focus vs. distance. The eye surgeon called me one evening to discuss choices, so I went with his recommendation.
Visual Pun?
Today, I had the 24-hour post-op check, and everything is doing very well! Eye pressure = 17 (normal is 12-25 per the optometrist) in both eyes, and I can see clearly between a distance of 8-24 inches. I used to only be able to see clearly if things were within an inch of the tip of my nose, if that gives you any idea of the change in vision.
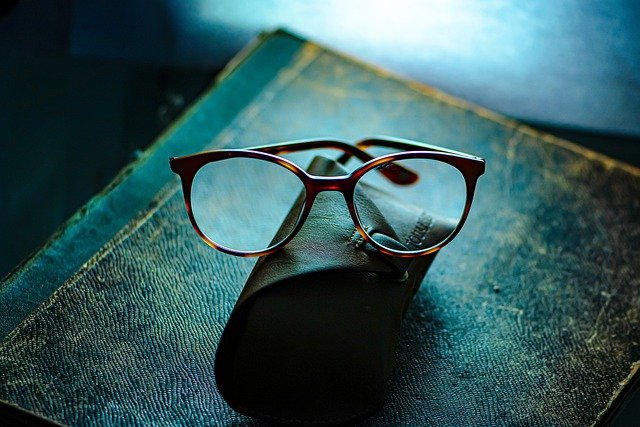
The other rather shocking – but amazing! – thing is that I cannot wear ANY pair of my old glasses, and have to wear non-prescription sunglasses. My eyes are sensitive to the light, the left very much so, which is normal post-op. Currently I am using the wrap-around cataract sunglasses, and they really do help.
I have another post-op visit in a week, and then 2 weeks later an appointment for new glasses altogether!
I am honestly so pleased with the results so far. I have worn glasses nonstop since I was 8 or 9. Right now, none are on my face, and I can function well enough to probably drive without corrective lenses. In the mirror, I look very strange because there are no frames on my face. I will get them back soon enough – not as soon as I would like, but c’est la vie. Then the world will be even more perfect.
I had my first cataract surgery last Tuesday, and the simplest most basic lens implanted in my right eye. I did not have a fancy lens implanted to allow this or that, such as shifting my vision near to far, but simple and close-focused to about 20 inches. In about 10 days I have the other one done with the distance-focused lens implanted.
Meanwhile, I wear an eye-guard at night. During the day, a pair of old glasses with a weaker prescription does the job. Add a layer of large sunglasses with shading on all sides for outdoors. Indoors, no sunglasses needed. The movie star look, I guess.
My vision is off, but livable. I can drive and read, watch television, and navigate the world as before . . . except no aerobics, bending at the waist, jumping up and down, lifting more than 5 lbs. This means no picking things up off the floor, carrying items, putting items onto the lower dishwasher tier, and any interesting number of things. I need an attendant or a mechanical arm, or “grabber” if you will. I have two of the latter, one long, one short, and they are definitely worthwhile.
I cannot pick up dog fur with them. Sigh.
The first day I had the eye guard on until my first post-op visit the next day. The eye guard is worn for the first 24 hours to prevent my rubbing the eye and to allow it to heal. There was a sense of scratchiness and itchiness, reminiscent of hay fever, but blinking to lubricate the eye, as well as closing it to rest, helped. The eye guard is taped in place at night to keep unconscious scratching and rubbing at bay, but during the day, conscious thought has to prevail. I’ve slipped up a few times, but am pretty good. I try to think “eye drops!” whenever the urge to scratch hits.
The eye guard is weird. It protects the eye, is firm, and has oodles of little holes throughout. As soon as I was conscious from the surgery, I could see. Peripheral vision was there because of the eye guard, and the ability to move around was good. Navigating space and such was rather dicey, but that is partly because of the remnants of anaesthesia.
I didn’t put on my glasses until the day after surgery, but wore them the next day as I was going to have the eye guard removed. I could have worn them the same day!
After about 48 hours, the itchiness of my eye stopped. It feels normal. To promote healing, I take antibiotic drops 3x a day, and 2 different steroids 3 x a day as well – 2 drops of one, and one drop of another. I have a check-off sheet because they go on and on for three weeks, doses decreasing over time.
I live in earthquake country. Catastrophic thinking is my forte. Visions of a major earthquake during surgery and subsequent blindness have wandered through my head.
One done, one to go.
The benefits of the surgery were immediately obvious. Colors impeded by the cataract no longer exist in the right eye. The world is a brighter place! I can see things close up more clearly. Putting a hand over my left eye, without my specs, and 3D becomes more of a reality than it has been in years. Hiding the right eye, I see that my world is dull indeed. It’s like being a little kid again, waiting for that gift you know is hidden in your parents’ closet – the anticipation is great and certainly appreciated. Hopefully no earthquakes on August 4th . . .
One more benefit of the surgery is I don’t have to clean house since I am limited. I got a housecleaning service in, and I am horrified by how dirty my house really is, and delighted at how clean it is becoming.
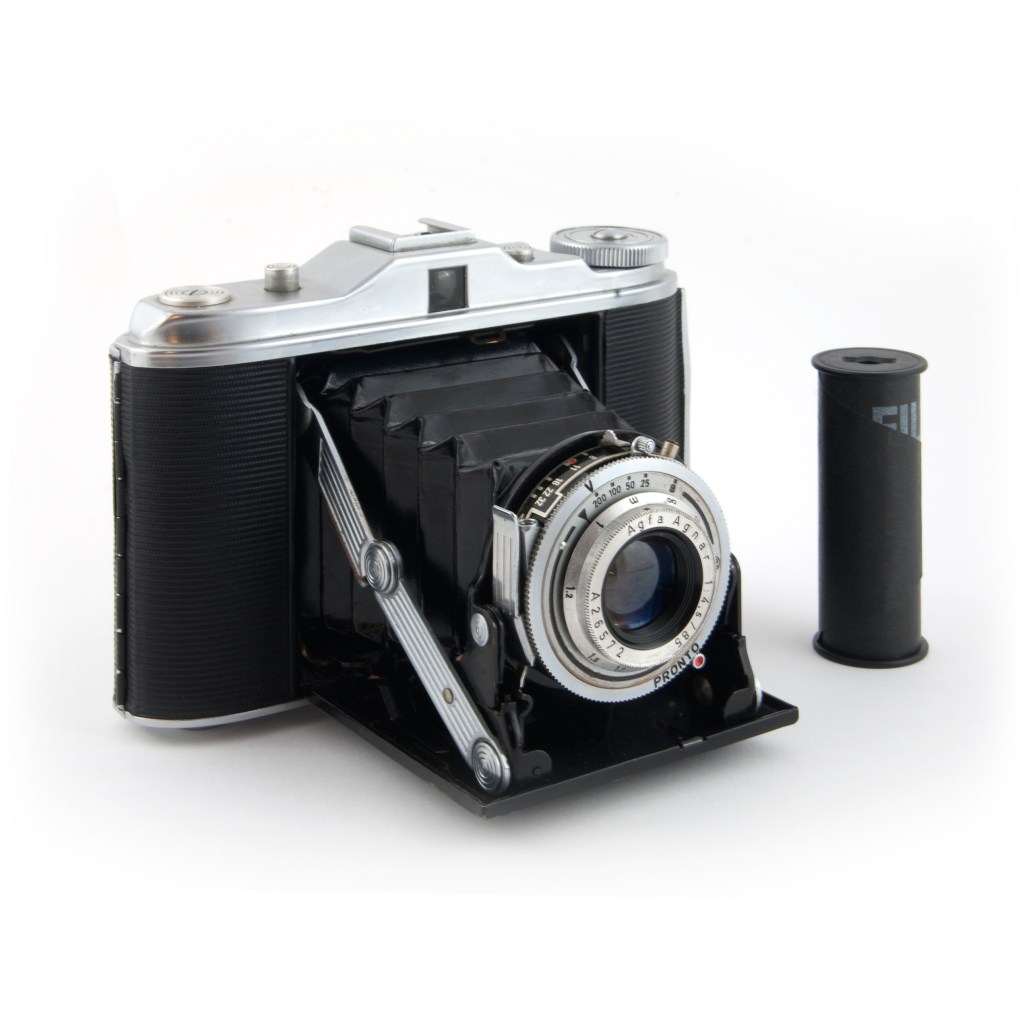
Image of an Isolette I, Agnar Lens, from Wikipedia
The Agfa Isolette was made over a number of years, sold in the US under the Ansco brand, and is a rather nice camera overall. The issue many of the later ones have is the fact the bellows have deteriorated. Apparently the later models had plastic bellows which developed pinholes and creating, of course, light leaks. I bought my Isolette II from Certo6, from whom I have purchased a number of vintage folding cameras and accessories. I have never been disappointed with the quality of cameras I have from Certo6, so here is a plug for Jurgen Kreckel!
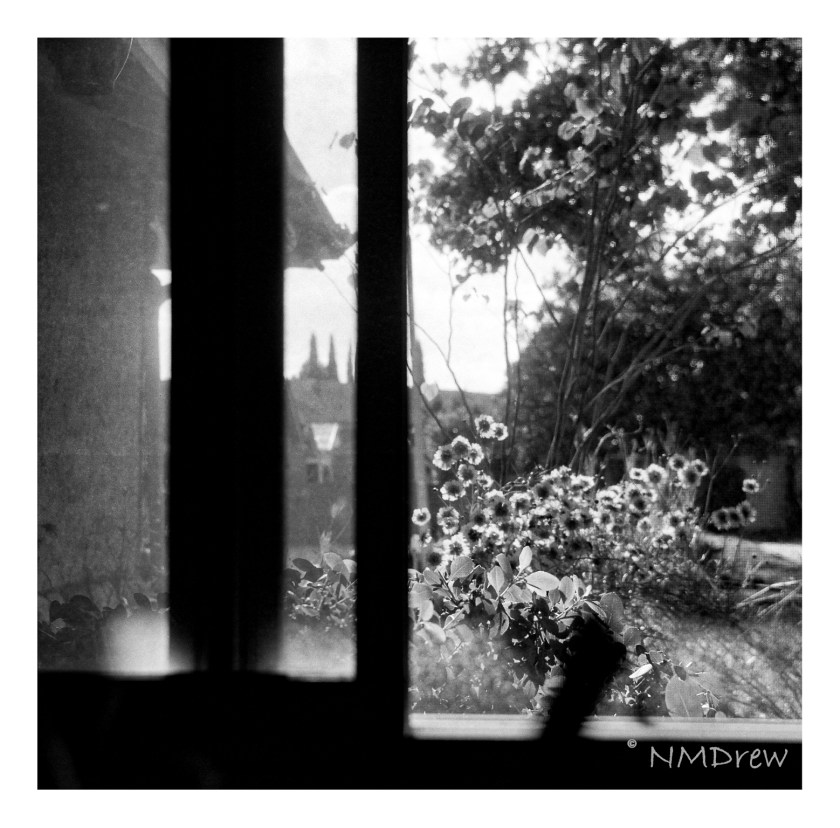
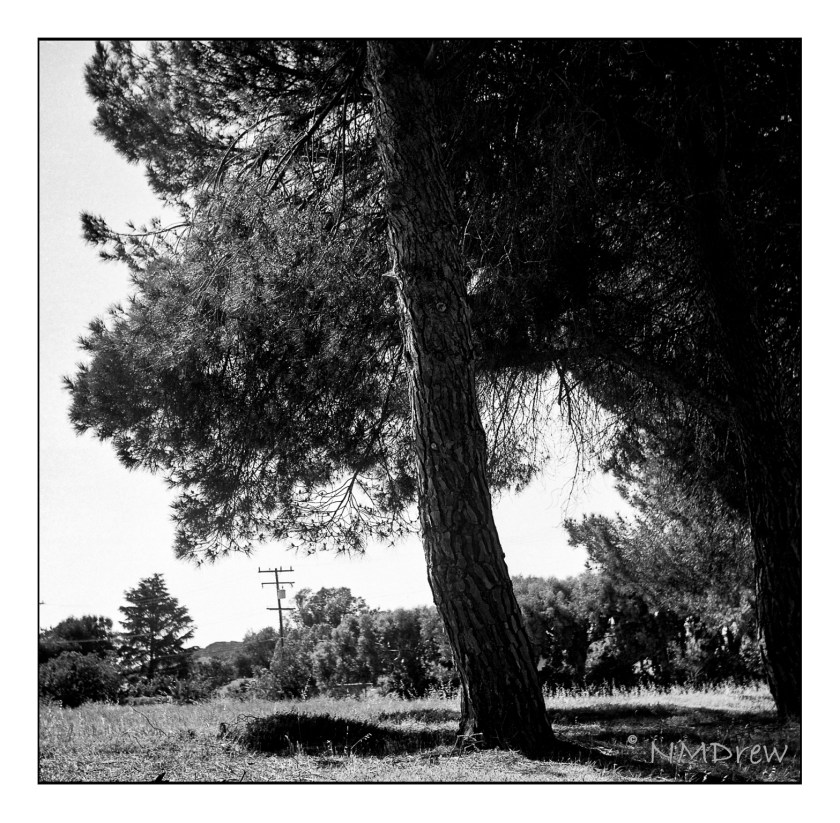
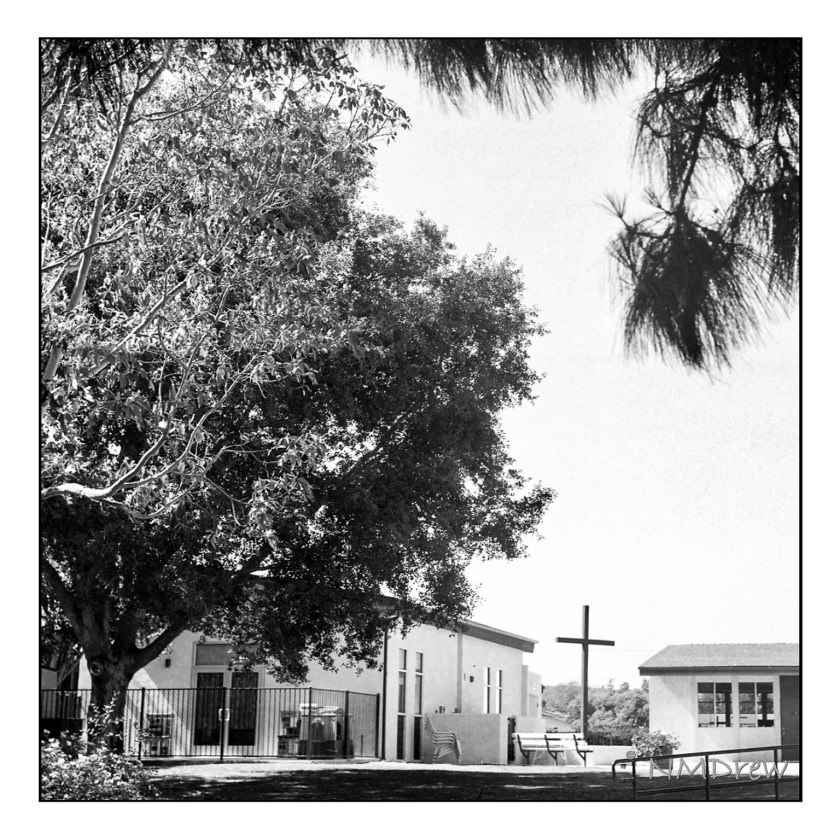
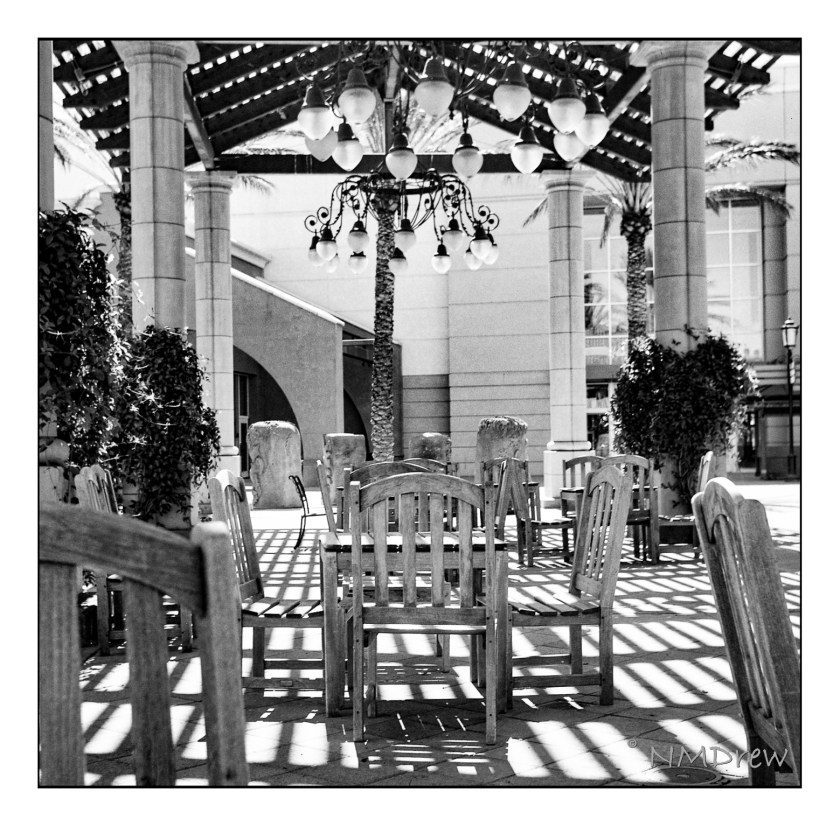
I don’t know about you, but I wander around with my interests – sometimes sewing or knitting, painting, spinning, then on to photography or drawing. It varies, in part with the weather, in part with my mood. Photography has taken a long time out of late, but with summer coming in and a pleasant spring ending, I decided it was time to re-evaluate and re-explore photography. So, with a new-to-me red skinned, black bellowed Agfa Isolette II, a roll of 120 Ilford XP2 Super 400 film, I spent a day wandering around the house and neighborhood, guestimating exposures as well as using a light meter. I got the images back a couple of days ago. All were usable, but below are the best of the lot (I think).
Up front, these photos are not SOOC – I did work on them in post. The Apotar lens is not in the same league as a Tessar, but it is a rather sweet lens. I think the issue more than anything could have been my fault in exposure. The details visible are the result of editing with LR and such, working to bring out detail, increasing contrast, and changing the image to meet my desired goals. Altogether, I like being able to take a folding camera with me – I had it in my pocket while I was oot-and-aboot.
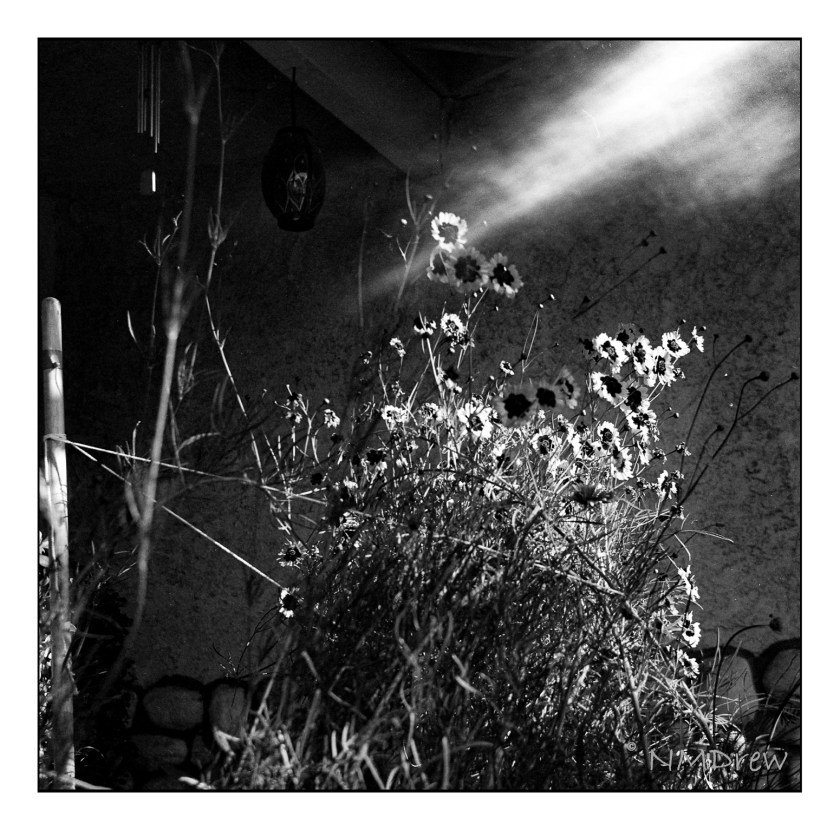
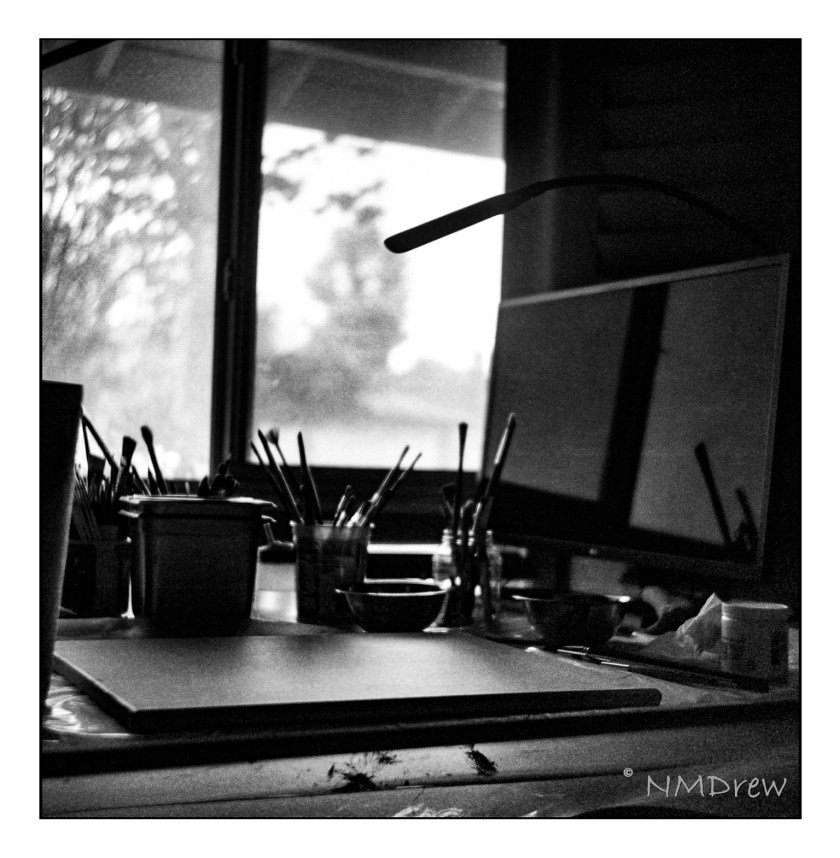
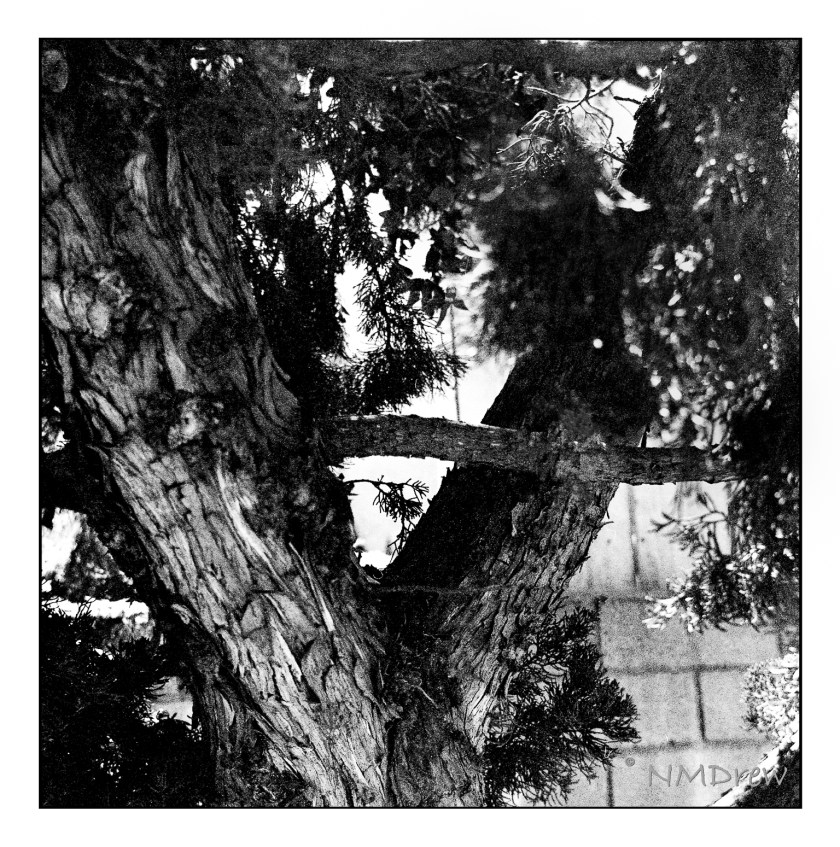
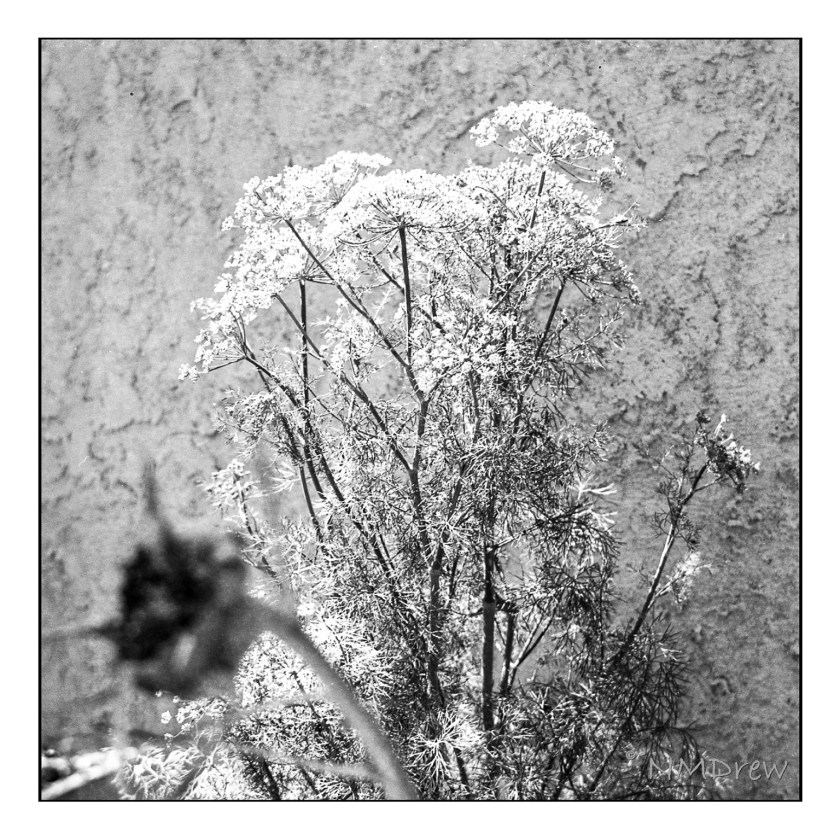
Sunflowers Empty FieldChurch SchoolPatio SeatingSunflowers and Sun FlareReady to WorkTree TexturesDill Flowers
The Apotar lens is uncoated (I believe) and as a result is prone to flare. You can see it in one of the sunflower pictures. I did not use a filter at all. In particular, I think the last one of the Dill Flowers would have benefited from a yellow, orange, or red filter; the dill flowers are yellow and similar to the foliage of the plant. When I looked for pictures to make, my goals were to look for small details, such as the dill leave, strong contrast, as with the trees, and texture, as in the bark.
Altogether, the camera worked beautifully, was simple and direct. Aperture, time, and distance all need to be determined by the user. I used the Sunny 16 rule for the most part and guestimated the distances. Outdoors the usual exposure was f/11, 1/100, and about 6-20 feet (2-6 meters). Inside, most likely f5.6, varying distance, and about 1/50.
Living in California meant traveling across country to move. We did this when I was 12, and I did it as an adult in my 30s.
Driving through the vast reaches of this country always amazes me. First, it is just BIG. Open miles of open land, a house or ranch or roadside attraction.. Huge mountains seen across miles. Winding roads where dust behind you flies in a cloud as you bump along, looking for rocks and holes. Freeways, local highways, dusty country lanes – this is what I enjoy when I travel. This fall we plan a trip across northern Nevada and into Utah, when the weather is cooler, and perhaps we will even enjoy colored leaves at the higher altitudes.
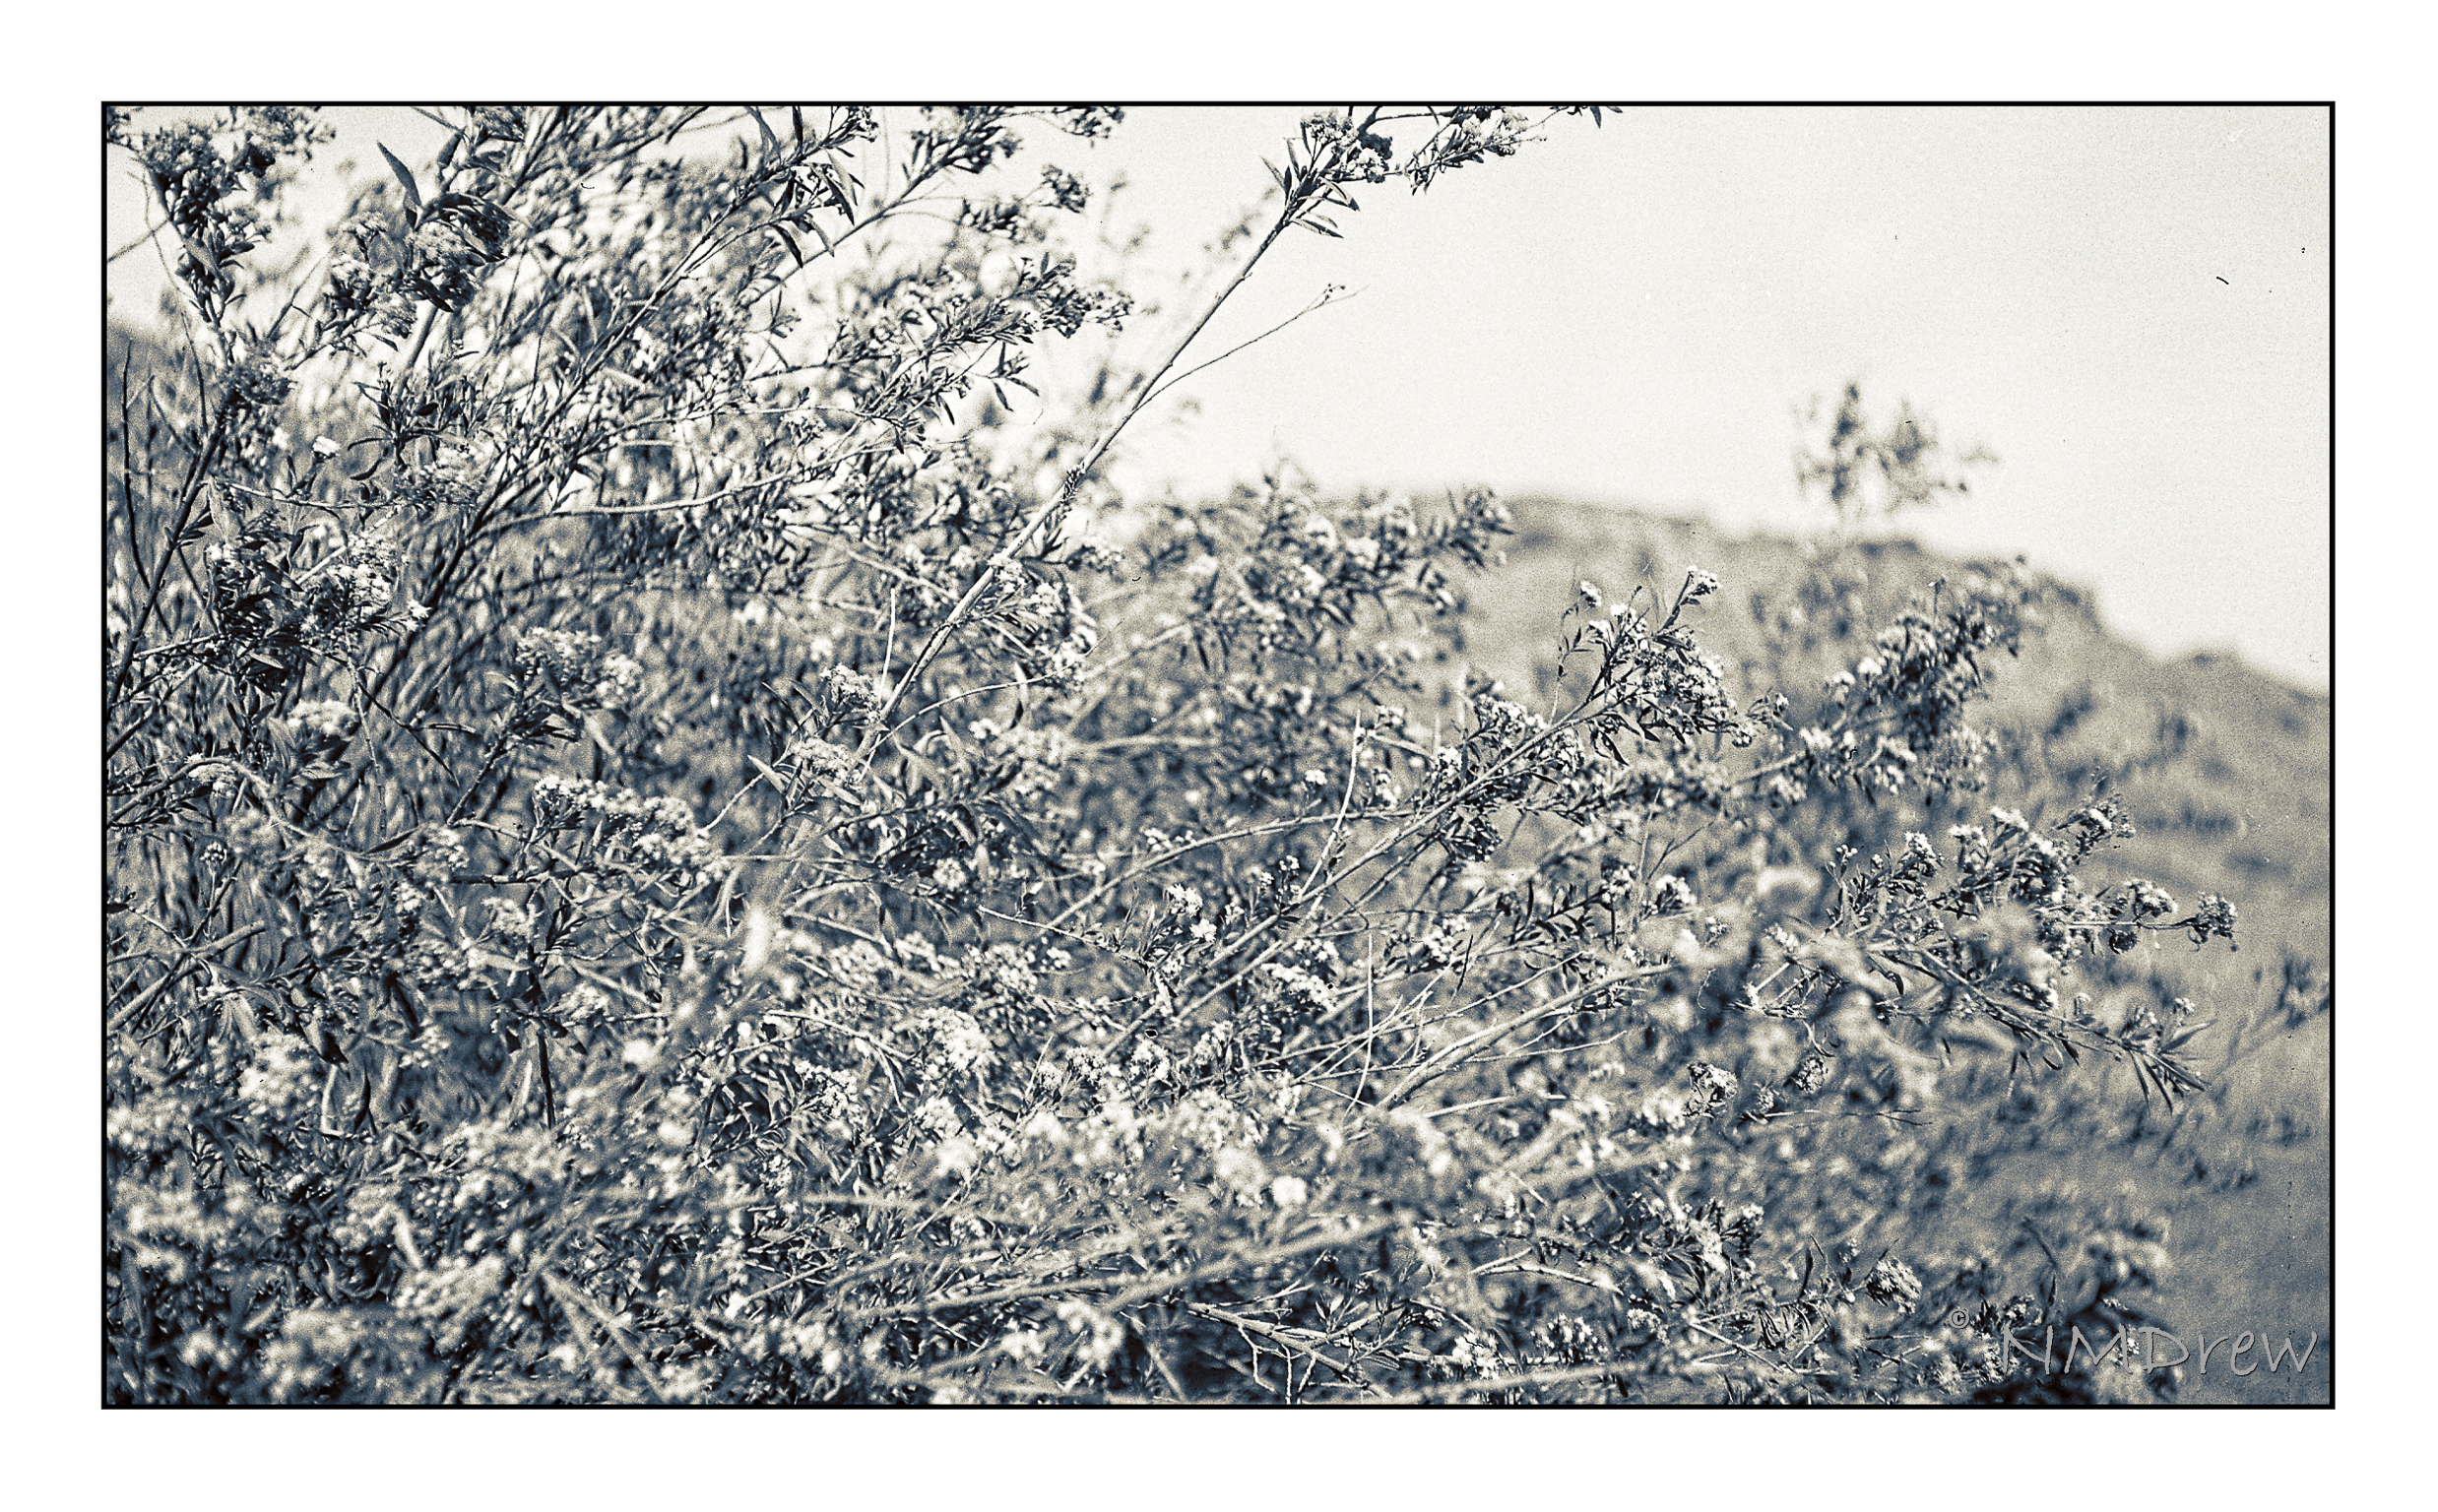
Awhile back I loaded up one of my old cameras – a Voigtlander Bessa RF 6×9 with a Heliar lens, ca. 1935 – with Ilford Ortho 80 Plus film. I forgot about it until I opened the back of the camera and slapped it shut as quickly as possible. As the camera only gets 8 pictures per roll, I lost a few – like 3. One image was too dark for use. But, the remaining 4, while not great, were fun to manipulate in post.
The Ilford film had just been released, so I bought a few rolls to test out. In my 35mm film camera, it worked beautifully, but my exposures were marginal in the 6×9 at best. I worked on them a lot to bring in discernible contrast – most were over-exposed. The lens on the camera is a beautiful Heliar, but my guestimates with 80 speed film were too high. As well, I used no filter since I don’t own one to use with the lens. So, above, a test shot to look at contrast – white flowers on dark green foliage. I created a preset in On1 Camera Raw that I liked; it brings out the details but doesn’t create too much contrast.
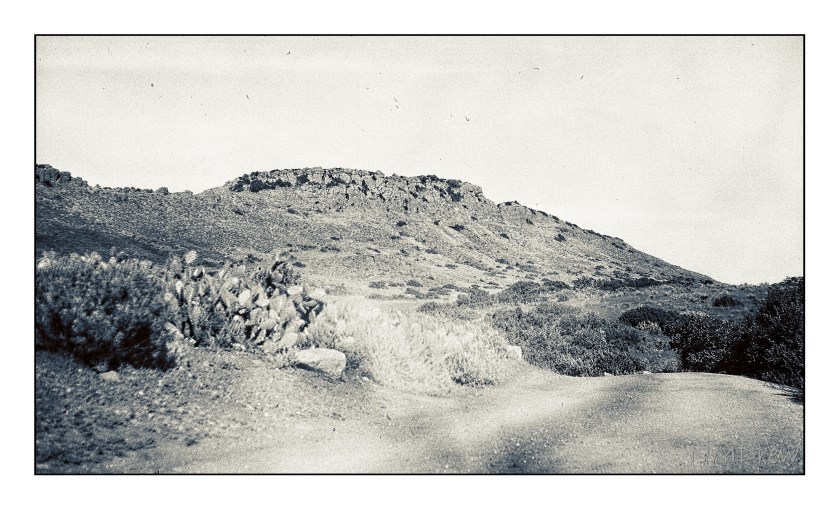
This photo makes me think of old dirt roads and stagecoaches jouncing along – like you see in 50s movies! The image got a light leak, but the details of the distant mountain – Mount Clef – and cacti are worth a look
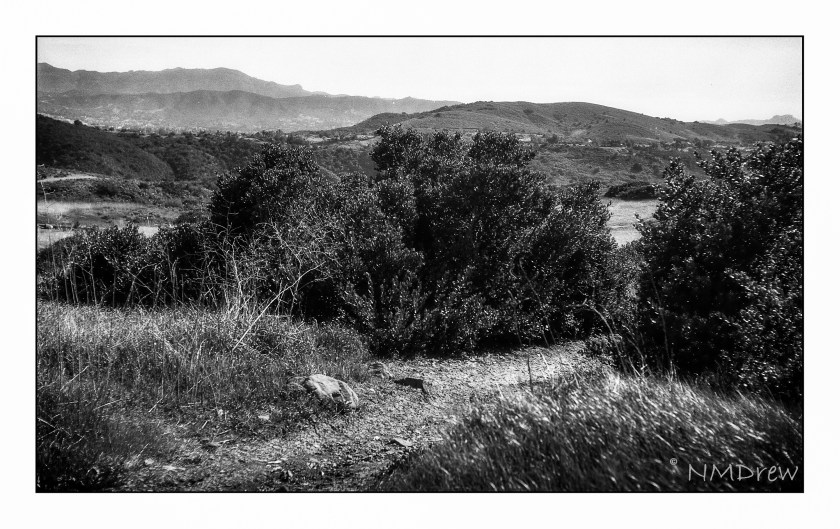
Again, more detail and a bit of LR dodge-and -burn. This is the dried landscape nearby. When the winters are wet – which ours was not this year – the grasses and mustard can grow up to 8 feet. Easy to get lost in, but don’t – stick to the paths or ticks and other critters will get you.
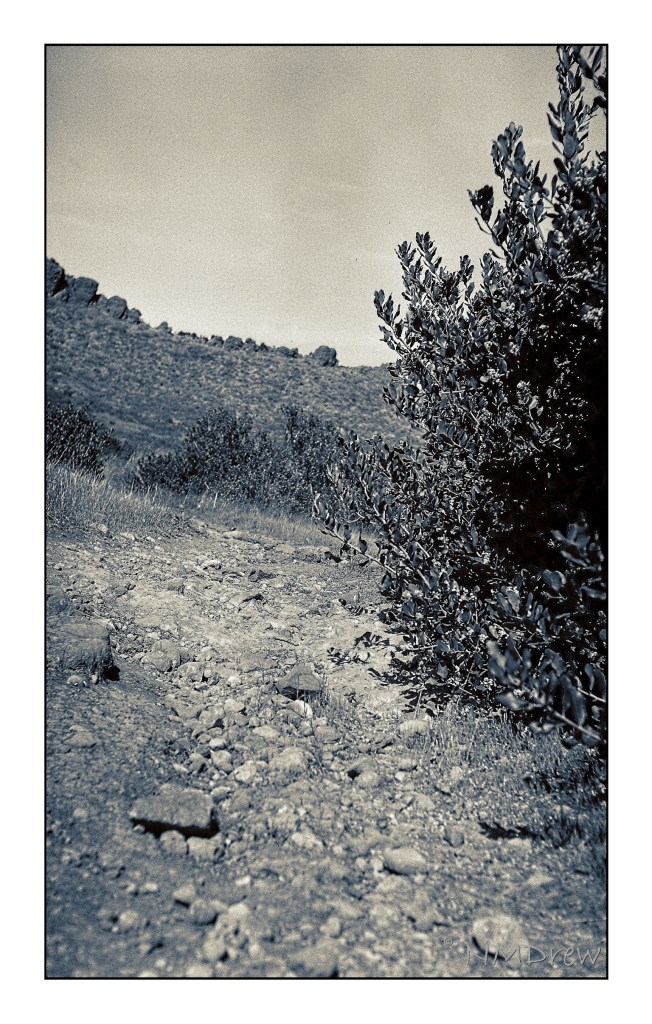
Backcountry is beautiful and dangerous. I remember turning back here – a rattler was basking in the sun. That’s another good reason to walk where you can see ahead of you!
So, a bit of my West with my old camera and newer film and technology. The Voigtlander did not let me down, nor did the film. I am looking forward to taking this camera with me up to Morro Bay next week – along with more modern cameras – and out to Nevada and Utah. More Olde West to come!
Now that social isolation is lessening and classes can resume in person, albeit with masks and social distancing, I have taken on colored pencils and acrylic painting. To say I have been having a blast is an understatement. Of the two, the painting class is more “me” but the colored pencil class is an adventure into unknown territory.
Colored pencil drawing seems like a logical next step to graphite (pencil) drawing, and in a way it is, and in a way it isn’t. With graphite, shades of grey is what makes the picture. With colored pencil, pencils become almost more important because color, pencil type, and techniques used to create effects in the painting / drawing are considerably more complicated than graphite! So, here are some more colored pencil drawings I have done.
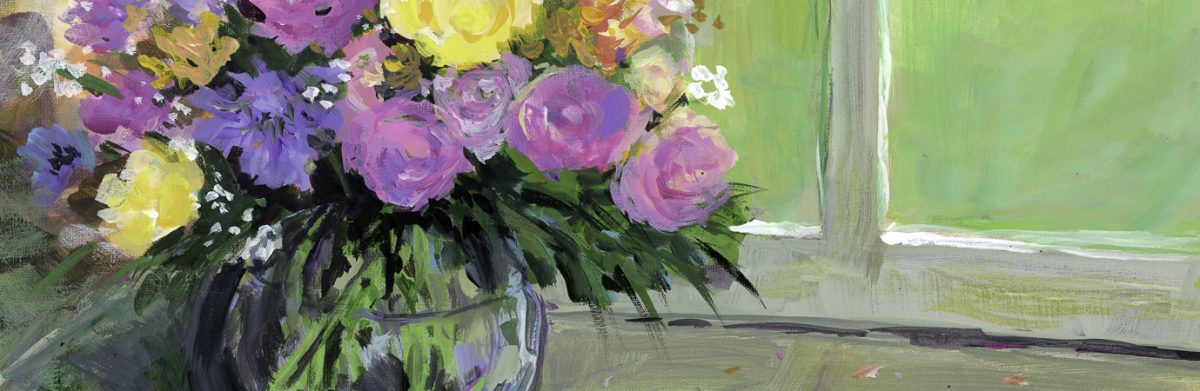
Moving on from colored pencil, my acrylic painting class began last week. I chose “intermediate” as “previous painting experience” was the only requirement. Since I paint with watercolor and gouache with some success, it was a logical choice. And what a wonderful group! Many people have been taking the same class for 4 years – quite a tribute to the teacher. The class is not structured, so subject matter is up to the individual. This doesn’t mean a lack of instruction, but what it provides is direction from the student and help in the process. It works for me.
Years ago, like 40 or so, was the last time I worked with acrylics. I didn’t like them at all. However, today my attitude is a lot different. I have time, motivation, and the opportunity to learn from many resources – teachers online and in person. My sister also paints with acrylics and she has been very helpful with all sorts of information and such.
This was my first acrylic painting. I brought it to class with the underpainting done. I used a Daler-Rowney Acryla 3 set with about 10 colors. My approach was quite trepidatious! I pretended I was painting with gouache, which helped, but my fear was destroying brushes and having paint dry in seconds. Neither catastrophe occurred. I used Canson XL paper as the support, taped to a bit of gator board.
The next one, above, is a rendering of a photo I took while walking along the bluffs in Carpinteria, north of me along the coast. I did this on Fredrix, a canvas pad which is primed. I gessoed it, and like the paper, taped it to gator board. Here I used matte medium only, and the result was a really pleasurable application of paint – it was fun to feel the paint get all squished around with the brush. The canvas surface, too, was a pleasure to work on. Once off the gator board, the Fredrix is really like a canvas off the stretcher bars.
For this image, and the one below, I followed a couple of videos by Will Kemp on YouTube. The one above I only used water to thin the paints; the one below was only matte medium. The supports were canvas panels, 8×10, pre-primed but re-primed by me.
Comments from those who have seen these apples like the apple in the lower painting best, but the background in the upper painting best. I agree.
This is my latest painting. It is from a video I watched by M. Stewart on YouTube. The video is an hour long, filled with information and funny comments. I think I learned the most with this video insofar that there was more time and more detailed instruction. The simplicity of Kemp’s videos of the apple helped me get ready for the complexity of the Stewart’s video – both are excellent teachers.
Tomorrow . . . I think I need a bit of a break from painting, but I do plan to continue working on art as much as possible every day. However, sewing does call, and so does the beauty of the outdoors, and . . . life is too full for only one thing!