I feel like a school kid – classes are taking up so much of my life! It is keeping me off the streets, so I am sure a few people are glad to know that! The classes are a series with Ian Roberts (online), Andy Evansen (online), handsewing 18th stays with Burnley & Trowbridge (far behind!), and a local class in oils / acrylics with a good teacher. Housework is falling by the wayside!
The above is a watercolor exercise from Evansen’s class. It’s a year-long course in watercolor, and the content needs me, the student, to work hard at the lessons. We began with skies – I am pretty comfortable with those. This module works with values, and I think I did a pretty good job with it.
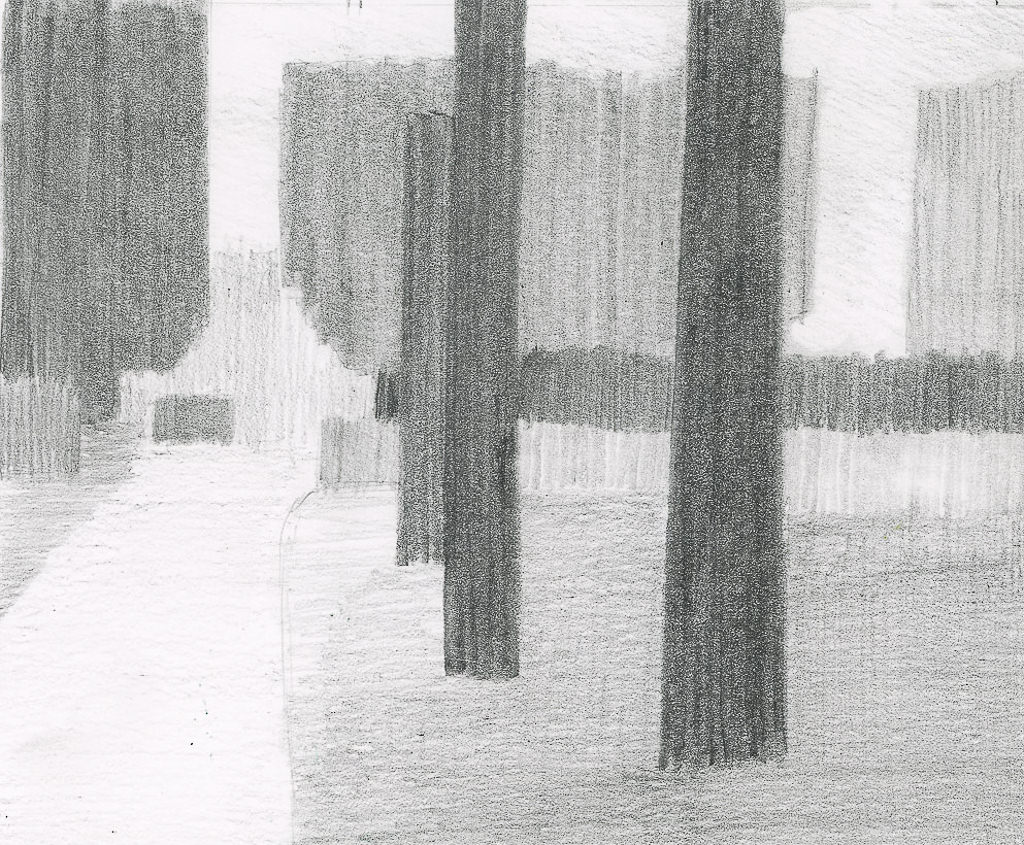
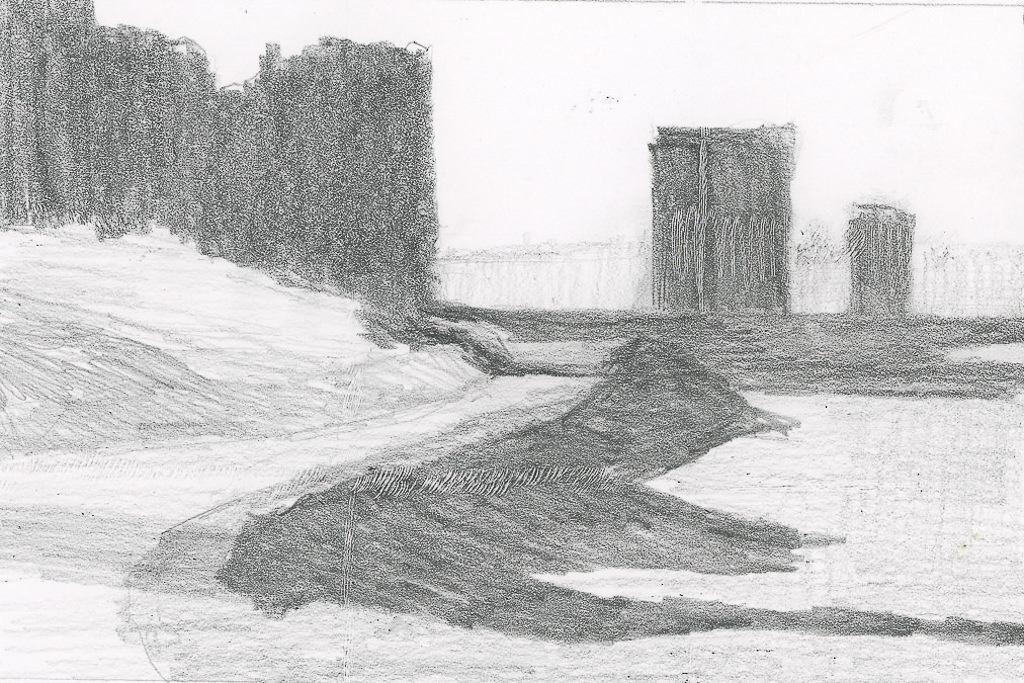
What I found especially interesting was the beginning of the value study. Unlike Roberts who puts in all values in a pencil sketch, Evansen puts the middle value only as the first step. The white areas are bright spots and the sky, but the middle values are all created as one big shape. That was quite interesting, and not the usual route one takes with value studies.
Pencil drawing with middle value only added as a shape.
I messed up a bit, but it did lay out a map that was more clear to me than also including the darks. Once I got the idea in my head, the next step was to lay in soft colors on paper that was wetted on both front and back with a natural sponge. I used 9×12 140# CP Kilimanjaro paper here.
After doing the middle value shape, both as a prelim and then on the final painting, you are supposed to go back and add the dark areas to the prelim. I didn’t get there – I was too involved in the final product!
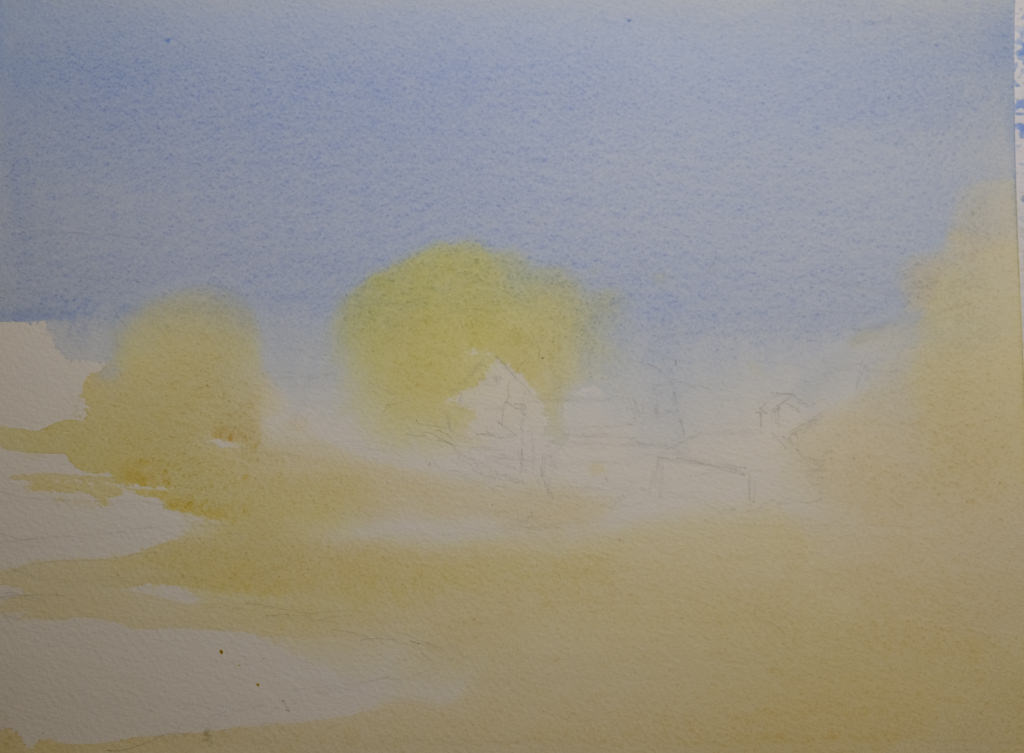
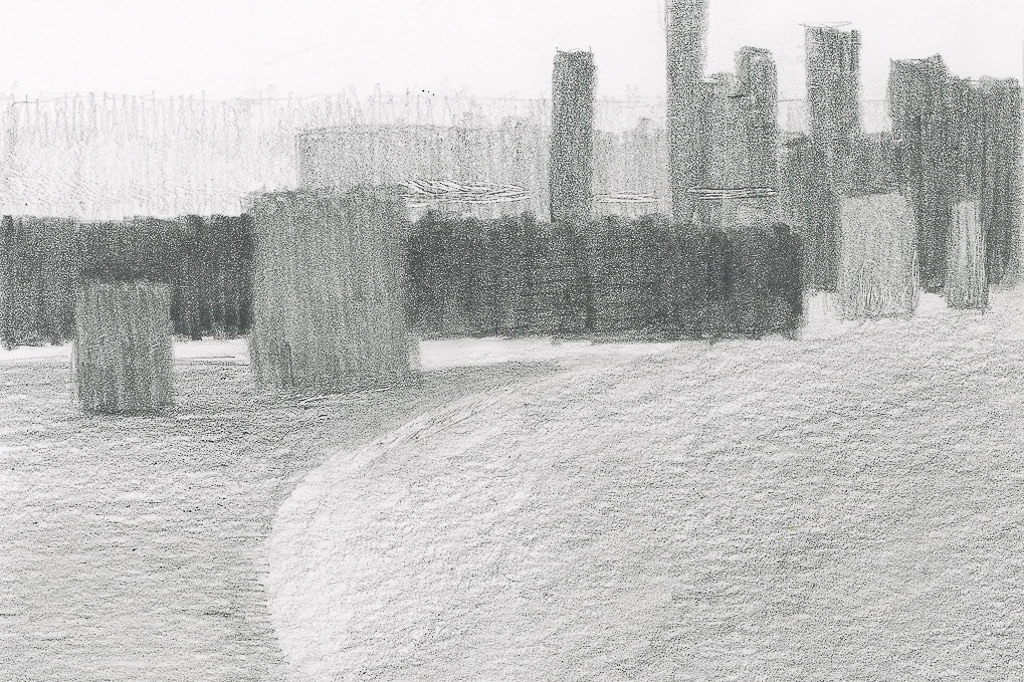
Light areas filled in on dampened paper. Includes the sky, white areas for buildings, and field and trees.
Doing the light areas on dampened paper allows the colors to bleed a bit, and create soft edges.
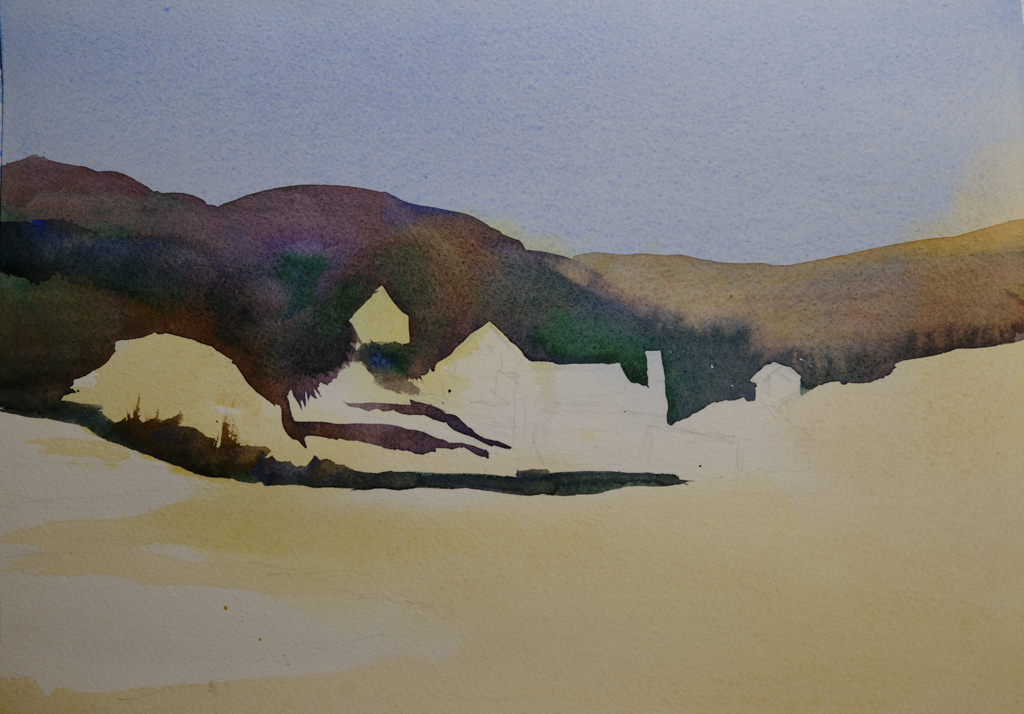
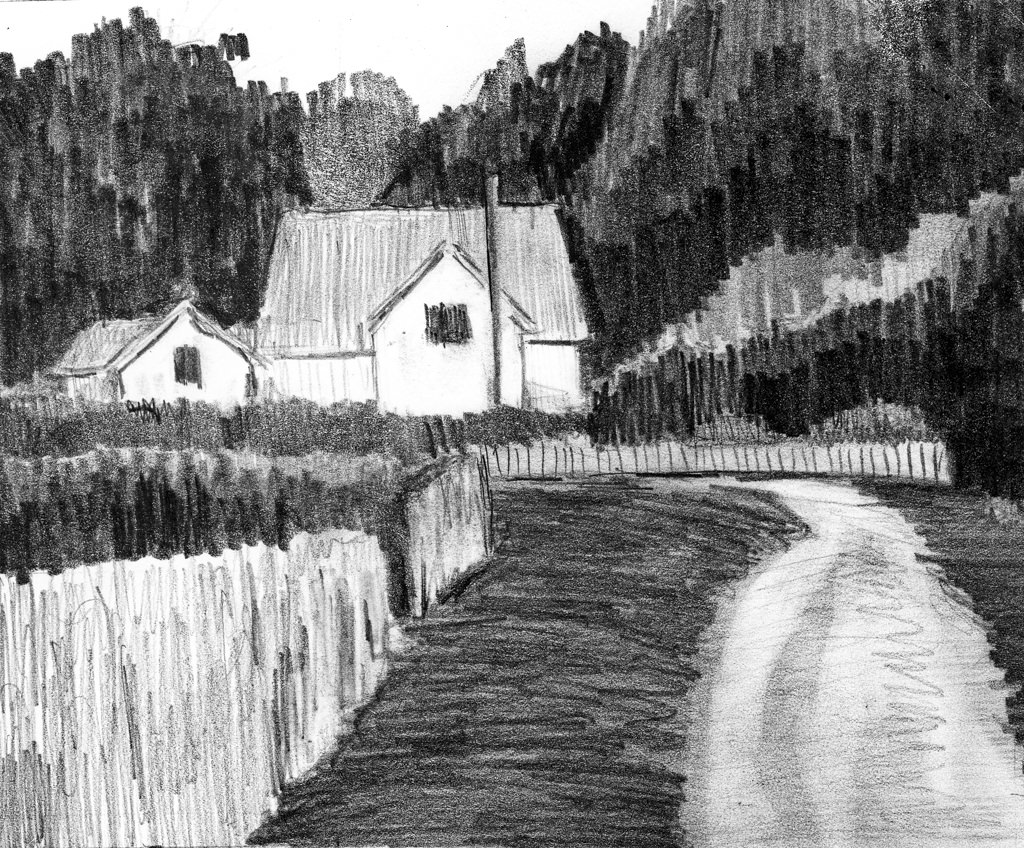
Thicker paint added once the light areas have been worked.
The next step was to work left to right so that the shape created for middle values in the preliminary study could be made on the painting. The idea is to work in one movement – left to right since I am right handed, but right to left if you are left handed. The idea is to create a bead of color that varies as you paint in a continuous design.
To me, this was really a dark based on the reference photo, but that is life! As I did this, I worked around the buildings and structures, as well as roads. The thicker paint and dryer paper allowed this to happen to create hard edges. I was happy with how easy it was to do!
Almost done!
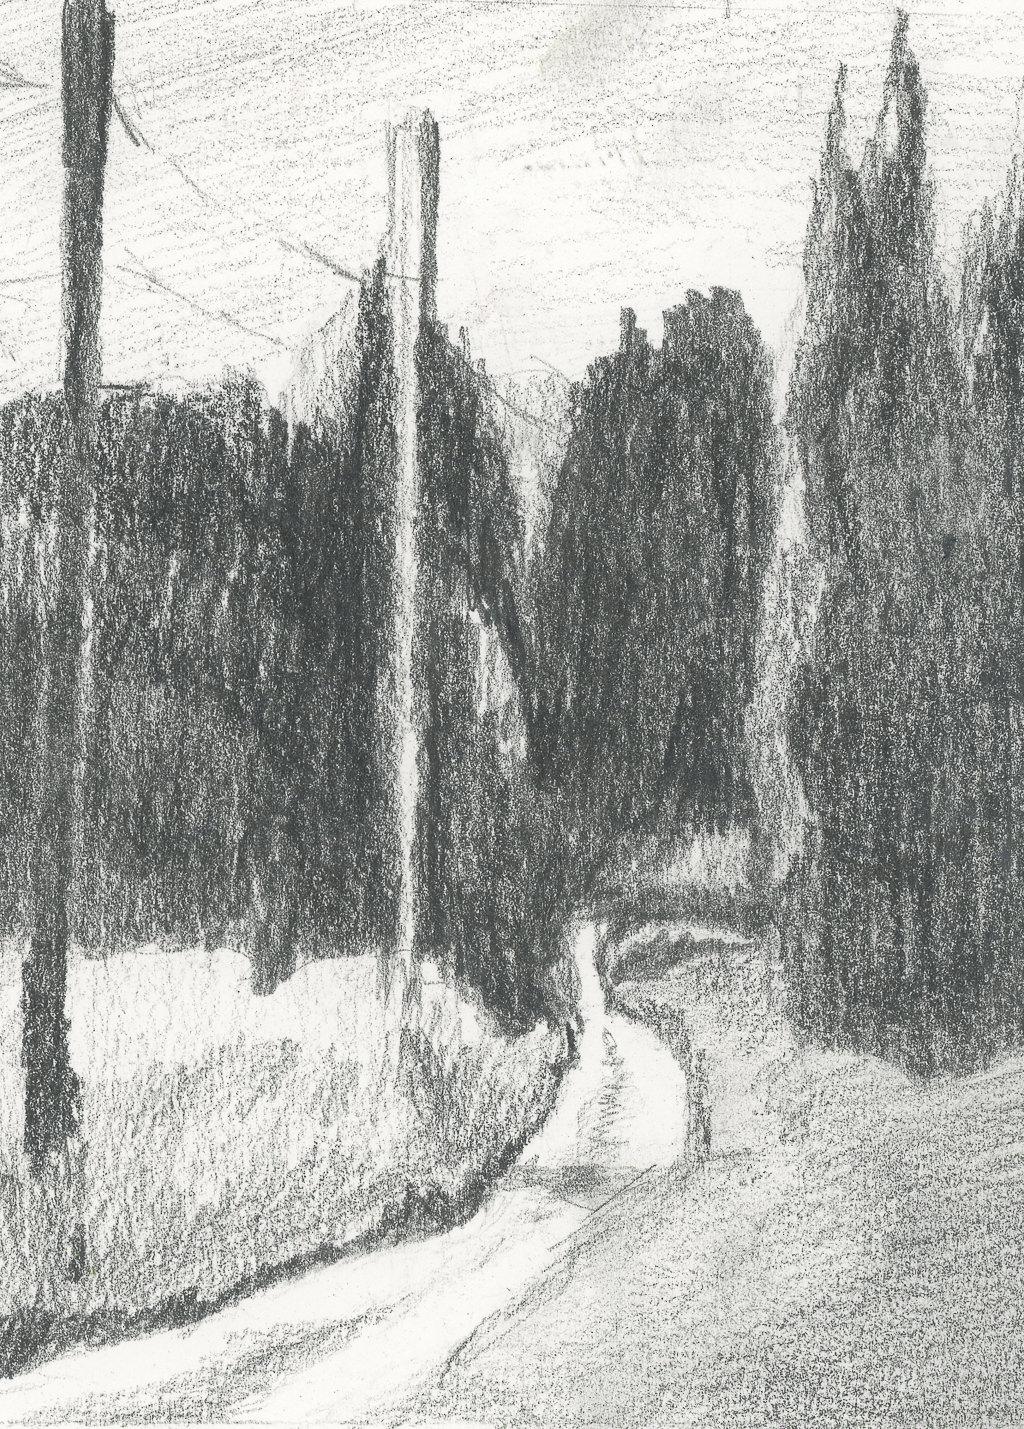
This was perhaps the 3rd stage in my painting. I added furrows to the field and details to the structures. I scraped in tree branches and such with my finger nail only to realize I keep them trimmed too short to be of any use there!
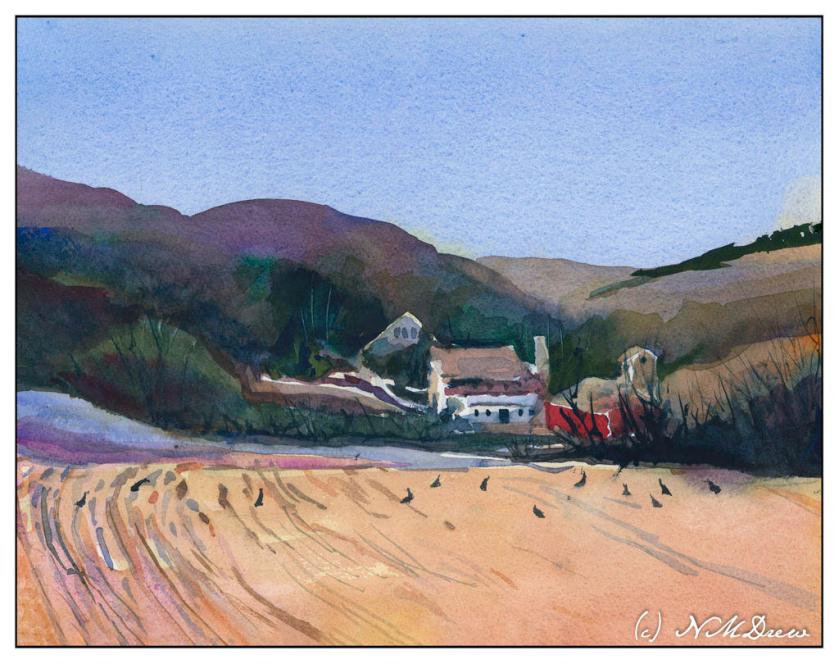
After all the layers were dried, I did the heavier dry brush as well as glazes over the field and hills to create areas of warmth or coolness. I also did it on some of the structures to keep them from dominating .
Some thoughts . . .
It is really a lot of work to do these classes. My whole purpose is to stop my old ways of approaching painting and create some kind of shift so that I can become a better painter in my opinion. Also, I need to stay busy. I have felt like I have been floundering a bit, so an area of focus was important, especially in an arena I wanted to learn. I am still adjusting to all this, but in the big picture, I am happy I made the commitments.
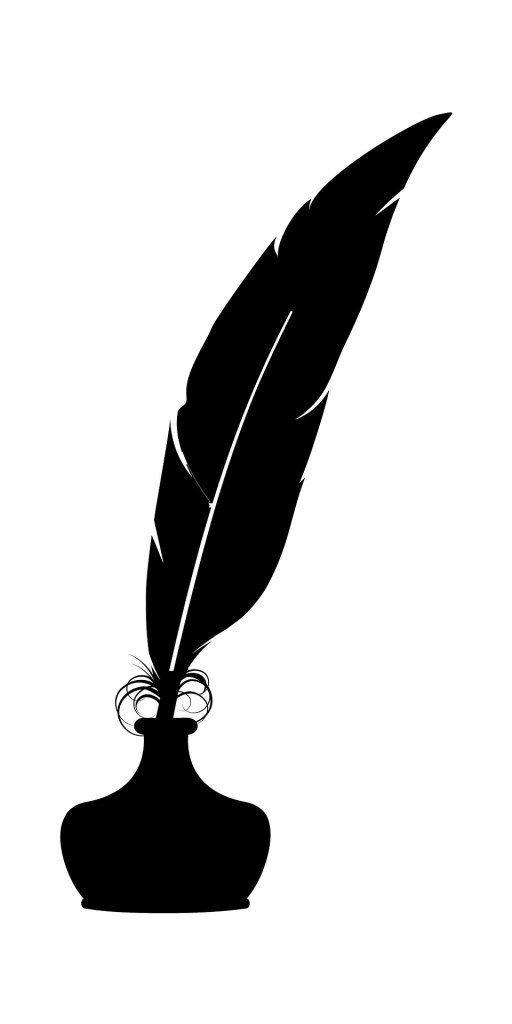
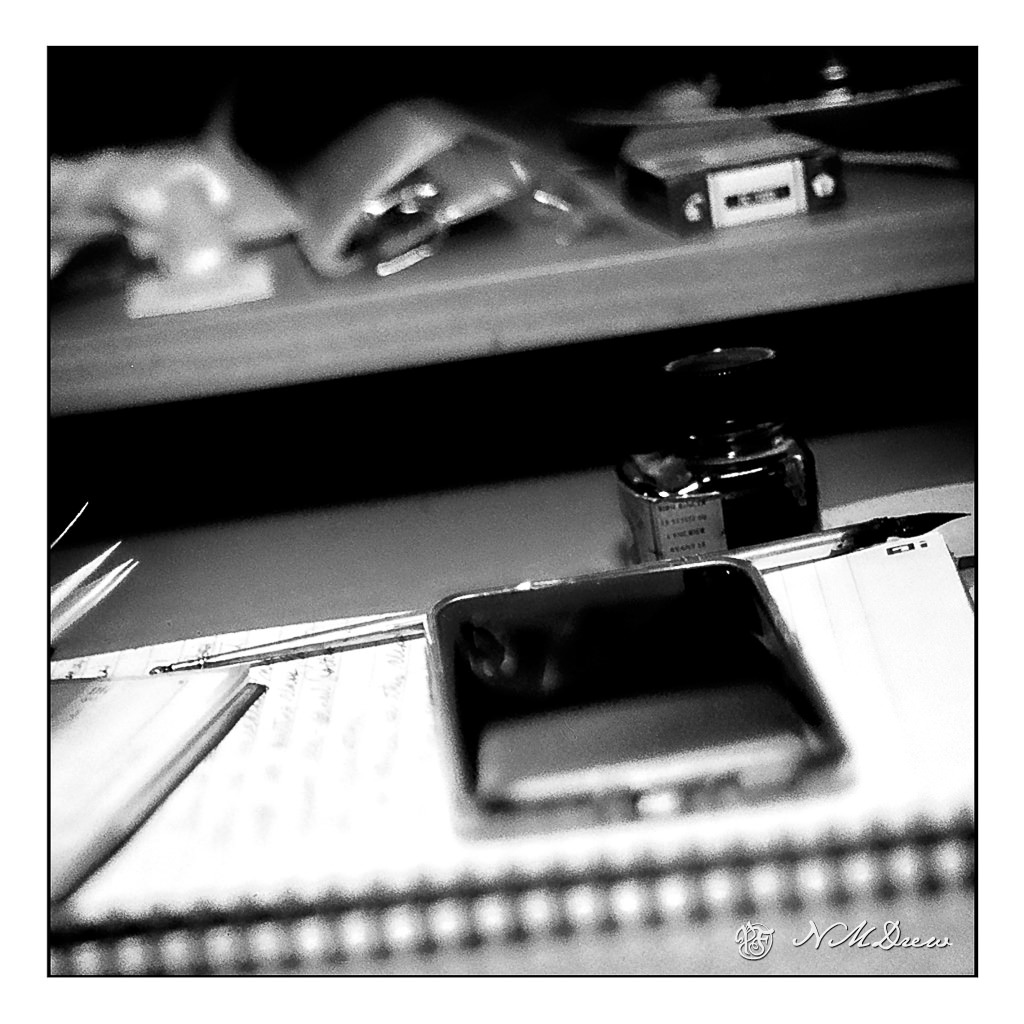
For the past year I have been keeping a journal – something I have done since I was 10 (I shred them, too!) – writing exclusively with goose / duck / turkey quill pens and iron gall ink, all made by myself.
Real quill pens don’t have all the feathery parts on them. They are removed when the quill is made. Not very pretty, but far more functional. All that fluffy stuff gets in the way when you write!
Why do this? I like the act of writing. Just paper and ink and my thoughts or lists or complaints or observations. In this time period, just the daily usage of ink and quill has shown me and taught me a lot of things, things which are perhaps lost through time and the changes in technology. The fact is, too, I like to make things that I can use, and a quill pen and iron gall ink are proving to be two favorites.
Quills gave way from common usage in the 1830s when the metal nib came into easy manufacture and availability. Why not? Easier than cutting your own quill. Iron gall ink is easy to make if you have iron galls (though any plant material with tannin in it also works), and other ingredients available. It just takes time. Interestingly, powdered iron gall inks were available to the public, and apparently in common usage during the Revolutionary War by soldiers and others on the move. The powder was in packets, and all you did was sprinkle some ink on a surface, add water or wine or beer, and with your handy quill and a bit of paper, off you wrote.
Today’s treatise is about the Yncke itself. I’ve made multiple batches and have found out a few things that may have been common knowledge back when it was the only ink commonly available.
Observations
Iron gall ink is best used in small amounts, such as in an inkwell with a lid. The ink evaporates and particulate matter settles out with time. By keeping your ink in a sealed container – I use a mason jar with a lid – you keep it relatively fresh. It won’t evaporate although settling of the materials occurs.
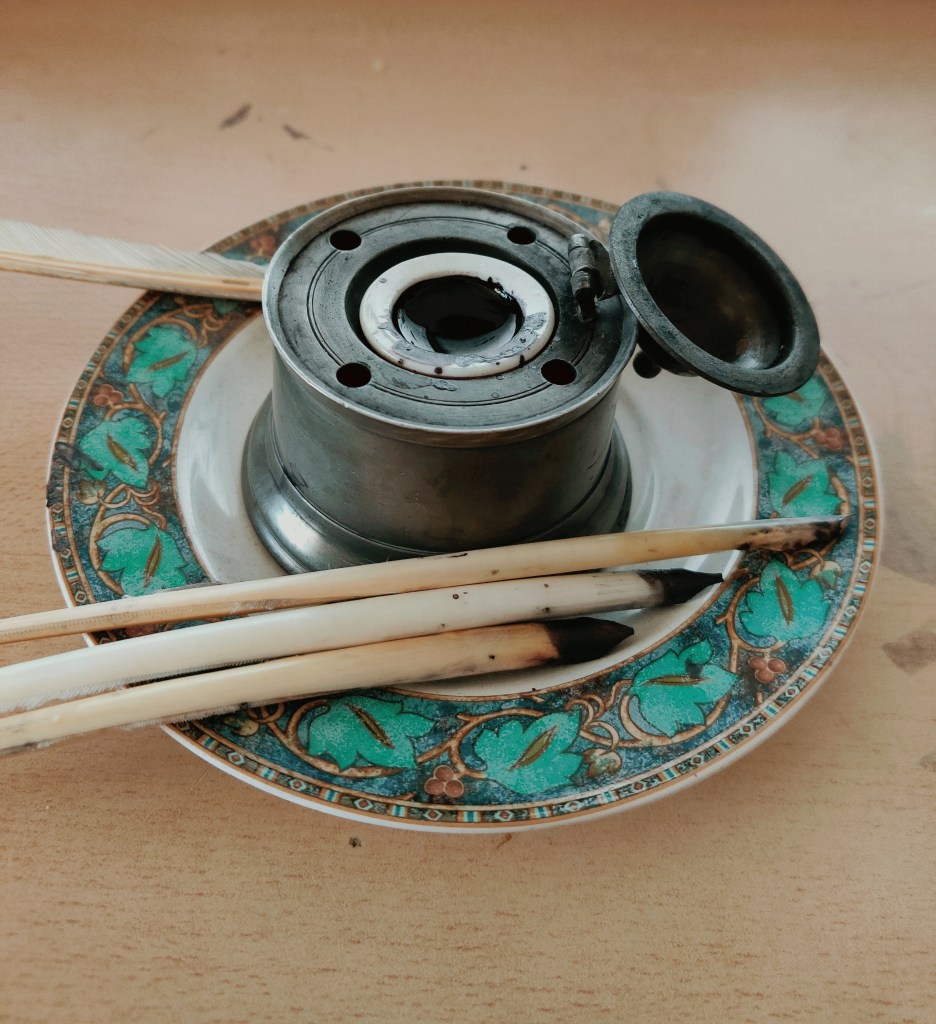
Here are my quills, ink well with porcelain insert, and saucer to catch spills. Notice the stains on my desk! I can usually remove them with some bathroom scrub that has bleach, rinsing thoroughly after scrubbing. Let the cleaner sit for a few minutes to let the bleach work, and use a bit of gentle elbow grease. This is a plastic-topped work station I have had for 25 years, and it has held up very well!
I use a pewter inkwell, reputedly from the early 1800s, with a porcelain well. I keep it on a saucer as spills from iron gall ink stain anything easily. The porcelain is easily cleaned up. I replenish my ink every two or three days – a lot gets used up! Watching it disappear is rather fun.
When I replenish my ink, my choice of adding more ink or thinning it is really my first question. Experience has shown that through evaporation the ink becomes thicker and thus does not easily flow from the pen. I add water in a small amount, but after having read that one should use vinegar or spoilt wine or beer to keep the ink’s color strong, I have tried both. My experience is too limited at this point to make a more definitive statement that either works fine.
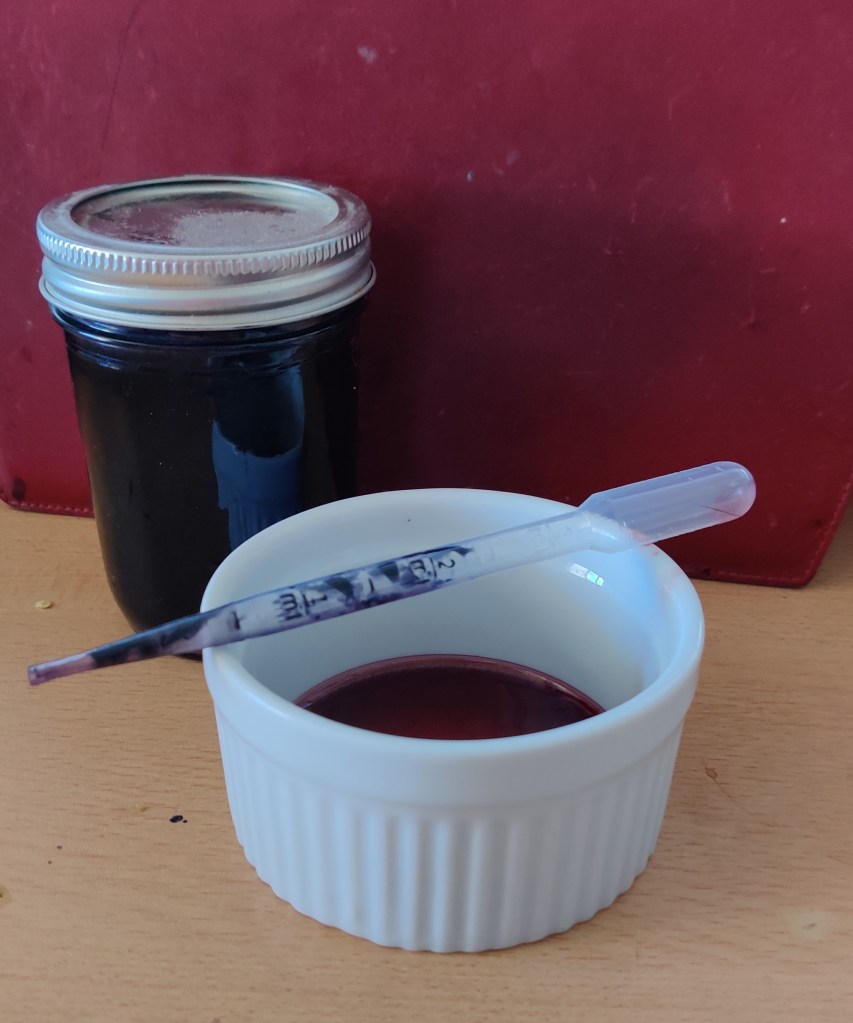
How do I know when I need to dilute my ink? I know when I can no longer write a long line of words with a single dip of the quill. The ink begins to blob up and becomes more viscous. If I find I can only write a word or two before the ink is very pale, I know that the first problem is the ink, not the quill. Then, I add a bit of water or vinegar or wine or beer, just a bit, and try writing again. If the flow improves, you are fine. I use a plastic pipette with a squeeze bulb because I can control the addition of liquid more easily than just pouring it into the well.
Here you will see the ink in a 1 cup canning jar with separate screw top and lid. The pipette is made of plastic and has a squeeze bulb on top. This allows for tidy delivery of either ink or thinning liquid – here, old red wine in a custard cup.
In using iron gall ink, I used to keep it in bottles with screw-on lids. Specifically, I used old fountain pen ink bottles. However, this ink is like a glue in some ways because the lids eventually stick to the bottle and become difficult to unscrew. Flying ink is not fun when you finally get that lid off! I store mine in 1 cup canning jars, the kinds with separate screw tops and lids, such as used in making jam or jelly. When I need more, if the lid is sticky, I can usually pry it off with a knife – slowly and gently! And I do it in the kitchen sink or with paper towels beneath the jar to catch any spillage. Clean any spills up immediately!!
Iron gall ink can spoil. I have had batches which developed a scummy surface on it, but it doesn’t seem to affect the quality of the ink. I just shake it up and mix it in. This seems to have occurred when I used water in making the ink. This last batch I made with some old wine, and the scum did not appear. I will say, too, that I like the smell of wine when I use fresh ink! It’s a nice addition.
Making it, as I said, takes time. There a numerous recipes on the internet. You can find my own commentaries on the ink by using the search feature. The recipe I use so far is as follows, and have been pleased with it, especially when I have made it with wine:
Receipt for Iron Gall / Oak Gall Ink
Oak galls: 80 g.
Distilled water / stale wine or beer / vinegar: 300 g.
Ferrous Sulfate (I used ferrous sulfate heptahydrate): 50 g.
Gum Arabic: 25 g.
Crush oak galls into small pieces or grind into powder using a spice or coffee mill. Place into jar and cover with 300 ml. of distilled water. Place in sunny window 3-7 days (depending on your life and schedule). I plan to do 3 as per the recipe from the Schoenberg Institute. After 3 days, there should be a dark murky liquid in the jar.
On Day 3, add 50 g. of Ferrous Sulfate to oak gall mixture; replace in sunny windows for another day. On Day 4 add the Gum Arabic and leave for another day. On Day 5, strain the liquid into a clean vessel and voila, ink!
My Check List For Using and Maintaining Iron Gall Ink
Take the time to make iron gall ink. I think a week or two is best. Anticipate when you will need a new batch.
Store unused ink in a closed container, such as a canning jar.
Use a small amount of ink at a time as it easily evaporates and settles out.
If your ink is thick, before adding more ink to your well, dilute first with small amounts of water, vinegar, stale wine or beer. Test with your quill. A pipette works well to transfer fresh ink or dilution liquid.
Paper towels are excellent as blotting paper. I use toweling to blot a page before I turn it over, and I turn it over onto another sheet of toweling. Sadly, we no longer have blotters as daily items on our desks.
Rinse your quill when done, and blot it dry. Have at least 3-4 quills available to use as they need to dry out between uses.
So, that is it for this posting. Hopefully it is of some use to those who would like to use iron gall ink and quills on a more regular basis. If you are just beginning to use these items, be patient and kind to yourself. Learning to write with a quill pen is not easy, and learning how to replenish the ink on your pen has its own quirks. We are used to pens where re-inking is not normal, but with both quills and metallic dip pen nibs, there is a pattern and rhythm to getting the right amount of ink on your pen. Once you master it – and it shouldn’t take long – you might find yourself quite happy with your new skills!
These past 8 weeks or so have been very, very busy. I have been taking an art class online which is very demanding and equally fulfilling. A sewing class, too, which is also demanding and fulfilling. At times I have had to make choices between the two, and the art class won out, as it always does.
I don’t know about you, but for me focusing on one thing for a long period of time becomes overwhelming and I feel trapped. It’s not like I spend an hour or two doing something, but sometimes a whole day just doing one thing. When this happens, it is really hard to get back to a normal perspective of life. That is when everything has to simply stop and a determined moving toward other activities has to be done.
One way I do this is to get out and move. Going for a walk, watching a movie, gardening, cooking, socializing. Getting out of the house, away from the studio or fabric, pulls me out of the singular focus of the moment. Being singularly focused gets a lot done, but the feeling of being trapped is not a good feeling. It is suffocating and in many ways crippling. Anything beyond the focal point becomes unimportant.
Obviously, that doesn’t work too well!
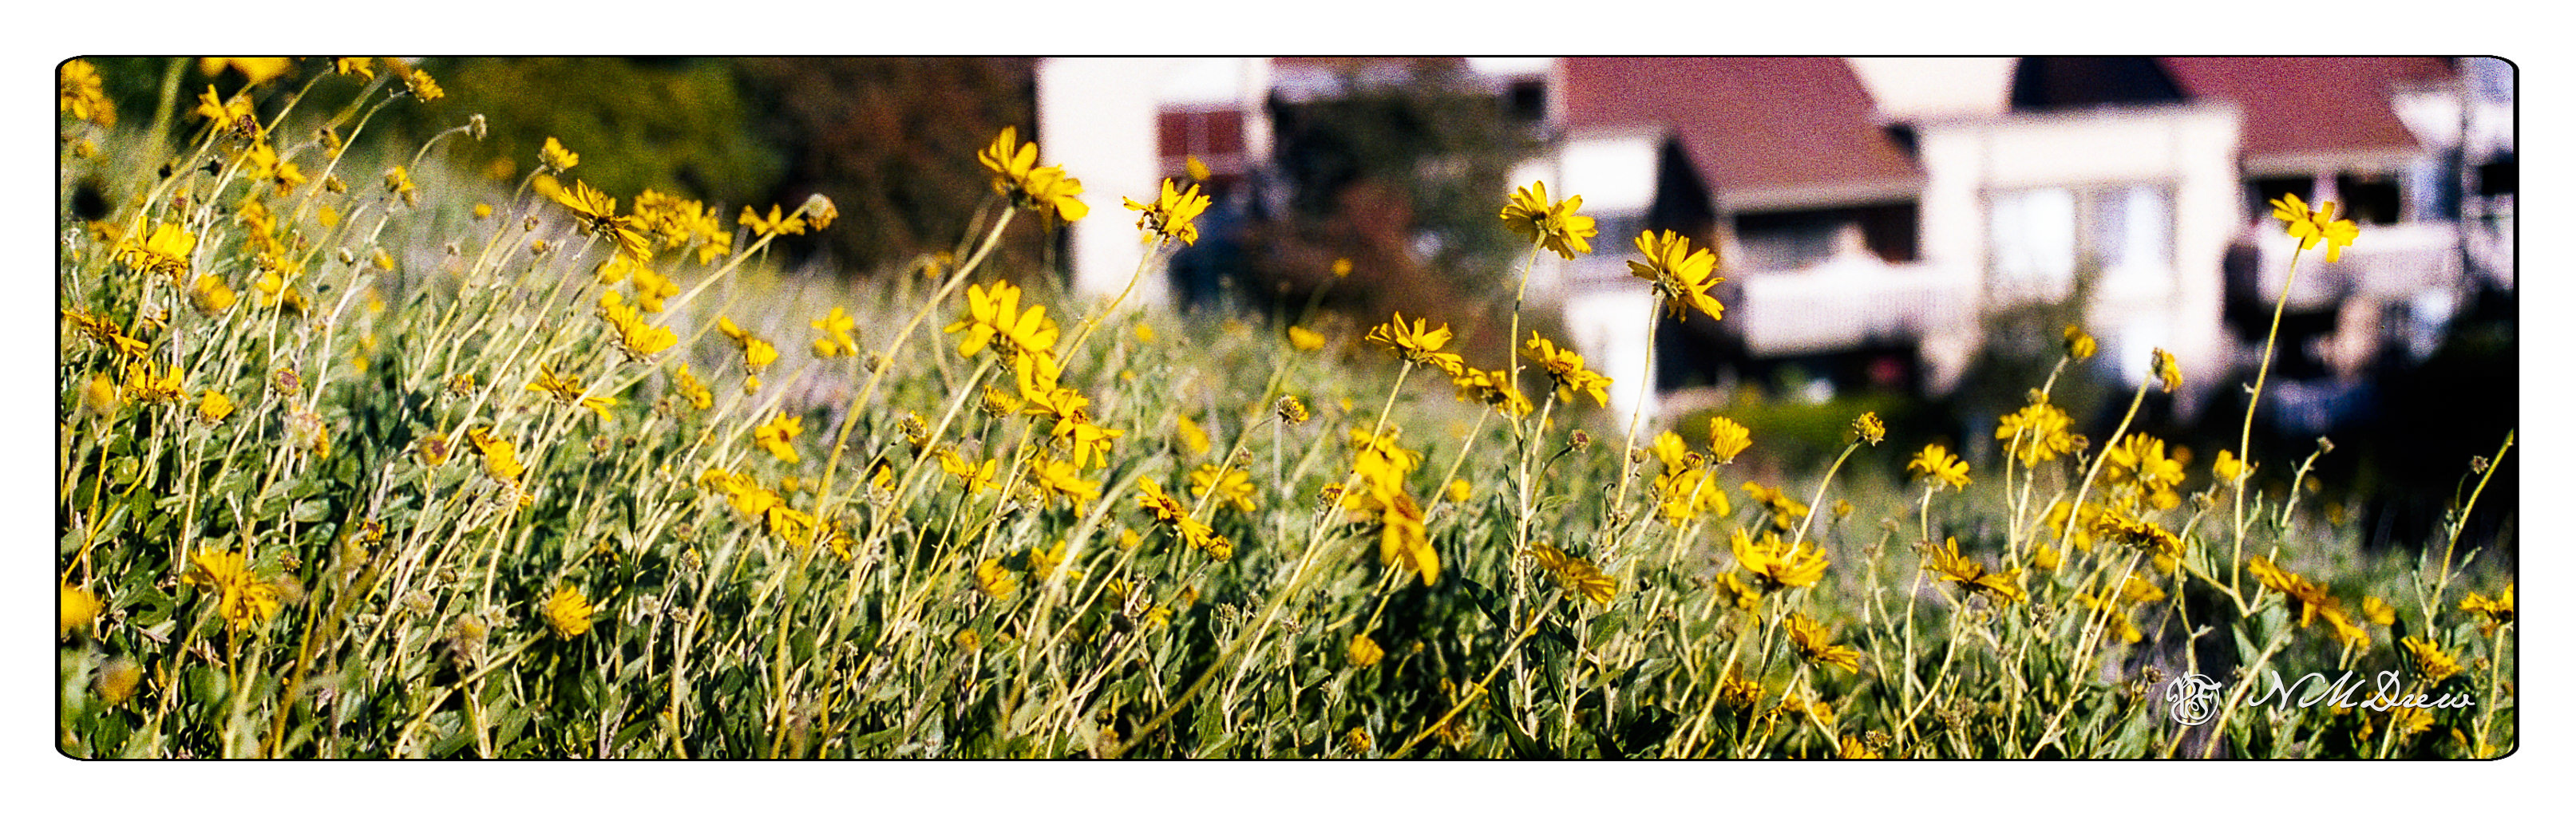
The other day, I decided to take a camera I had loaded up with film out and take a long, long walk. Up hills and down, near creeks and on rather scary heights. I went alone. I took my phone for safety, and I let my husband know where I was. I just needed solitude and movement and being out in a world welcoming spring. And then I played with the post processing, sometimes with color, sometimes with silly extremes, and sometimes just to enhance a pretty place.
The world feels a bit more normal now! And given the current craziness, it is something to be cherished and appreciated. Nature gives us something far beyond our comprehension.
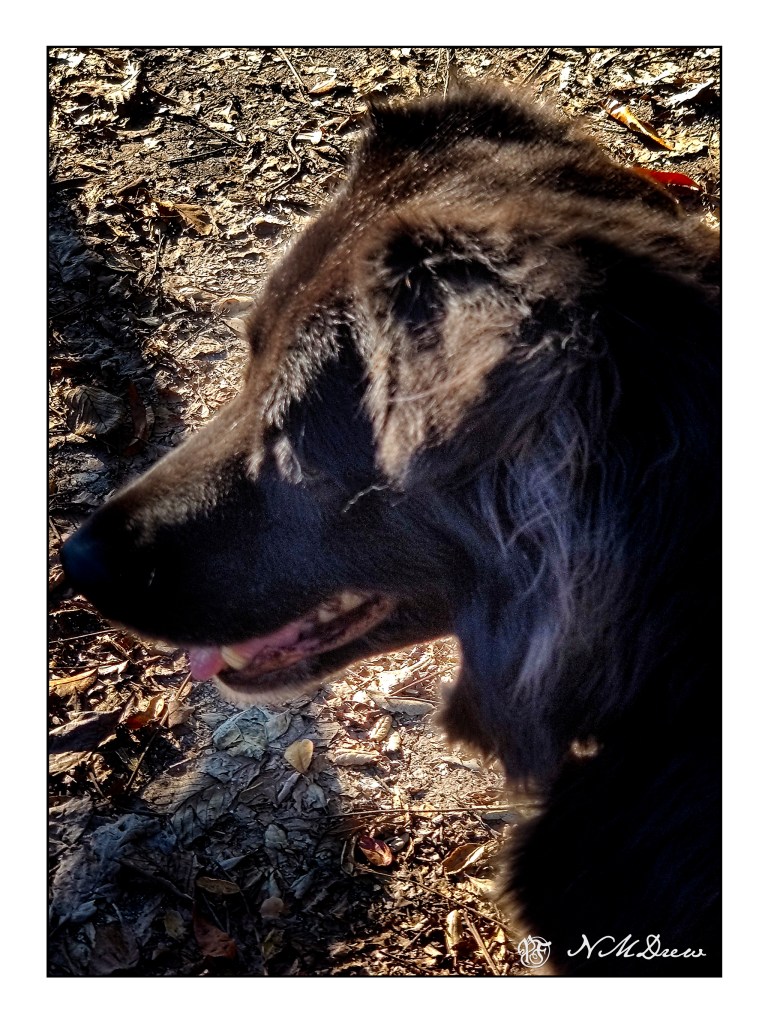
I always love a walk in the local botanical garden, but I haven’t been for awhile with one of our dogs. I fell down a hillside because one of them pulled me off balance – squirrel! – and am rather uneasy, but today I went. Luckily, nothing happened except beautiful weather, spring scents, new leaves, narcissus, and bulbs. I didn’t plan on taking pictures, but my trusty phone came in hand. Smudge brought her nose and one helluva good time.
The people who care for the garden do a wonderful job, and spring cleaning, or new year cleaning, came as the underbrush and detritus of last year has largely been cleared away. Only fallen leaves and new plantings – even my favorite old oak tree that usually has a pile of leaves in its center where branches grow was clean. Maybe the wind, maybe the fairies in the wood.
Tree Nymph Watching You . . . Beware!
Because of my fall down the hill with Smudge, I decided to take the easiest paths I could find in the climb to the top of the hill. Switchbacks with low degrees of ascent and descent worked, and we had a wonderful walk.
The Beautiful Smudge
We spent a few hours wandering around, sitting on benches, observing people and plants, listening to squirrels and crows, seeing lizards climb trees and play hide and seek in the ground cover. Smudge sniffed and climbed up on the benches to keep me company.
“Le Grand Pin” and New Bulbs
This is a beautiful pine, and though I have no idea what it is (and no label to be found), it is at a corner of the garden, like an old and dear friend welcoming you back.
Spring is Springing!
These bulbs are always so cheerful. They bloom for months and are a bright splash along the trail.
Last Year’s Leaves
These caught my eye – last year’s foliage, or this years tinged by frost? (We have had some below 32F nights!)
Old Oak
This is my beloved oak tree. It must be 500 or more years old – young when the Spanish first came to the area? Who knows . . . .
First Narcissus
I love looking for the narcissus planted throughout the gardens, and the daffodils, and the iris. They all bloom at different times.
“Le Grand Pin”
The pine tree from a distance. The rocks lining the pathway are new this year!
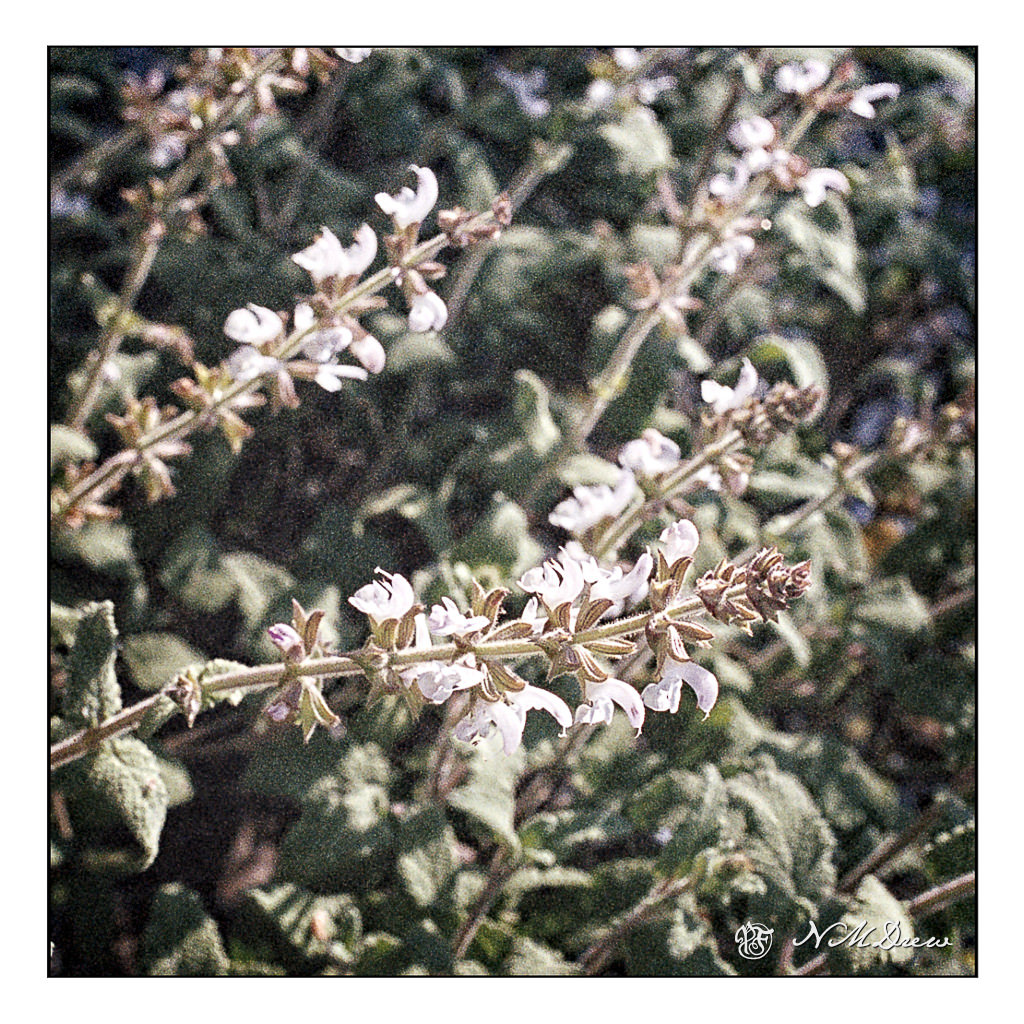
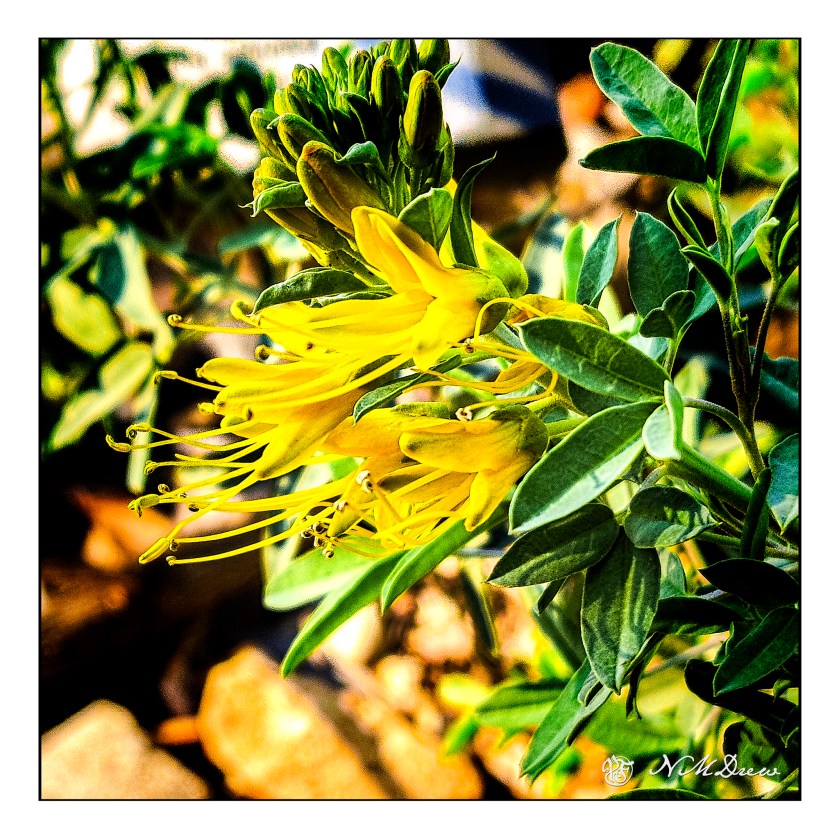
Bladder Pod in Bloom
This is a native plant, and it’s rather a fun one. When thebladder pod to spread its seeds, the bladders explode and send the seeds flying in all directions.
Initially, I didn’t plan on ending up at the botanical garden; rather, the goal was the dog park. However, it turns out that on the third Thursday of the month, the dog park is closed for cleaning and maintenance. So, how lucky were we to be able to enjoy this wonderful day?