Rick & Me

About a year ago I found the YouTube channel of Rick Surowicz, and artist of considerable talent, and a formidably talented teacher.  In the space of just over a year, he has garnered 25K followers, and I am one of them.  Check him out if you don’t know who he is!

Anyway, I did two of his videos, both of which make use of frisket.  In general, I like to “travel light” – meaning, I like the idea of spontaneity for success, not thoughtful pre-planning.  The result for me is usually disaster and disappointment.  Rick’s videos are clear.  He explains what he does and why.  The results speak for themselves.  I decided to get off my don’t-panic-I’m-organic high horse and follow along.  These next two paintings are from his lessons, which I followed.  I can honestly say I enjoyed doing them, even in the moments of terror – that frisket!  those colors!  
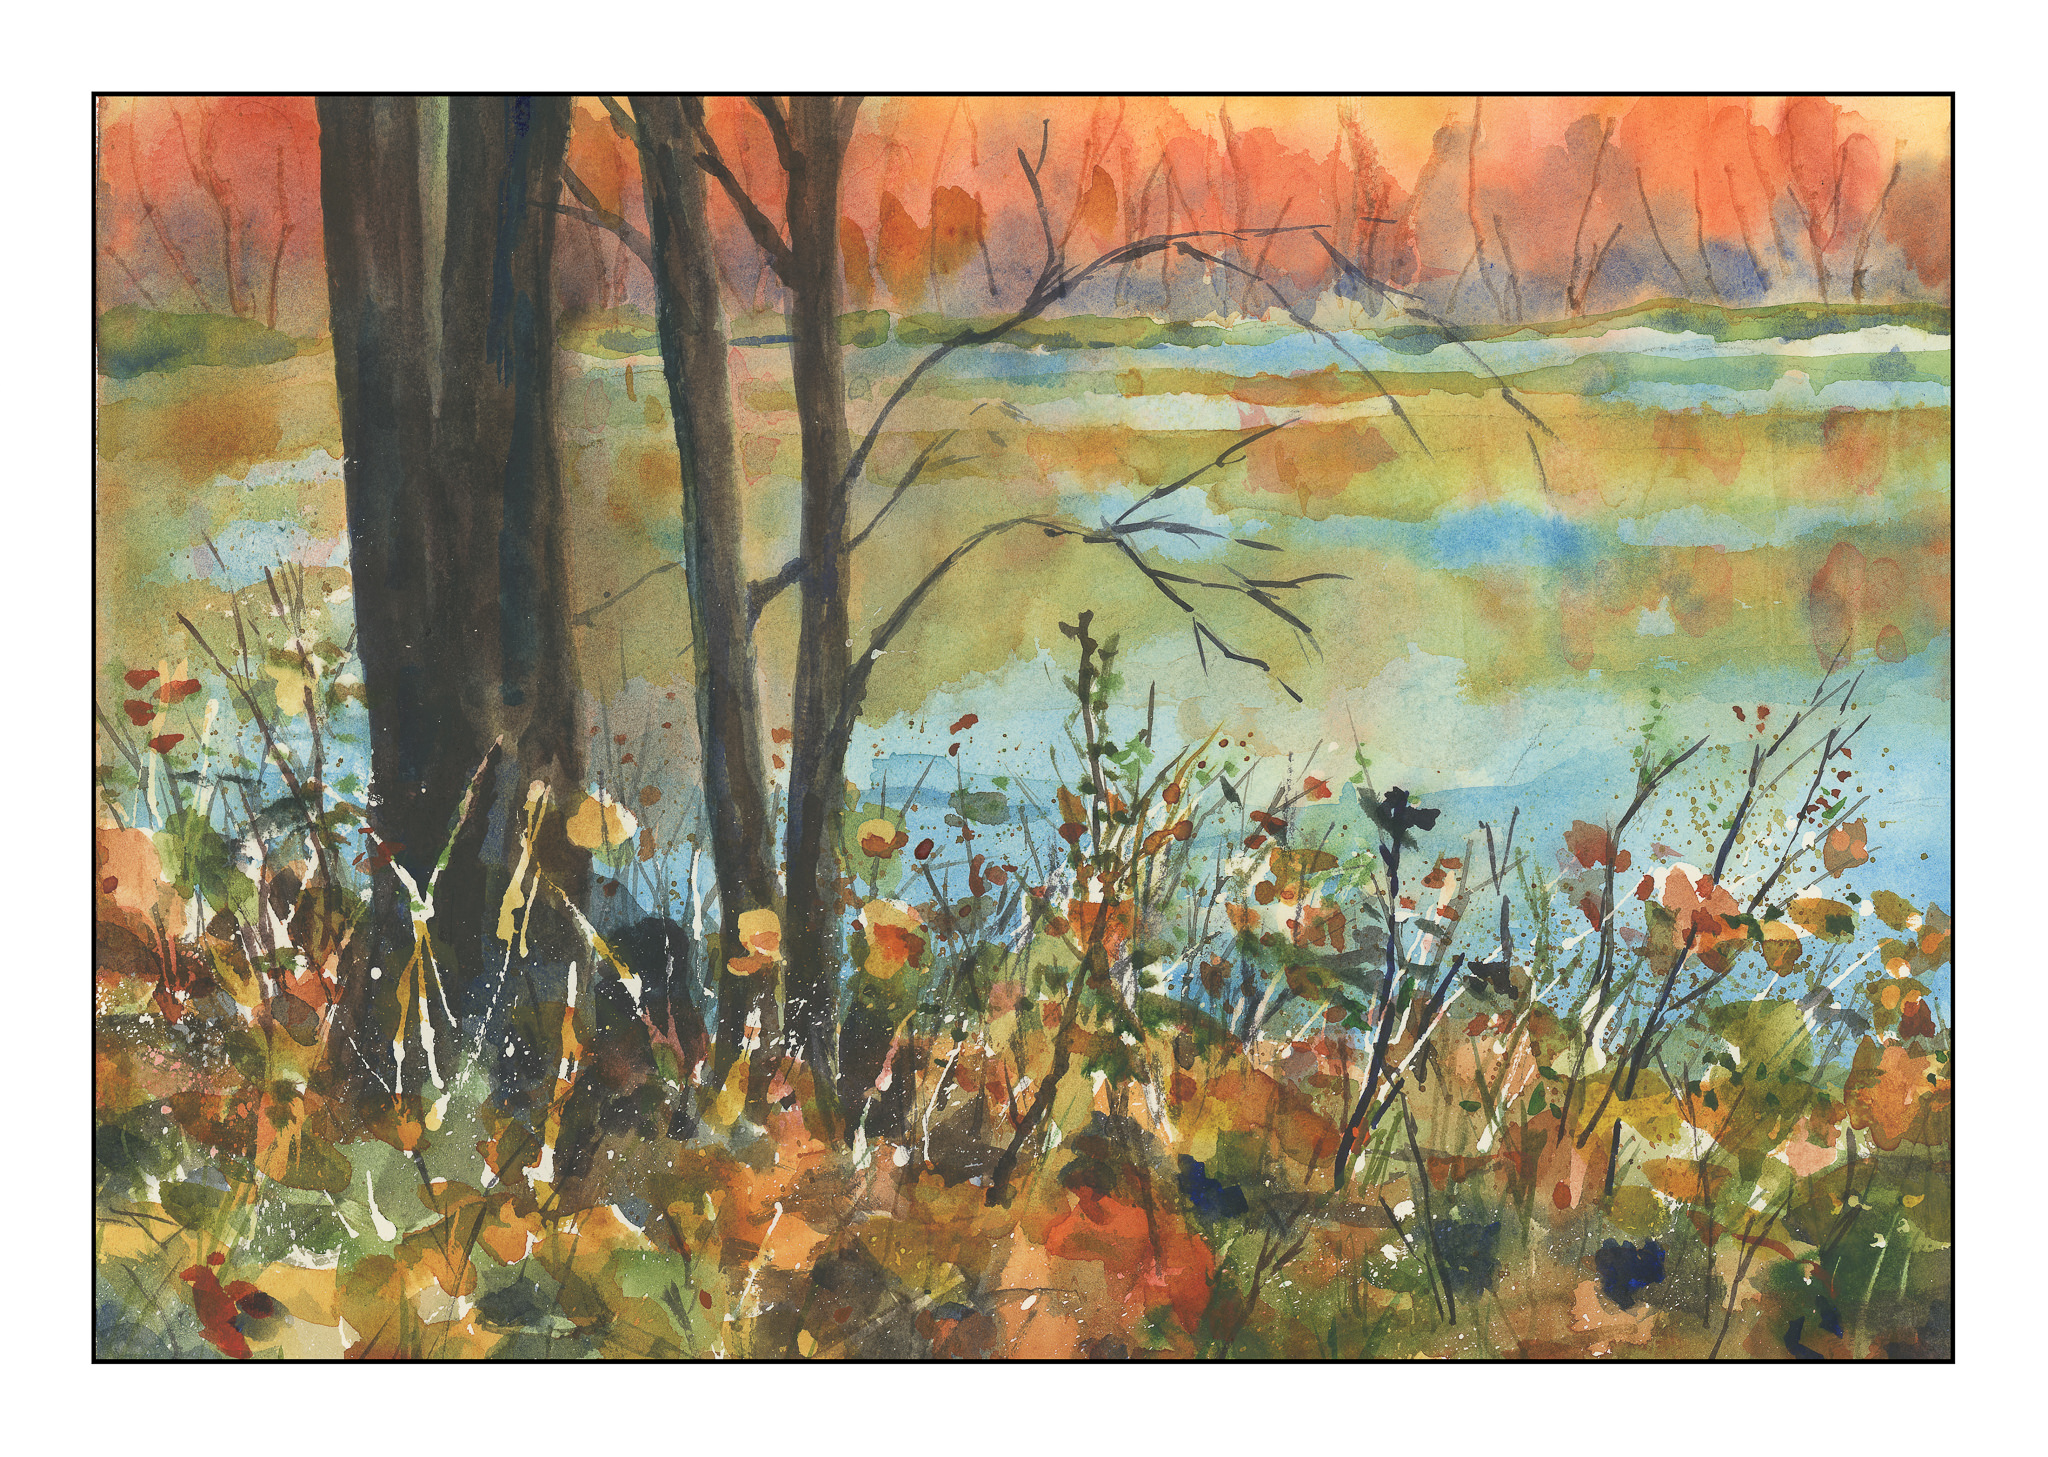
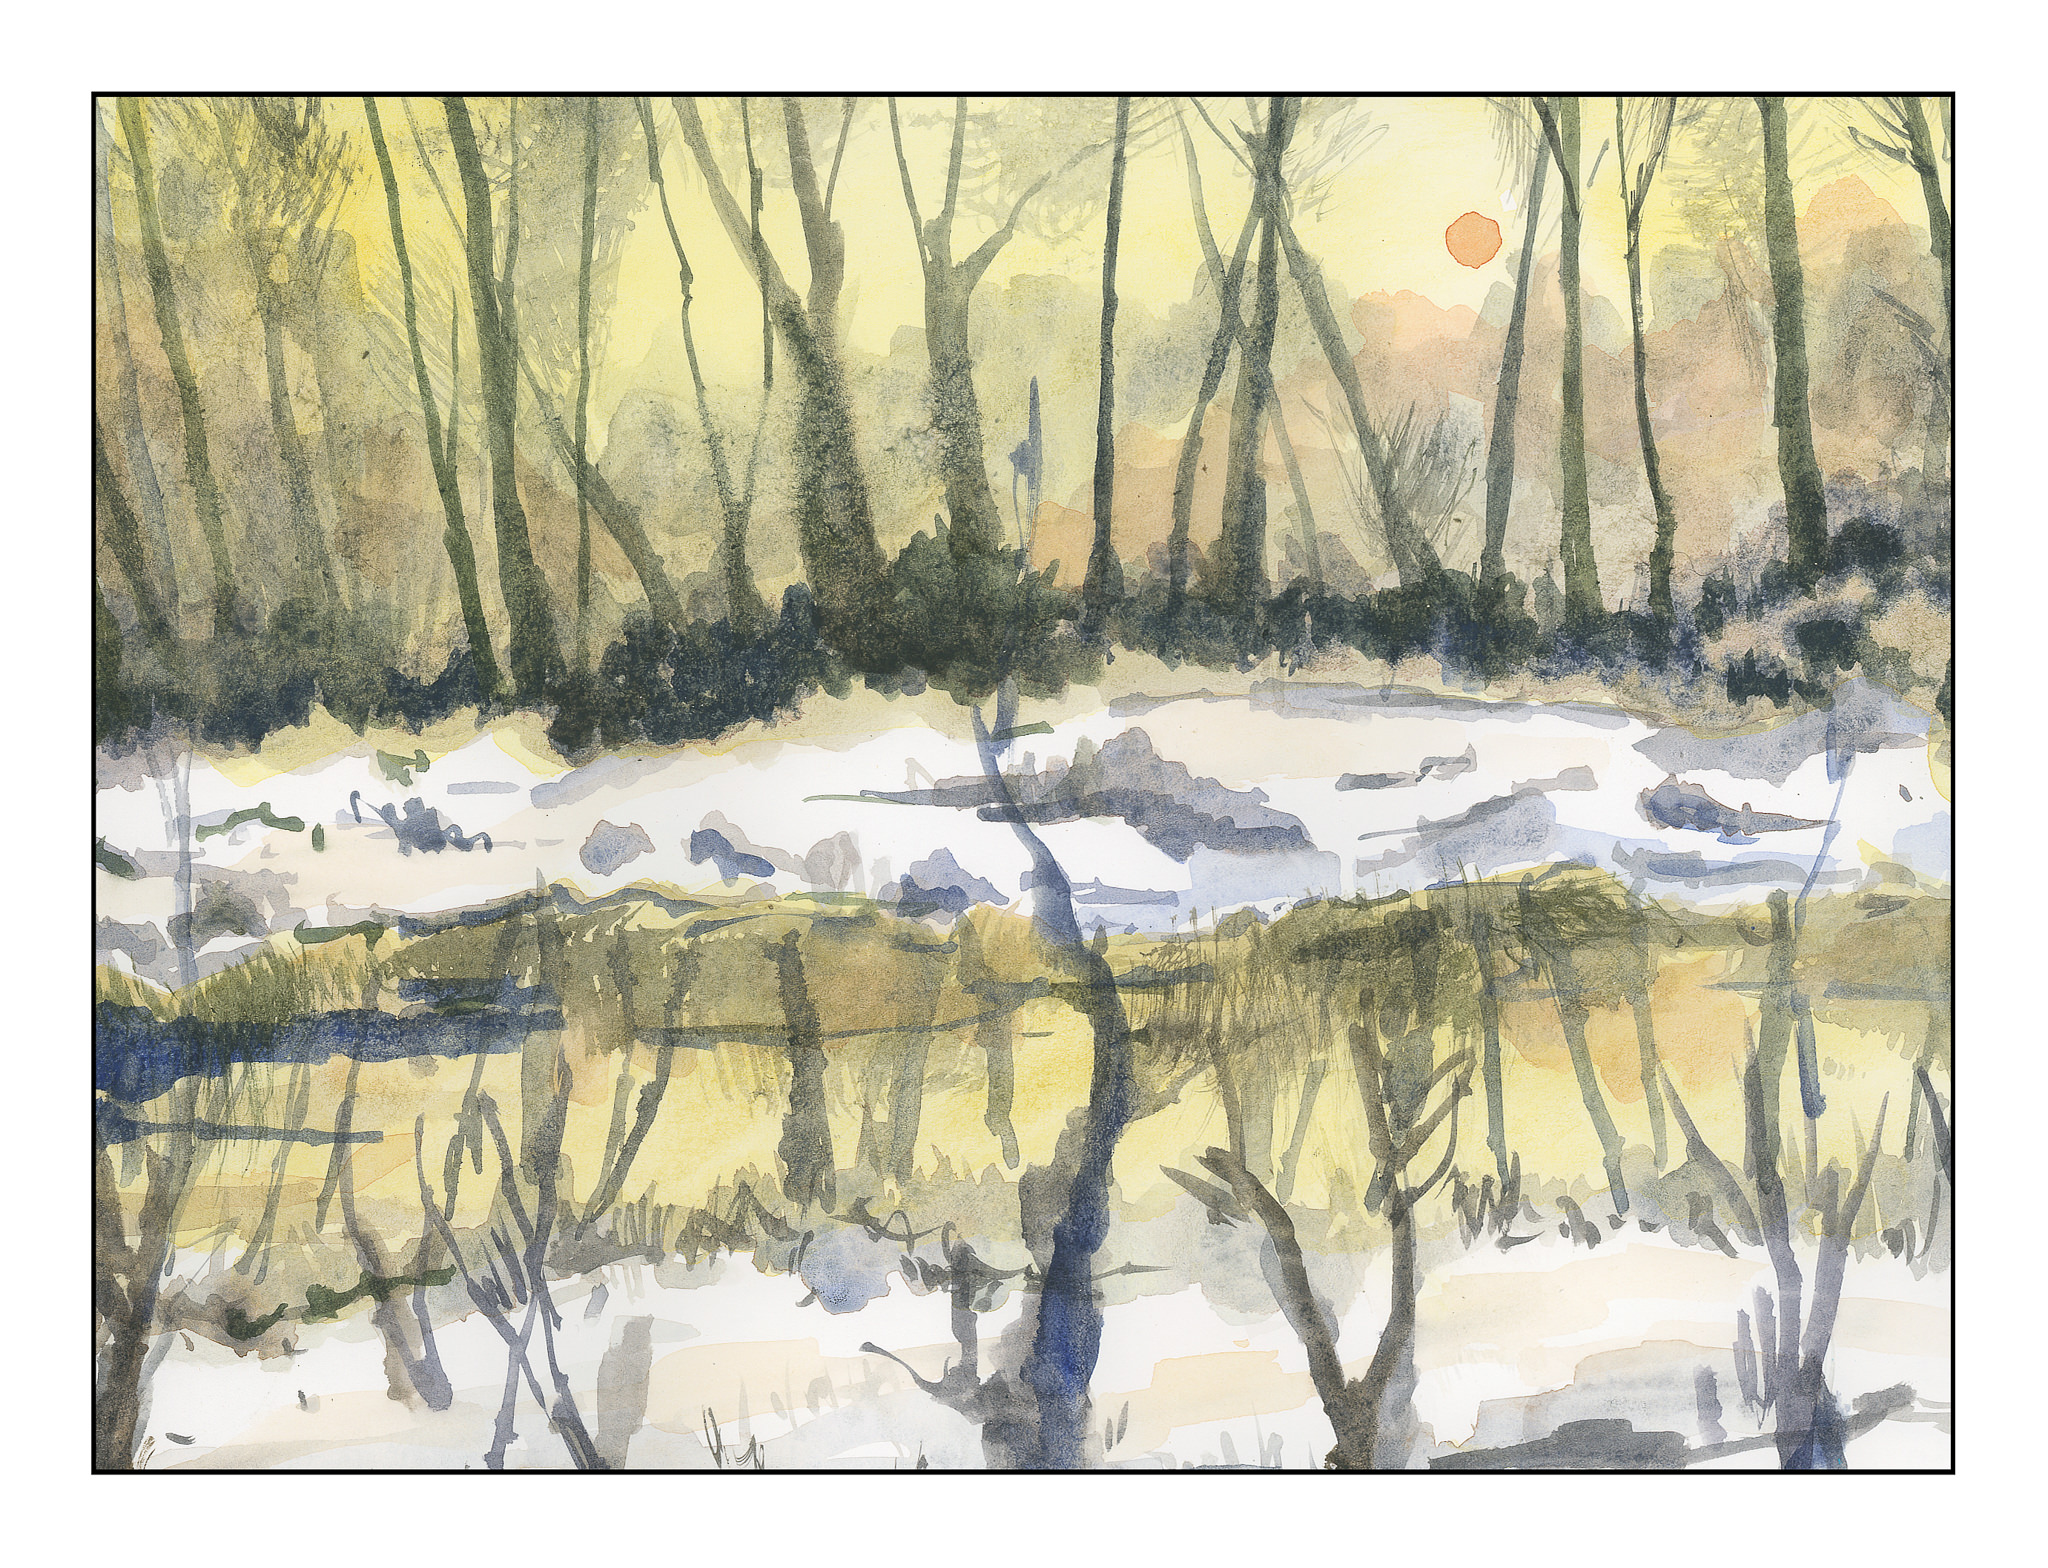
Each one of these paintings required the usage of liquid frisket. I applied it, let it dry, and got to work. The beauty of the liquid frisket is that it allows the application of broad washes across the paper without the loss of white paper, or having to do in painting or negative painting. This actually gives a bit more ability to be spontaneous and splashy than not using it! (Surprise lesson here.) I did each of these paintings over a two or three hour period, watching the steps in each video a number of times.

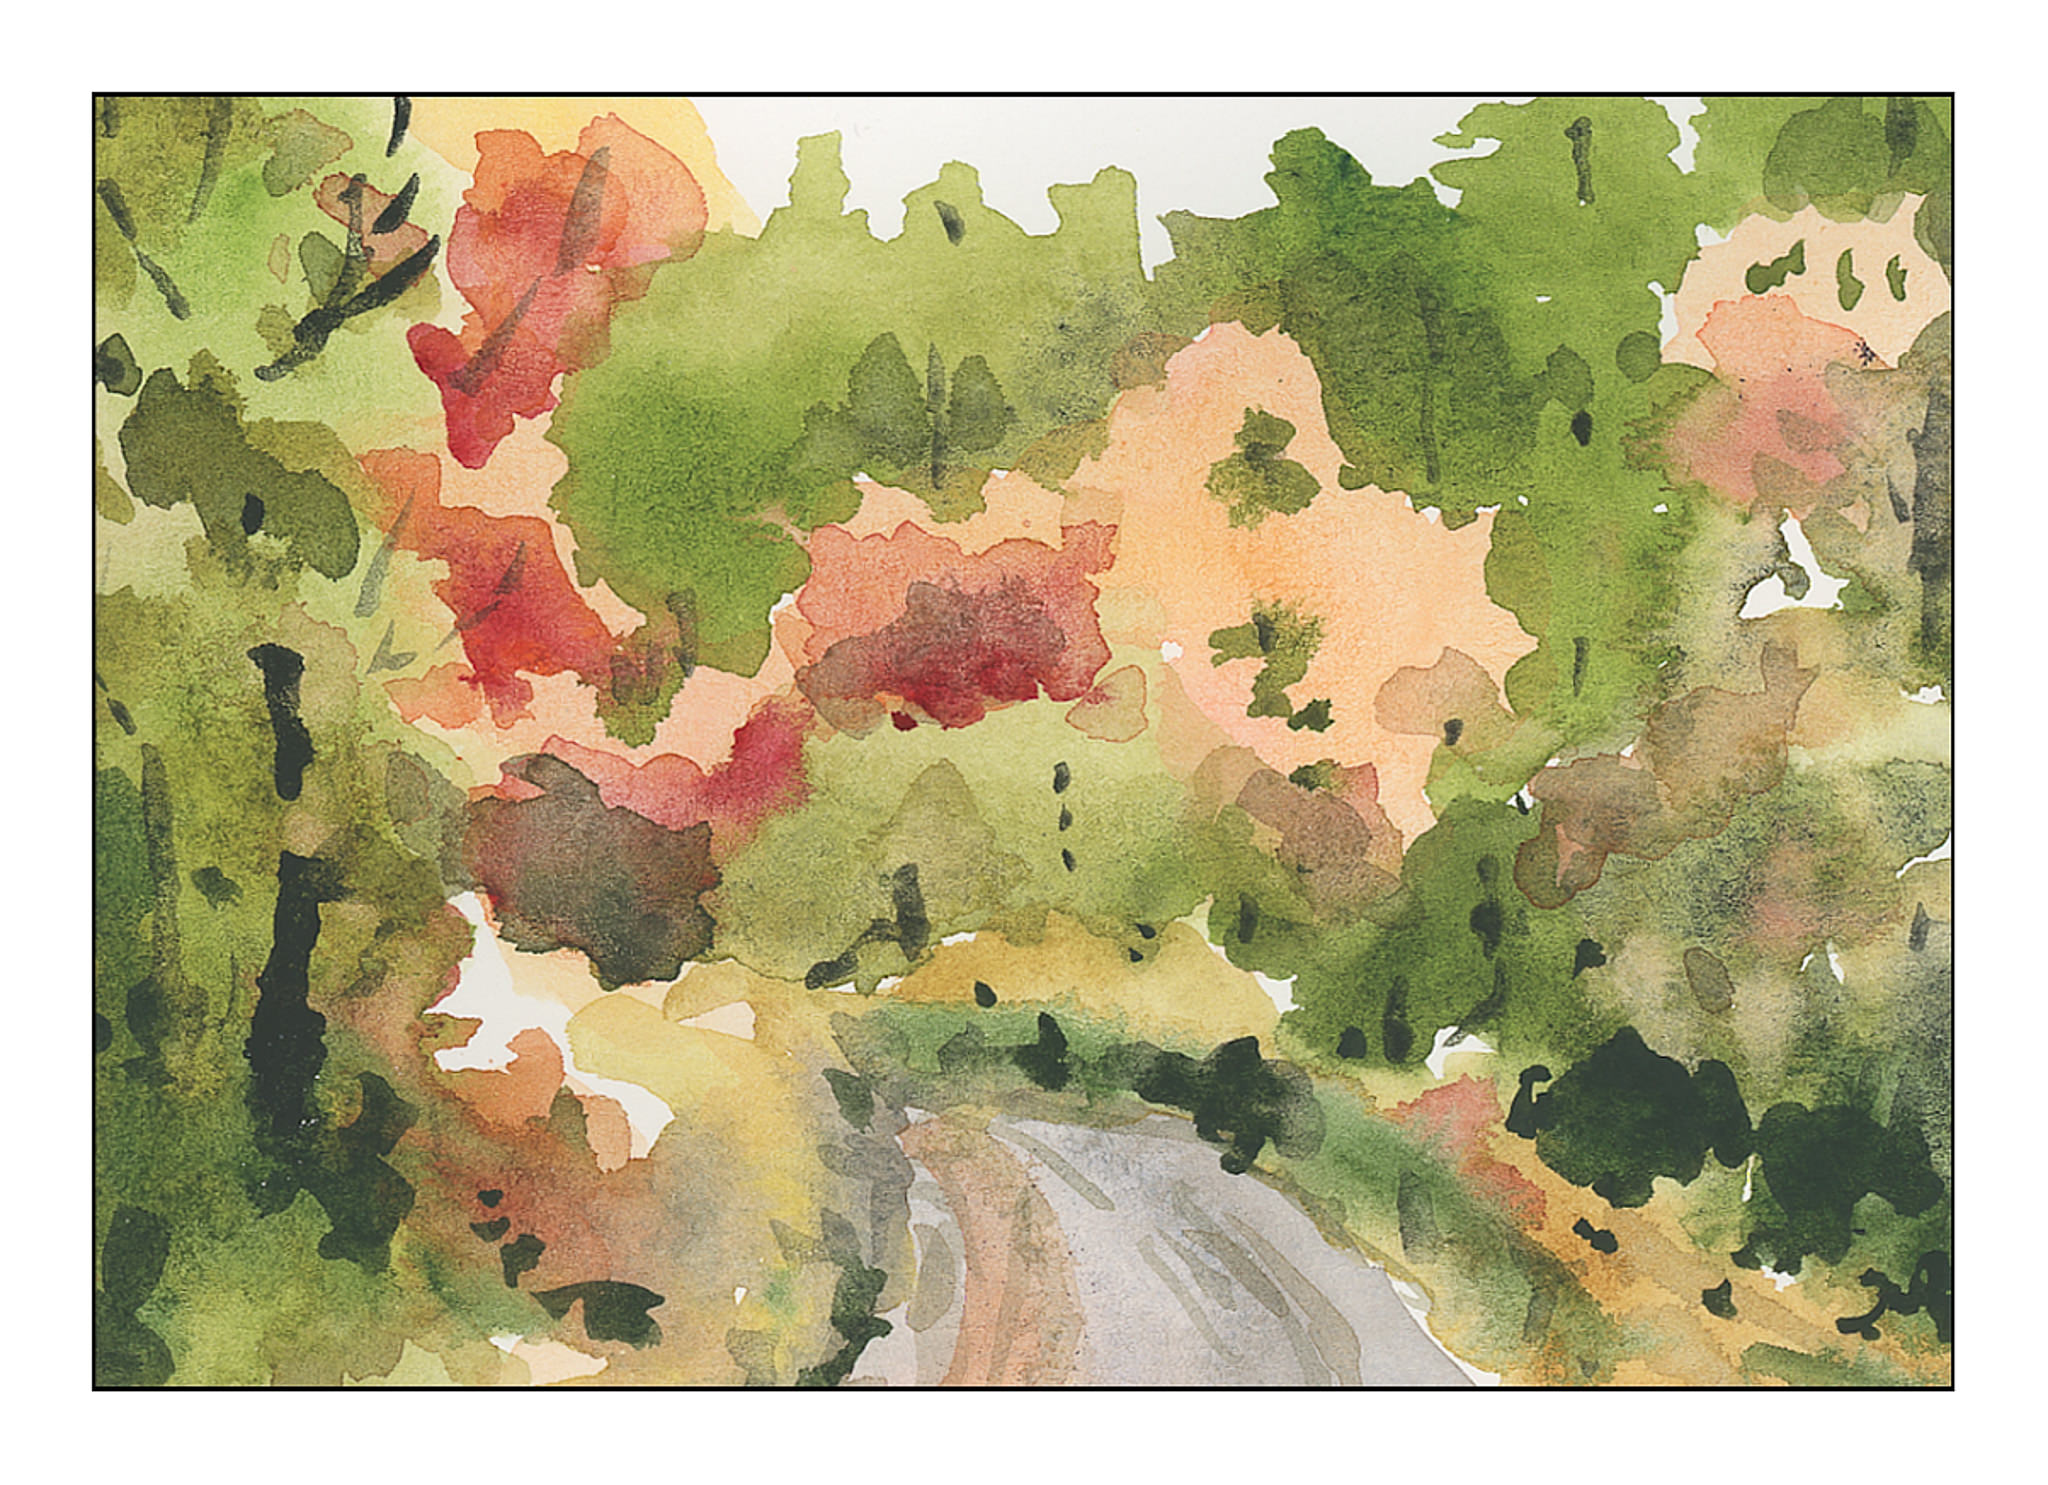
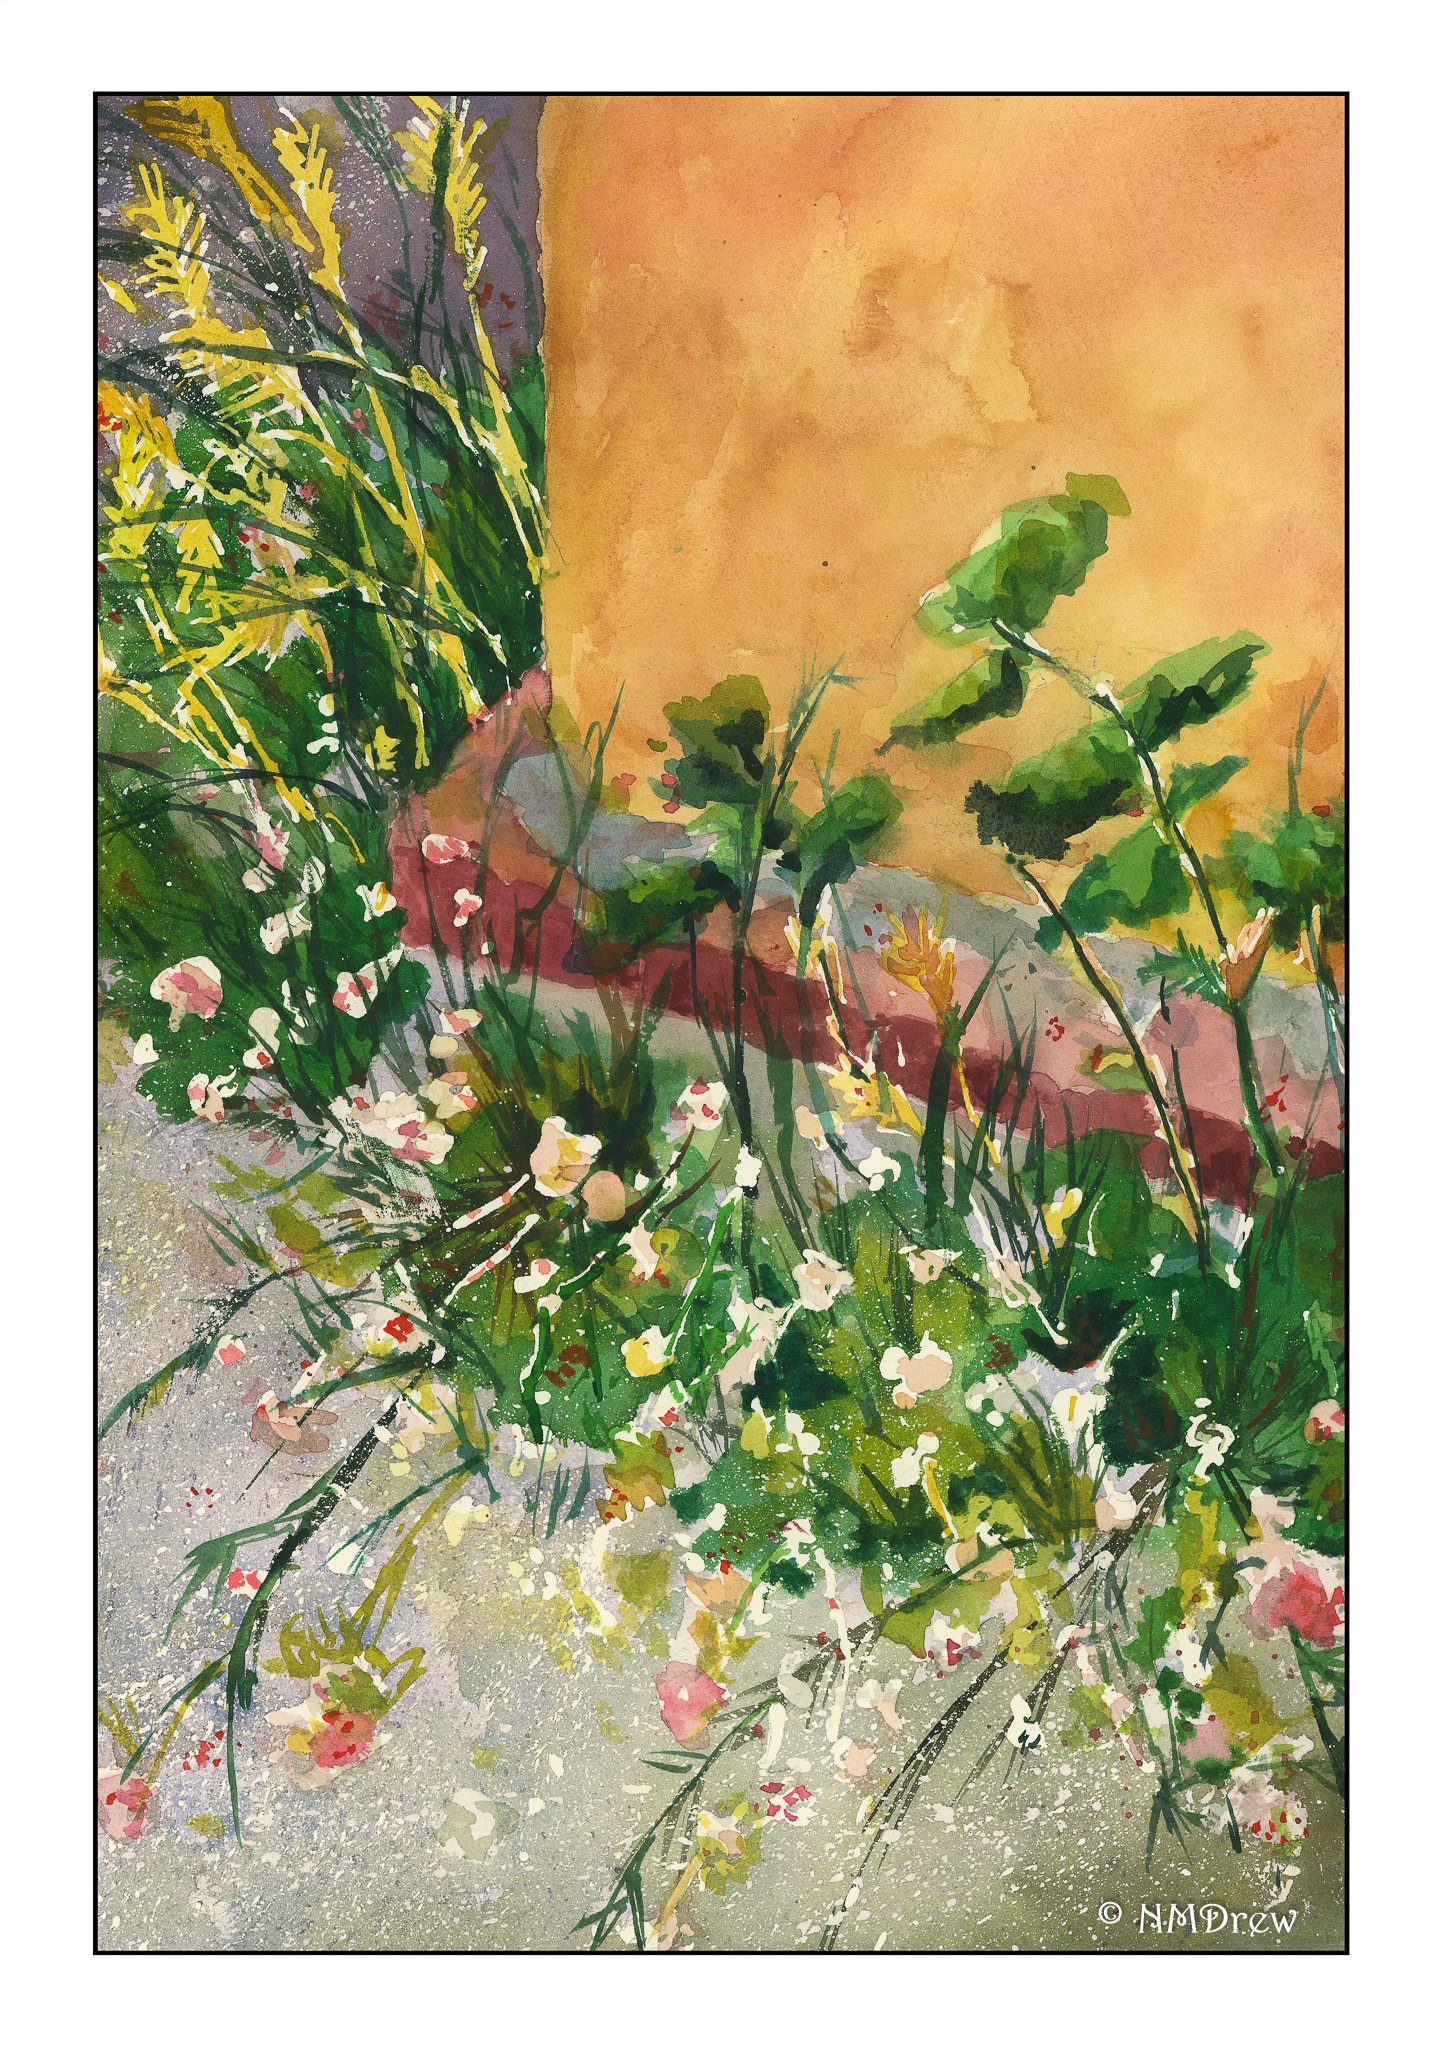
At some point, we all have to try our wings. I took a photo of a weed patch behind La Purisima Mission in Lompoc, California, last summer during a visit. There were white flowers – perfect for frisket – and yellowish grasses – also good for painted-over frisket after it was removed. This painting held a lot of terror, let me tell you! However, I am fairly pleased with the end result – simplification coupled with detail.
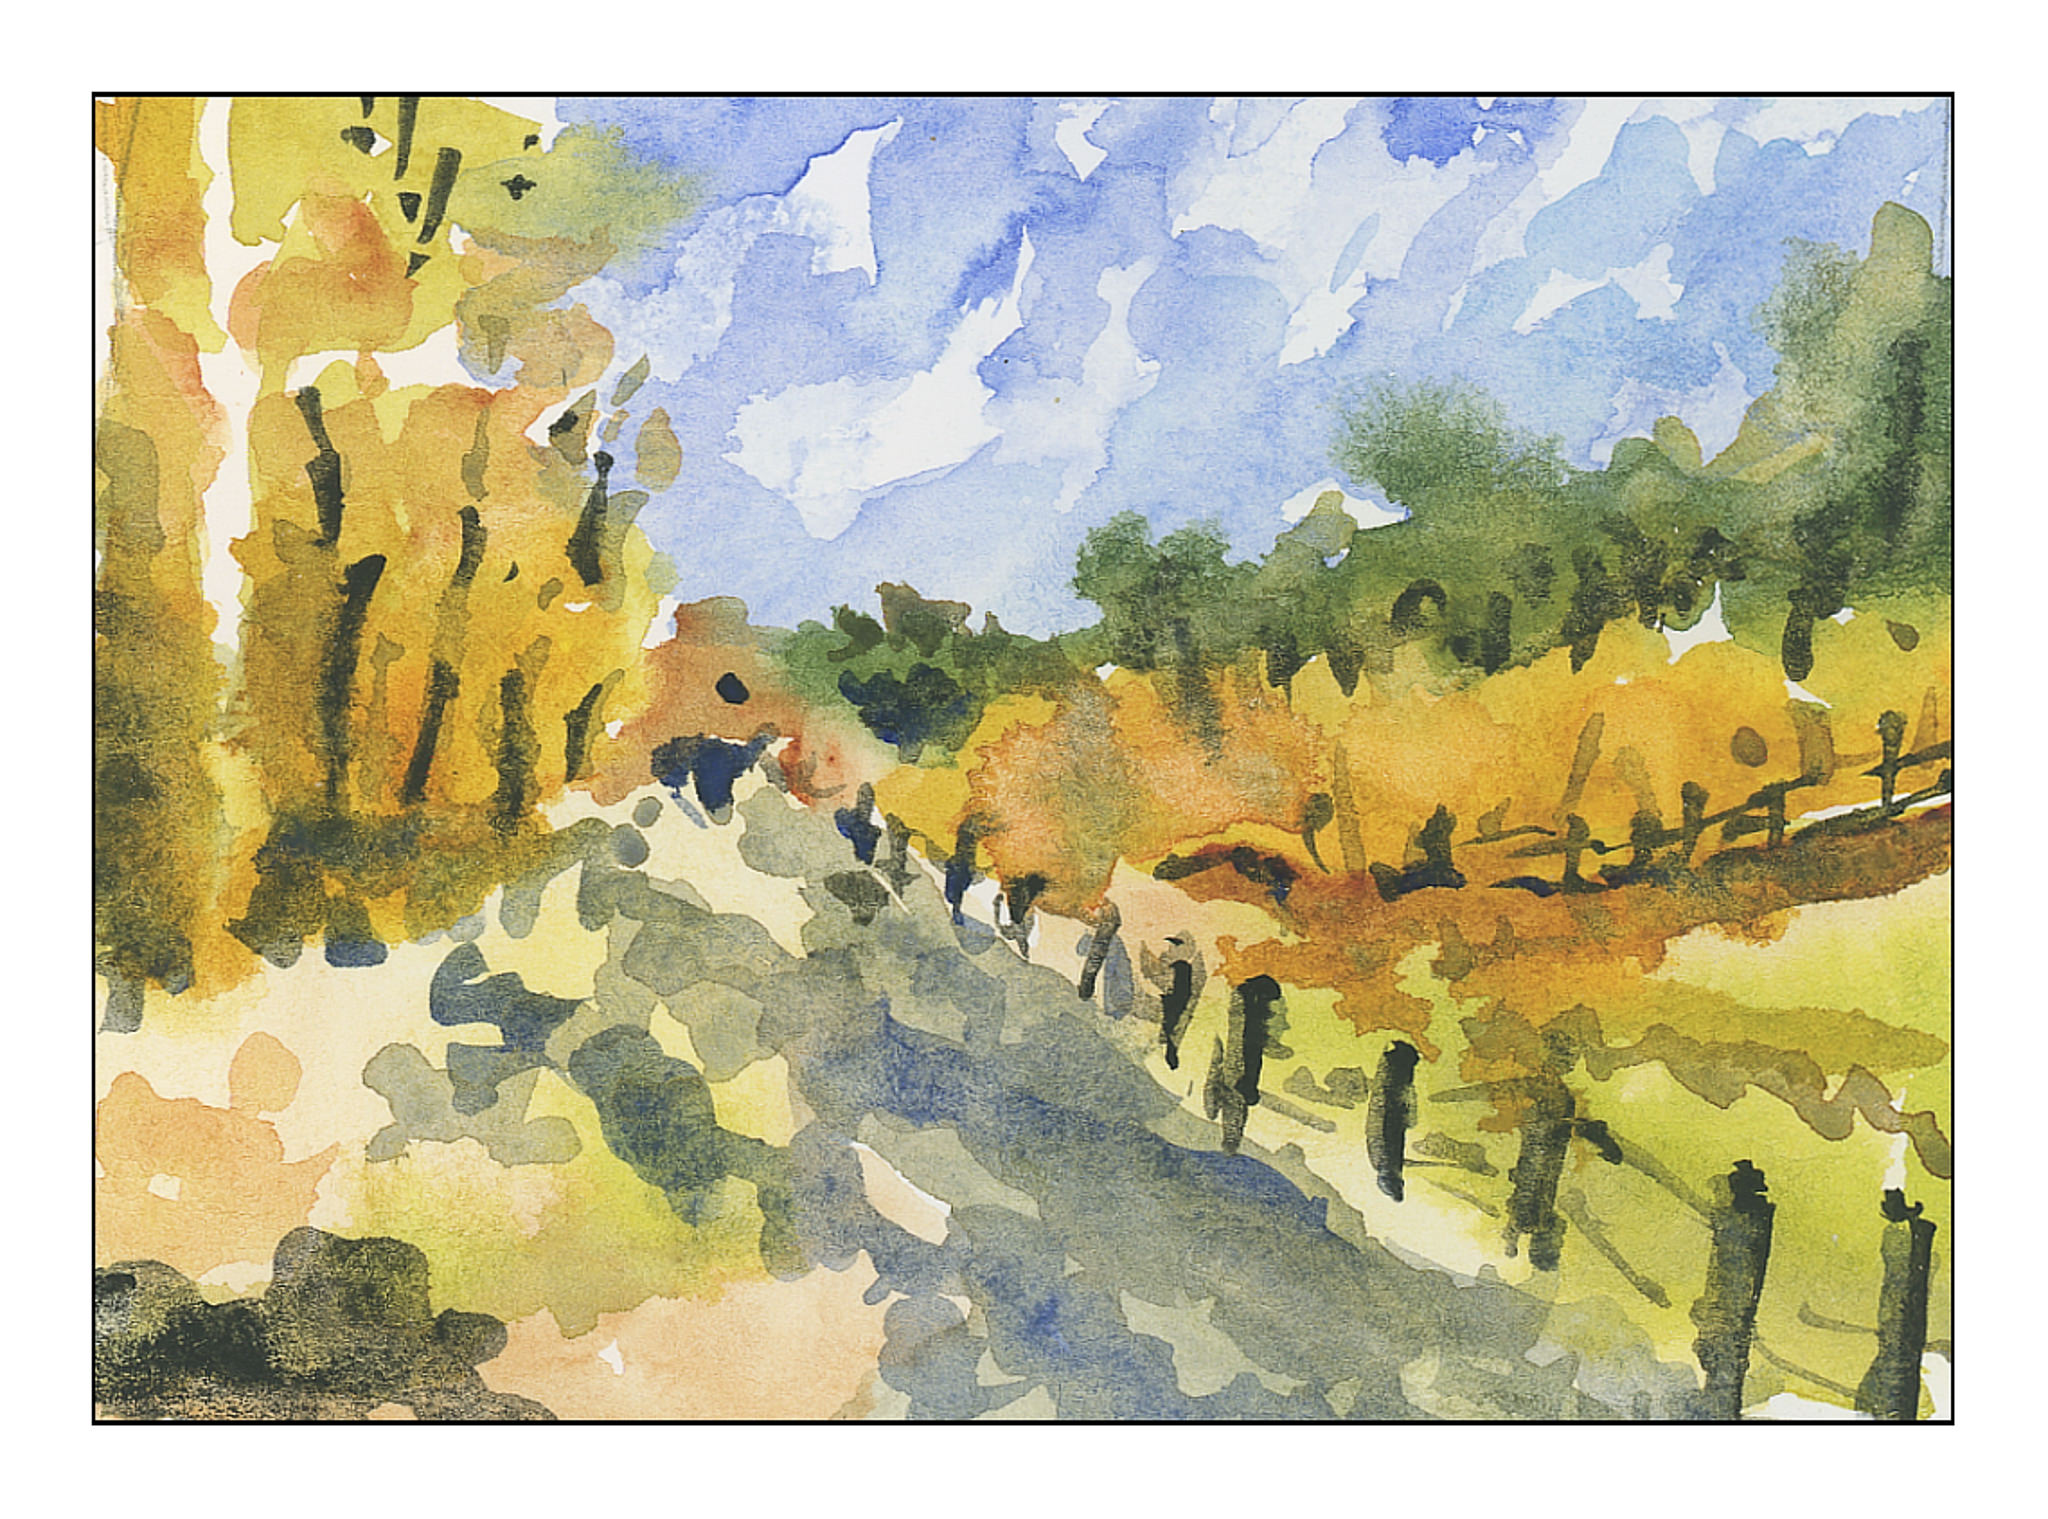
This morning, I did this painting, derived from a public-domain photo of an aspen grove. In the photo, light was shining from the right, and in looking at the picture carefully, the trunks of the aspens, which are a brilliant white, much as birch trunks are, were actually darker than the brilliant yellow-green foliage in the distance. I used frisket for the white areas on the right of the trees, and then, as I laid down layers of color, added more frisket here and there to protect areas of color. I did this for three or four layers until I finally removed it all, and then painted in areas needing more detail or contrast.

By following Rick Surowicz’s tutorials, I finally learned something. Frisket is not scary and can be an aid to a spontaneous or splashy wash as it helps preserve white paper. In the process of copying Rick’s process, I learned a bit about color, reworking areas, contrast, and whatever. I was also able to paint a representative of a bush or leaves rather than hankering to paint the details and losing the overall effect. I am thinking about redoing the last two paintings without frisket, just to work at white space without an aid. That will be more of a challenge I think than not using frisket!
Keep It Simple!

I have been so focused on buttonholes that I am getting a bit nutso.  Painting is a totally different experience, and was a welcome break yesterday and this morning from the analytics of buttonholes!  If I do anything with sewing today, it will be later on.  In a bit, we are headed out to collect our supplies for Thanksgiving dinner, and that will certainly be another pleasant break.  I don’t know about you, but too much of any one thing becomes almost an obsession with me – analyzing and studying whatever.  Painting does require a bit of analysis, but it also has an element of sheer doing that makes it very different.  It’s very relaxing, and because it just has a life of its own, watercolor is a challenge and a tease as well as a very creative experience.

Anyone who does watercolor or painting or drawing is well aware of the need to simplify details, especially in masses of color.  Every leaf does not need to be painted.  When we look, we see these details, and the effort to simplify them into areas of light and dark and midtones can be – and often is – very challenging.  Good artists make it look so easy!

The other day I was napping on the patio (I live in a warm part of the world).  When I woke up, I looked at the podocarpus trees along the back wall, and suddenly got the idea.  I saw the details of the leaves – each leaf – but I also saw the light and the dark areas.  That is when I realized I could do it – but it had never been in the front of my mind before.

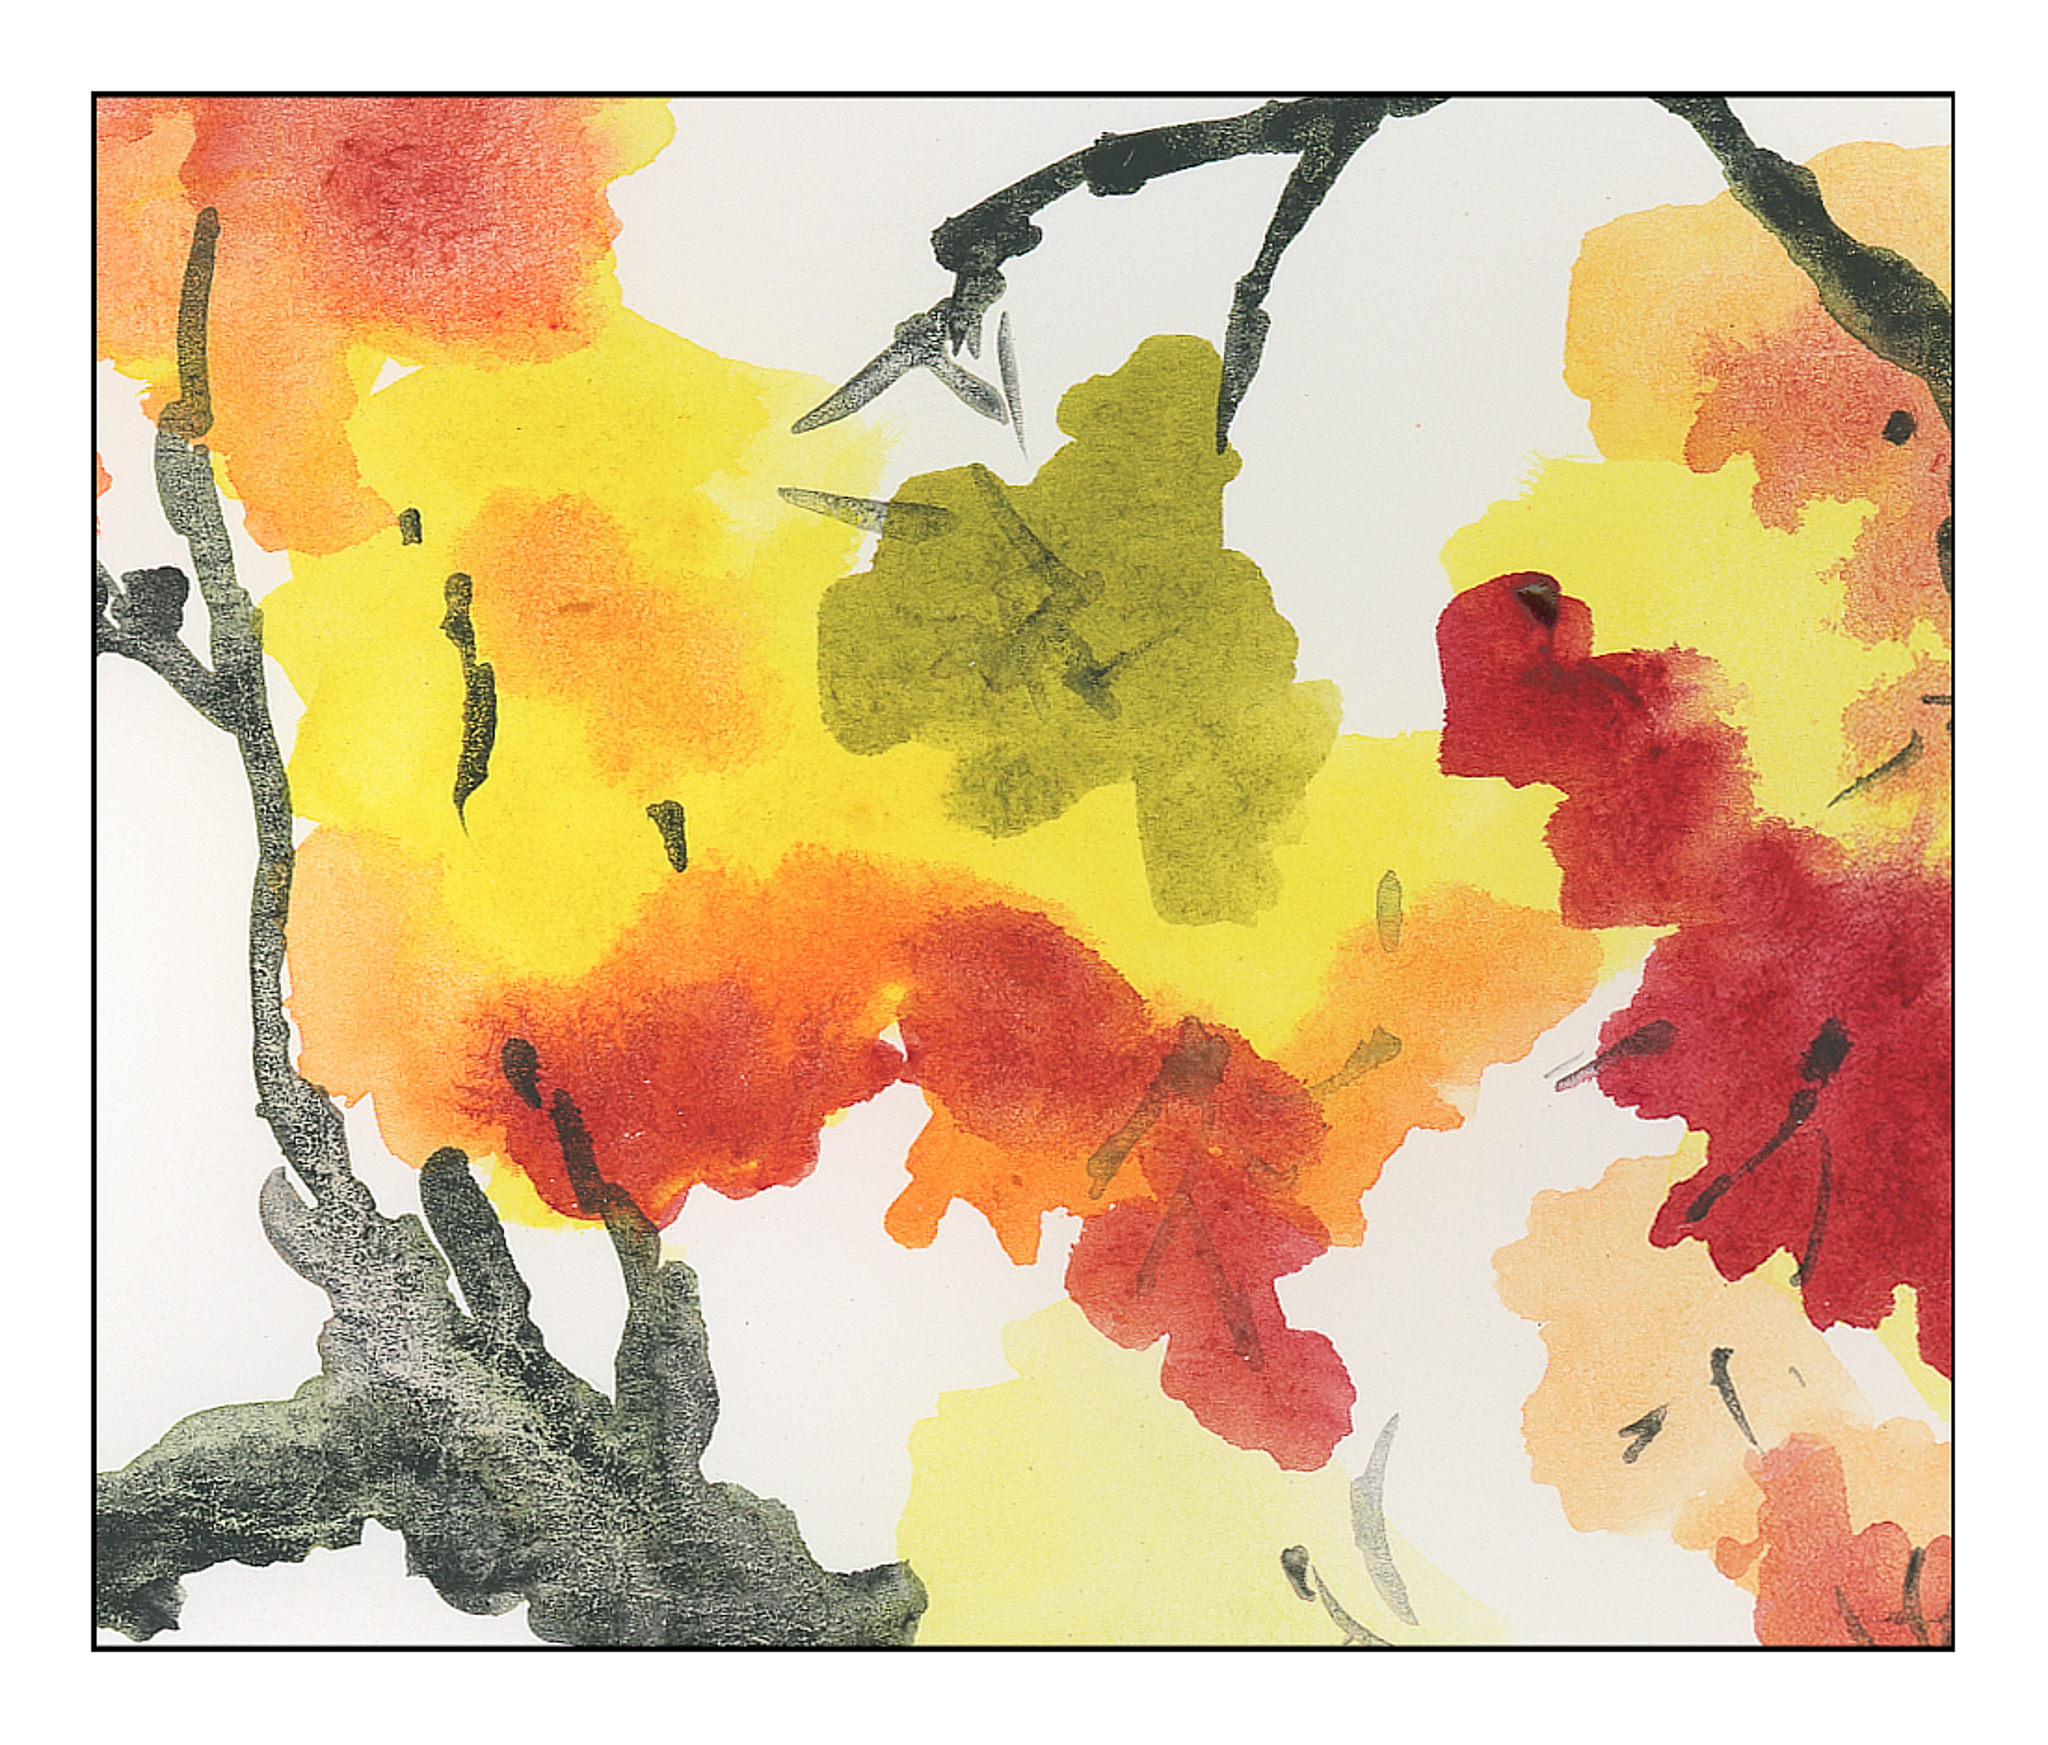
I went to work.  No outlines by pencil, just some reference photos labeled “foliage” in a search.  Varied pictures showed up, and here are my studies of simplified details.

These first three are thumbnails, about 3×4 inches in the order I painted them.

I did the above paintings yesterday.  This morning, applying the same tactic of no lines drawn, I used a 9×12 inch sheet of paper and painted out to the edges.  Again, the focus is on simplification of details into masses of color.

Success?  I don’t think any of the paintings are particularly good, but I do think I am getting that element of simplification I find so elusive in my own painting.

In Search of the “Perfect” Buttonhole, Part I

I don’t know about you, but sewing a good-looking buttonhole, without a mistake, seems to be a nearly impossible task.  There are attachments for machines.  Some machines have 4-to-6 step built-in buttonholes.  Sew a buttonhole by hand?  Hmmm.  I’ve been tempted and then reconsider:  it’s not worth the stress (even though there are some great YouTube tutorials I have watched!).

In each of these, something can go wrong.  A perfect buttonhole can be destroyed with a slip of the seam ripper when making the final slash.  Birds nests of thread can collect under what looks like a beauty of a buttonhole.  Stitches can be skipped.

I have a small (compared to some people) collection of sewing machines, ranging from a treadle with a long bobbin (The Free #5), two old Singer handcranks (a back-clamping Lotus 66 and a 99), a Featherweight 222K, a Necchi hiding out in the garage in a horrid French Provincial table), some Kenmores (158.1030, 158.1400, 158 904, 158.19802), a Bernina or two (801S and 930), a Janome 6500, and a Pfaff Passport 3.0 (which I may trade in as it seems to have a few too many quirks).  I also have a Viking 19e, fixed at long last, which was my mother’s machine, and the one I used throughout my school years.  I also have attachments for the treadle, Singers, Kenmores, Berninas, and Janome – anything to make life easier.  Or purportedly easier.  Buttonhole attachments are included in the mix.  And as adjuncts, a coverstitch machine and a serger.

Not all attachments fit all machines.  Most are proprietary.  For instance, did you know that Singers of yore come with rounded corners and Kenmores are squared?  Round pegs – or rounded corners – do not fit in square holes – or squared holes.  And in reverse.  Thus, Singer attachments are not likely to work on a Kenmore, and Kenmores might not work on a Singer or a Bernina – but they might.

For awhile, Singer made slant-needle machines, and must have slant-needle attachments.  Kenmore machines range from low-shank, to high-shank, to super-high-shank.  These might require specific buttonhole attachments or shank adapters.

Let’s not talk about Kenmore buttonholers of some variety – many are proprietary to given machine models, and are not clearly identified.  Did you ever look at all the models than Kenmore made?  Maybe even more models than Singer.

I have 4 Singer buttonholers (gotten cheap off eBay – some for a couple of bucks) and a generic, low-shank one I bought 20 years ago at a local sewing machine store.  That last buttonholer is the easiest to use of all of them, but the old Singers are a lot of fun and do a pretty good job.

A good or great buttonhole attachment or machine function is a gift from the gods.  Imagine making clothes at home on a straight-stitch machine in a few hours – or several – and then spending the same amount of time (I would think) sewing in 12 buttonholes on a shirt or a blouse or a dress. Even if funky and weird, a buttonholer is up there with a washing machine and a paperclip and a safety pin as far as being this side of miraculous.

Whoever invented the automated buttonholer, thank you, thank you, thank you!

Stay tuned for Part II!

The Rest of Inktober 2018

I’ve been really running around like a nut of late, going hither and thither, but I haven’t really had time to sit down and do much other than a quick post here or there.  It’s hard to believe we are nearly through with November!  And, Inktober ended 2 weeks ago.  I did a lot of the sketches for Inktober, and it was really fun.  It also helped me focus – given subjects – and improve on some of my old skills.  So, here are the rest of the sketches I did for Inktober 2018, not in any particular order.

Muddy – Inktober #23
Slice – Inktober #31
Thunder – Inktober #27
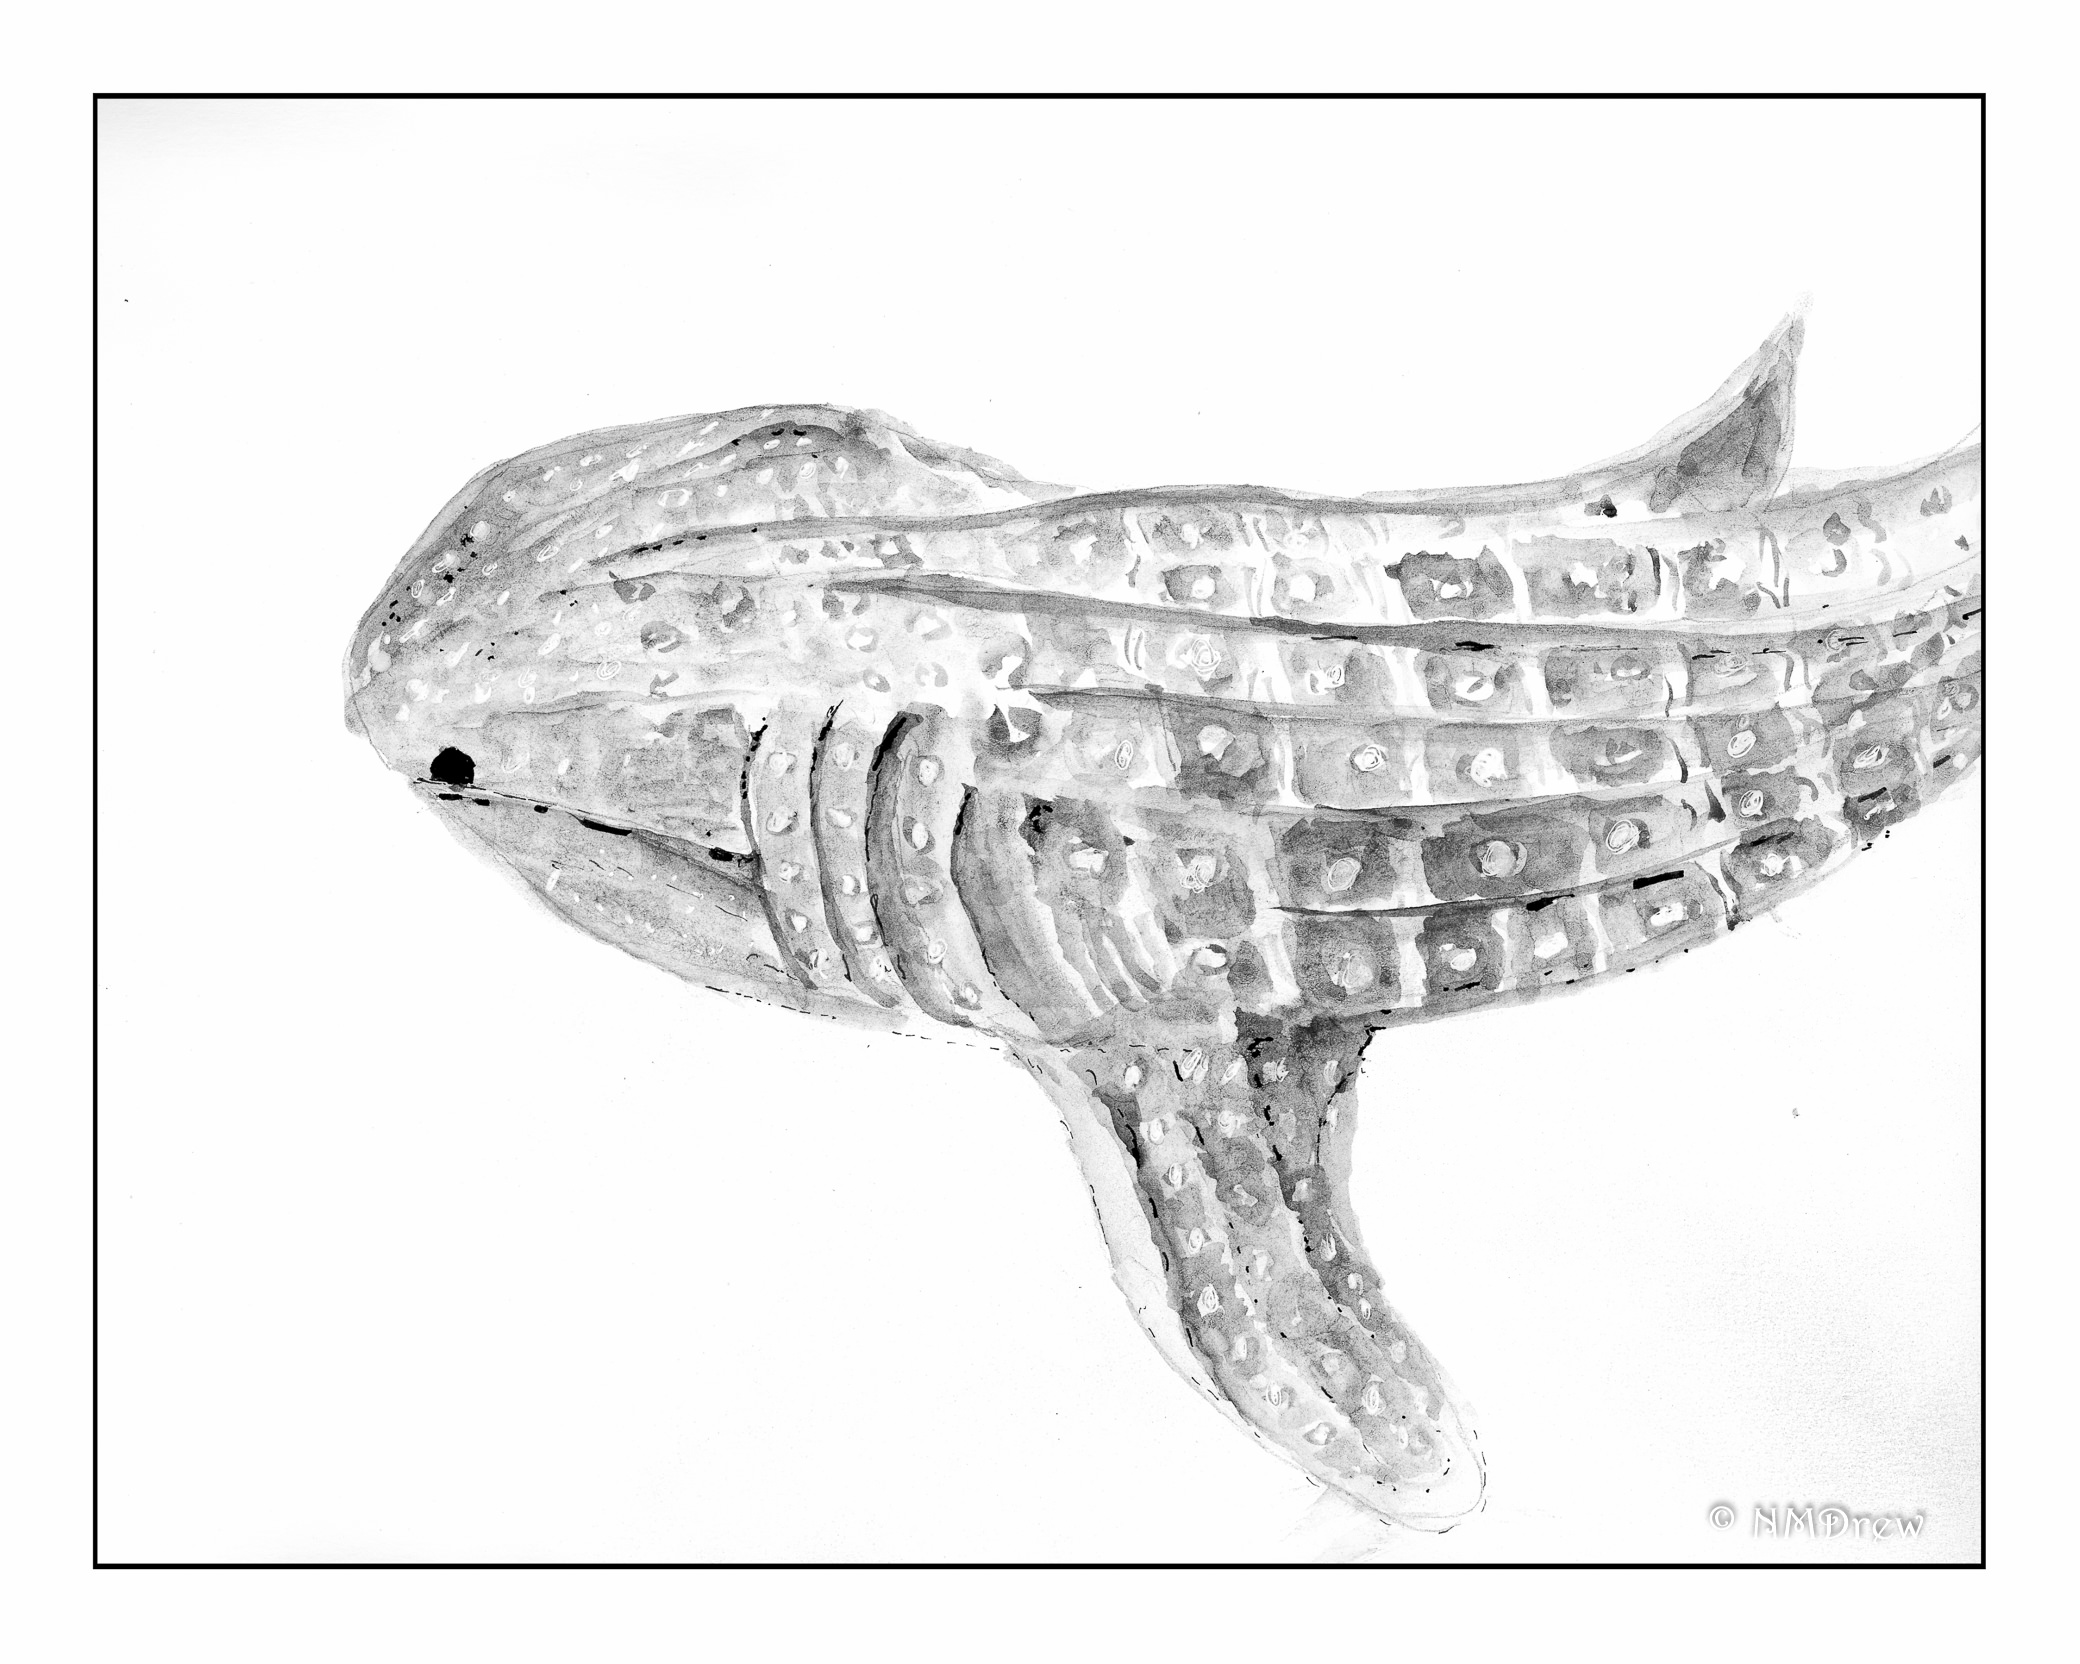
Whale (Shark) – Inktober #12
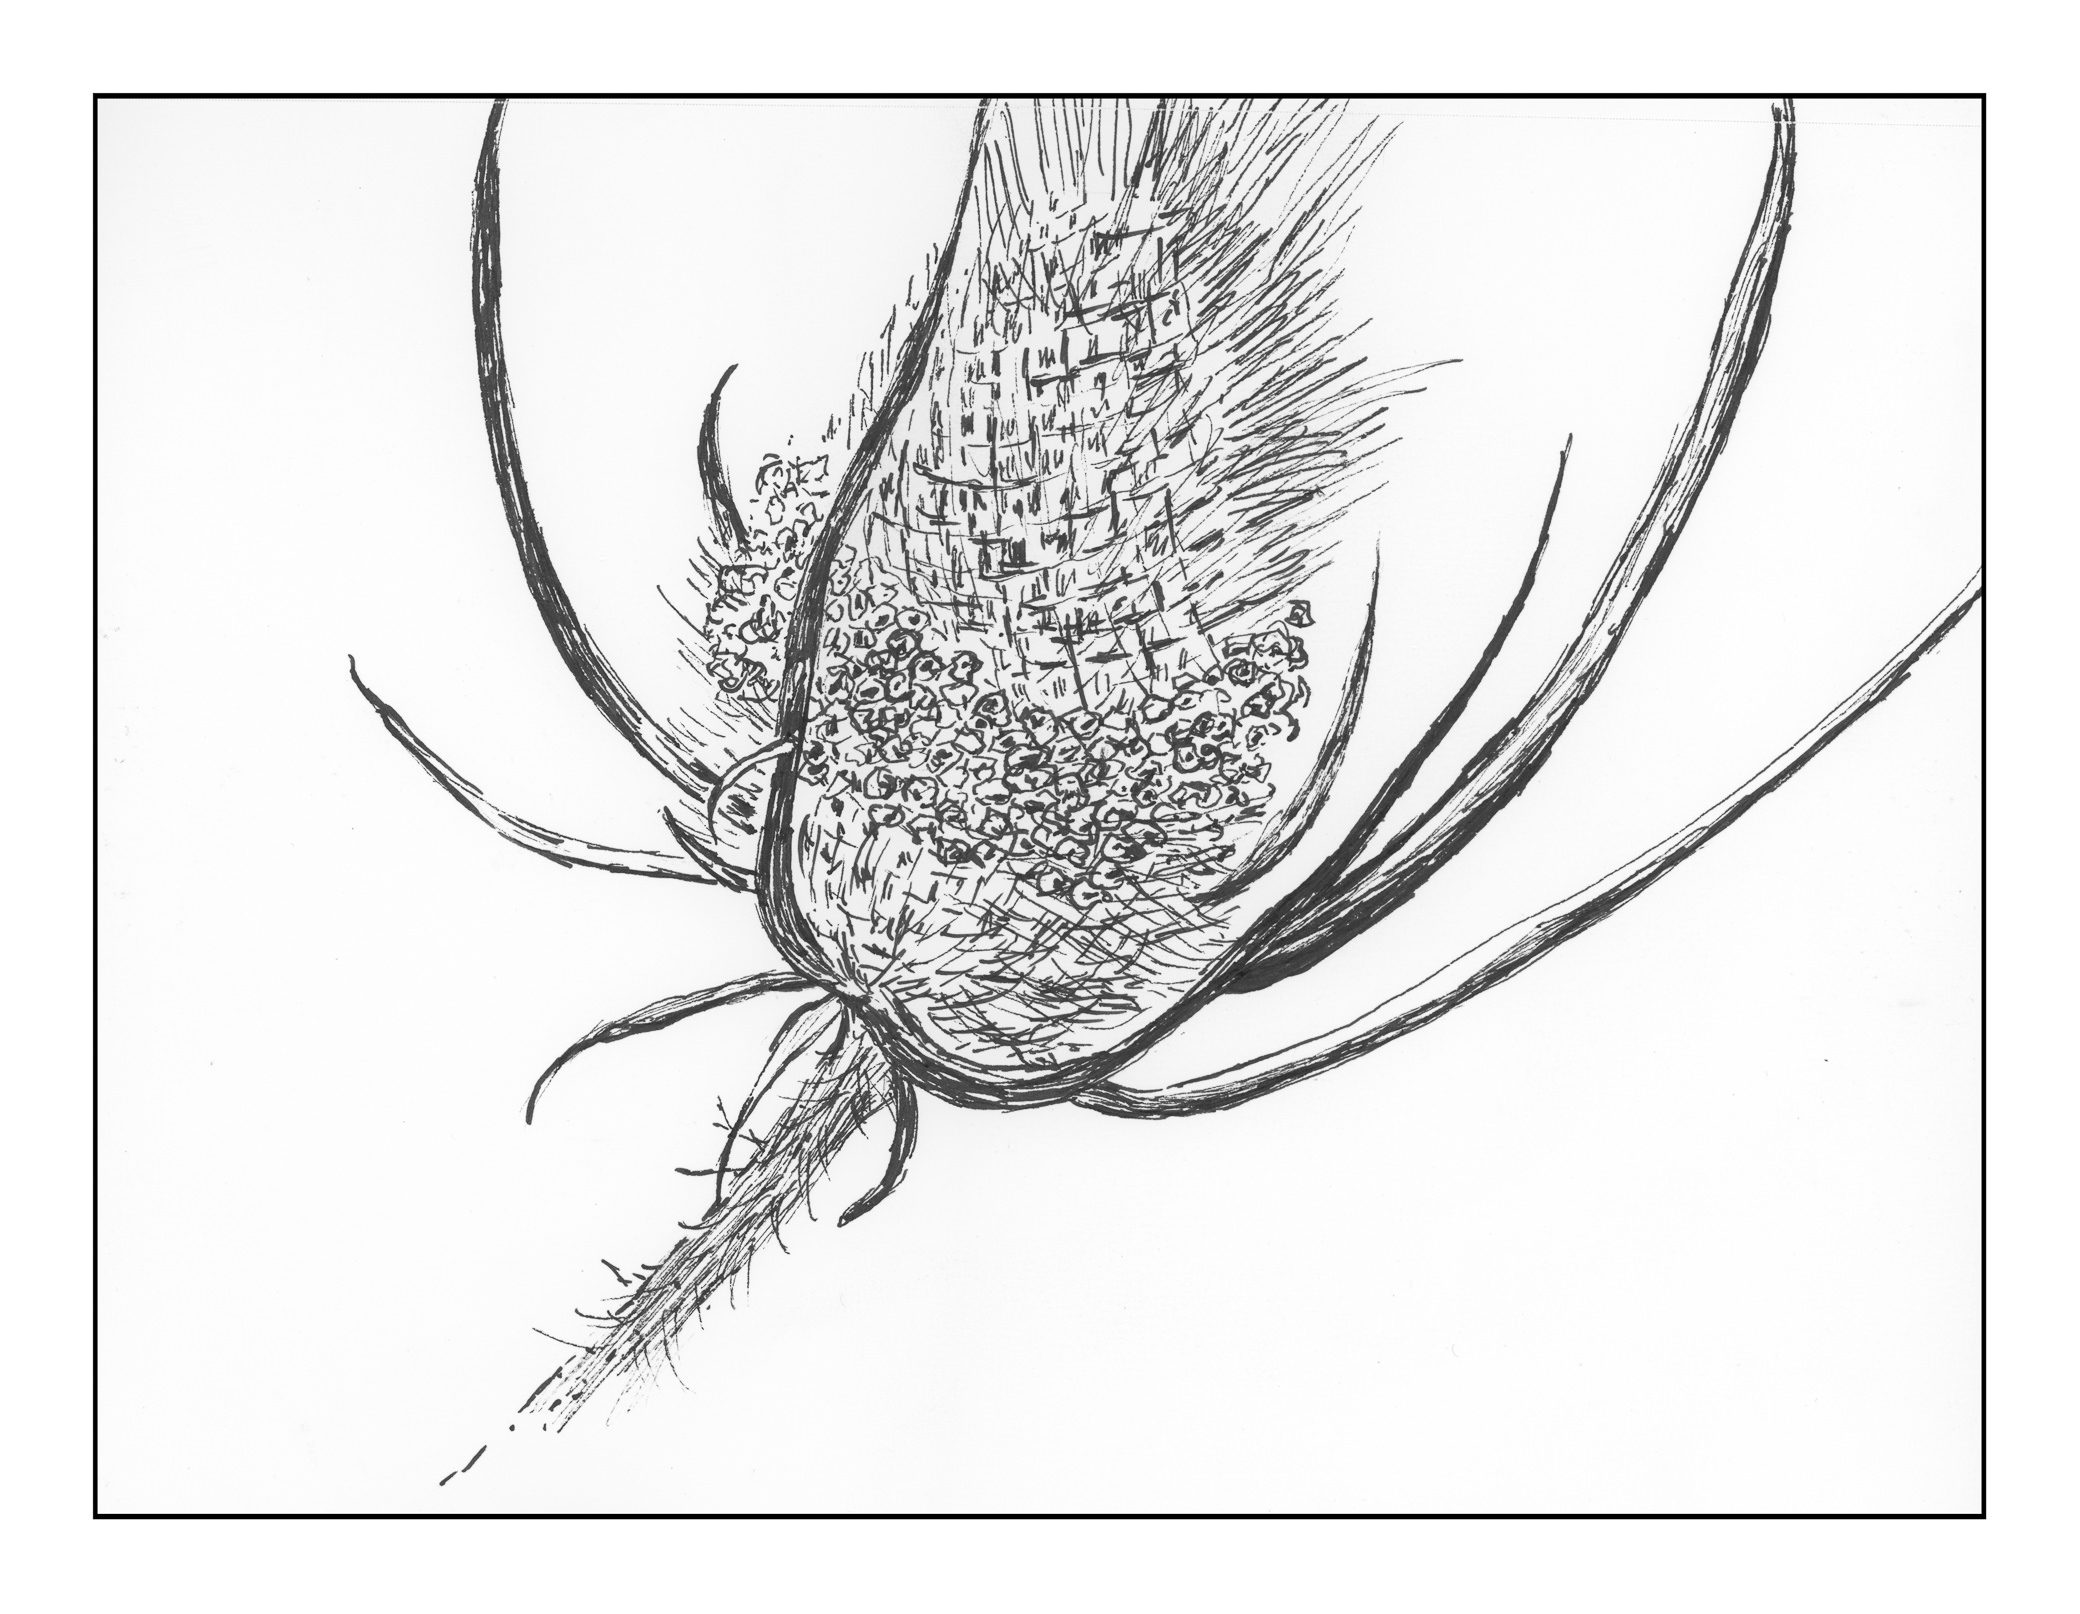
Prickly – Inktober #25
Weak – Inktober #15
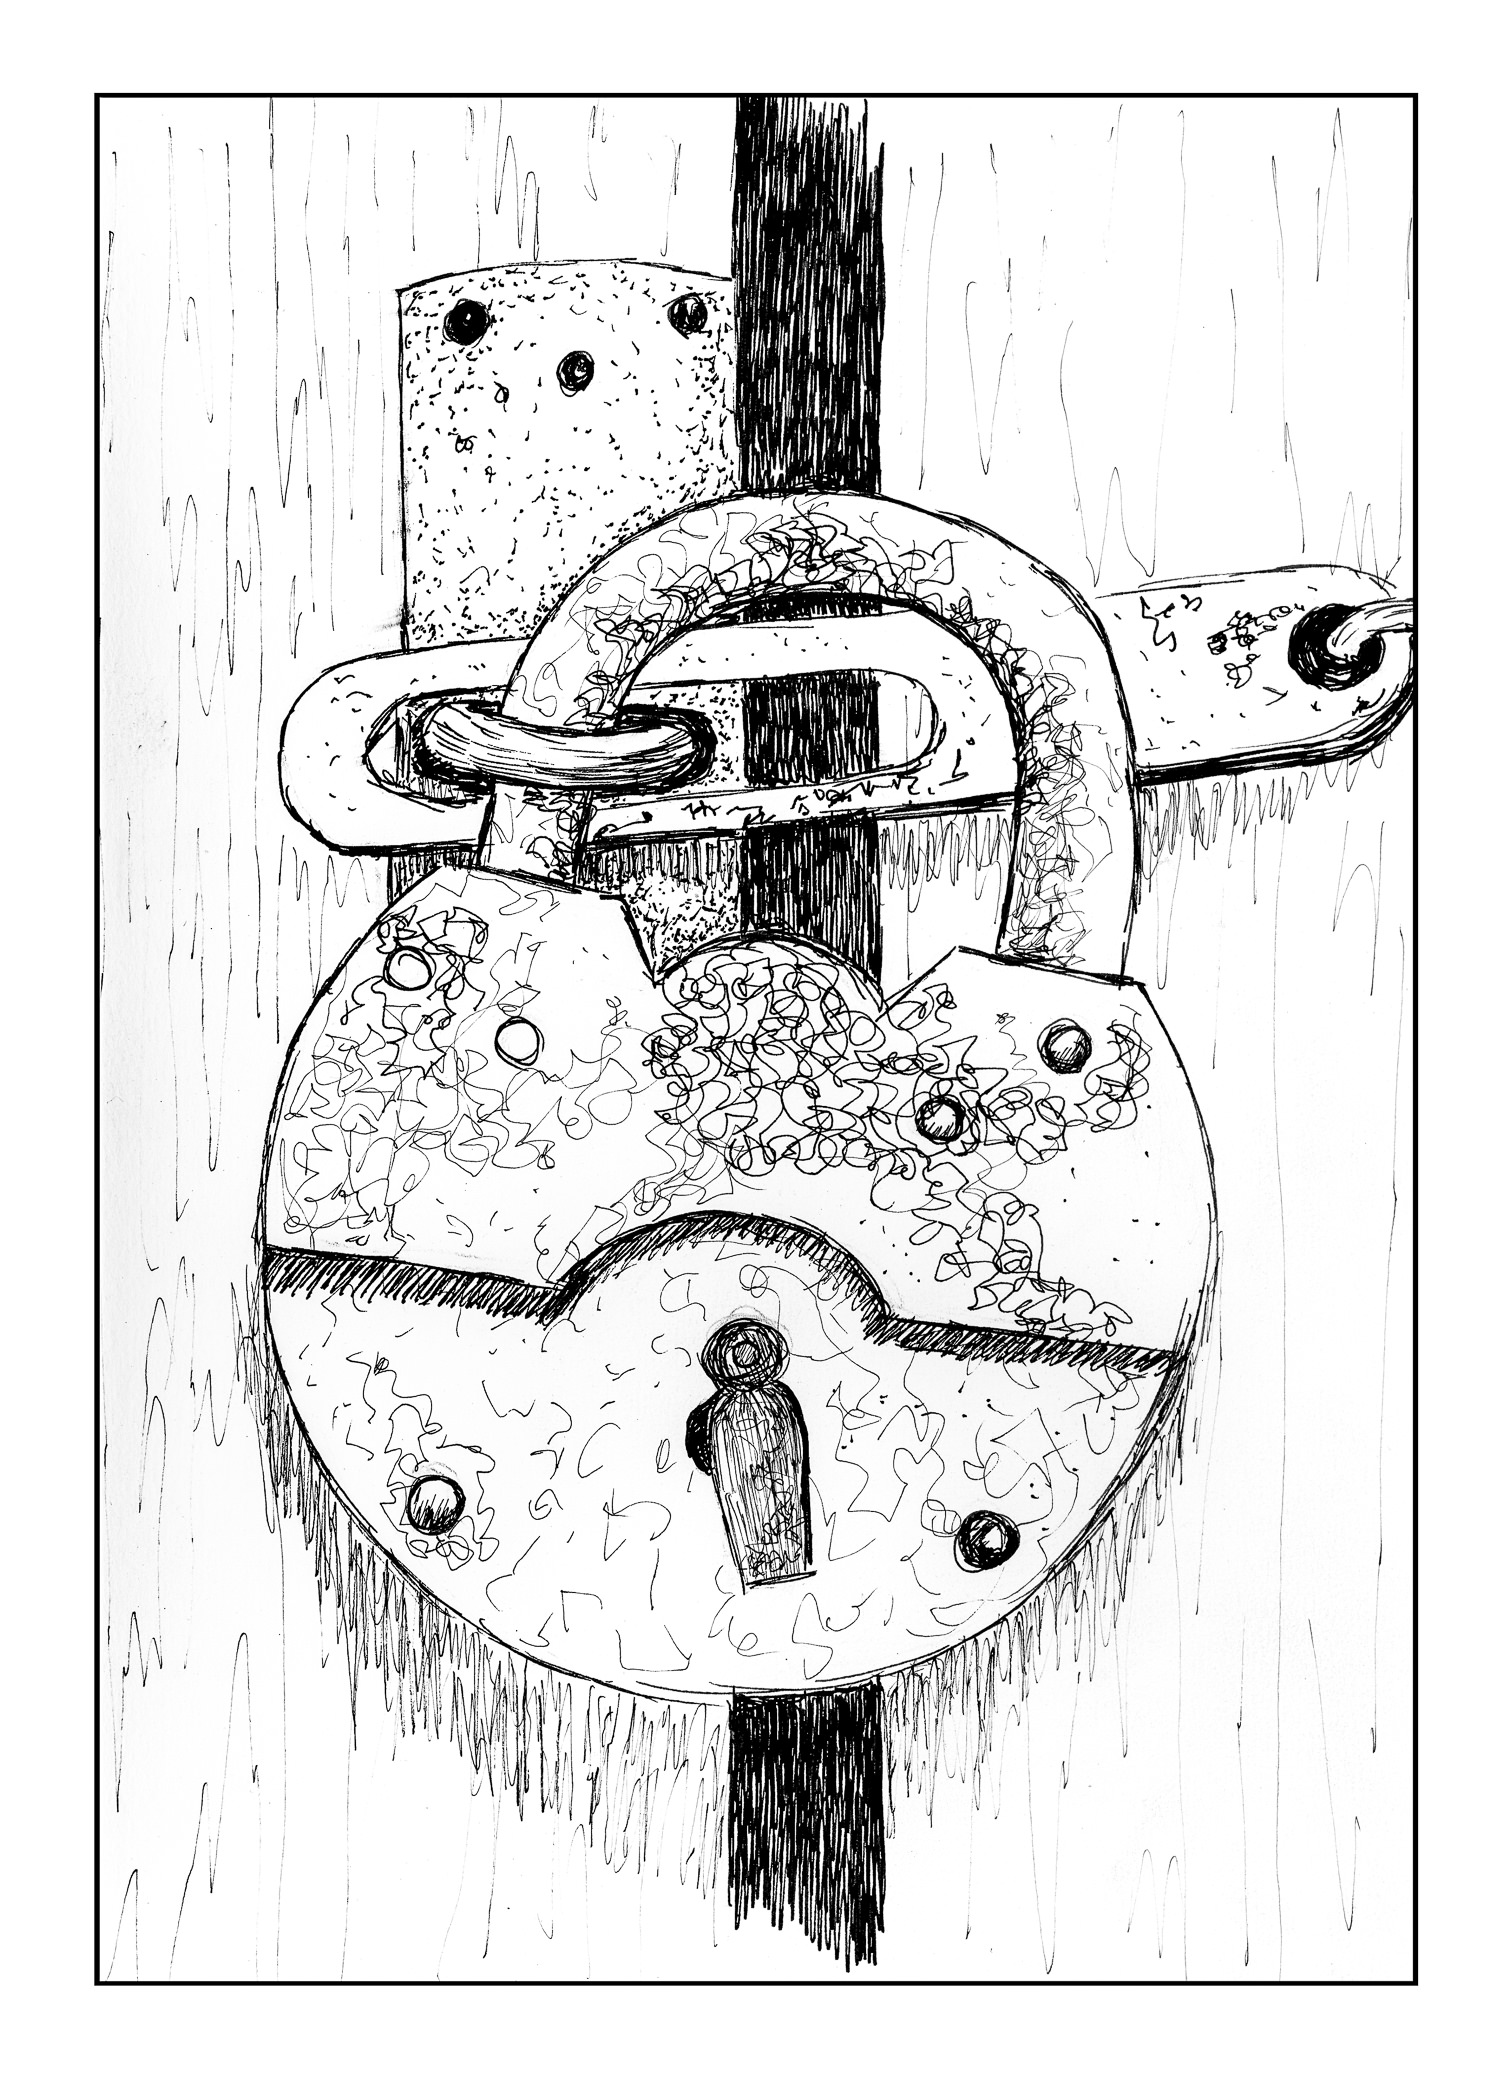
Guarded – Inktober #13
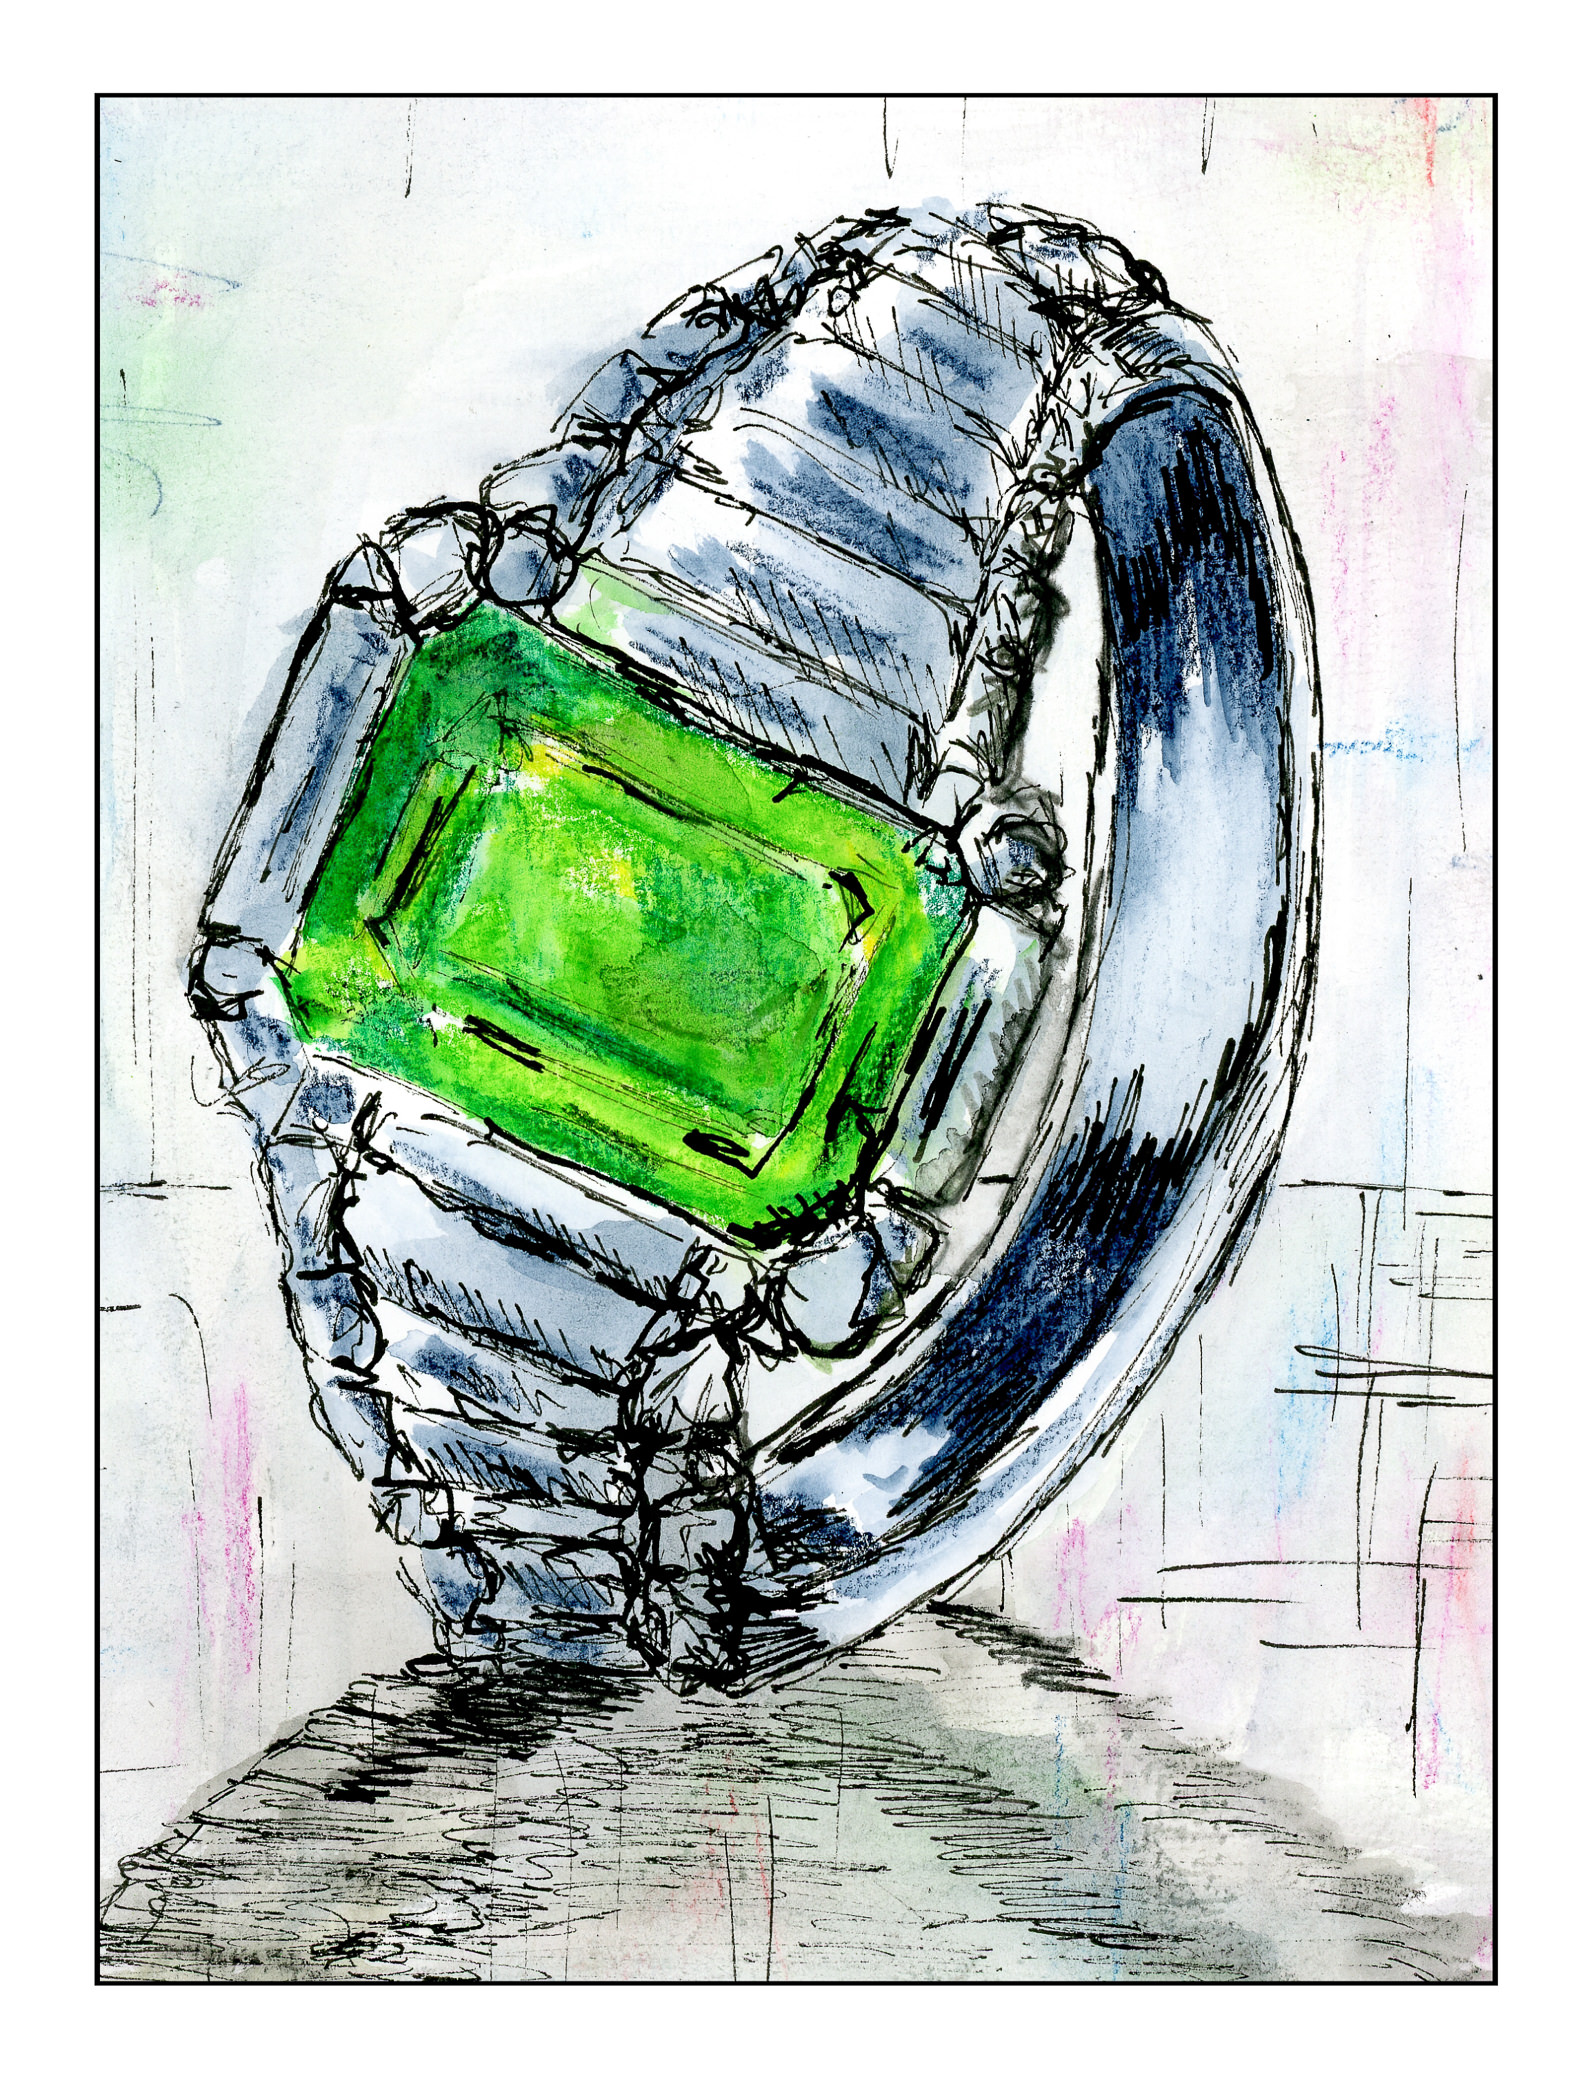
Expensive – Inktober #22
Clock – Inktober #14

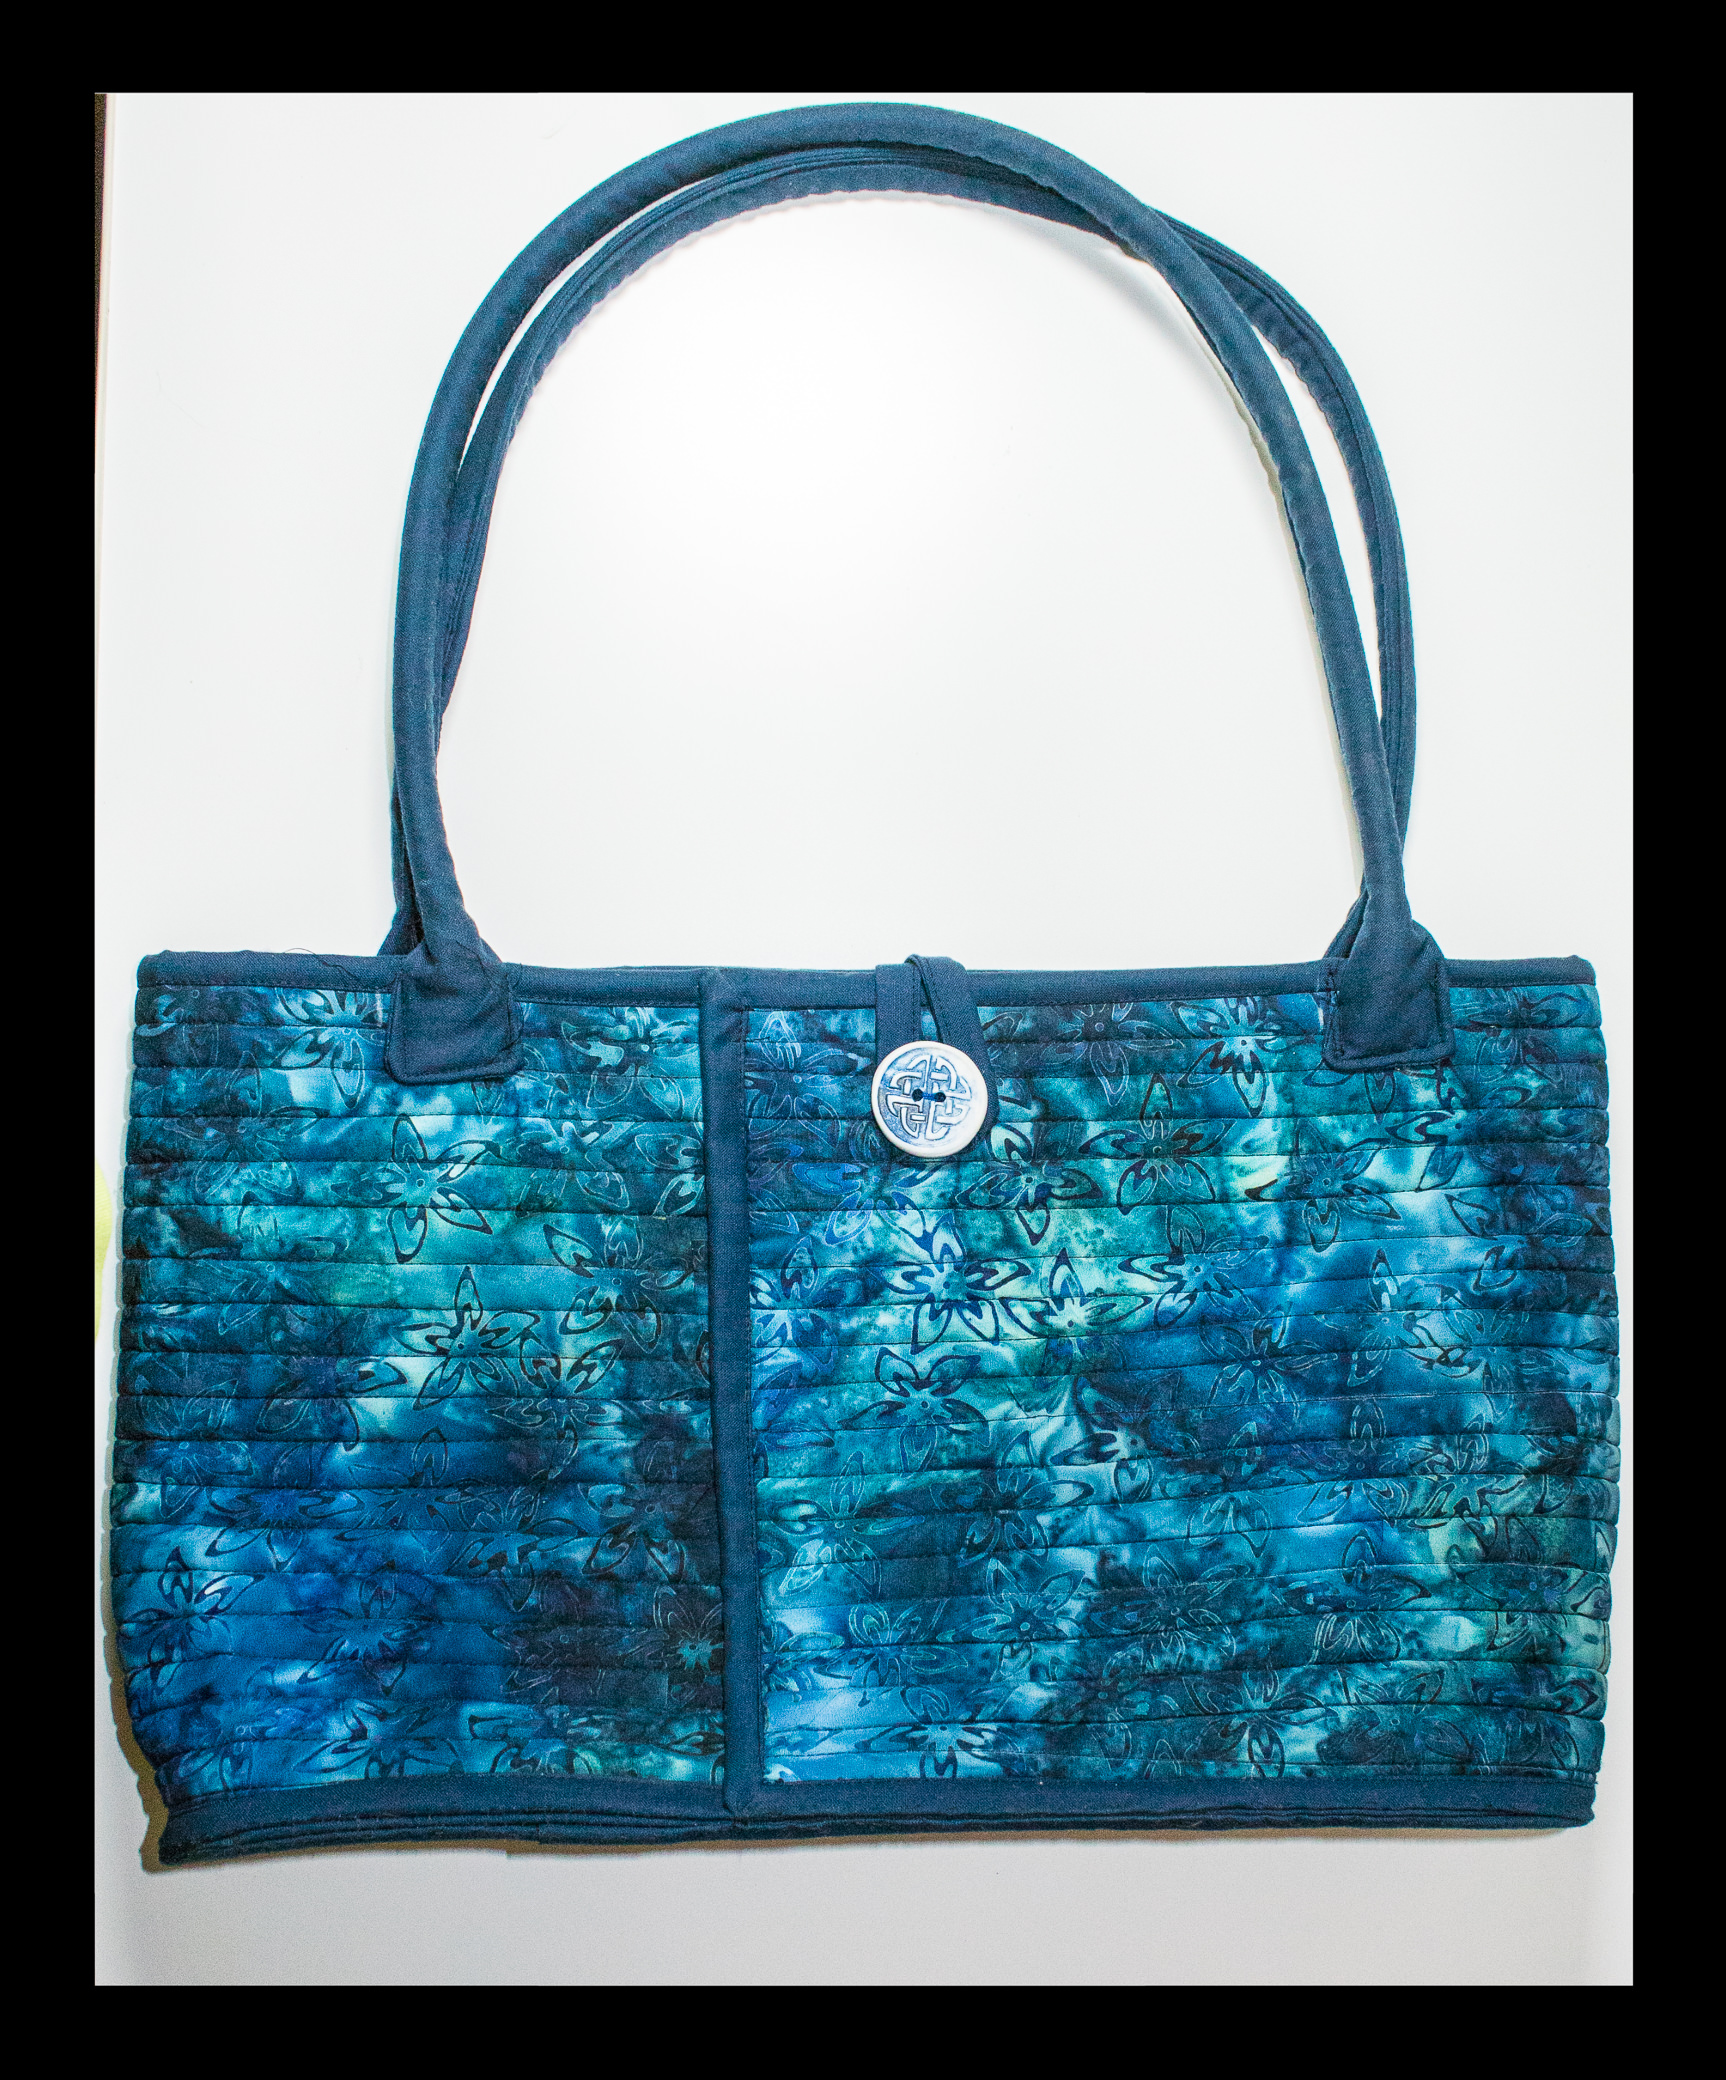
Another Bag – The Rockport Tote

Between Inktober 2018, watercolors, tasks and errands, I have been working on another bag.  This one is in need of massive trimming of threads – so is the Boxy Tote – before it is done.  Then, it will be shipped off to a friend of 45 years “just because”!  It’s not perfect, but then nothing I ever do is, so that’s life, eh?

This bag is done with one piece of material and quilted every half inch on the body.  It’s called the “Rockport Tote” from Aunties Two.  The pattern is clearly written, and even better, there are videos to accompany it.  If you are interested, follow the preceding links and you will find them.  This project took me awhile to do – it spanned about 3 weeks, and in between a lot of stuff, I was champing at the bit to finish it.  I’m going to start another one next week – bags are in the works for Christmas presents.

The bag comes in three sizes – small, medium, large.  The small is tiny, perfect for little gifts and using up scraps of fabric.  I made the medium size.  The large is a bit bigger, but this one is a nice size to carry around.  Also, I was really happy to find this ceramic Celtic knot work button in my button box – it seems perfect for the bag.


One thing I am enjoying with my time off is the actual ability to have time.  If I was still working, I would be rushing and feeling pressed to finish this bag, and I think the whole project would have become a point of aggravation.  Slowing down requires having time, and in the time I have, I am finding I am enjoying working on things that would otherwise become frustrations.  My sewing skill is far from good, and my own rather casual approach to things doesn’t help.  Still, I do have time to do handwork (hand sewing) and picking apart seams or other bits that might not please me.  I have time to think about what I want to do, and time to set aside a project with the time to return to it.  All of a sudden the rush-rush-rush of my former daily life is gone.

And thus, another project completed.  I start a 5-week introduction to quilting class at Quilty Pleasures and another 2-day class to make another Rockport Tote.  Yes, you read that last right – I figure I would make one Rockport, and then make another, learning from my own experience, as well as that from Betsy, who taught the Boxy Tote class I took last month.  And, though I profess to dislike quilting, my thought is that learning how to cut and sew precisely, as needed for a good quilt, won’t hurt me or my sewing skills.  I can only improve.  And I know I will have a lot of fun in the process (and probably some frustrations, too.)