I have a small collection of inkstones / suzuri. A few I have paid a lot for (for me), and others have been incredibly inexpensive. Some are really poor as far as usefulness, some mediocre, and some surprisingly good for the small amount they cost. Several years ago I bought an excellent stone for $5.00 in an artist supply store. It is a real stone suzuri. Another one I bought a few years ago is not an outstanding stone, but a bit of work made it into a very usable stone. That is the subject of today’s entry.

The Phoenix Stone
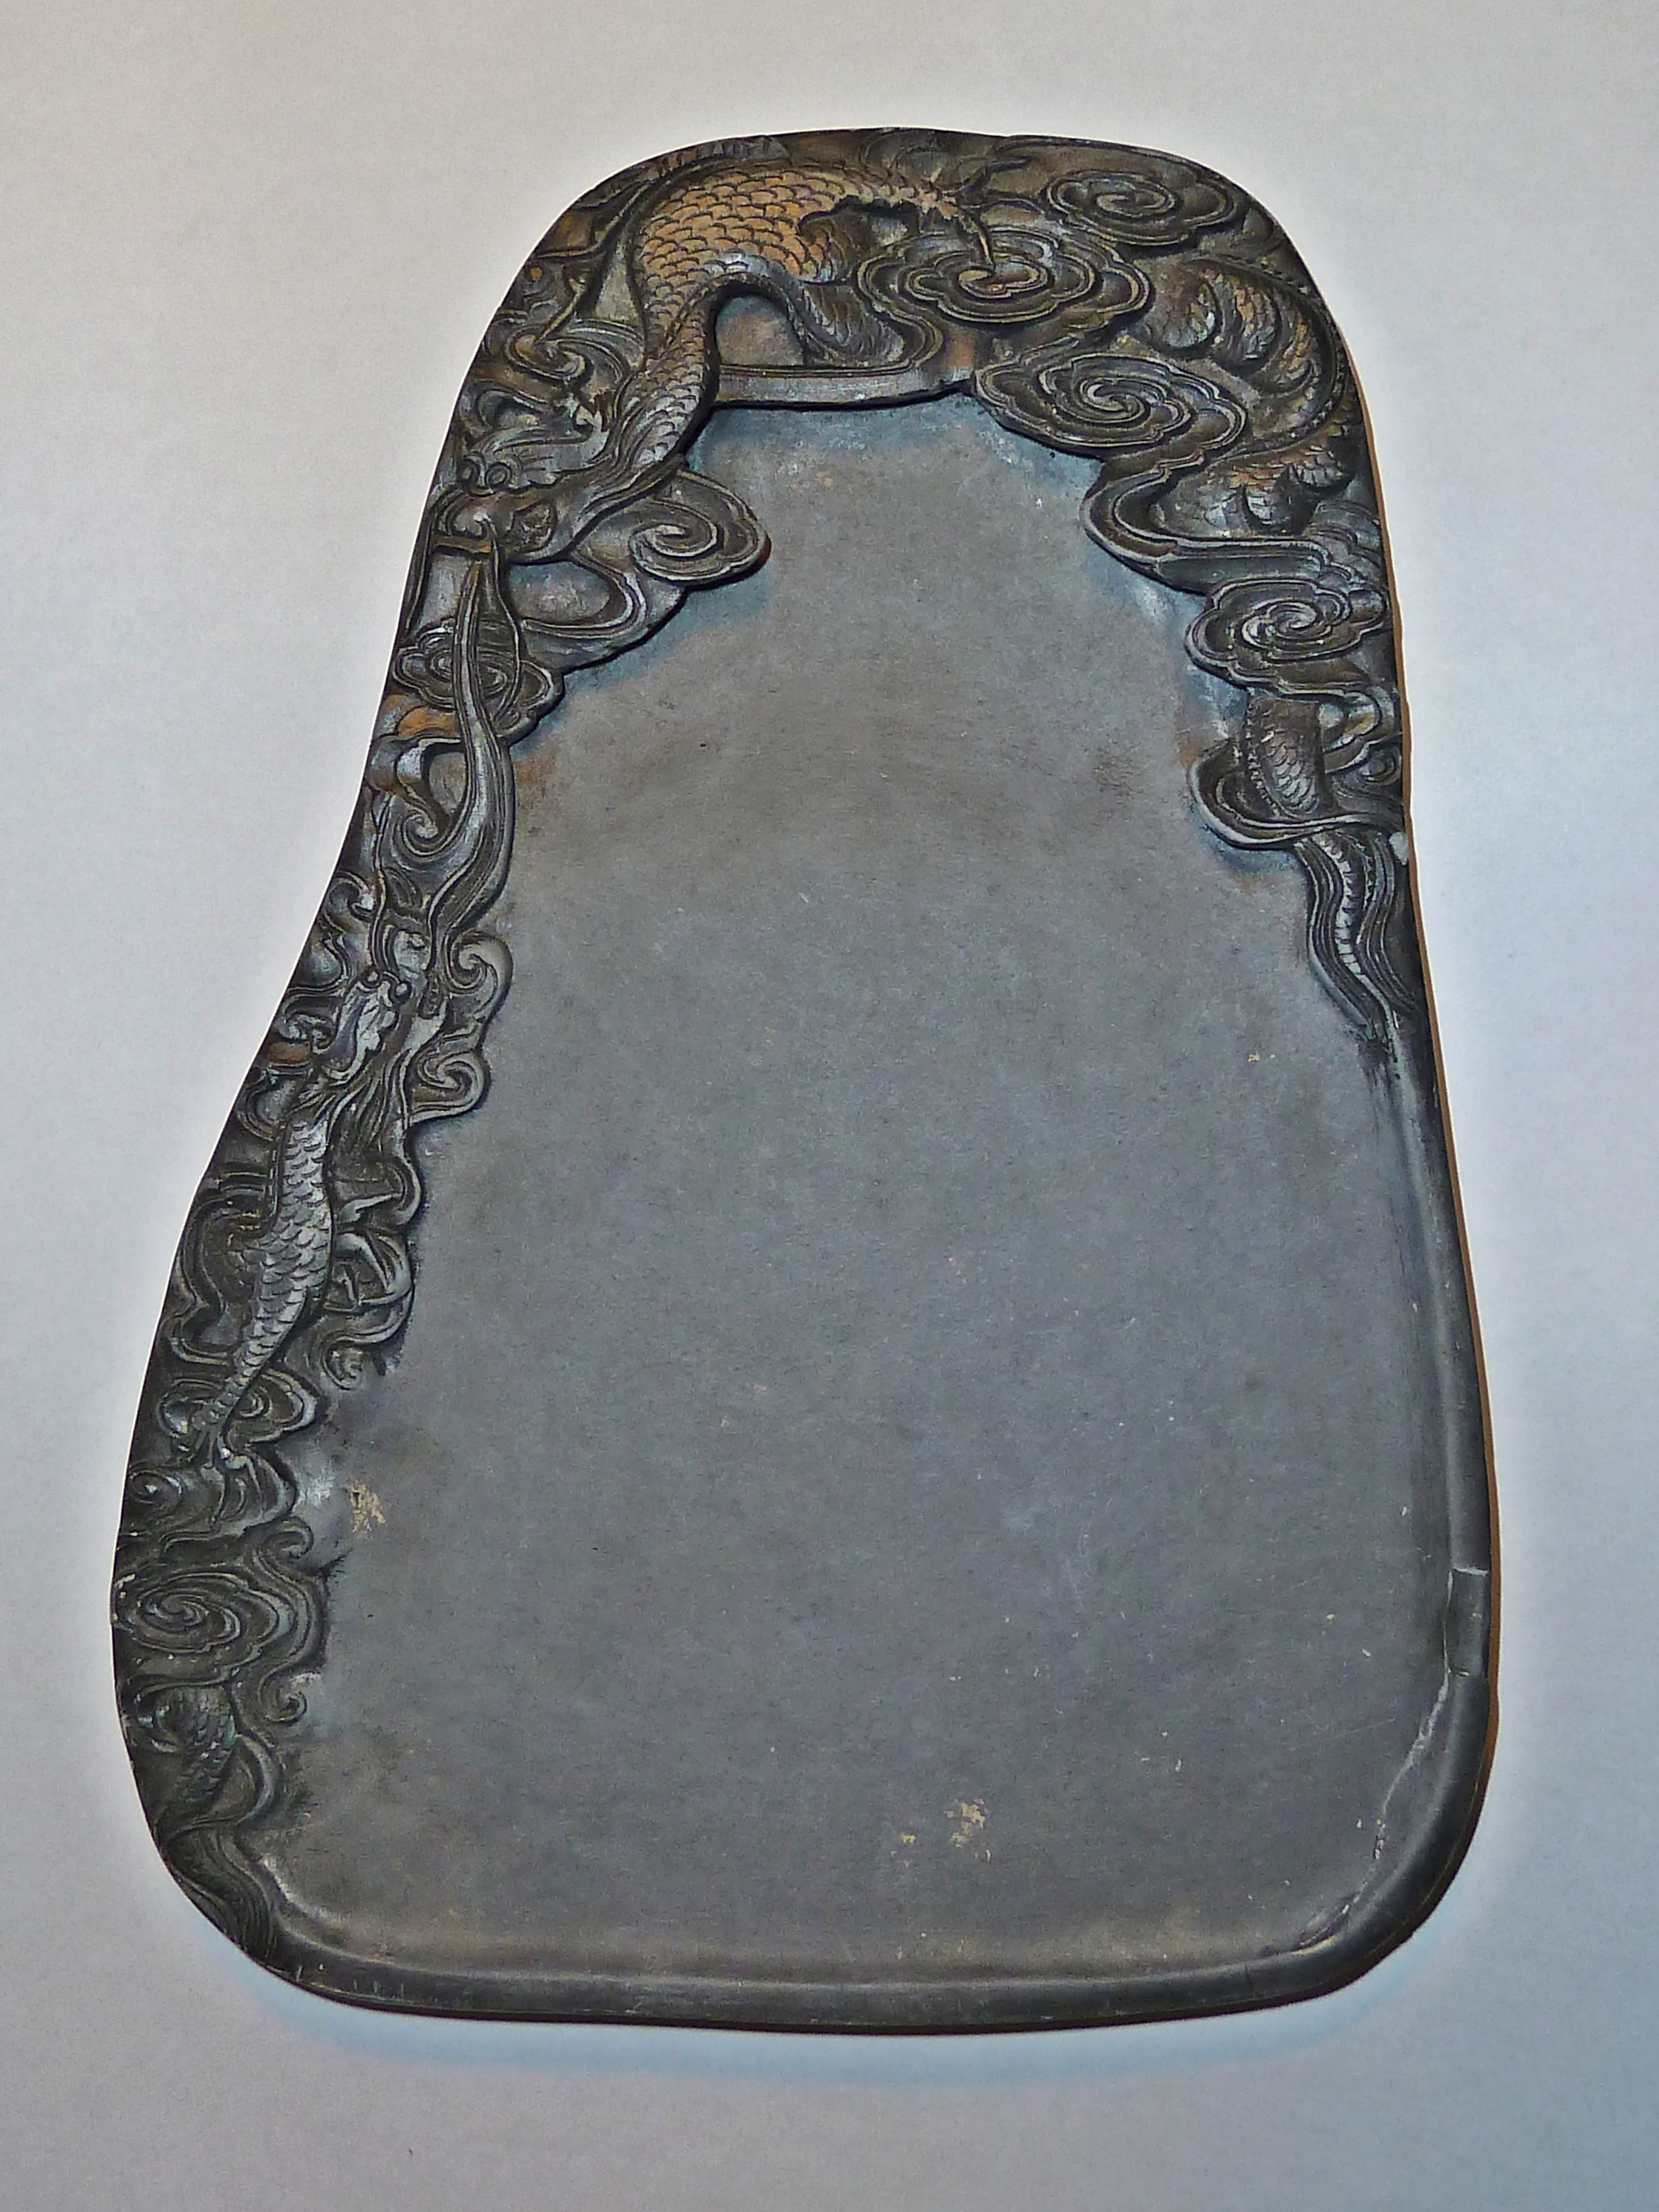
I bought this stone on eBay about three years ago, paying about $15.00 for a stone which was never used. The gal I bought it from got it in Hong Kong about twenty years earlier, as a memento of her trip. That said, I wasn’t too sure about it, but liked the carving on it and bought it anyway. It must be understood that many inkstones are made for the tourist industry, are not usable, and most will not be worth more than use as a paper weight or other decorative item. This stone measures 5.25 x 8 inches (13.5 x 20 cm).
This stone is actually pretty good – much better than I expected. When it arrived, there was some sort of coating on it, which did not work at all well with hand grinding an inkstick. I decided to re-read some directions I got awhile back about how to make a stone usable – if it could be made usable at all. The goal was to remove the coating, try the stone, and then finish the stone’s grinding surface if necessary.
Buying a New Stone
When buying a stone to use, the first thing to look for in a stone is whether or not there is a slight glint, or sparkle, in the sun. Tilt the stone this way and that. What is needed is a bit of sparkle, and hopefully that sparkle is copper pyrite, which, according to my source in Japan, is necessary for good ink stick-ink stone connection. This stone has that glint.

Preparing to Refinish / Polish a New Inkstone or Suzuri
To refinish a suzuri is not difficult, though it might be rather scary if you like the stone. This inkstone was unused, so this description is for a new stone that does not seem optimal.
Because this stone was not dirty, with old ink stuck to it, I simply washed it soap and water, using Dawn dish detergent as it is good at cutting grease. I let it soak a bit in hot water, soapy water, and then used a 3M brand green scrubber on it. I did not apply a lot of pressure to the surface, but used just a gentle swirling motion. Once washed, I rinsed it, and let it dry a day before grinding sumi. The resulting ink was okay, but not particularly fine. The surface of the stone felt rather rough, so I decided to sand it down.
Polishing the Inkstone / Suzuri
Sandpaper is not to be used on an inkstone, but fine grit wet-dry paper is needed. This is usually a grey-colored paper, available in good hardware stores, and manufactured by 3M. It comes in varying grits, but to begin with, use nothing less than 600 or 800, and do the final polish with 1000-2000. What you choose to use will vary with the stone, and how much energy you want to put into it. I like a smoother finish, but with a coarse-grained stone will require a bit of gentle elbow grease. The paper shown is what I have used, and am pleased with the results.
Before you begin, run your fingertips over the surface of the stone. This way you will know what your stone feels like before beginning.

When I polish a stone, I go outside. With me comes a basin of water, the paper, the stone, an old bath towel, and table. Place the stone on the towel to protect the table, and to collect any dirty water from the sanding process. Put water on the stone’s surface, and using the coarser papers, begin rubbing the surface in light, circular movements. Don’t put a lot of pressure on the stone, but let the paper do its job. Proceed systematically over the entire surface. Rinse off the particles of stone and paper as needed in the basin of water as they accumulate, and continue. Test the surface of the stone with your fingertips – you should be able to feel the difference. Rinse off your stone, wash and rinse again, and let it dry.
Grind some ink, and notice the quality of the particles. Also notice the quality of your inkstick. If you have a poor inkstick it won’t produce particularly good ink – it will be coarse-grained, and take a long time to produce dark ink. There may be rough spots in it. These rough spots are impurities or contaminants, and can actually gouge your stone. Stop if you find something like this, pick it out, and try again. Remember – you can ruin a good stone with an inferior inkstick.
The key element is patience. Sand down the stone, wash and rinse it, let it dry. Run your fingers over the stone, checking for a smooth finish throughout the entire grinding surface. Try your ink. If you are content, stop. If you want a finer ink, continue using finer papers until you are pleased. Don’t try for a shiny, polished surface. There needs to be some “bite” on the surface for the inkstick so it may be ground into fine particles.
The Phoenix Arises!
I spent a few days polishing out this stone. I used several grits of paper on it before I was content. This stone produces a dark ink in a fairly short amount of time. The surface is flat, without puddling, and the well holds a nice amount of water. Because there is no slope on the stone, I use the water to dilute ink when painting. I add water from a suiteki or sucky-cup (plastic cup with a built-in straw, made by Rubbermaid) in small amounts as I grind ink. The large grinding surface makes for a relaxing “grind” – small surfaces make me tense up.
This stone has a rather greasy quality to it, which is why it is not one of my favorite stones. I expect it has something to do with the type of stone it is. Little spots of white appear on its surface for no known reason. Nonetheless, a stone which was not at all usable, in my opinion, has become functional, and under the right circumstances, pleasurable to use.