A Frisket, A Frasket . . . .

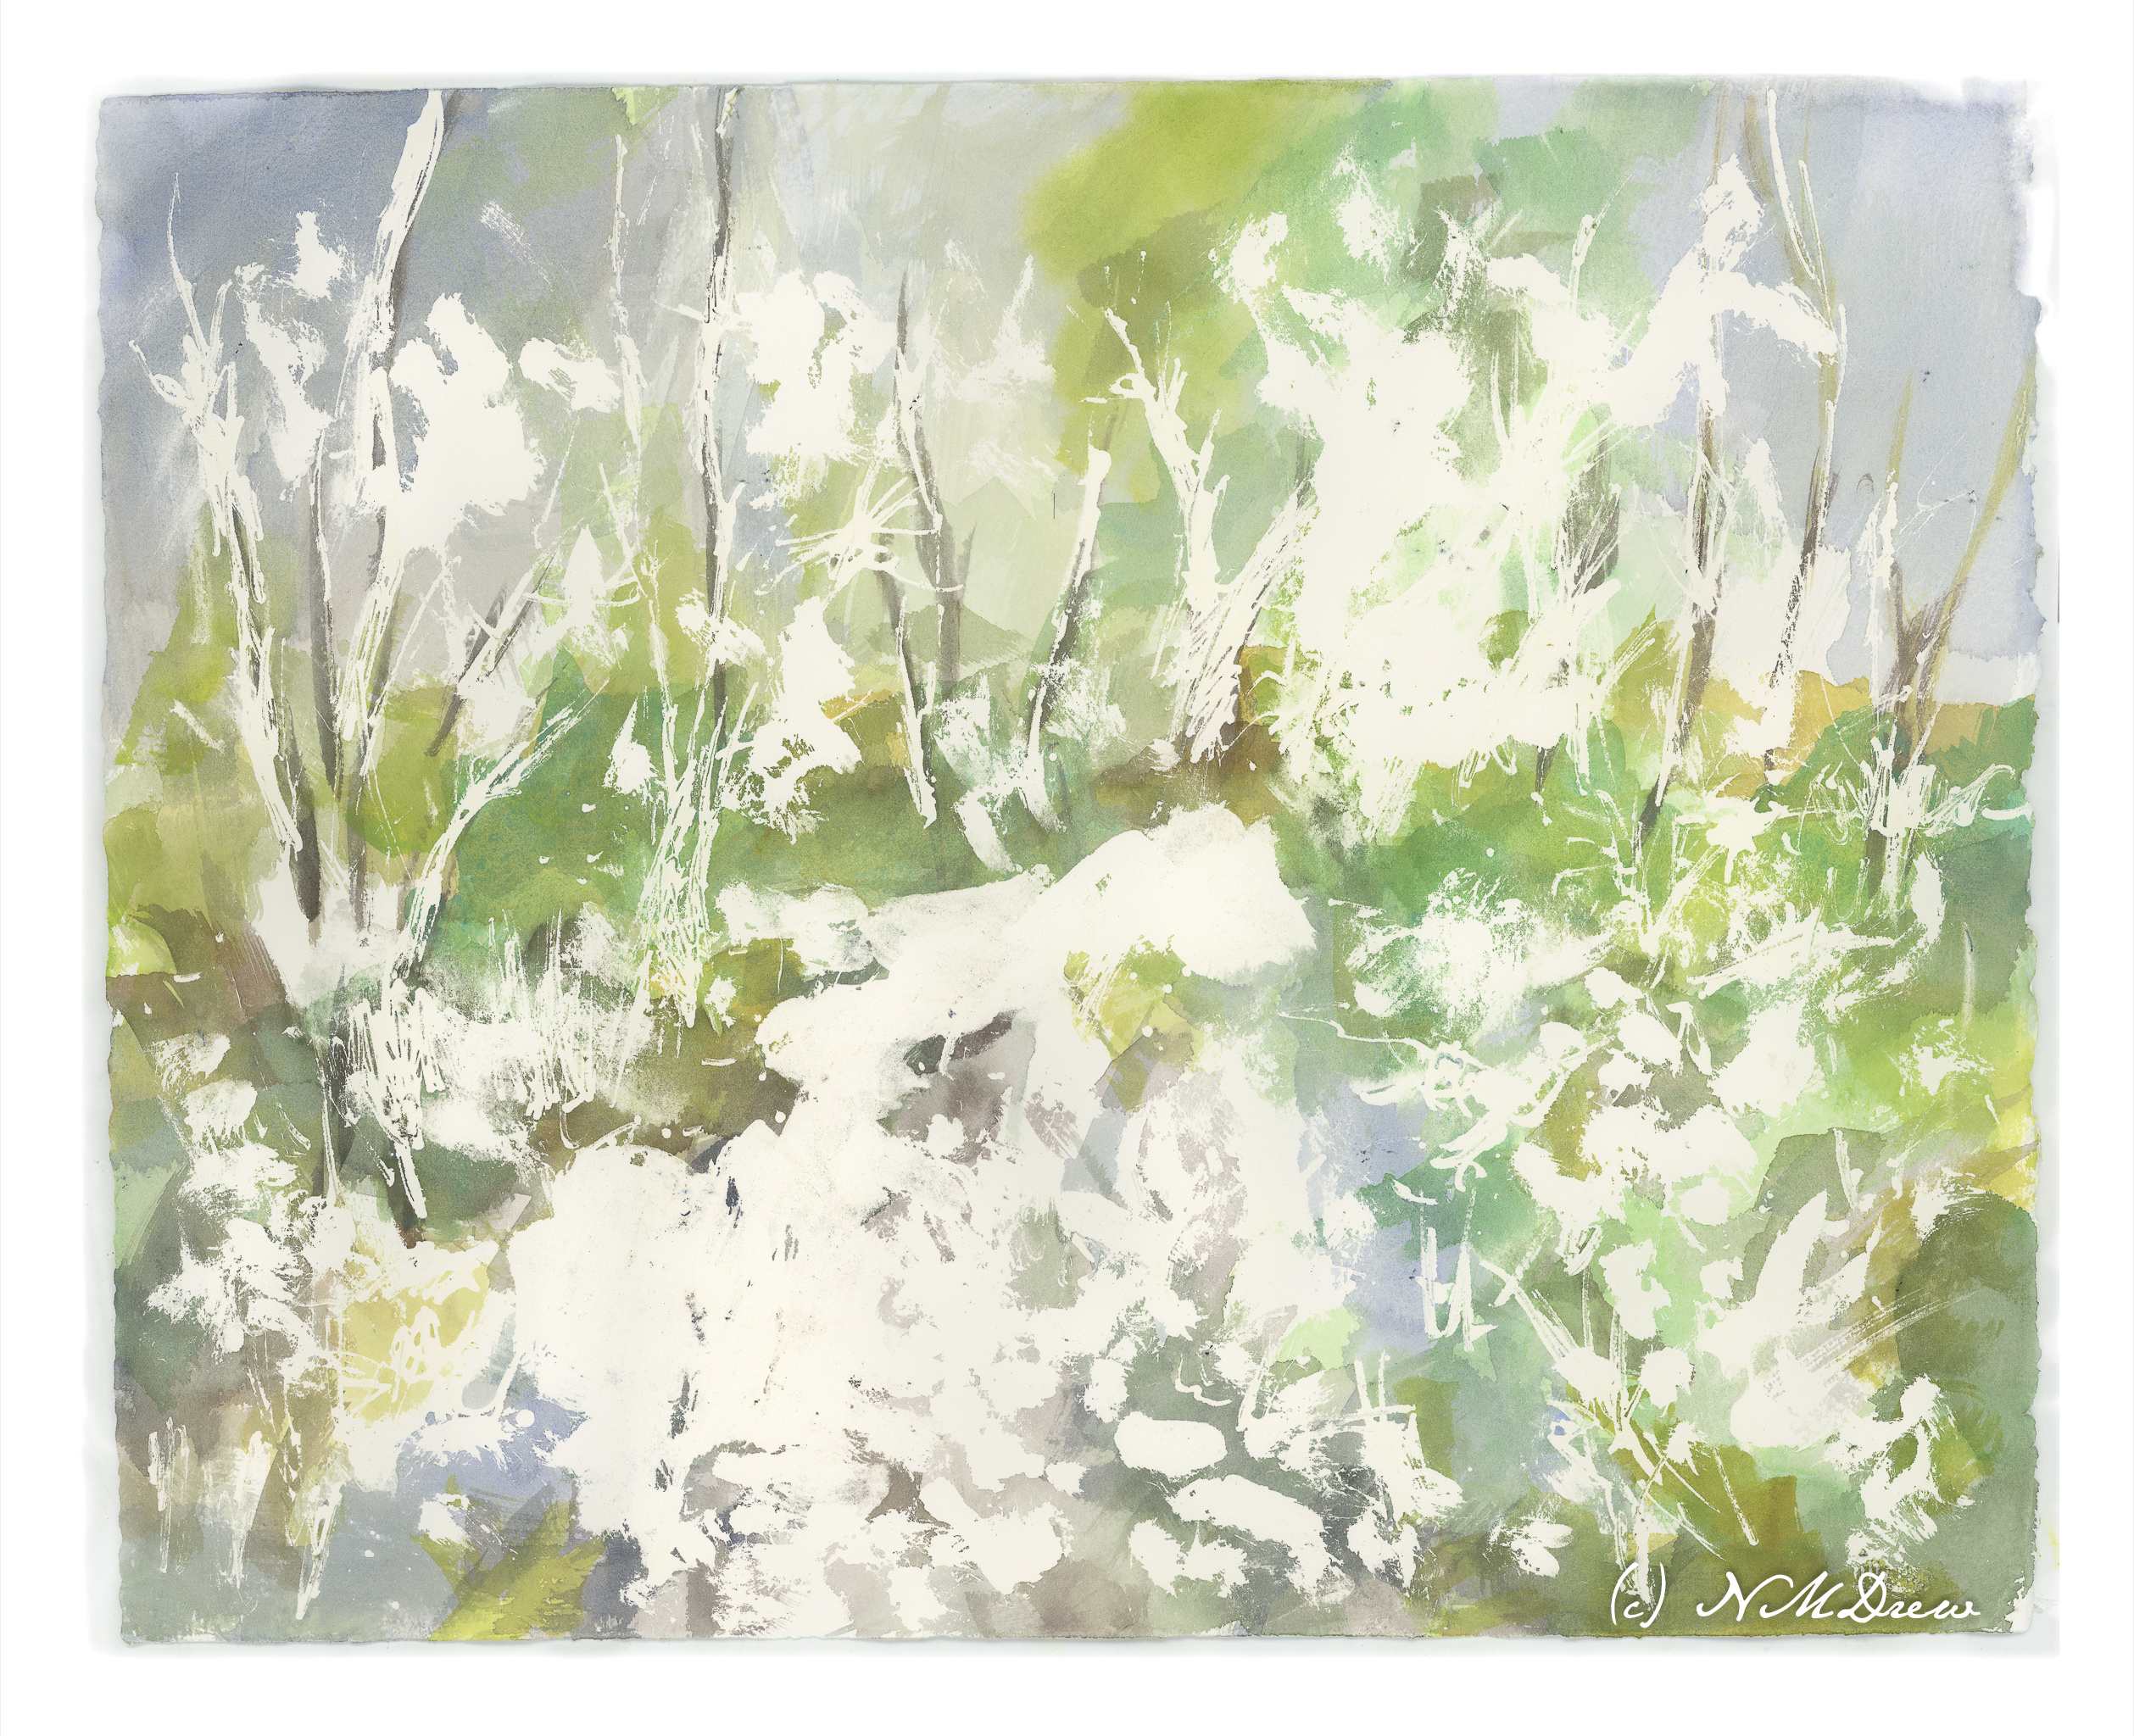
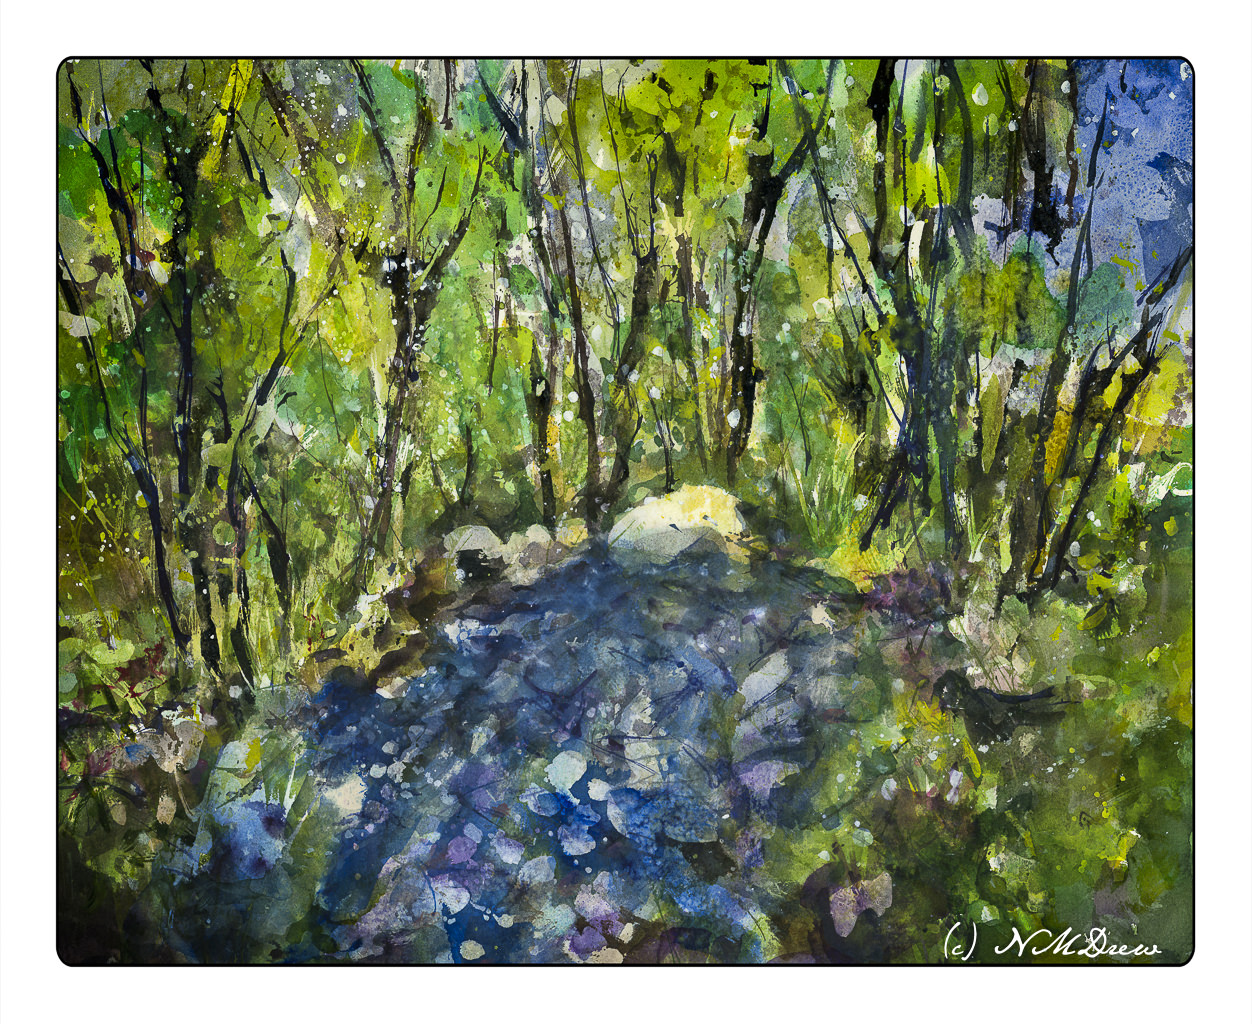
I’ve been taking a basic watercolor course at the local adult school with one of my favorite teachers. I decided to do this as it never hurts to return to basics as it can be eye-opening. Here, one of our studies. This one made me rethink using frisket as a resist quite a bit, and while I may never really embrace this – using frisket to maintain white paper – I really learned a lot from this little study.

First, the teacher provided us with a template to use – namely the rose. We transferred it to our watercolor paper by using graphite on the reverse of the template. We were to outline the white areas and then, using the liquid frisket, paint out the white areas. This way we could apply very wet washes to the paper without losing our hard edges and white paper.

Once the frisket dried, we wet our paper around the rose. Colors were dropped in using viridian, quin rose, and phthalo blue. We kept our paper flat and worked relatively quickly. Once the outside colors dried, we moved into painting the rose. Wetting the rose, the colors were then applied using cad red light and quin rose. The violet was a mixture of blue and rose, but I also used carbazole violet as it is a very clean purple. Once more, paper kept flat as the colors dried.

From there, little details were added, such as leaves, extra contrast, and so on, all using various tricks common to watercolor. In the end, once all was dried, the frisket was removed and little bits of color added here and there over the white areas. Lines, bits of color.

And this is the result! It is an abstract and very watercolory and painterly rose. Techniques were wet-in-wet, masking with frisket, and some dry brush. I also splattered a bit of quin rose and carbazole violet onto the surface to make it a bit more interesting to my eye.

Watercolor, frisket, 10×10 Canson XL watercolor paper, wet-in-wet and splatters. Colors were limited to carbazole violet, viridian, phthalo blue, cad red light, quin rose, and a smidgen each of burnt sienna and cad yellow.

Birch Trees

Birch Trees – from a photo in Module 2 of Andy Evansen’s Class

If you have been following me for a bit, you know that I have enrolled in a lot of painting classes. This is a study from my watercolor class, online with Andy Evansen. His work covers a lot of subjects, but I like his ones of the natural world the best. So, lazy me, I stick with his photos of the wilds, but will, at some point, take the dive and do something with buildings and people, and maybe even cars.

I used frisket to create the hard edges of the birch trees and the snowy areas of the logs in the foreground. The other white areas, the snow, is plain paper, no frisket. After the frisket dried, I did the sky, sunlit mountain, and dark background. Then, a bit of the foreground. Finally, the frisket was removed.

When the frisket was gone, I worked left to right, creating the shadows of the birch trees. Upon those shapes I added heavier paint to create the blacks characteristic of birch trunks. Various other details got worked in. White gouache came in handy to clean up some of the birch tree trunks as well as to create the fine branches of the trees toward the top of the painting.

The only thing I have some issues with is the very large birch tree on the right, the one which stretches top to bottom. It is not quite right, but that is something for correcting later on. Despite that, I am pleased with what I am learning, and creating, with all these classes. Painting and drawing and artwork is in the forefront of my mind these days, and it is beginning to show in more “successful” paintings from my viewpoint.

9×12 CP 140# Arches paper; primarily watercolor with a touch or two of gouache. (Maybe 3 or 4 or more….)

Water Thaw – 4 (Final Version?)

Water Thaw 4 – Final Version??

The end! Or is it?

Anyway, as I mentioned yesterday, more blue in the lower front, some other touches, and then let it sit overnight.

This morning I took another look at it, and the only way I can describe what I did was to refine it. I increased contrast in some areas to create harder edges. Other things were designed to lead the eye toward the center of the painting, toward the whitish rock at the top of the water. I also looked for areas that just didn’t look right, somehow too symmetrical or distracting. In the end, little bits here and there made it better to my eye. But – that was during morning coffee when I was trying to wake up!

I have never worked on a painting – a watercolor – for this long a time period. Total time is probably 8-10 hours. Time was spent laying down frisket, colors, letting things dry. Then frisket was rubbed off. Water was sprayed at different times and salt sprinkled. Rubbing alcohol was also sprayed on. I think the last round of frisket took about 30 minutes to rub off, along with salt. The result, though, are transparent layers of color which I could not have accomplished otherwise.

While the perspective seems a bit off – or maybe we are looking down into the water from above? – I like this painting. It’s a new adventure for me in watercolor, and while bright, I don’t think it is overly so. I deliberately did not use any orange!! New ideas are coming to mind for painting in a transparent medium. Mood and impression work here for me – not realism, but suggestion. So, spring thaw, melting ice, new leaves.

In this final version, I cropped it and changed the perspective a bit in Lightroom. Post-processing artwork is much like post-processing a photo, an din the printing industry it is done all the time. You can see the uncropped version in the gallery below.

Arches 16×20 140# CP, acrylic, gouache, watercolor.

Water Thaw – 2

Round 2!

First, I removed the liquid frisket. From there I added more color to increase contrast, again using the wide 1.5 inch flat brush. While the paint was still wet, I sprinkled on some kosher salt. After letting it dry, I again added more color, salt, and then spritzed it with rubbing alcohol. This morning I shook off the salt and now am contemplating what to do next. The first step, though, will be to add more frisket to help preserve the existing whites as well as some of the areas of color.

Such a crap shoot at times!!

Below you can compare the first image to the next.

Water Thaw – 1

Water Thaw #1

As I mentioned in my last post, I am trying to change my de facto style into something a bit lighter in color, less intense, and more abstract. This round I am working in layers with an idea in mind. The idea is the spring thaw – frozen water broken up (perhaps), or a stream suddenly overwhelmed by waters pouring down from mountains, as spring warms and melts snow in the higher elevations

I used a liquid frisket with a bamboo pen, drawing with the resist, smearing it around, and finally using a brush dipped in detergent to create different shapes. From there I painted using a 1.5″ flat brush to place colors where things could be. Above is the result with the frisket removed.

Watercolors on 16×20 140# CP Arches.