Awhile back, I started a 30-Day drawing challenge. The goal: Create 30 small drawings, value studies, to see shape, value, and ultimately a focal point for a painting. The last means thinking about how you want to lead the viewer into the picture and keep him there – it’s a compositional element I am still learning to implement. I have benefited in the arena of shape and value, so now the focal point is becoming another element to work on.
But, I blither. Here are the 30 pictures.
Today is the last of the Zoom meetings until the next class begins. I have already enrolled in it, so expect to see a few things as time goes by.
You can see more of my artwork, if you are interested, at Journey By Paper.
I am getting burnt out on these drawings! I decided to take a few days off and will pick up again tomorrow. Since I have committed to 30, I only 6 more to go by 4/17. I think I can handle that!
Day 21
Cannon Beach, Oregon. Figure is too big, some foot prints too dark and too big in the distance.
Day 22
Initially I had drawn this shack so that the beach and waves in the distance were parallel to the edge of the paper. After scanning it, I realized it looked better with a bit of an angle to it. Interestingly, a comment said it made no sense because the ocean is out there, straight ahead. Obviously, too realistic of a person, or someone who hasn’t taken a photo. Really, to me, a very interesting and odd comment and viewpoint!
Day 23
Here is a scene of looking down onto a beach. The distant cliffs look okay, but the descent to the shore in the midground is definitely confusing.
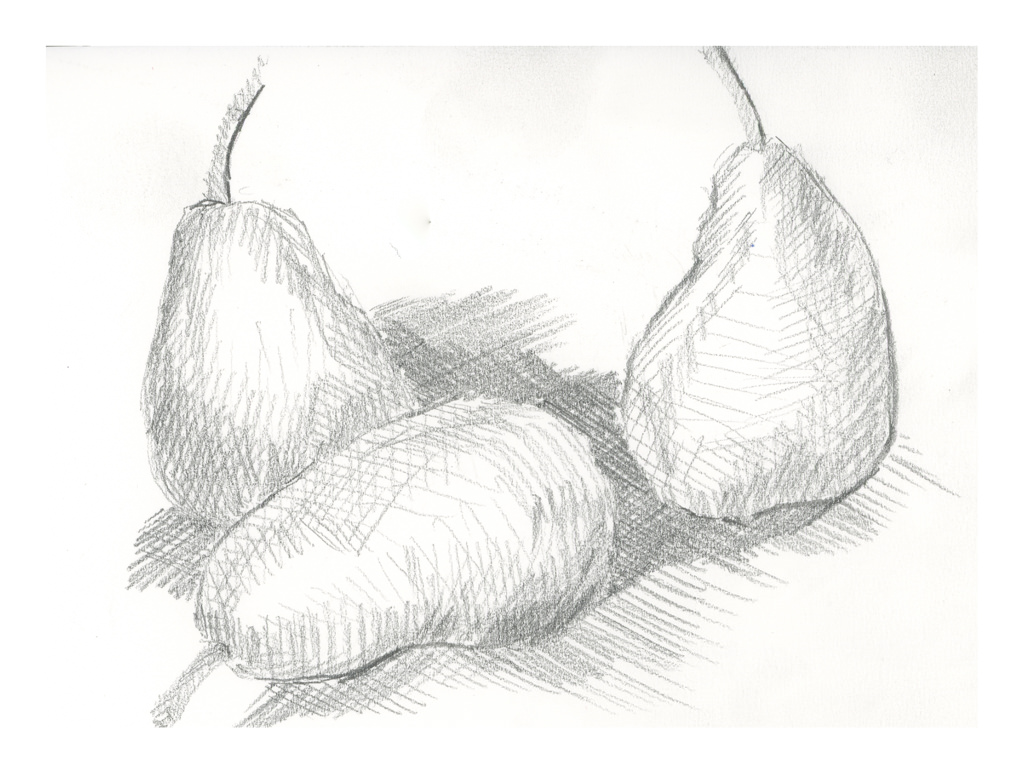
Day 24
During last Saturday’s zoom meeting, Ian talked about cross hatching. I use it a lot in ink drawing, but not in pencil since the idea for a lot of this 30-day challenge is to limit marks to horizontal and vertical. The idea is to create value studies, not finished drawings. Interesting lines do not make for good value studies of light, medium, dark. However, a simple use of lines, cross hatching, vertical, diagonal, horizontal, helps delineate shapes, such as curves. I based this drawing off a study of 3 pears by Cezanne.
Commentary
These studies are making more sense and getting easier to execute so that shapes have shape, even if not always understandable.
I really like coffee, far better than tea, although o-cha is a strong second!
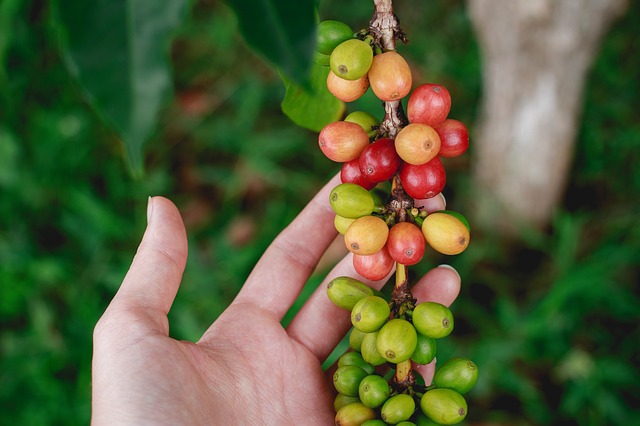
Green Coffee Beans – Unroasted
Sometime ago we bought a 5-lb. bag of green coffee beans. Sulawesi beans specifically. We planned to try to roast them in a popcorn popper, and to put it bluntly, it was a pain in the ass. Beans flew everywhere, smoke belched out of the machine, and luckily it was outdoors so the smoke detectors didn’t go off. The neighbors didn’t call the fire department either. The result was a charred mass of ick. I put the remaining beans in a drawer and ignored them.
I don’t recall when I bought the beans, but I found them a week ago and resolved, once more, to try my hand at roasting them. This time, though, I went back to my old idea of doing things before there was electricity. In other words, how could I roast them as in days of yore?
YouTube of course! There are a number of ways to roast them, using home roasters, old-time roasters from the 1800s, and frying pans made of cast iron. I decided on my slotted spoon and my small, heavy metal wok.
Before I watched the video above, which compares washed and unwashed green coffee beans after roasting, I watched a video about how the Ethiopians prepare coffee prior to roasting. The Ethiopian process washes the green beans for about 10 minutes by hand, rubbing the beans together to remove the chaff and dirt. From there, the beans are roasted in a pan or some flat surface. The beans are moved constantly. Videos for westerners showcase using a cast iron skillet and a whisk if you don’t have a roaster.
I decided to roast my beans in my wok, with a slotted spoon, on my gas stove top. I wish I had seen the whisk video prior to roasting as my beans occasionally jumped out of the wok, but that was not a big issue. Next roasting, whisk and wok it shall be. Below is a video my husband took using my phone. You can hear me mumbling in the background.
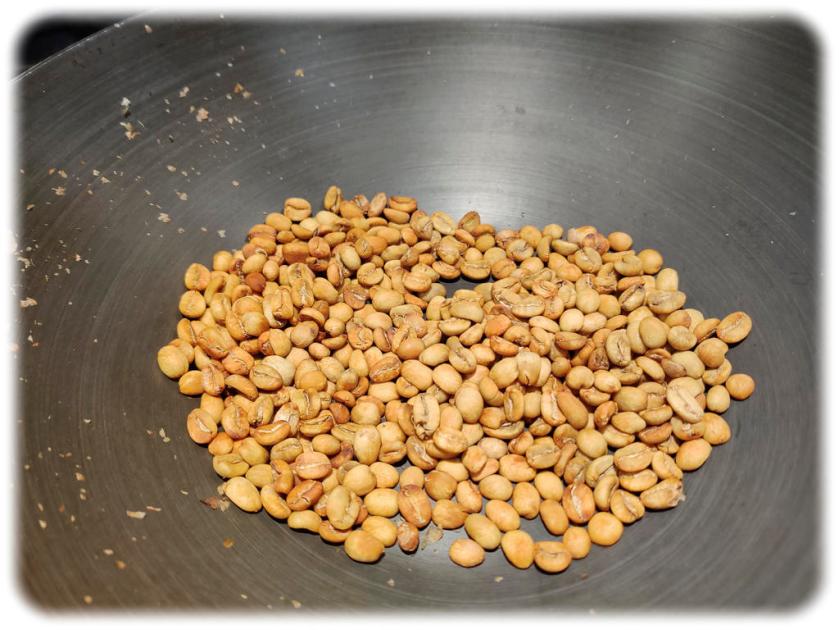
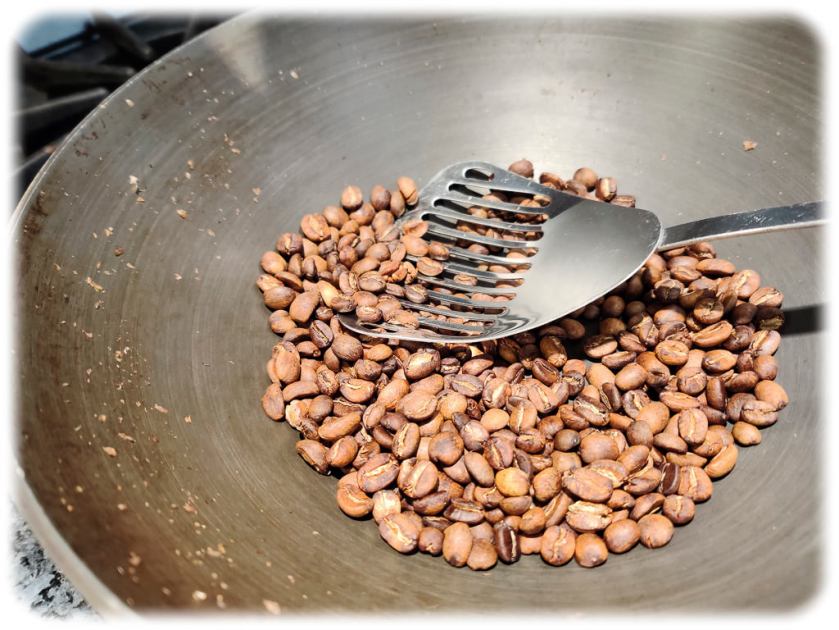
Beans in the Wok!
So, on to the beans! First, I measured out 1/2 c. of green coffee beans and spent some time washing them in a bowl. I didn’t get much debris off them in the form of chaff, but some dust and dirt did make the water murky. I did this for about 5 minutes and then drained the beans, set them out on a paper towel, and dried them overnight. I could have done it the same day, but there are just some days when virtue in the form of patience is not in attendance.
Yesterday, I dug out the wok and slotted spoon. I set up the stop watch on my phone to time how long it took to roast my small batch. The flame was at medium, I heated the wok for a minute or two, and then put in the beans.
Like all things roasting, time and patience pay off. As this was my first time roasting beans, I made an effort to be patient. The idea of having a house full of smoke did not appeal to me, and though I have a powerful kitchen fan, it makes such a racket I prefer to avoid it if possible.
Once the beans were in the wok, I used my spoon to stir and flip the beans, keeping them moving at all times. It worked pretty well. The depth of the wok kept too many from escaping. Some got stuck in the spoon slots. Handling hot beans was not my idea of a good time, but I did manage to capture any escapees.
Roasting coffee beans have what are called “first crack” and “second crack” stages. These denote the different phases in the roasting process. YouTube and other internet sites can tell you more about them. The first crack stage was met, and then, as the beans continued to roast, the second crack seems to have occurred. I lowered the heat a bit and continued to roast, all told for about 40 minutes. As I had no idea how quickly roasted beans could turn into a charred mess, I slowed it all down, though it seems that about 12-15 minutes should work per various sources.
Above you can get an idea how the roasting changed the beans from green to tawny to brown to dark. Stirring all the time is important, but when I lowered the heat, I would stop stirring, count to 20 or 30, and then stir some more. I don’t think the beans were damaged by this as the heat was not intense.
Finally, I decided the beans were done. Compared to our commercially-roasted beans, they were not as dark, but I didn’t want to destroy them after being a saint in front of the stove. I turned them out onto a kitchen towel and let them cool to room temperature before putting them into a baggy to let them de-gas overnight, as recommended. As beans continue to roast once off the heat, I decided to remove them before they got too dark.
The roasted beans!
Every afternoon my husband and I have a bit of coffee. He drinks his black; I use cream. Today we waited until I got up from a snooze, and then I got to work making coffee with boiled water, a filter, and paper cone. I ground the beans in my little grinder and tried to get them fine, like I use for espresso, but they were coarser than what I was aiming for.
Ground beans in a #4 cone and filter.
When using this method, the ground beans are placed in the filter and cone. A small amount of boiling water is added to the grounds to dampen them, and then a wait of about a minute to moisten and allow the coffee to release its coffee-ness occurs. At least, that is how I do it.
Steep for a minute . . .
I used 4 scoops for 2 cups – we like our coffee stronger than a lot of people.
2 scoops of coffee per cup.
From there, water is added to the cone, and as one cup was filled, another was placed under the filter. And, voila! Coffee!
Josh’s coffee
Altogether, both Josh and I enjoyed the coffee. It was not as strong as we prefer, but we both think the roast was lighter than our usual, which is Italian or French roast. Still, it was tasty. There wasn’t a sense of bitter or burnt taste, perhaps a slightly fruity taste if anything, but I am not good at labeling flavors like some people.
I still have a lot of coffee beans, and they will be roasted. The next round will be another 1/2 cup, but the heat will be a bit higher. I will also use the wok, and a whisk instead of the spoon.
So, was this little adventure a success? Yes! I didn’t set off the smoke alarms, the house didn’t burn down, the coffee was tasty, and I didn’t go crazy stirring the roasting beans. More to come in the form of darker beans.
I feel like a school kid – classes are taking up so much of my life! It is keeping me off the streets, so I am sure a few people are glad to know that! The classes are a series with Ian Roberts (online), Andy Evansen (online), handsewing 18th stays with Burnley & Trowbridge (far behind!), and a local class in oils / acrylics with a good teacher. Housework is falling by the wayside!
The above is a watercolor exercise from Evansen’s class. It’s a year-long course in watercolor, and the content needs me, the student, to work hard at the lessons. We began with skies – I am pretty comfortable with those. This module works with values, and I think I did a pretty good job with it.
What I found especially interesting was the beginning of the value study. Unlike Roberts who puts in all values in a pencil sketch, Evansen puts the middle value only as the first step. The white areas are bright spots and the sky, but the middle values are all created as one big shape. That was quite interesting, and not the usual route one takes with value studies.
Pencil drawing with middle value only added as a shape.
I messed up a bit, but it did lay out a map that was more clear to me than also including the darks. Once I got the idea in my head, the next step was to lay in soft colors on paper that was wetted on both front and back with a natural sponge. I used 9×12 140# CP Kilimanjaro paper here.
After doing the middle value shape, both as a prelim and then on the final painting, you are supposed to go back and add the dark areas to the prelim. I didn’t get there – I was too involved in the final product!
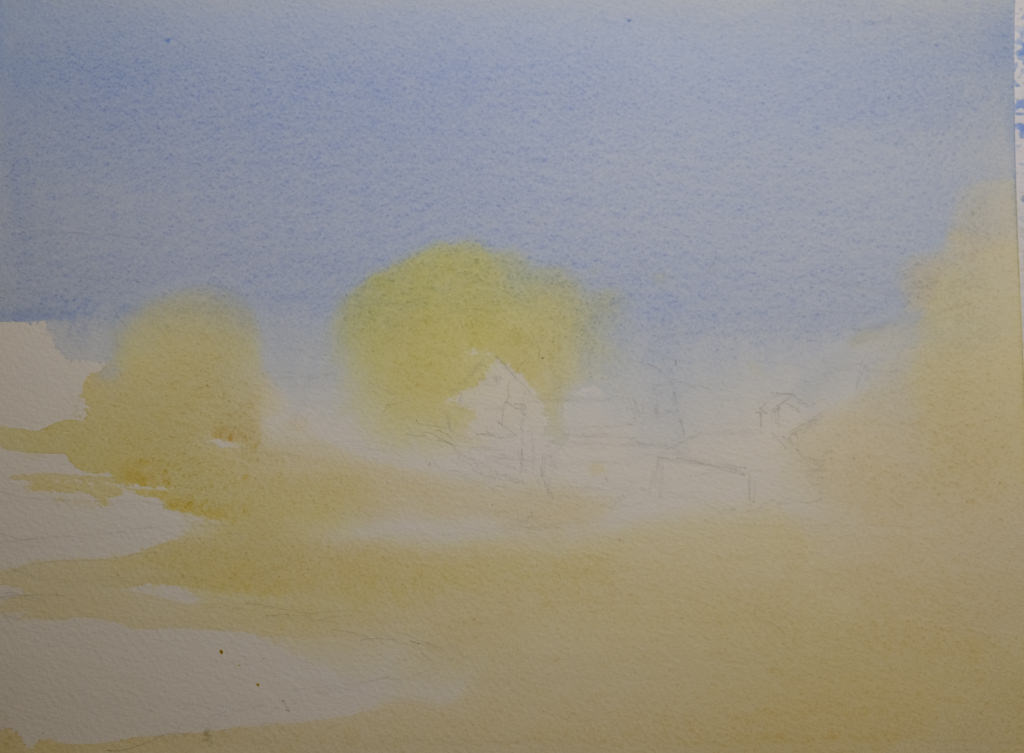
Light areas filled in on dampened paper. Includes the sky, white areas for buildings, and field and trees.
Doing the light areas on dampened paper allows the colors to bleed a bit, and create soft edges.
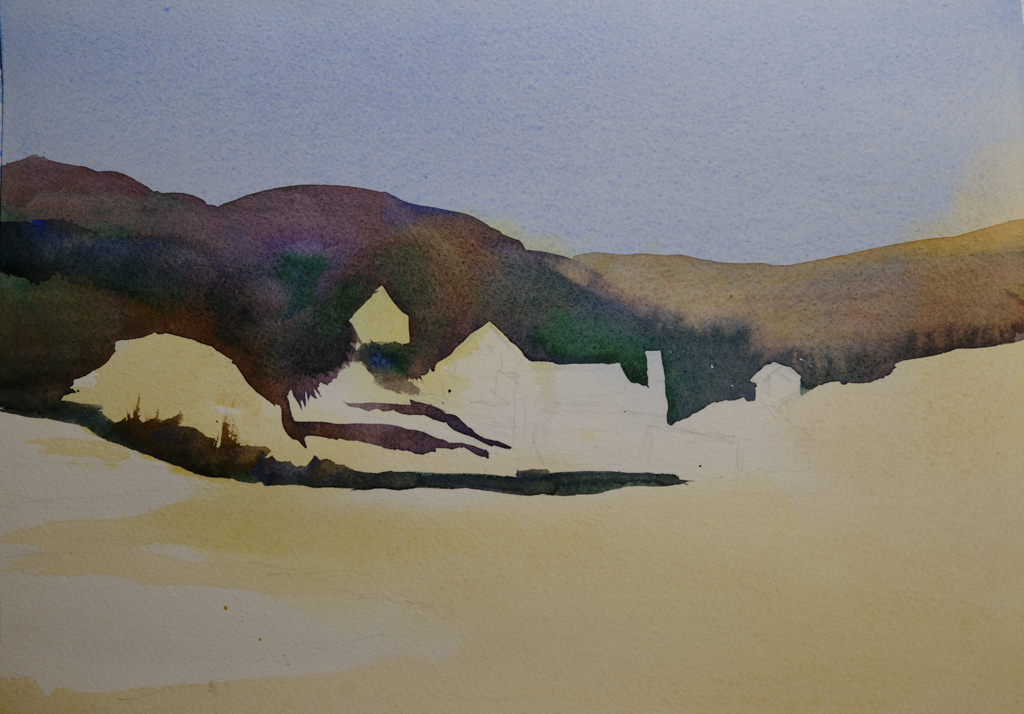
Thicker paint added once the light areas have been worked.
The next step was to work left to right so that the shape created for middle values in the preliminary study could be made on the painting. The idea is to work in one movement – left to right since I am right handed, but right to left if you are left handed. The idea is to create a bead of color that varies as you paint in a continuous design.
To me, this was really a dark based on the reference photo, but that is life! As I did this, I worked around the buildings and structures, as well as roads. The thicker paint and dryer paper allowed this to happen to create hard edges. I was happy with how easy it was to do!
Almost done!
This was perhaps the 3rd stage in my painting. I added furrows to the field and details to the structures. I scraped in tree branches and such with my finger nail only to realize I keep them trimmed too short to be of any use there!
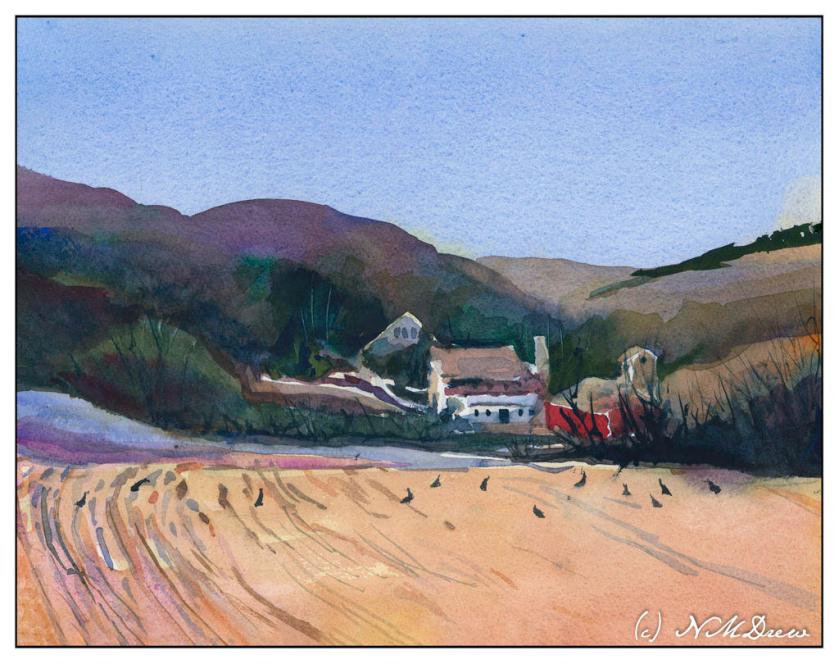
After all the layers were dried, I did the heavier dry brush as well as glazes over the field and hills to create areas of warmth or coolness. I also did it on some of the structures to keep them from dominating .
Some thoughts . . .
It is really a lot of work to do these classes. My whole purpose is to stop my old ways of approaching painting and create some kind of shift so that I can become a better painter in my opinion. Also, I need to stay busy. I have felt like I have been floundering a bit, so an area of focus was important, especially in an arena I wanted to learn. I am still adjusting to all this, but in the big picture, I am happy I made the commitments.
Somewhere, a corner turned. It is becoming easier to simplify a picture, throw out unnecessary things and perhaps adding something else to make it more interesting or work more than a photo can.
Day 17
I’ve been wanting to draw a cloudburst and finally did. After looking at lot of pictures, I realized that the drama comes from the soft rain blurring what is behind it. However, there is also contrast – light and dark. To achieve this, I drew everything in with graphite and then used a grey rubber eraser to create the streaks, lifting the graphite. From there, I smudged it in. Values remain but the messy nature of graphite sometimes defeats itself for value studies!
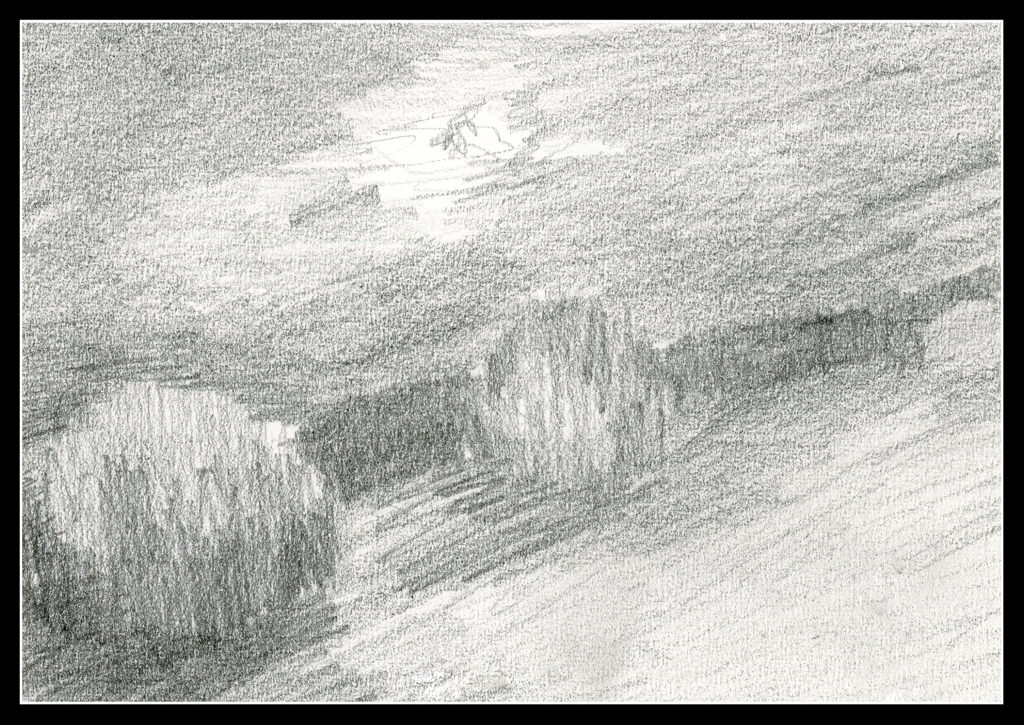
Day 18
I am pretty pleased with this study. There are nice, subtle areas in a photo that was basically very high contrast in the tree and vegetation in the foreground. The ocean is in the middle right and extending into a misty sky.
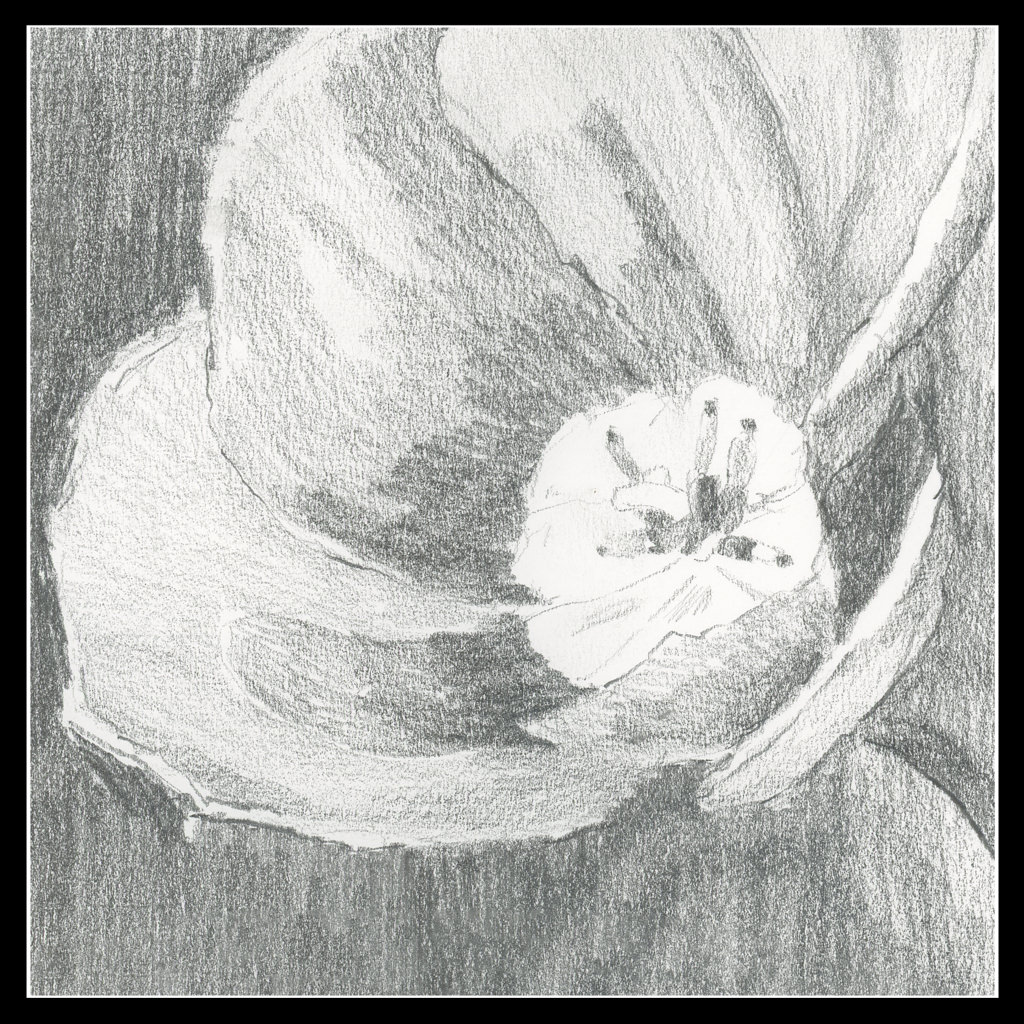
Day 19
I took a picture of a tulip years ago – pale pink and backlit. The blurry quality of my drawing is just a value study, not a drawing to show what a tulip looks like. This idea is really challenging at times because I have done portraits in pencil and details abound then! It is important to remember this is to be a simple reference, not a finished work of art.
Day 20
As I progress in this 30 day challenge, I find I am running out of subject matter! So, it is time to work with other things. The flower was one. This one is perspective.
I actually got out a ruler and for the sketch created a grid, and then worked hard to put things in both perspective and in proportion to each other. As well, I wanted to create a nocturne.
Commentary
So, the days are rolling by, little shifts are occurring, and as my confidence in value studies grows, so is, it seems, my patience for doing preliminary work before trying to execute a painting. Not easy for me at all!d