Working with Watercolor Paper Defects

I have been very pleased with the Bockingford paper from St. Cuthberts Mill. It is a good quality, non-cotton paper which gives quite good results and closely mimics the 100% cotton paper most watercolorists prefer. With this in mind, I bought a 9×12 block of their Millford cold press paper. This paper is supposed to closely resemble Whatman’s watercolor paper, long out of production, and highly recommended by painters such as Ted Kautzky.

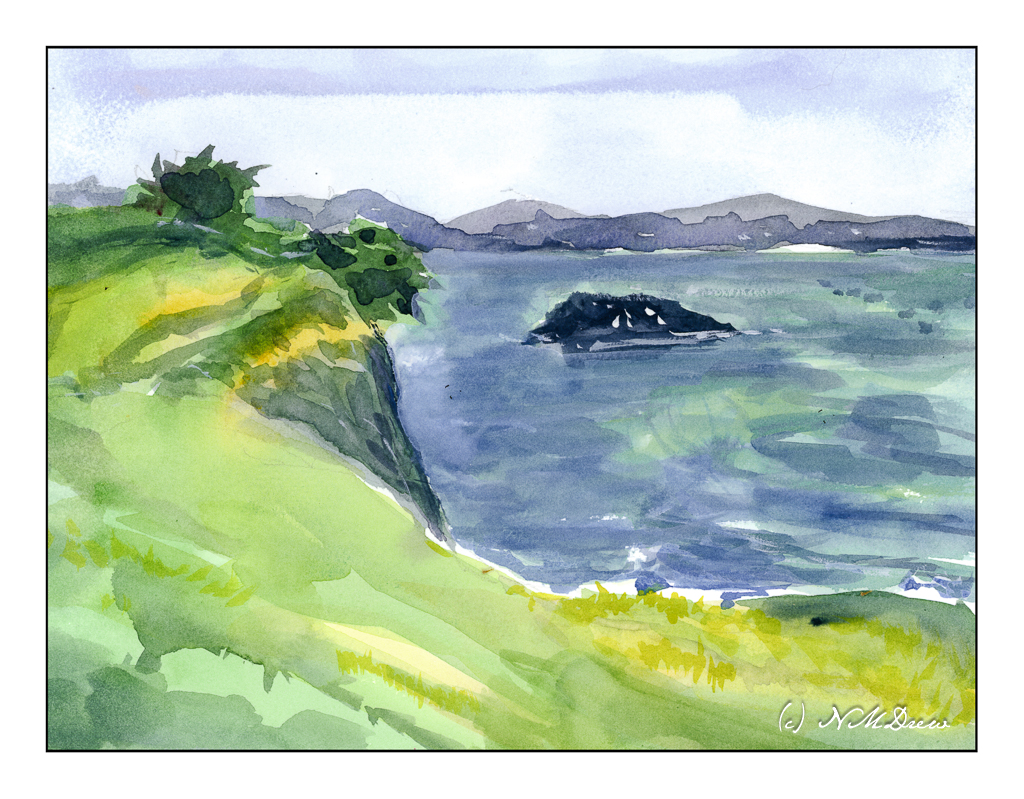
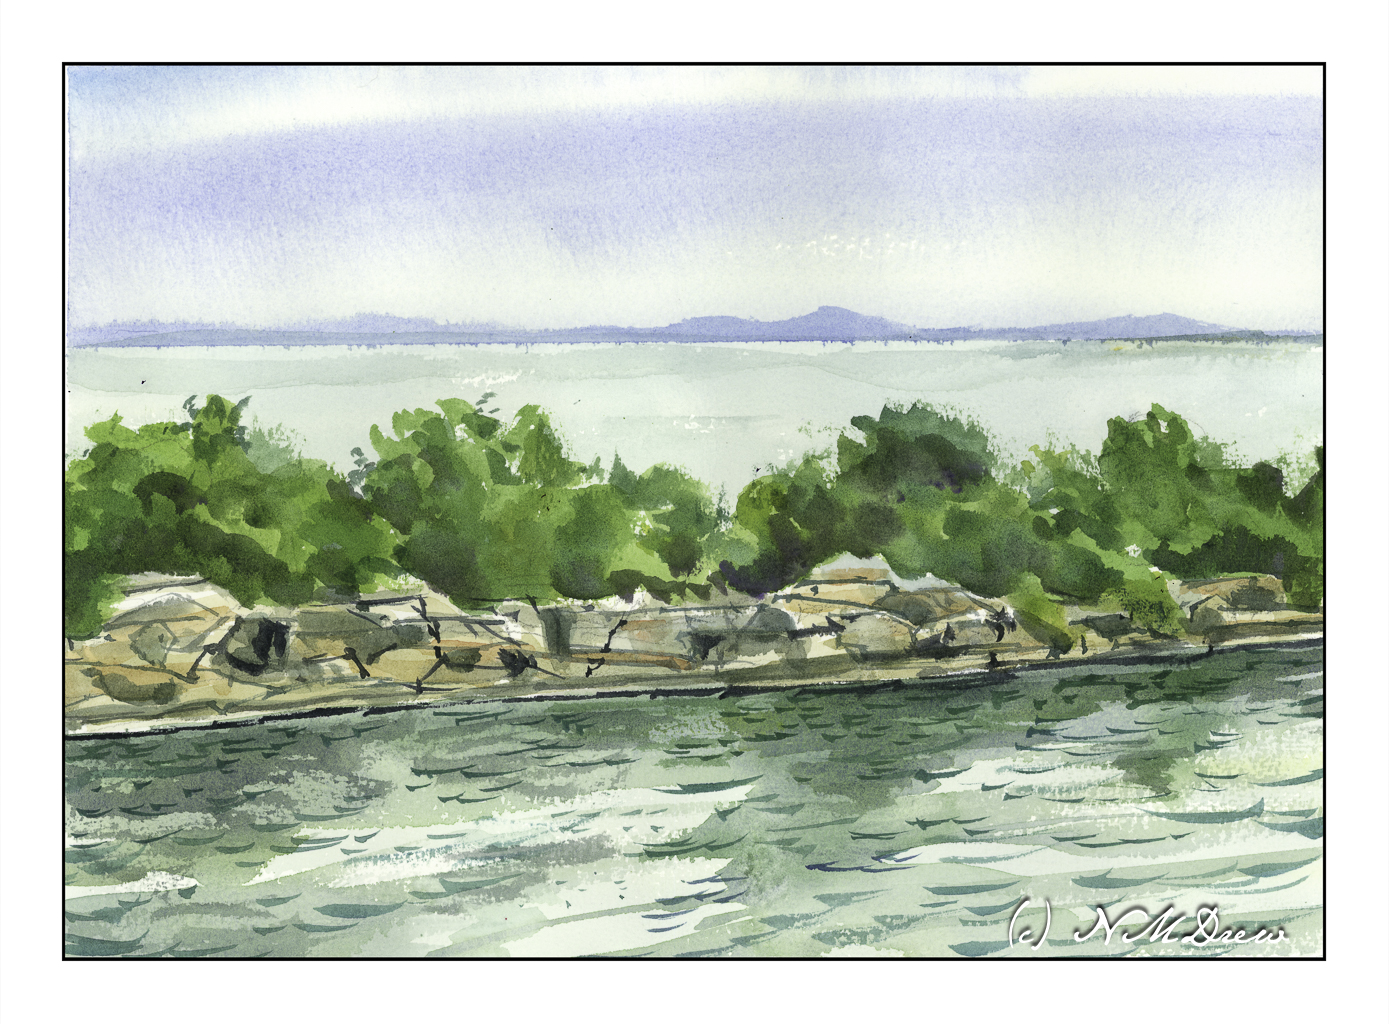
Choosing to reconsider the composition of my previous painting “North Coast” and the island’s placement, I figured a good, wet wash would give me a good idea how the paper handles. I wet the sky first and then added blue.

Immediately I could see there was a serious problem with the paper’s sizing. You can see it as a dark blue streak with a straight edge about an inch into the paper. After that, the wash blends well. We have all seen skies with an odd straightness between sky and cloud, but this is not what I want to have in a painting. Given the price of paper, this is not good.

However, what can I do since this is a fact of this particular block of paper? I know I could take it into Photoshop to fix should I wish to print it out, but that is not the point here.

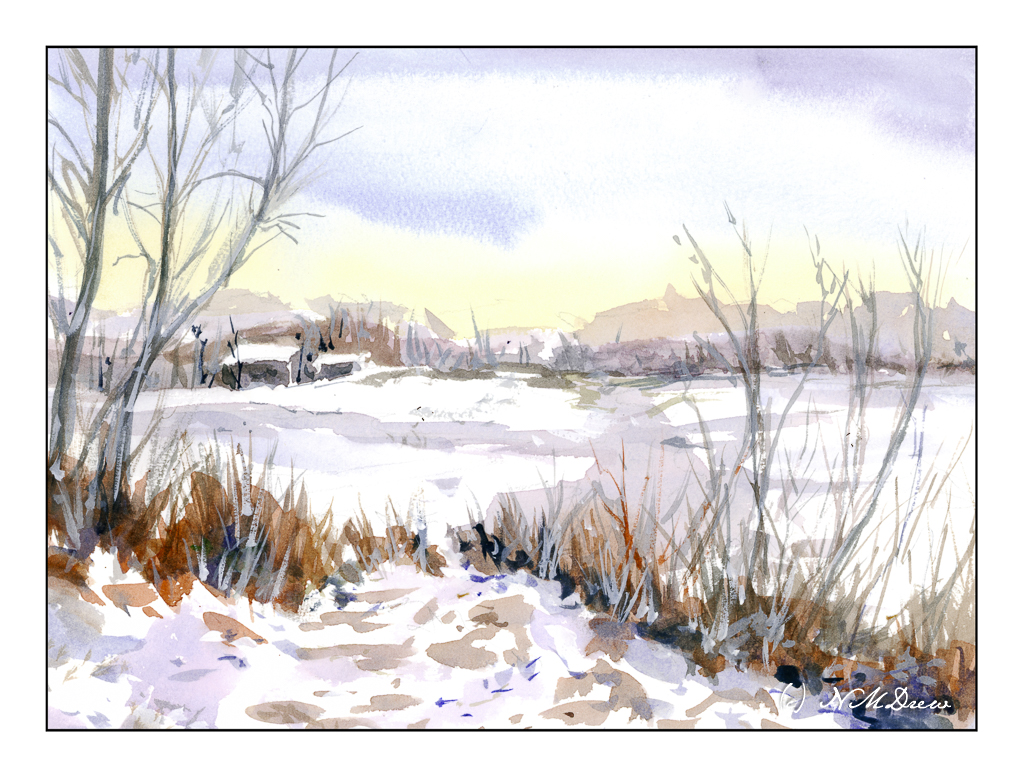
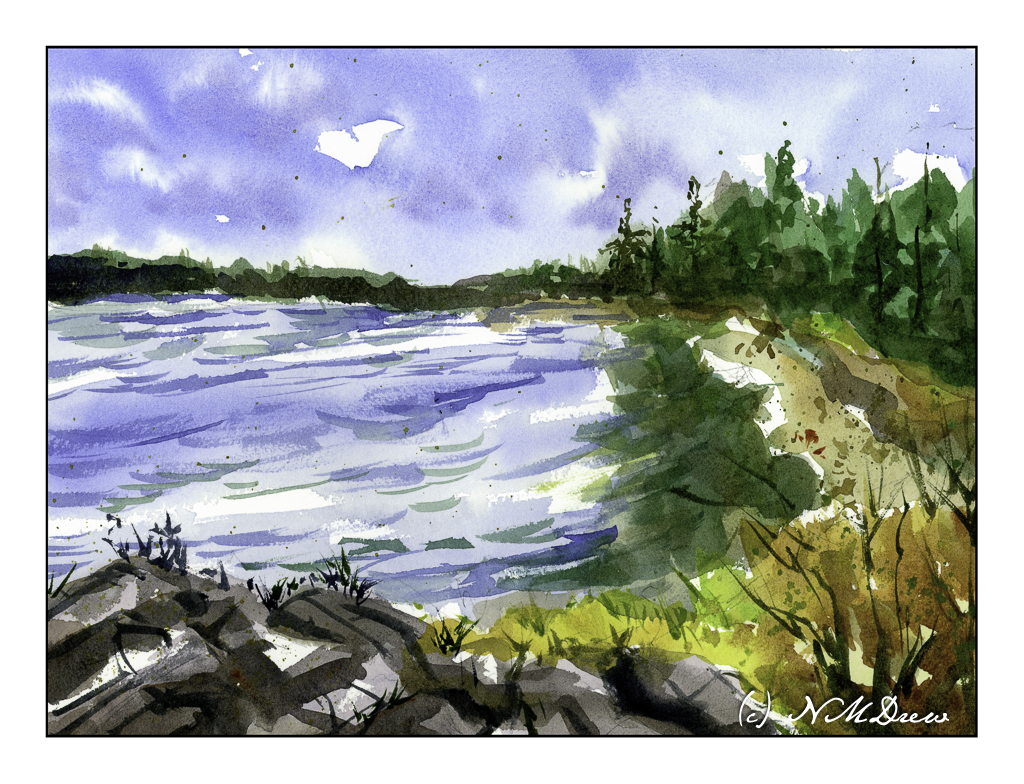
On to another painting, one with a sky that is varied. Again, I wet the sky area first. I laid in the yellowish color at the horizon – hard experience shows this to be a really good way to do such a sky. From there, I applied the bluish mix, dark at the top, drawing a very wet brush across the top of the paper and then into different parts of the sky, letting it blend a bit with the still-wet yellows. Here, I worked with the defect. But then! I saw on the left side of the paper, the same sizing issue appeared.

Sigh.

Well, working with thin washes, I painted on. Trees on the left help to hide the defect.

Despite these issues, I really do like the Millford paper. It has a nice texture. Water rests a bit longer on the surface than other papers, allowing bleeds and such to work well together. In the first painting, I lifted a bit of color out of the island, just to see what happened, and it held up well. Additionally, the glue around the edge of the block was light enough to allow for easy removal of the sheet without tearing the paper – I have had this issue with Arches blocks decades ago, and that has been a big turn off. The glue around the edges of the Arches paper was tough. Perhaps I shall revisit it . . .

Problems exist. Things are not perfect. Working with a problem successfully is satisfying. Knowing the problems with this particular block, I can find ways to make my paintings successful. One thing is to allow the composition of the painting to discard that area if necessary. There are other ways, too, but those can be worked on as a painting proceeds. What will be interesting is to see how far down the pad this problem exists.

And there we are – a Saturday afternoon’s painting, exploration, and play!

Halibut Point

Halibut Point State Park is along the coast of Massachusetts. According to the park’s website:

Halibut Point is a granite edge between the Atlantic Ocean and the mainland. On this rocky coast, people have quarried the robust stone, built military structures to defend the nation, and today the park supports a wide variety of wildlife.


On a clear day, visitors to Halibut Point State Park will be able to see Mount Agamenticus, located 40 miles away in Maine, and the Isles of Shoals off the coast of New Hampshire. You can explore the park’s trails and tide pools, picnic on the rocky ledges, and learn about the park’s World-War II history and the Cape Ann granite industry history.

What draws me to Halibut Point is the quarry, its cliffs, and the geometric properties of the stones themselves. Water is everywhere. All these present challenges as the weather changes or the view changes. The East Coast is definitely different than the West Coast!

My focus here is the graphic quality of sky, land, sea, trees, stone, more water. The scene is quite simple but the detail can be a bit overwhelming – I want to be specific and show every leaf and grain of stone and wave in the water. I needed to make it very simple for it to work, keeping the sky and distant land and sea simple before moving to the middle ground trees.

And, I think it does. I like the way my trees tuned out – masses of greens in different value to add depth and suggest the denseness of its growth. The rocks of the quarry walls are filled with straight lines which can be vertical, horizontal, or diagonal. The color of the stone is a rather warm white to ochre, but light, too, renders it warmer or cooler. Finally, the water itself in the foreground. A calm water, but a bit of wind. Reflections in the water and ripples on the surface. More detail, but hopefully not too much.

Watercolor, Arches rough 140#, 10×14.

Master Study of Voilier au Petit-Gennevilliers by Claude Monet

The original painting by Claude Monet was painted in 1874 and measures approximately 22 x 29 inches. My painting measures 11 x 14 inches, so it is close to the same proportions. I left out a few things simply because I was not trying to replicate Monet’s painting but catch its sense of spontaneity. This spirit is what I found refreshing, and while Monet probably finished this painting alla prima, I spent about 6 hours in the studio. He used oils. I used fluid acrylics.

As I started to look more closely at Monet’s painting, I saw that his brushwork was very quick in many areas. The smudges of smoke in the left middle ground, the dark, wispy clouds used up a rather dry brush, one where paint was nearly gone. The white-blue swash across the sky seems like a quick thought. As well, it was interesting to see how the dark bits of clouds worked with the yellow and white areas to focus the viewer’s attention on the sailboat itself.

My own painting is more blue than Monet’s, but I saw a lot of blue in my reaction to his painting. Comparing the two is really interesting when I compare my scan to the Wikimedia online image presented here. It is hard work to get a good, warm grey and I did struggle with it. I also had to work on observing little things, such as the boats on the left middle edge – I couldn’t figure them out initially. The chimneys on the horizon also needed to be considered – what were they? The smoke on the left horizon gave it away. Once I had the boats on the left sorted, the vertical lines reflected in the water made a lot of sense.

What I really love about this painting is how it catches the light, which, of course, is the idea behind Impressionism. The moody sky with bits of cloud and fog and light as evening descends is what caught my attention. Even now, as I compare my master copy to Monet’s painting, I see even more subtleties which I could have caught. But, at some point, you just have to stop!

Fluid acrylics, Centurion OP DLX linen canvas pad, 11 x 14.

Above the Lake

Lately I am not interested in pretty pictures so much as I am in simplifying or working on specific techniques in watercolor. Here, the main goals were the foreground rocks – making simple but still suggestive of a bit of an outcropping – and a sense of wind on the water and reflections of the trees. Well, the rocks turned out to my liking, the waves on the water okay, but the reflections are a total flop. More careful planning next time around!

Watercolor, Arches 140# CP, 9×12.

Coastal Beach

Where I live there are so many wonderful beaches in our county, to the south, and to the north. Just pop onto Hwy 1 / 101 and off you go! Some are wide and flat, such as in Carlsbad, others are easy to get to even if they have cliffs, and others are quite rugged.

Santa Barbara County has a lot of really great beaches. When I lived there, I had a lot of favorites – Butterfly, Hendry’s, and Goleta Beach. This is a view of Goleta Beach facing north. It is very typical of this section of California – sandy beaches, friable cliffs, Mediterranean vegetation. The coastal range is often right at the ocean’s edge and can create some dramatic views from the shoreline. I really like our beaches!

The biggest challenge here was the water, both waves and the damp water on the sandy shore. Putting people in was not too hard – just a few blobs to make the blobs people shaped. The foreground rocks were a bit of a challenge – I wanted enough detail to make them believable but not too detailed. I am pretty pleased with the cliffs, distant mountains, and sky. Overall, I think this painting turned out pretty good.

Gouache, Strathmore Vision 140# CP paper, 9×12.