A Man from the Mountains

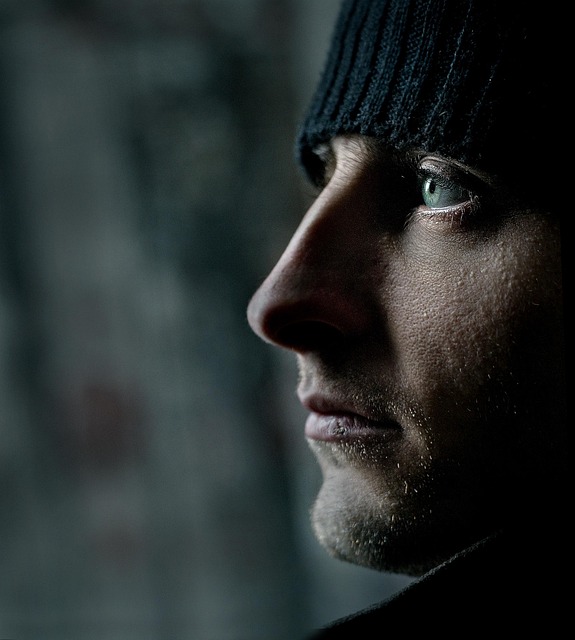
In between life and knitting disasters and housecleaning and purge-atory (I got rid of a lot of junk last week), I have been painting a portrait in acrylic over the last few sessions of my figure painting class. I used one of the many wonderful portraits available from Pixabay.

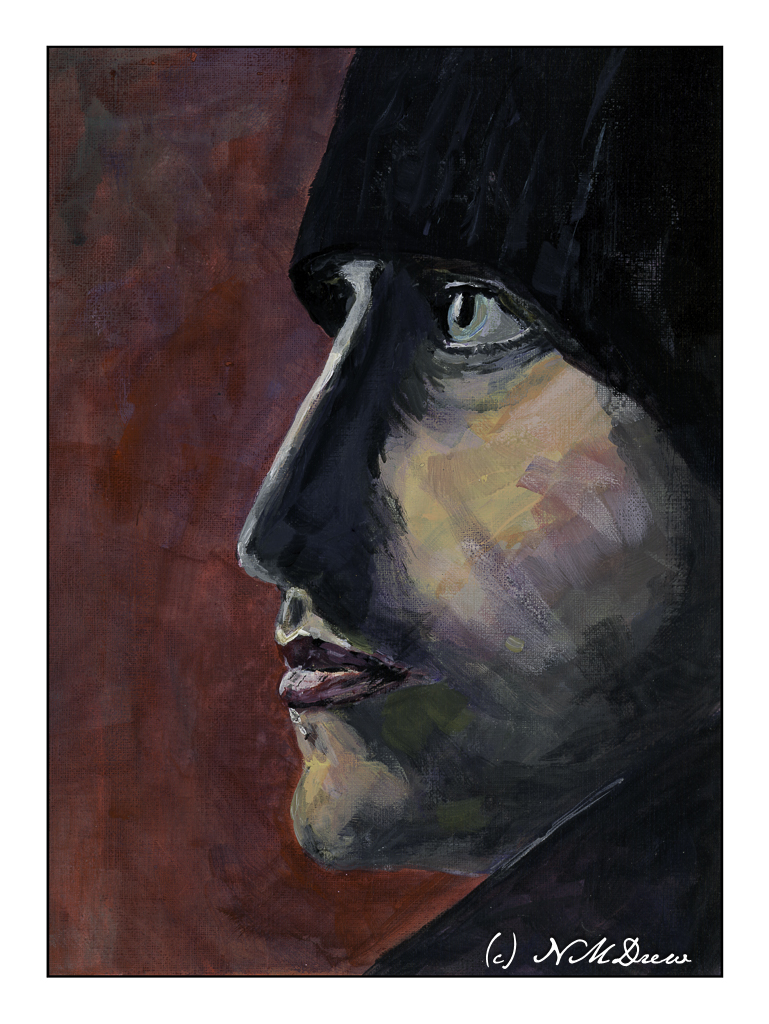
Painting this portrait was a challenge. I did not want to do a photographic reproduction. My idea was something moody and a bit sketchy, more so as I think such a style is more easily done in acrylics (which I swore to work on!) than a realistic rendition of the person himself. I painted using more transparent paint and scumbled a lot of the paint onto the canvas. Some areas don’t even have paint on the surface, or very little. Layers and glazes were built up. The quick drying quality of acrylics makes this easy to do in a classroom.

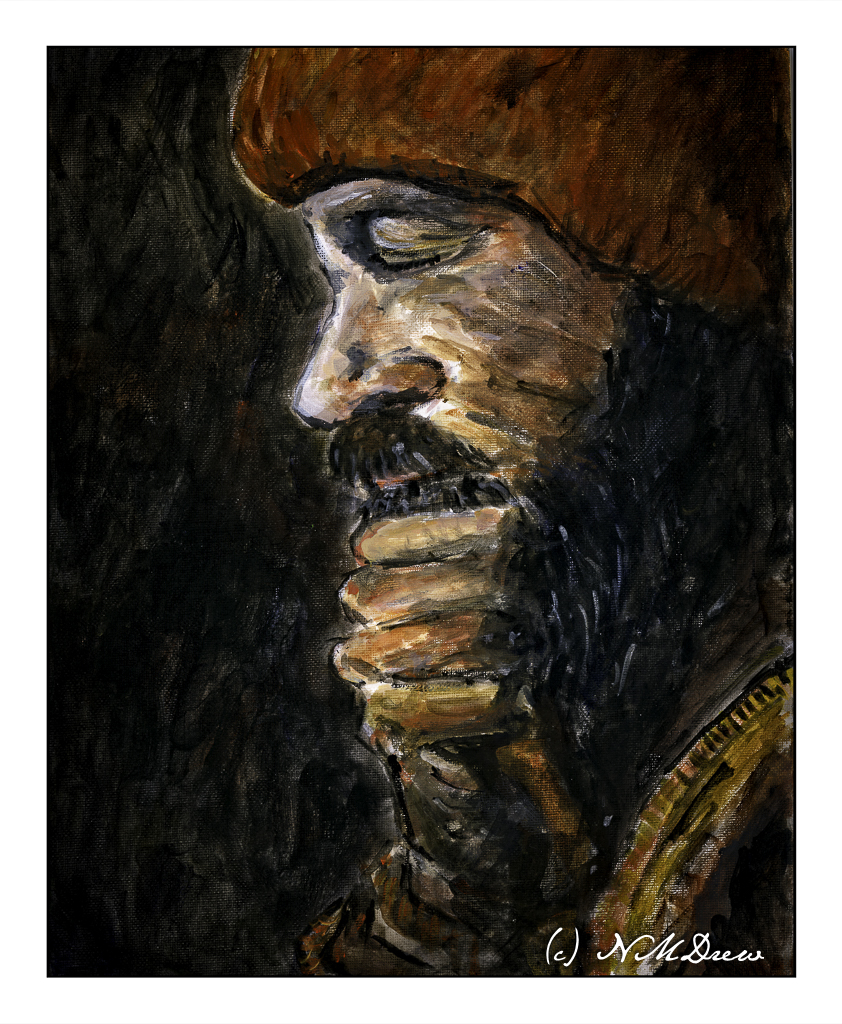
My palette was pretty limited, too. I used carbon black, ultramarine blue, raw umber, cadmium red light, titanium white, and yellow ochre. First step was to sketch in the man, working on proportions and then mixing general areas of color, slowly moving into details. I stepped back and forth to look at my painting.

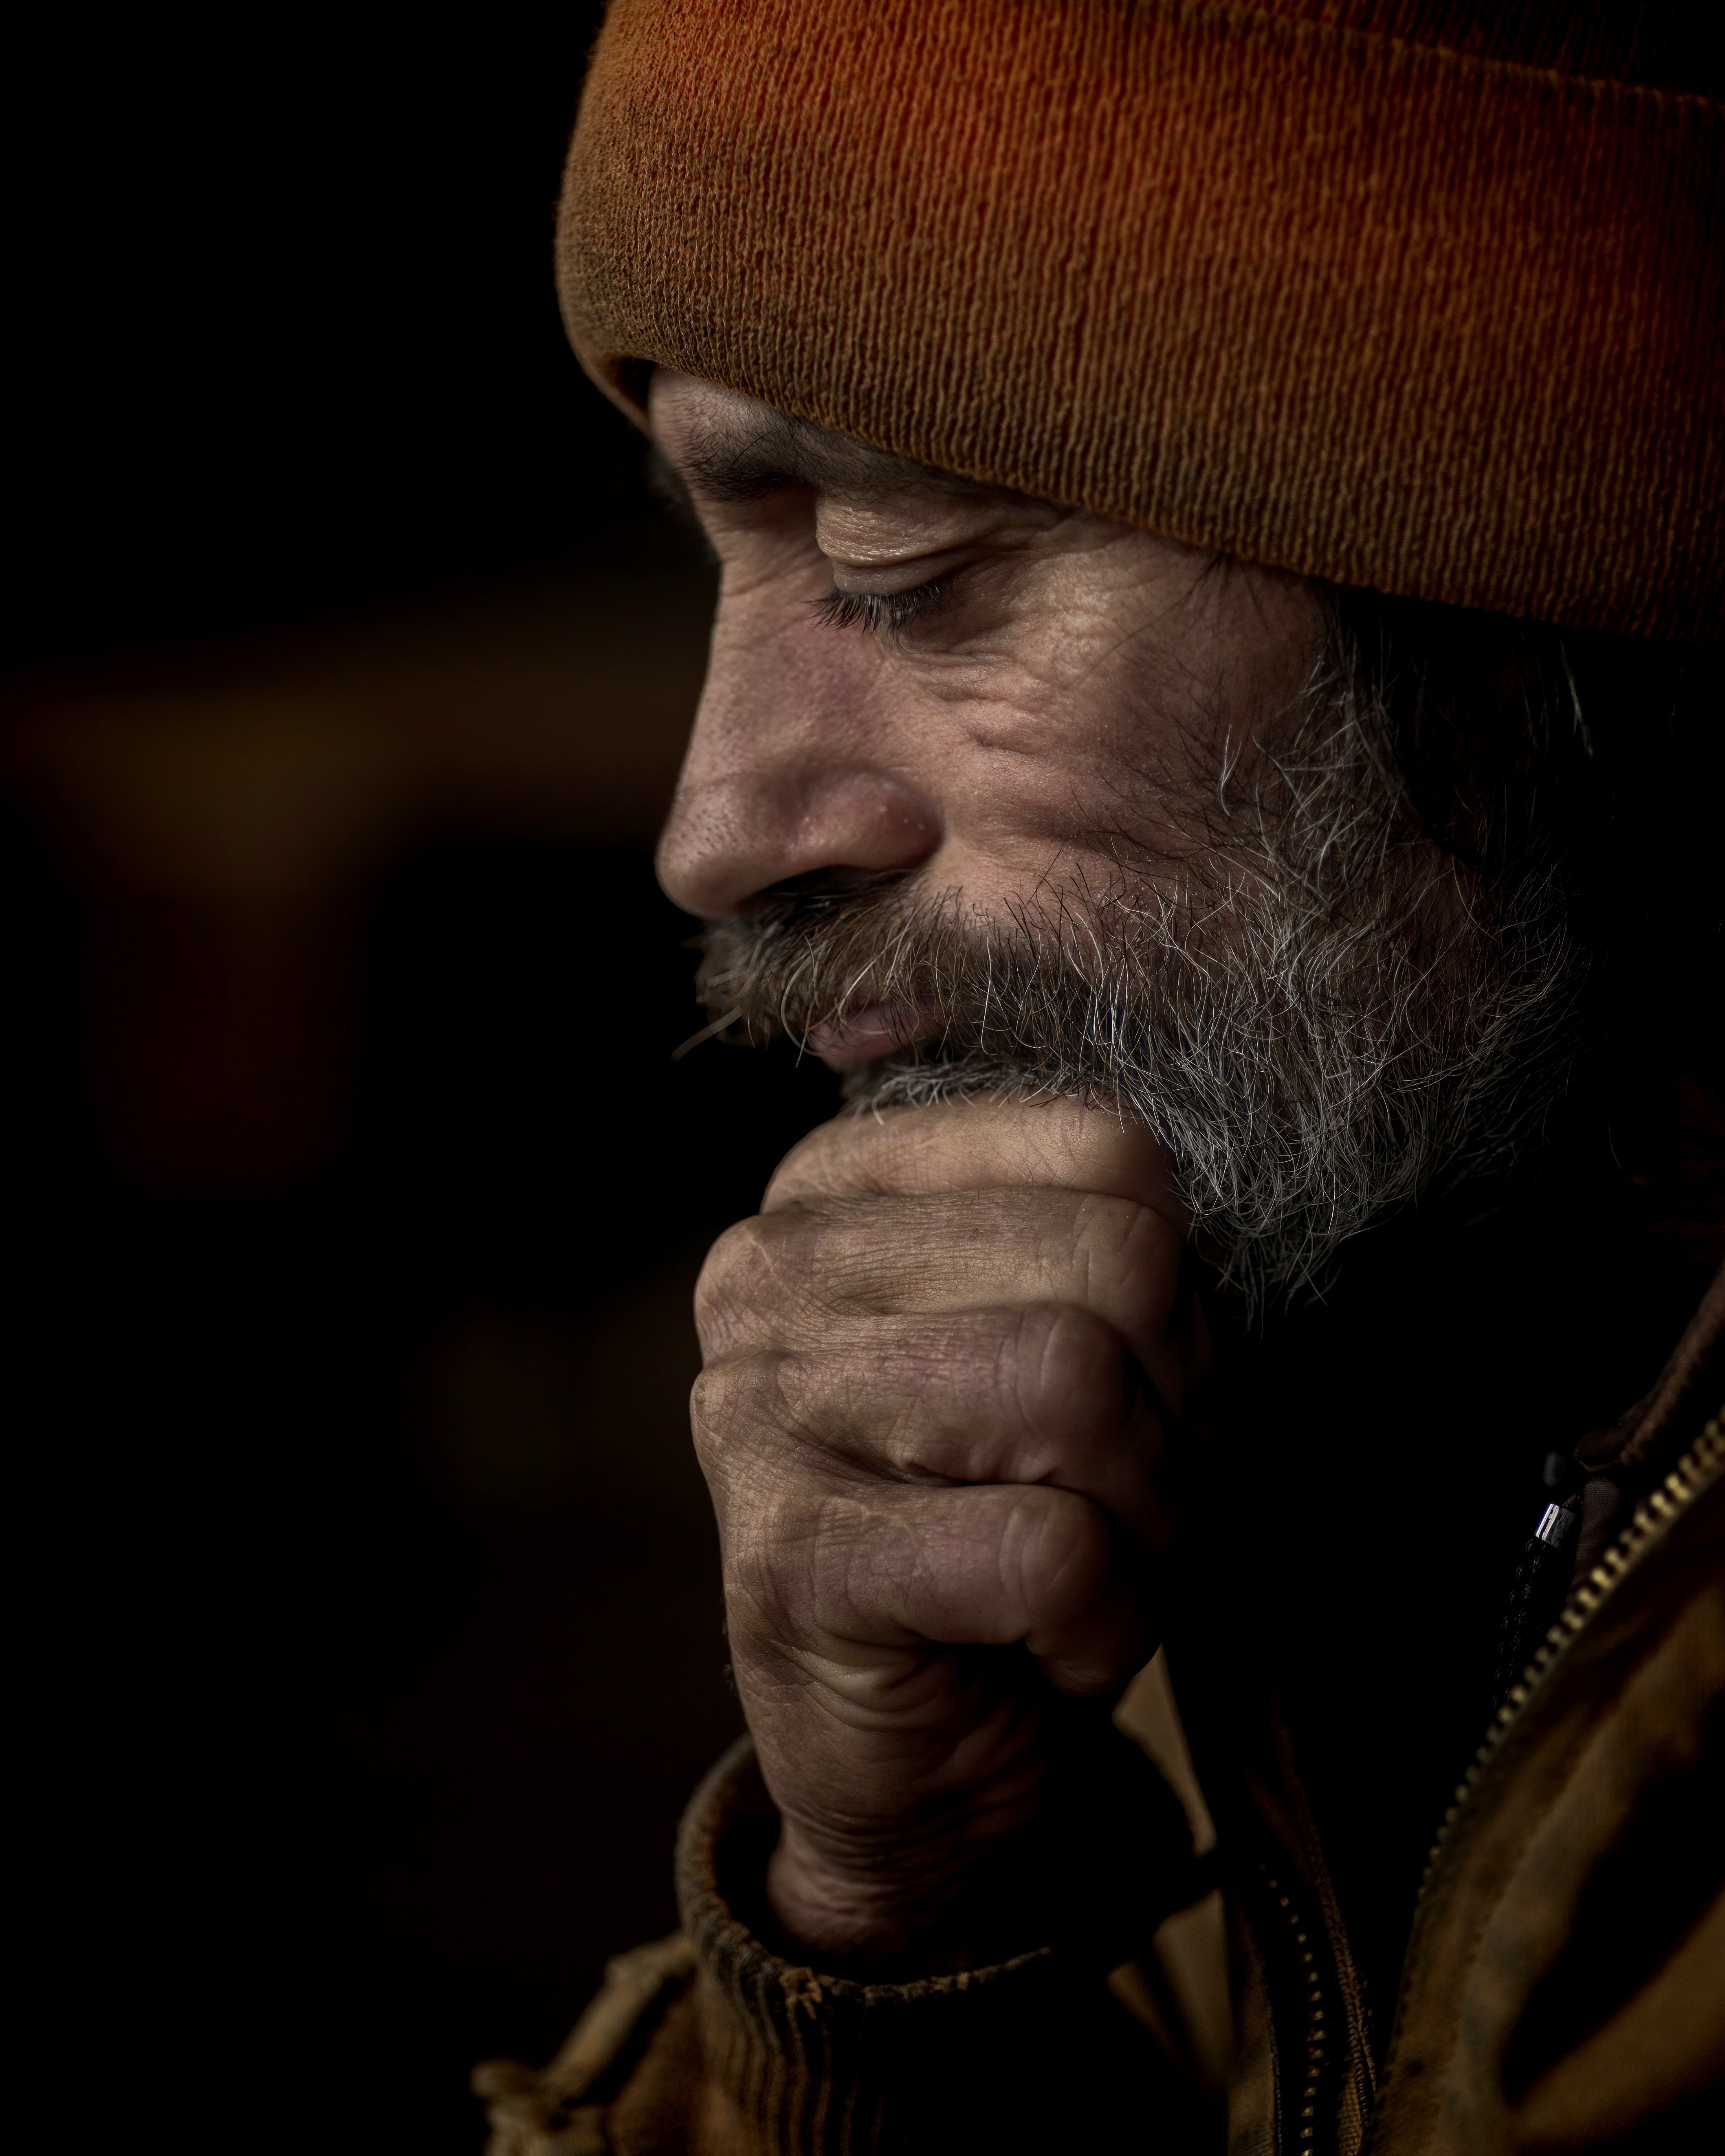
What really attracted me to this portrait was the lighting, the expressiveness and rather mysterious quality of the man – he could be from so many places. My first impressions is he is a man from a remote part of the world, a man who works hard and labors with his hands to provide for those he is responsible. I wanted to catch this quality – a rugged ability to endure.

I think I will hang this on my wall to enjoy. Yeah, pretty pleased! That is after I correct the mistake under the man’s mustache . . .

Heavy body acrylic paint, cotton canvas panel, 11×14.

Profile of a Man

One of the painting classes I am taking is one on portraits. The teacher, Barbara, does beautiful work in oils. She is detailed, observant, laissez-faire, and is getting me into enjoying painting portraits of people. For me, I like people I don’t know. Personal portraits are too personal, and while I have done some decent pencil drawings, paint is another story altogether.

If you like free, public domain images of all sorts, check out Pixabay. It’s free and I use it over and over again. For portraits and figures, as well as anything else you might want including “adult” matter (i.e.nudes), you can find it. Many of my art teachers like my photos I use in painting class, and unless I have taken them, most come from this resource.

I am giving myself an exercise to paint portraits. How many, no idea. Different positions are certainly ones to study – profile, 3/4, frontal, looking up or down, etc. I also intend to do bodies, working on action and movement, but that is for another time. Today’s post is my painting of the model above.

What drew me to this portrait was its simplicity. Profiles are a good place to begin. The strong light and contrast in this portrait makes things not too subtle, which I think is a good place to begin for a portrait. Below is my painting.

My chosen medium is fluid acrylics, which are about the consistency of heavy cream. In the beginning, I laid in the background with thinned paint, and the same for the general features of the face. As I progressed, I increased the paint’s density by not thinning it, but as time progressed I varied its thickness depending on the opacity I wanted.

Besides rendering good values, I also wanted to focus on brushwork. I have said many times I tend to be a dabber, using a round pointed brush. I set that aside and worked in flats ranging in size from 1/4 inch to about an inch. One of these flats is also an angle brush. For tiny details I did use a fine round.

Altogether, this was painted over 3 days, using time to let the paint dry (or a hair dryer) and take time to step away from the painting. That way I could review what was done and think about changes. In the end, I am pleased with this painting quite a bit.

Fluid acrylic paint, Canson XL oil paint / acrylic paper, 9×12, finished size 8×11.

Sketching with Shari, iii

Another pleasant break to be had yesterday afternoon! Tasks and chores shucked and done; dinner to be prepared. In between, back to Shari Blaukopf’s short course on ink and pen and drawing.

I tackled the section on drawing people, and I think I accomplished my task quite well. As always, a few good tips really helped move my sketches into more successful areas – in particular the one about getting the shape of the shoulders correct and then moving up and down the body as needed.

The hands in the above drawing are not at all good, but such is life. The basic drawing was done in pencil, which I did not erase after applying the ink. The line drawing was done using Sailor’s black pigmented ink, and the washes were done with India ink, diluted to make the washes.

From there, we moved on to water soluble ink in color. The color Shari used, and which I bought, is called Ancient Copper. The pen I used is my trusty Spencerian nib in my vintage Edwardian pen hold made of silver (yeah, posh!). The Spencerian nib is great as it provides a very fine line, but with pressure yields a good thick line.

Looking at my signed and scanned image, it looks like there is black ink used here, but there is none. It just shows how scans can mutate color, but also just how variable the ink itself is – from on the nib, to dissolved with a brush dipped in water and applied across the lines.

First a pencil drawing, then outlines and cross-hatching with the pen. Darker areas have more hatching. Then, let the ink dry and erase the lines with a kneaded rubber eraser. From there, a brush dipped in water to create the lights and darks by applying it over the lines. Areas with more lines = darker areas. Then, while the paper was damp or dry, I used my dip pen to apply more ink. In particular, I used it to outline the man, his clothes, and the edges of the bench. This helped emphasize contrast and to help separate different areas of the drawing from other areas.

Bristol paper, 11×14, India ink, Sailor pigmented black ink, Ancient Copper ink, Spencerian dip pen, brush.