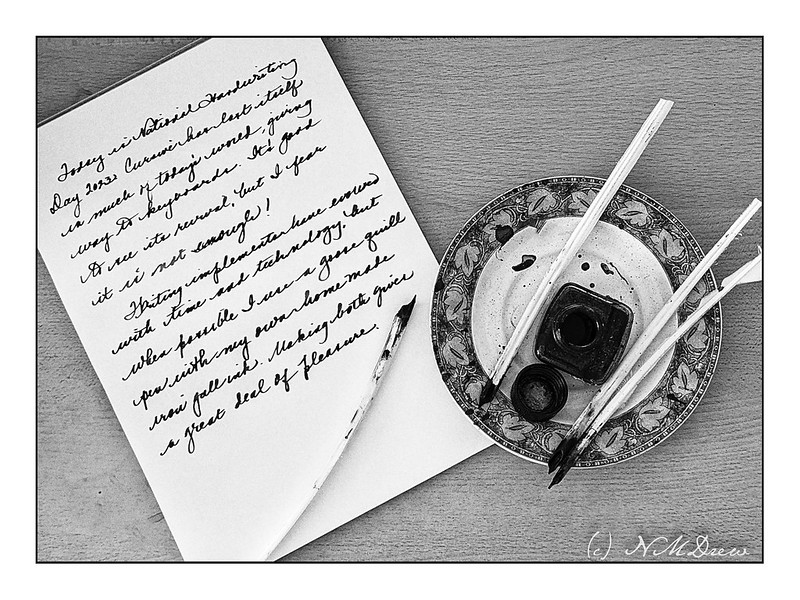
Sounds like the name of some pub . . . but in reality, this is a macro with my Nikon Z 50mm macro lens.
Anyone who does post production with photo editing software knows about pre-sets. I have a lot I have made over time and it can be a lot of fun to manipulate a picture. The original of this was in color, so I converted it to black and white and then used a high-key preset I have made. I like the way it has softened the feather but retains enough detail to let you know what things are.
On an aside, I need to cut some new quills and brew some new ink. I am using fountain pens right now to write, but do like the tactility of a quill pen! However, my fountain pens are a lot of fun, too, and with different pens and inks, the variety is equally pleasant . . .
Handwriting has gone the way of the dodo, and cursive even more so. When I was teaching, it really surprised me to find students who were barely able to hold a pen or pencil, much less form readable printing or cursive. Apparently kids are forbidden to use cursive in hand-written work these days because they just can’t do it neatly. And while I disliked practicing handwriting, today I will say that I am so appreciative of the fact that it was part of my public school curriculum on a daily basis for grades 1-8. Today? Well, keyboarding is taught, and learning to touch type in high school has really paid off, but I still turn to pen and ink and paper, and on a daily basis I prefer quills I have cut myself, and iron gall ink I make as well.
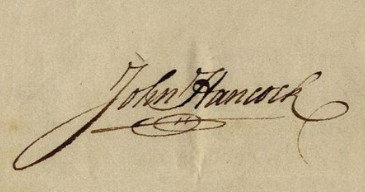
Here in the US, National Handwriting Day has apparently been a thing since 1977. Choosing January 23 is because the first person to sign the Declaration of Independence was John Hancock, whose signature is famous for its beauty. The expression of “put your John Hancock here” or anything similar is a way of saying “sign on the dotted line.”
Times change and we need to adapt, but there are times when I think modern technology and the wonders of the computer age mean we lose what we use to have. In a way, the book Fahrenheit 451 makes a point for preserving older technologies, and having people memorize whole novels is much like the oral traditions of countries where not everyone could write. Working together, old and new can preserve our history – and what we consider to be a daily thing (i.e. writing a letter on paper!) can vanish. Digital archives preserve such knowledge, but to acquire this knowledge again means actual, physical experience.
If you look at my little blurb in the photo, you can see my handwriting is okay, but I don’t always make my letters correctly and have to backtrack over them. When I was in school, if I had to turn in a handwritten essay, such mistakes would bring down my grade. And if I made them – well, I just started over.
So, cheers to National Handwriting Day. Reading cursive and handwriting is important and the best way to learn is to be taught at an early age. Apparently students not taught handwriting and cursive lose out on far more than just an ability to pick up a pen or pencil and communicate on paper.
Come to think of it, do kids even pass notes in class? Or do they text and hope they don’t get busted for using a phone in class?
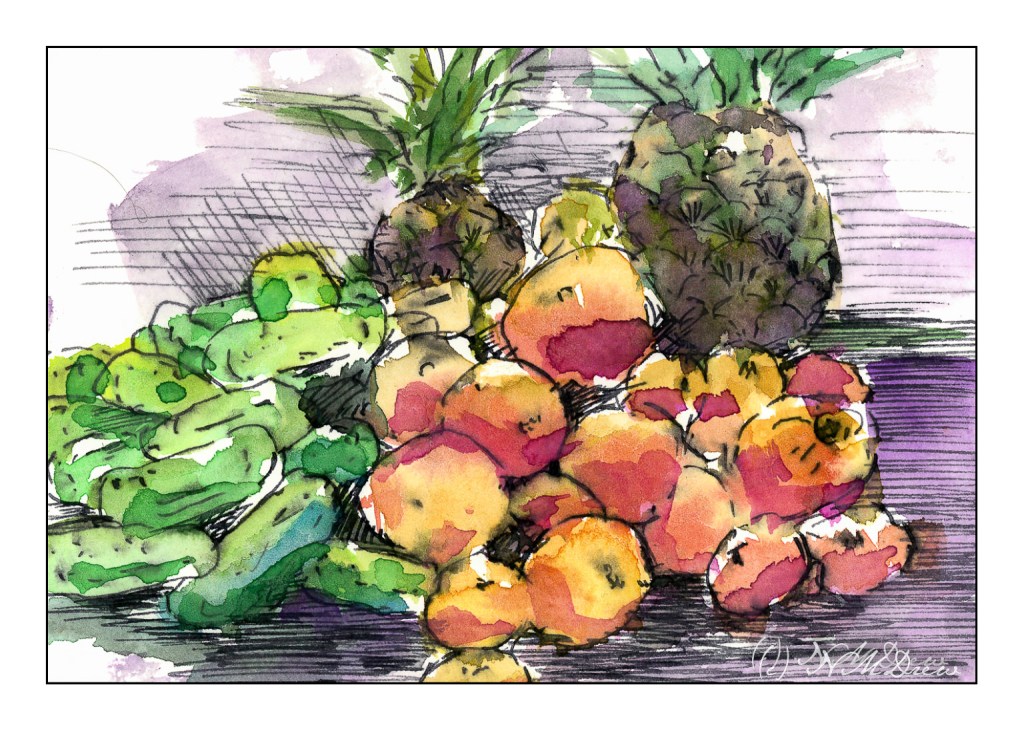
More iron gall ink and opaque watercolor. The watercolor is a small set of 24 “Angora” pan paints, probably meant for children as the colors are nontoxic and bright. Sets come in groups of 14 colors to 36. When I was a kid, I had a set of pan paints my mother bought for me – my sister had the same – and I just loved them. The set my mother bought was transparent watercolor, but diluted enough, these are equally transparent. There is something that I always love about paints in a pan – I think it is because it is more play than serious.
I have become enamored with the Great Sand Dunes National Park – so much to see, so many seasonal variations. Here, winter and snow on the dunes with clouds dropping down between the dunes and distant mountains. The river is cold, and there is a dusting of snow in the high desert plants. Winter is at hand.
“I am afraid you do not like your pen. Let me mend it for you. I mend pens remarkably well.”
“Thank you – but I always mend my own.”
Austen is discussing the quill pen in particular – a pen made from the feather of a bird, usually a goose, and cut with a pen knife. The ink is most likely iron gall ink, made at home or sold in penny jars. Pre-cut quill pens could also be bought, perhaps well made or not, but certainly could be customized to one’s own liking. It is from this particular section of Pride & Prejudice that I decided I could “mend my pen” to my liking as it got worn with use.
First, let us consider what writing with a quill pen entails. It means getting a feather, preferably a long feather from a goose’s wing, a first or second pinion about 14-16 inches long. From there, the feather is aged before cutting – reportedly a year – or cured with heat, or “clarified” after soaking overnight in water that might have alum added to it. Then it is trimmed with all feathery parts are removed. The end of the feather that attached to the bird is the part which becomes the nib. It’s a complex process to learn, but easy enough once you get your mind around the steps and shape you need. As always, practice makes perfect – but even an imperfectly cut quill pen can write quite well. I speak from experience.
To cut a quill, you need to soak it in water and then heat treat it to “clarify” it – making it hard enough to handle the cutting process. This video shows you this step:
YouTube, of course, has a number of videos about it. Some are good and some are absolutely ridiculous. Here is a good one – he has already clarified his feather:
And this is basically what you do all over again when you “mend your pen”!
Why mend? Why re-trim and shape a feather quill pen? For one thing, quill pens are like anything – some you really like! I have one that fits perfectly in my hand and is a daily writer. Others are not as comfortable, some quills are narrower in diameter and less comfortable; wider in diameter and uncomfortable for lack of familiarity. All can write beautifully and I, the user, simply adapt to each one. However, quills do become a bit messy if used regularly and a good mending can refresh them. As well, quill pens require rotation – the nib becomes soggy from the ink, and need to dry out. My inkwell from the early 1800s has 4 holes in it, to hold 4 pens, so I can cycle through them (not that I do!).
When I choose to mend a pen, I follow a protocol that seems to work for me. Here are the steps.
Test the pen by using it. What is the problem?
Soggy pen? Too wide? I usually begin by re-cutting the very end of the pen off to create a new writing surface. Test the pen. Problem solved? Go no further.
If the pen is still not writing with a clarity of your liking, sometimes you just need to shave off a bit of the top and bottom of the nib as done in the video. This can help sharpen a nib. Test again.
After the above trimming, you may want to make your nib a bit more narrow, so shape the sides of the pen. I do this a little at a time, carefully, and test the pen until it is to my liking.
Does the pen fail to carry ink beyond a few words? It could be the slit in the pen nib needs to be re-cut. When this occurs, I usually have trimmed the nib using the above steps before re-cutting the slit. The slit is important for ink flow; without it your ink can blob out all at once and that is not a nice thing to have on your paper!
Is your pen, after trimming, writing rough? If so, I find that 3M 2000 grit wet sand paper helps. Write on the sand paper, practicing the marks you make when using cursive.
The tools I use for making and mending my pens are a few. They include
Toenail trimmer
Quill knife – a pen knife as seen in the 2nd video
Xacto knife
Self-healing mat
3M 2000 grit sand paper
Small tool to clean out inside of quill
Here is a good video about tools used to cut a quill, as well as cutting the quill itself:
You don’t need all these things – the differences of quill cutting varies, as you can see, from the above videos.
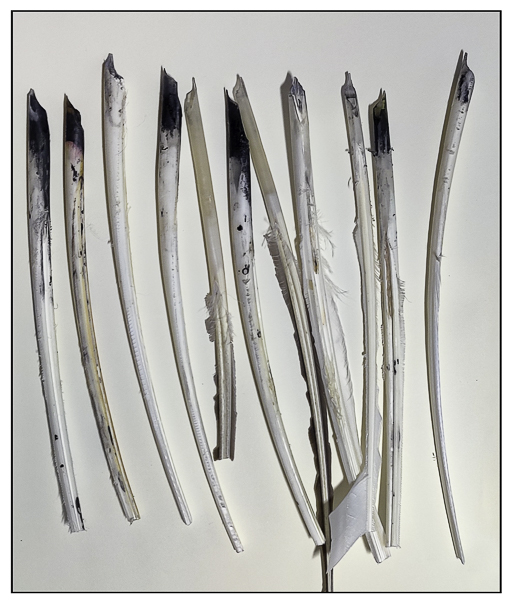
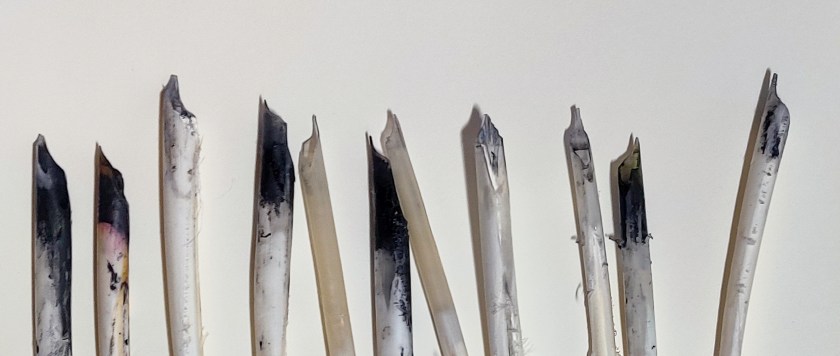
So, today I mended about 7 pens and cut 5 more, two of which were failures. I threw an old quill pen out as it was done in, and my mending attempts only made it worse. I saved my favorite pen and fixed a bunch and made some new ones. Not a bad few hours spent in the sunny patio! I now have 11 usable quills for my daily jottings.
And a close up of the nibs – some are quite inky!
Hope this helps you realize that your old feather quill pen can still be used with a bit of TLC! If they did it in the Regency period, you can still do it in the 21st century.