Apple

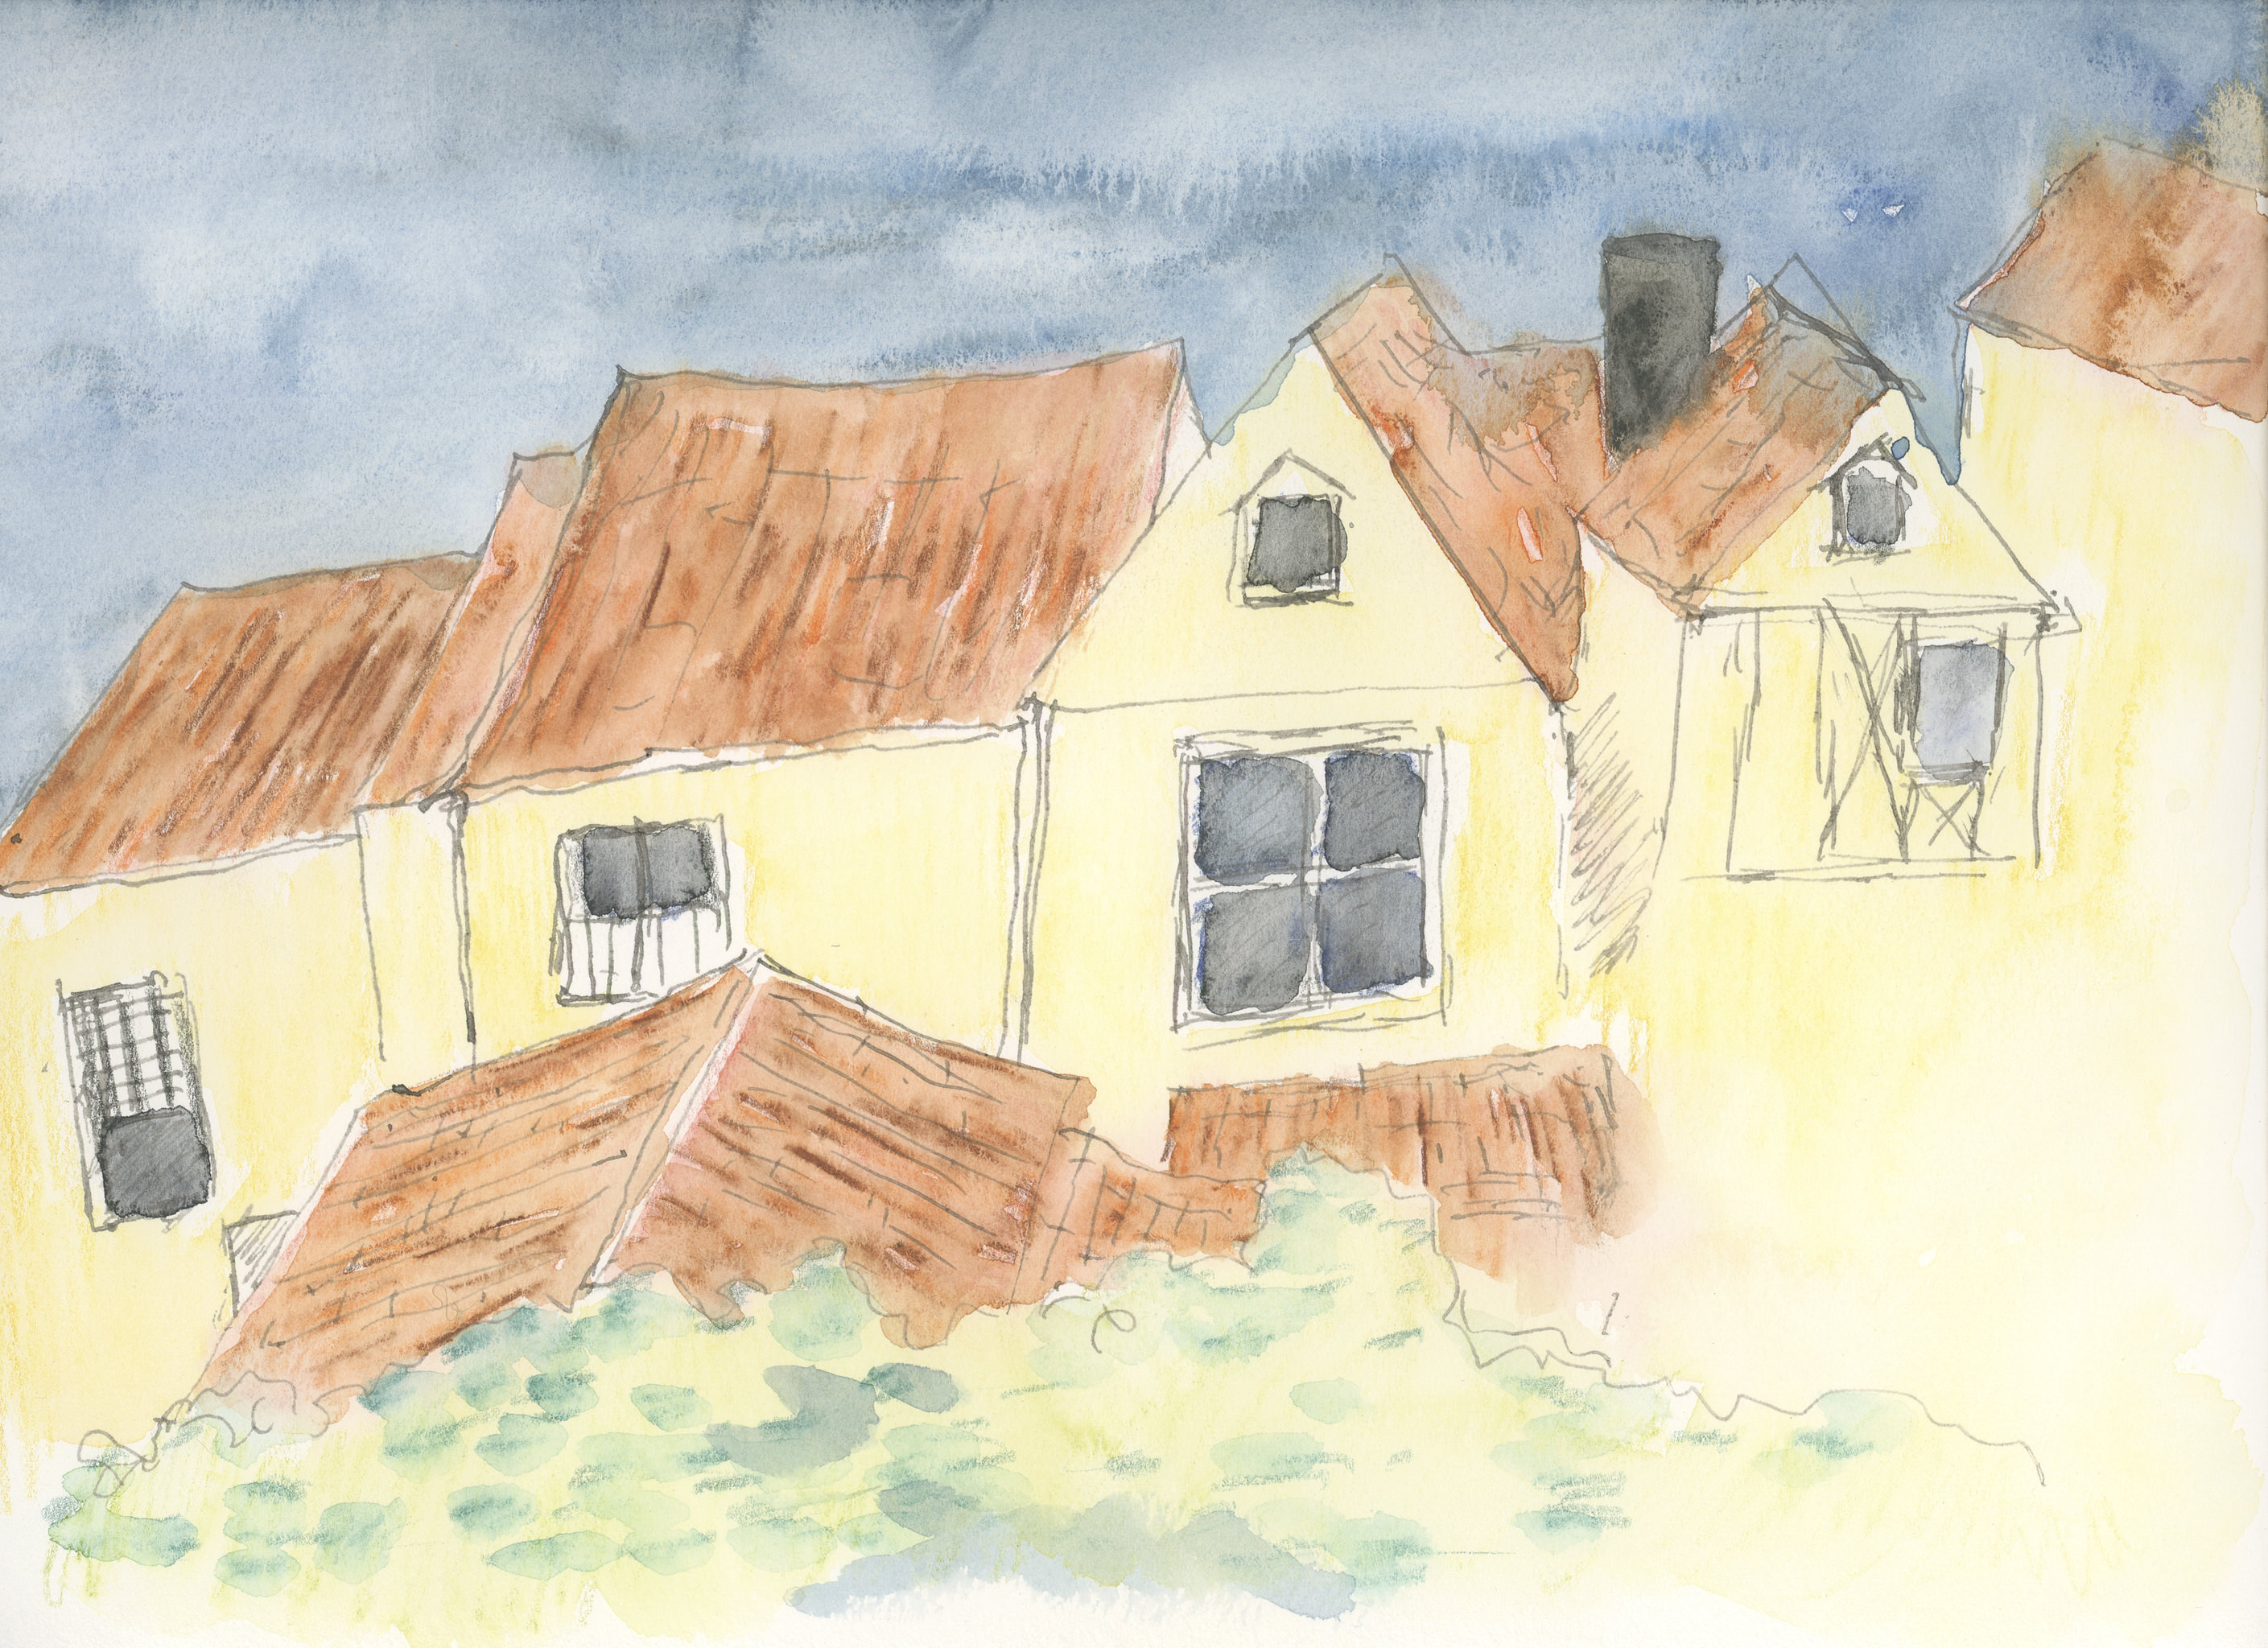
Scanning a painting is a bit of trick – here, you can see that the scan had some dark shades in the corners, not reflective of the smooth, bright white of the paper.  Fixing that issue changes the actual colors, which in this scan are much closer to the actual painting.  So, here is the imperfect scan with perfecter colors.

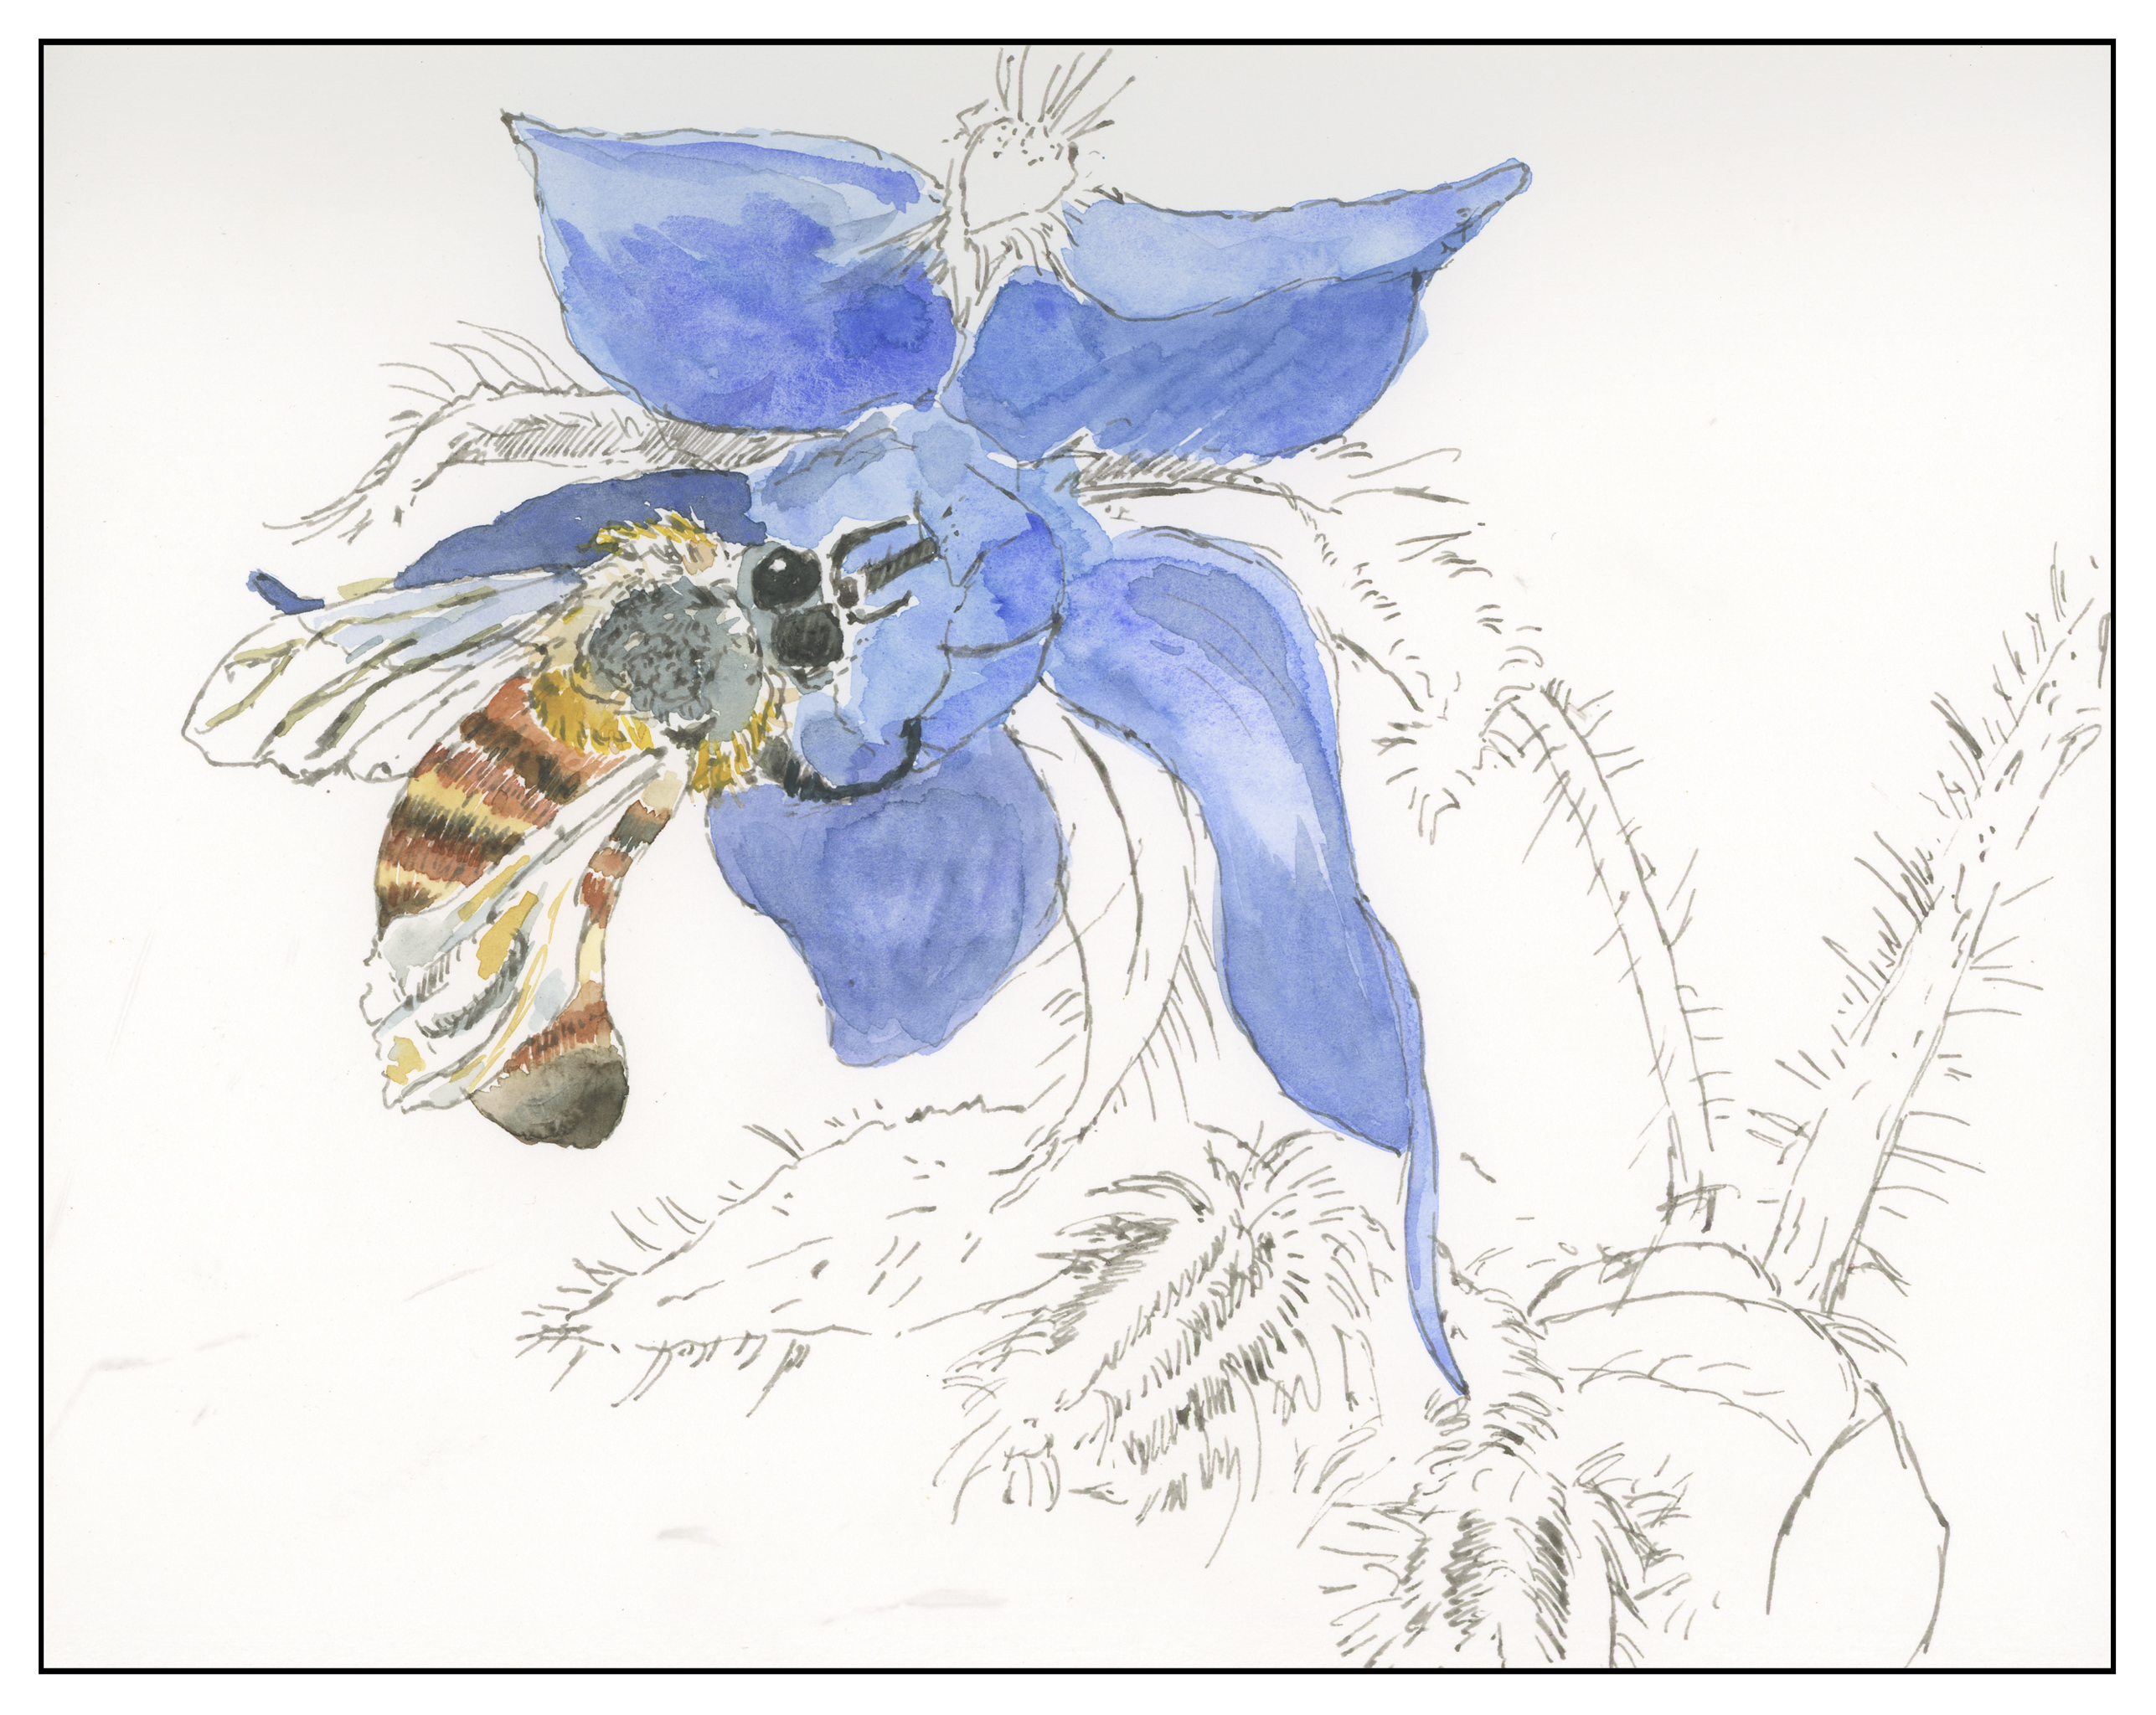
This was probably the most challenging of the 3 botanical paintings I have done so far.  The highlight in the apple was a challenge, as were all the spots and stripes.  The colors I used were all labeled as transparent on various websites, and they included yellow ochre, lemon yellow, Payne’s grey, permanent alizarin crimson, quinacridone burnt orange, lemon yellow, and nickel azo yellow.  Manufacturers varied to include W&N, Daniel Smith, and M. Graham.

What I have found that seems to pull the final painting together is to place a large, light glaze over various areas of the painting.  For instance, on the left I used a pale yellow-orange glaze to pull the warm tones of the painting together; on the right, I used a combination of alizarin and orange and grey to create a cooler contrast.  In the high light, I used a very light yellowish-alizarin mix.

Bee & Borage – First Colors

I did this first layer of colors in the gloom of the evening, after work.  I was tired but had played out some of the painting earlier in the day in between whatever I was doing.  I used a small brush and deliberately tried – and will continue to try – a delicate approach.  Both the bee and the borage have a lot of fine hairs which I want to express and preserve.  Looking at the scan shows a need for contrast in the center of the flower, along with on the bee’s back, behind the eyes.  In these areas, I will be working on glazes to create better contrast, and I hope a better sense of depth.  As it stands now, the whole painting is rather flat and nondimensional to my eye.


Village Windows

Here is yesterday’s first layer of watercolor pencil, now “watercolored”.  I tried to follow the lines of the pencil.

Here is the second layer of watercolor pencil, with a little bit more detail.  The sky was done with about 4 or 5 colors, layered down with a blue, some white, some grey.  The roofs are an orange and a brown and a black.

As you can see, I also colored in the windows and am trying to add texture to the tiled roofs.  Some green, too, for the foliage in front.  After this, I then added water.  Once more, I followed the lines, such in the roofs.  The space on the lower right is a bit of a problem.  I think it needs something, but have no idea at this point.  Maybe a cafe awning so we can a shot of espresso?

As I have never used watercolor pencils for any complete picture, my cunningly brilliant plan is to simply layer color, then use water.  As you can see, there is some bleeding.  Most interesting to me is the sky – in the center the little bleeds are rather interesting.  In the windows, I also did some lifting of color with a dry brush to lighten the glass, as a reflection or to enhance a shadow.  The iron gall ink is beginning to blur into the colors.

I have no idea how many layers I will end up with, but I am going to try to do glazes / layers to represent shadow and form.  No idea how successful this will be!

Negative Painting: Sycamore Leaves

Now that I feel a bit more accomplished in some of my watercolor skills, I have taken the time to think about a few things.  Specifically, what to do next.  I think negative space, or negative painting, seems like the next best step.  I am not sure why – it just feels right.  That is how I painted my two moonlit sycamores.  Now it is time to paint their leaves.  Below is a photo I took the other day, which is my reference point.

I started out with three primary colors:  Cobalt Blue, Cadmium Yellow, and Permanent Rose.  First, I wet the paper and then made a few distinct areas for each color.  Then I tipped the paper around (it’s mounted on a board) so the colors would blend and bleed.  As it is probably only 90# paper, there was buckling and pooling, but decided to just let things happen.  After it dried, I drew in the shapes of the leaves, and then worked around the leaves and twigs with a wash of varying strengths that combined Cobalt Blue and Burnt Sienna.  The veins were a bit of Hookers, Sap, and Cobalt Green.  Altogether, there are multiple layers of washes / glazes – some successful, some not.  The final overlaying wash was a mixture of Carbazole Violet, Cobalt and Ultramarine Blues.

This painting has a lot of problems – too tight, too overdone – but the problems also present future solutions, which I hope to visit in the not-too-distant future.  I feel like it is moving toward mud, too, which is something I always have to watch out for.


Negative Painting & Glazing

This morning I decided to do a few things I haven’t been too fond of in the past.  One is negative painting.  The other is using glazes.  That’s what I did here.  The first layer was a warm yellowish wash, very thin.  From there, about 3 or 4 consecutive layers of blues and violets around the main trunks, and then over the ones to the sides, making them bluish.  I then used a rigger brush (for the first time) to create branches.

Overall, the picture works, but the areas I can say shouldn’t have happened are the branches in front of the central trunk.  The other thing I need to do is to create better contrast on the branches, in particular it seems on the right.  I would like to see more blue in there, in narrow strips using a flat brush.  I may do that later.

The idea behind this painting a sycamore tree in moonlight, with the above exercises to accomplish it.  I thought ahead more than I usually do, considering colors and such, as well as the approach to creating what I desired as an end product.