Water in Watercolor

Today I spent the morning running errands and doing chores, the afternoon playing with a friend and doing some photography. The day went by delightfully, but there is that need to pick up a brush and some paint. I wasn’t in the mood for trying to make a painting of anything, but the idea of waves and oceans has been going through my mind, and now it is time to get some ideas on paper. So, of course, YouTube comes to the rescue, and I found a nice, simple, easy video by Paul Clark.

Paul Clark’s videos are informative and easy to follow – as well, I like his presentation style and his paintings. In the above video, in 20 minutes, he shows how to paint water in increasingly more complex ways.

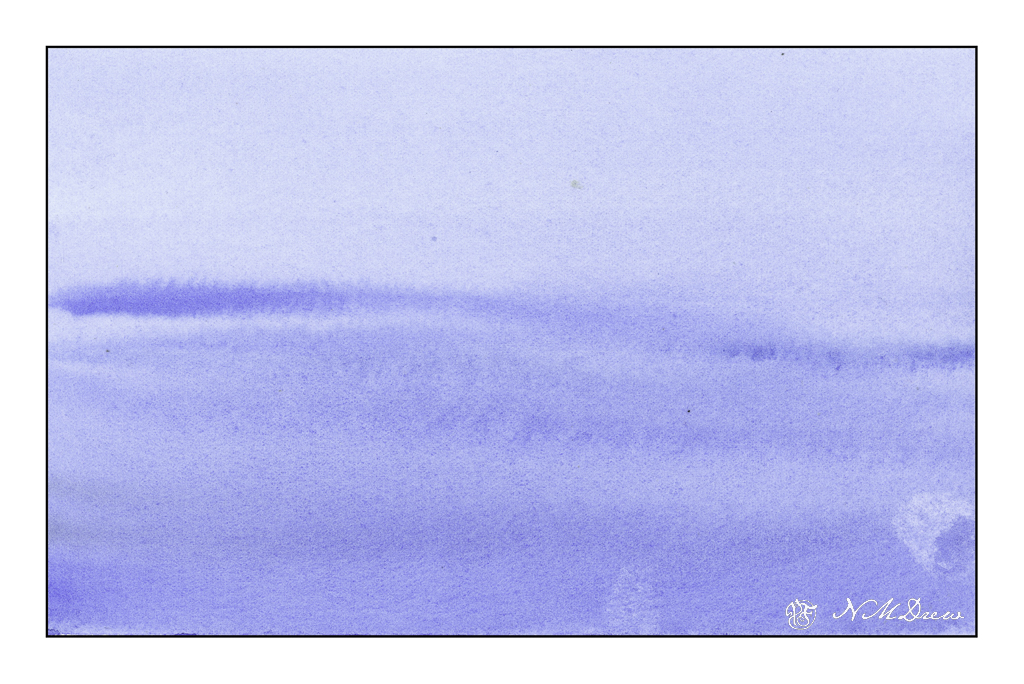
Above is just a simple, gradated wash, with the greatest density of value at the bottom of the page. From there, some paint is lifted, and while the paper is still a bit damp, more lines of color are painted into the blue, wider ones at bottom and more narrow at the top to suggest distance.

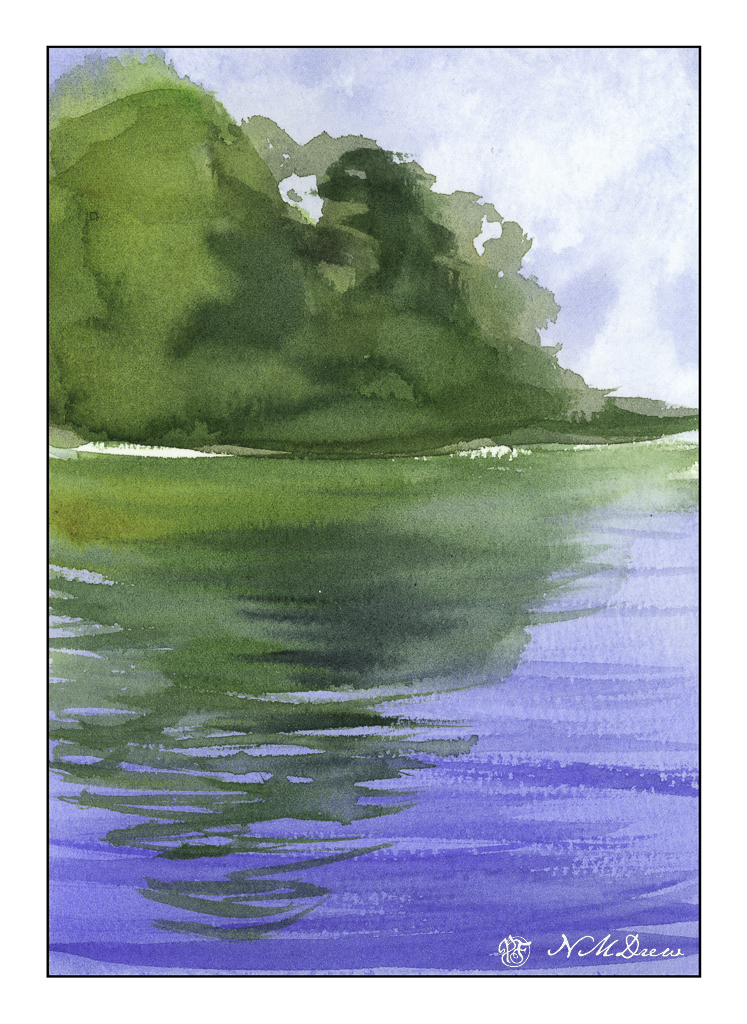
The next is reflections of trees on a lake. The trees and sky were painted first and allowed to dry. The water was then put in, using a gradated wash, darkest at the bottom. Time was given to put in suggestions of waves or reflections – this required waiting for the paint and paper to dry. The hair dryer is perfect for this. Watch how Clark does it in the video as it get a bit more complex than what I am describing.

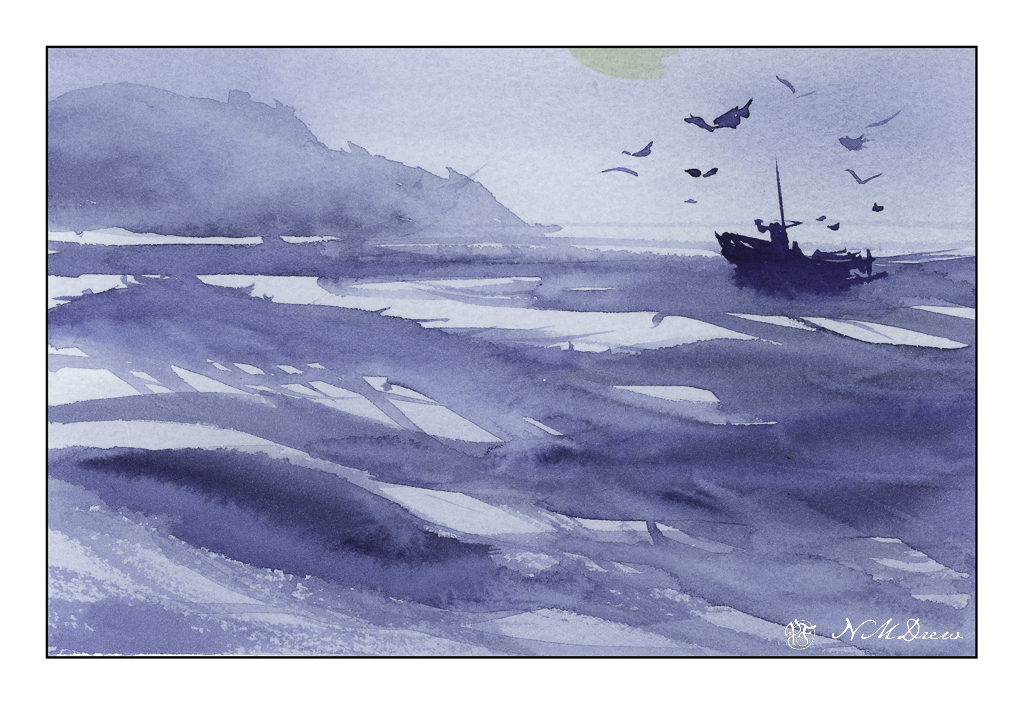
The third one is done with one color of paint. I used a bit of what I had mixed on the palette – ultramarine and indanthrene blues. Clark’s painting is far better than mine, and we will leave it at that! I want to return to the video to watch it again as I know I worked really quickly – too quickly – to catch all the fine points.

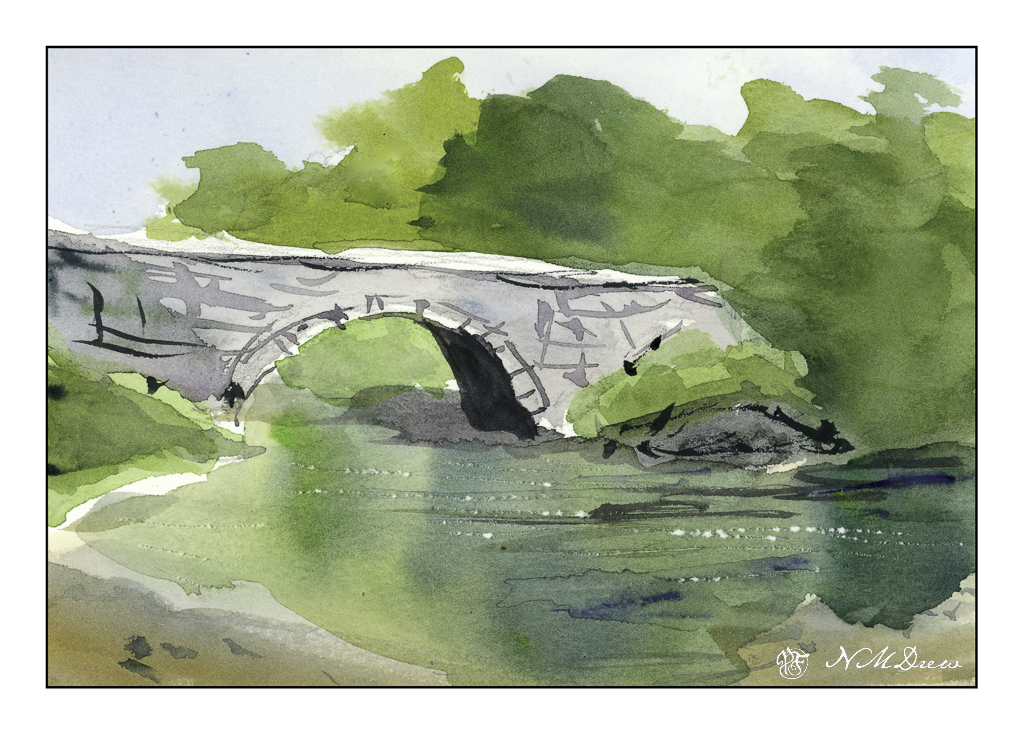
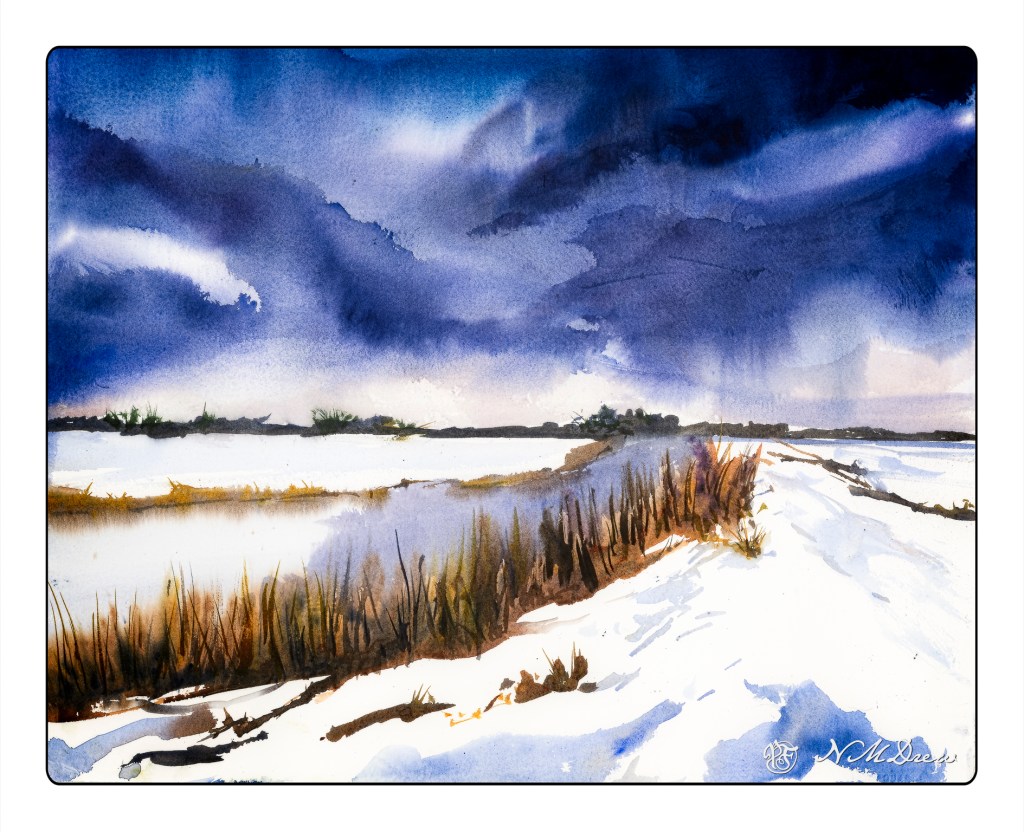
From the ocean we now move inland, to an old bridge spanning a river. I think was my favorite one, and I was quite happy with my results. The white sparkles of light on the water is done by using a knife point to dig a bit into the paper. Techniques varied here; again, refer to the video.

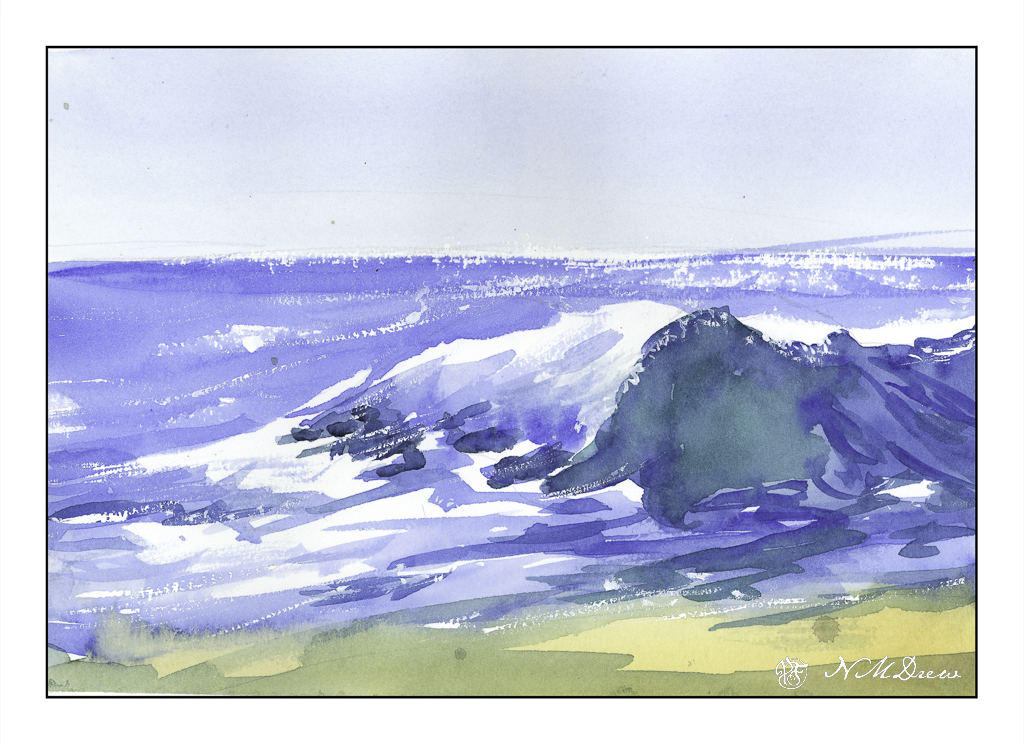
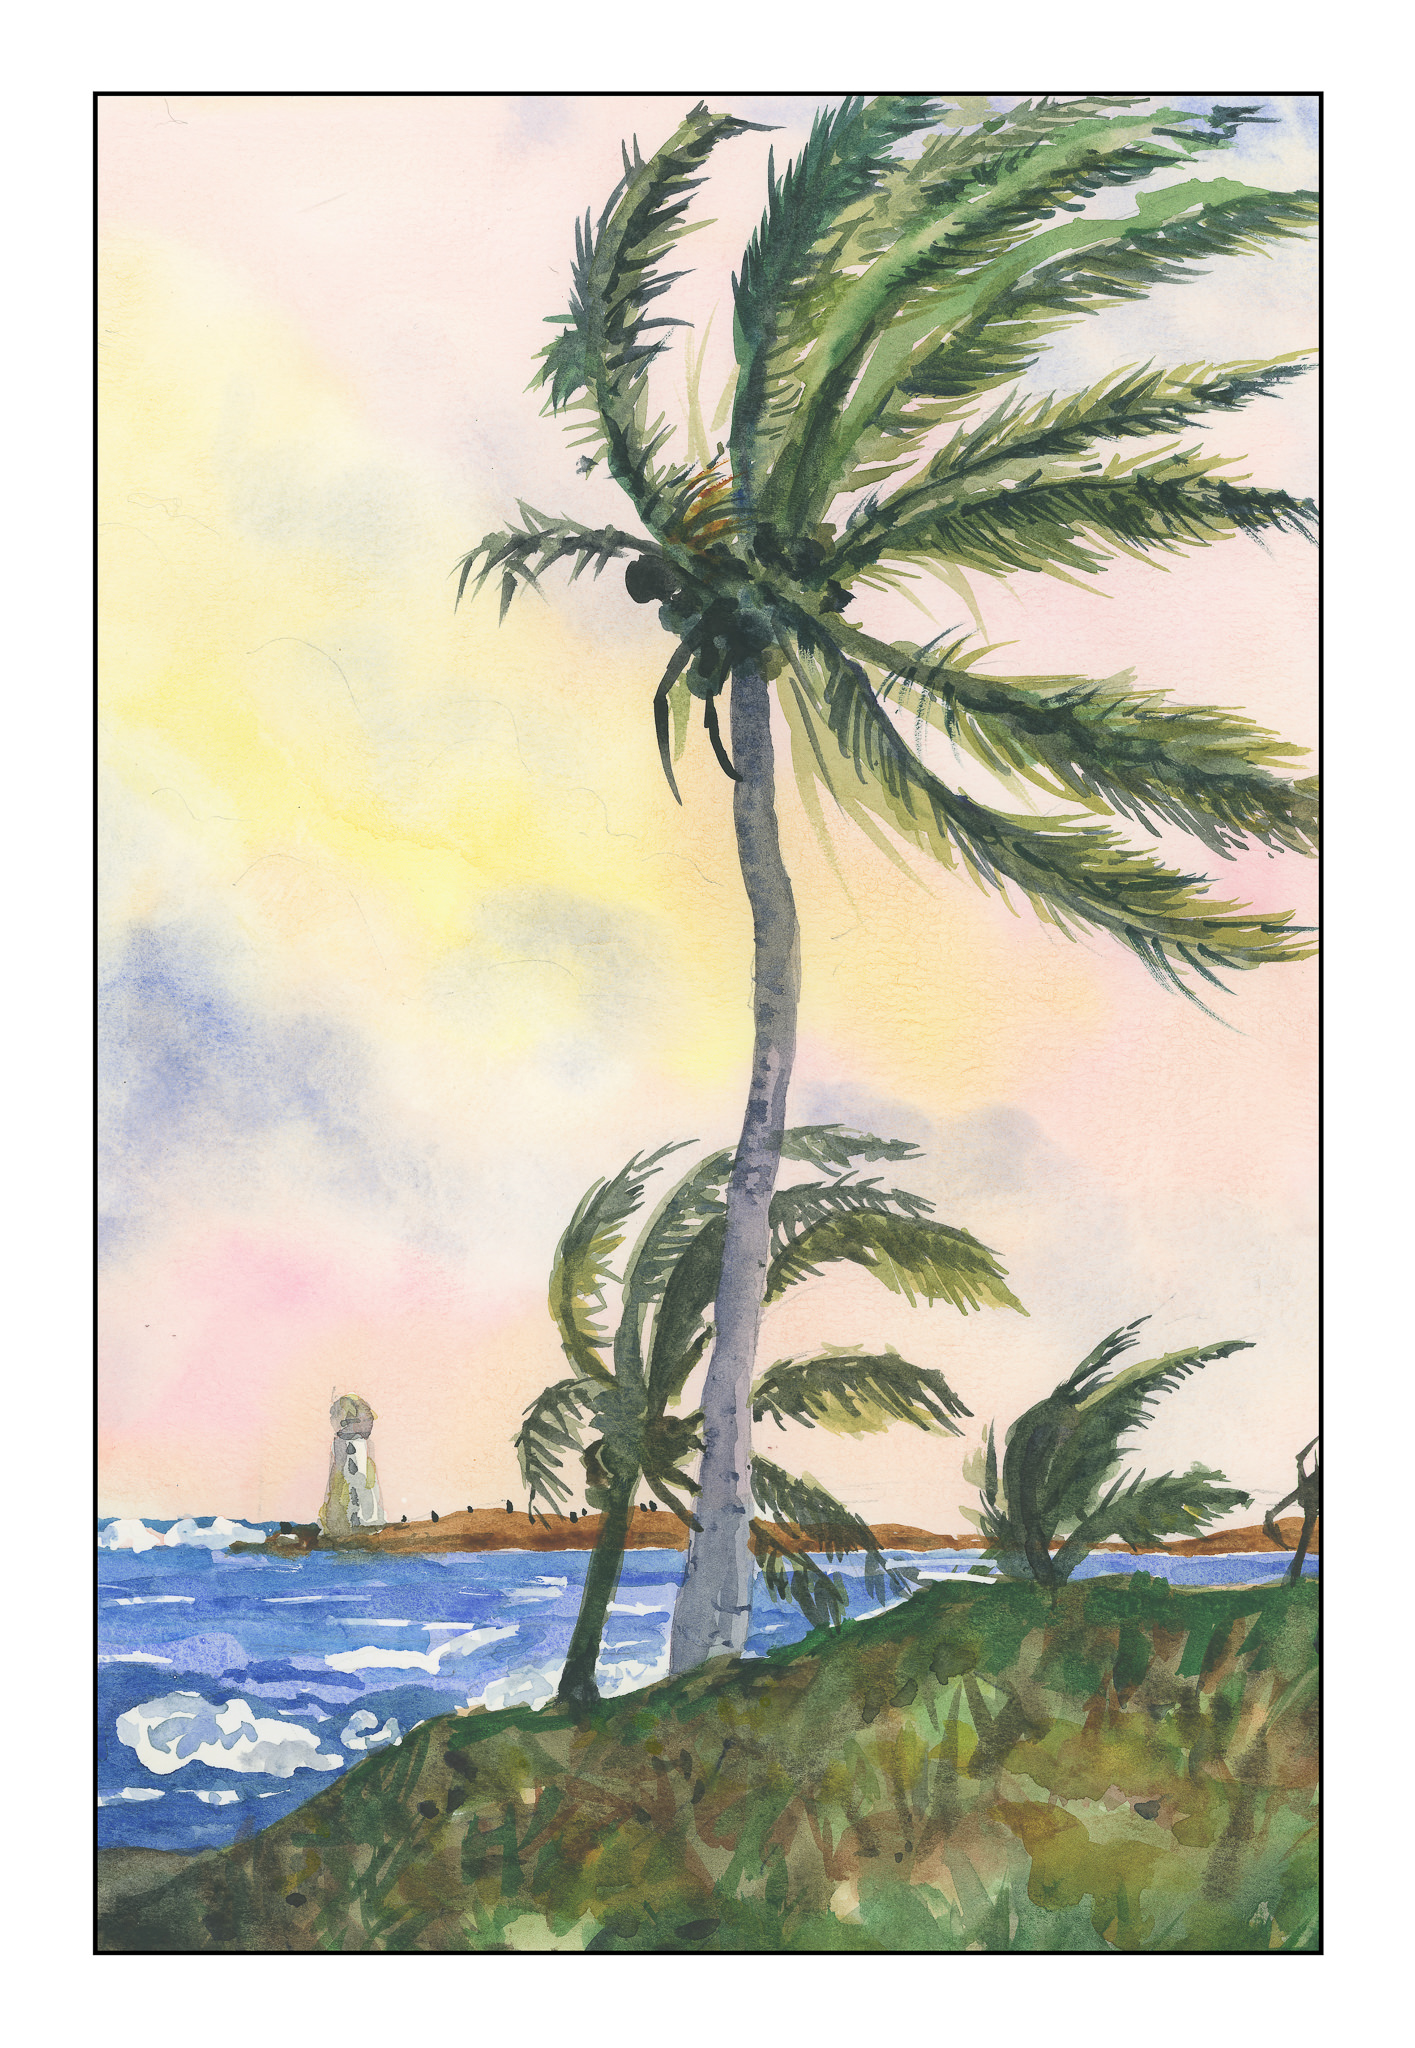
Now, back to the beach. My painting is quite clumsy in a lot of areas. I rather like the sparkly water on the horizon, and the way my white gouache dry brush adds to sparkles. While my painting is definitely that of an amateur, I have a better sense of what to look for, to see, in a wave. The idea I had initially was to learn a bit about crashing waves, and this one is a good introduction to them.

Altogether, I spent about 30-40 minutes doing these studies. I watched and paused the video for each painting exercise, and then went to work. The goal is to do and practice, not create a beautiful work of art. The act of painting is what teaches me initially, and then I can analyze a bit more to hopefully create more successful whatevers – here, waves and water and reflections.

Practice is something a sketchbook gives room for – a playground to explore. Paul Clark’s videos are really nice and I do suggest them. Meanwhile, it is time to go to bed!

Winter Storm

When I first started to paint in watercolor – like when I was a teenager! – the advice was to use a brush bigger than what you think you need. Yeah, right. Over the years, I have resisted this, but lately I have been doing the majority of my painting with a 1.5 inch flat brush. From there, different brushes with different ideas in mind.

Here, 16×20 CP 140# Arches. I sponged the entire paper with water and then set in the sky. From there, the water and grasses along the shore, working to get blurring of colors into the wet paint. Then, the horizon with the same 1.5 inch brush. I let it dry.

From that point, it was a matter of thought. Initially, the sky dried to a pale color, so I laid in more dark paint for the sky, using a spray bottle to move the paint around, and holding the painting by hand, tilted the paper this way and that to run the paint in various directions.

Looking at it upside down always gives a new perspective, sometimes good, sometimes not. I added some dry brush for the weeds, and used a wet mixture of blues for the snow shadows. I also painted a darker version of the same snow blue into the distant water, moving it into the weeds / reeds. Then, more dry brush once the water had dried to overlap the paint I applied.

This is a stronger painting than some of my more more recent ones, and I will credit the large, flat brush forcing me to work simply. It’s actually much more fun, and easier, in many ways, because I am not getting finicky to the point of crazy.

Progress is being made!

Summer Path

I was going through some of my Instax photos taken earlier this summer. Here, a path nearby overgrown with mustard. Depending on how much water is available, mustard plants can be very short – or very tall.

I thought this could make a good study with a limited palette, and dryer brushes. Lots of things went through my head, actually. For example, plain batches of color. No pencil lines. Shadows using the underlying color of the ground or plants – i.e. burnt umber and ochre mixed with a bit of blue. Details in dry brush. Patience and wait to let things dry, or add blobs of color to enrich the damp paint. Dry brush over colors already laid in as a wash (like the tree and bush in midground and background).

Maybe I’ll take my Instax out for a walk today. And a dog.

The Palm Tree, Nassau – Study from a Painting by Winslow Homer

A couple of things here.  First, I think that Winslow Homer is an amazing painter, especially in watercolor.  Second, I think that copying the work of a master forces one to study what is in front of you – how was this done?  what technique?

As Homer is a master of skies and atmosphere, I spent some time the other morning looking at different paintings he did.  Especially delightful are his paintings done while in the Caribbean, spending time in the Bahamas and other islands.  Homer’s skies are vast and expressive, subtle and strong.  I decided that his painting, The Palm Tree, Nassau, would be a perfect study.  What was most interesting was seeing how differently the same picture looks on different sites – some make it very murky, others make it very colorful.  Below is Homer’s painting:

The Palm Tree, Nassau (by Winslow Homer)

I printed out a copy of this painting on my not-too-high-end color printer.  In the end, I referred to it more for composition rather than colors or detail.  This image shows the sky with blues in it, but other images on the web gave the sky reddish and yellowish undertones.  In the end, I just did what I wanted.

The water could have been more turquoise, as is the water in the Caribbean; the foreground in Homer’s painting is some weird vegetation that I couldn’t figure out, but think it is typical for the scrub of the islands.  If you look at Homer’s painting, there is a reddish blob by the lighthouse – what is it?  Looking closely, you can see it is a flag.  For me, it was a big distraction, so I left it out.  Also, Homer’s rendition of the lighthouse is very simple – I decided to give it a bit more detail.

Copying this painting was a lot of fun.  The sea was rather meh, but Homer’s is not especially spectacular.  His palm trees, though, are divine.  Since I live where there are palms, I really liked the idea of actually attempting to paint a tree – or trees – that are rather intimidating.  Homer’s painting catches them snapping in the trade winds – you can just hear them clacking their fronds against each other.  I hope that my fronds convey the same sense of sound and movement.

Techniques used in this painting were wet-in-wet for the sky, light washes moving into darker ones for the foreground, and layers of colors for the palm fronds and coconuts.  I took some long looks at what was in the painting before me and felt confident enough to figure out what I think Homer did.  For the white of the waves and lighthouse, I cheated and used frisket.  Then, after it was dried, I laid in the sky, and then moved to other areas, working lighter to dark, some detail to final details, depending on what was going on.  Altogether, I spent about 3 hours doing this study.