Study: Fall Lake by Rick Surowicz

Rick Surowicz has taken YouTube by storm, gaining a strong following of over 25K subscribers.  Pretty sweet deal considering he put his first video out in late May 2017.  This shows you Rick’s appeal.  His first videos were really good, but his later ones have continued to improve.  Frequently he does two videos – one is a very teacherly, with clear explanations of why he does this or that, what his thought process is, and the colors and brushes he chooses.  A second one is speeded up 2 or 3 times.  This allows the viewer to preview his longer version, seeing what is up ahead before diving into the longer, detailed video.

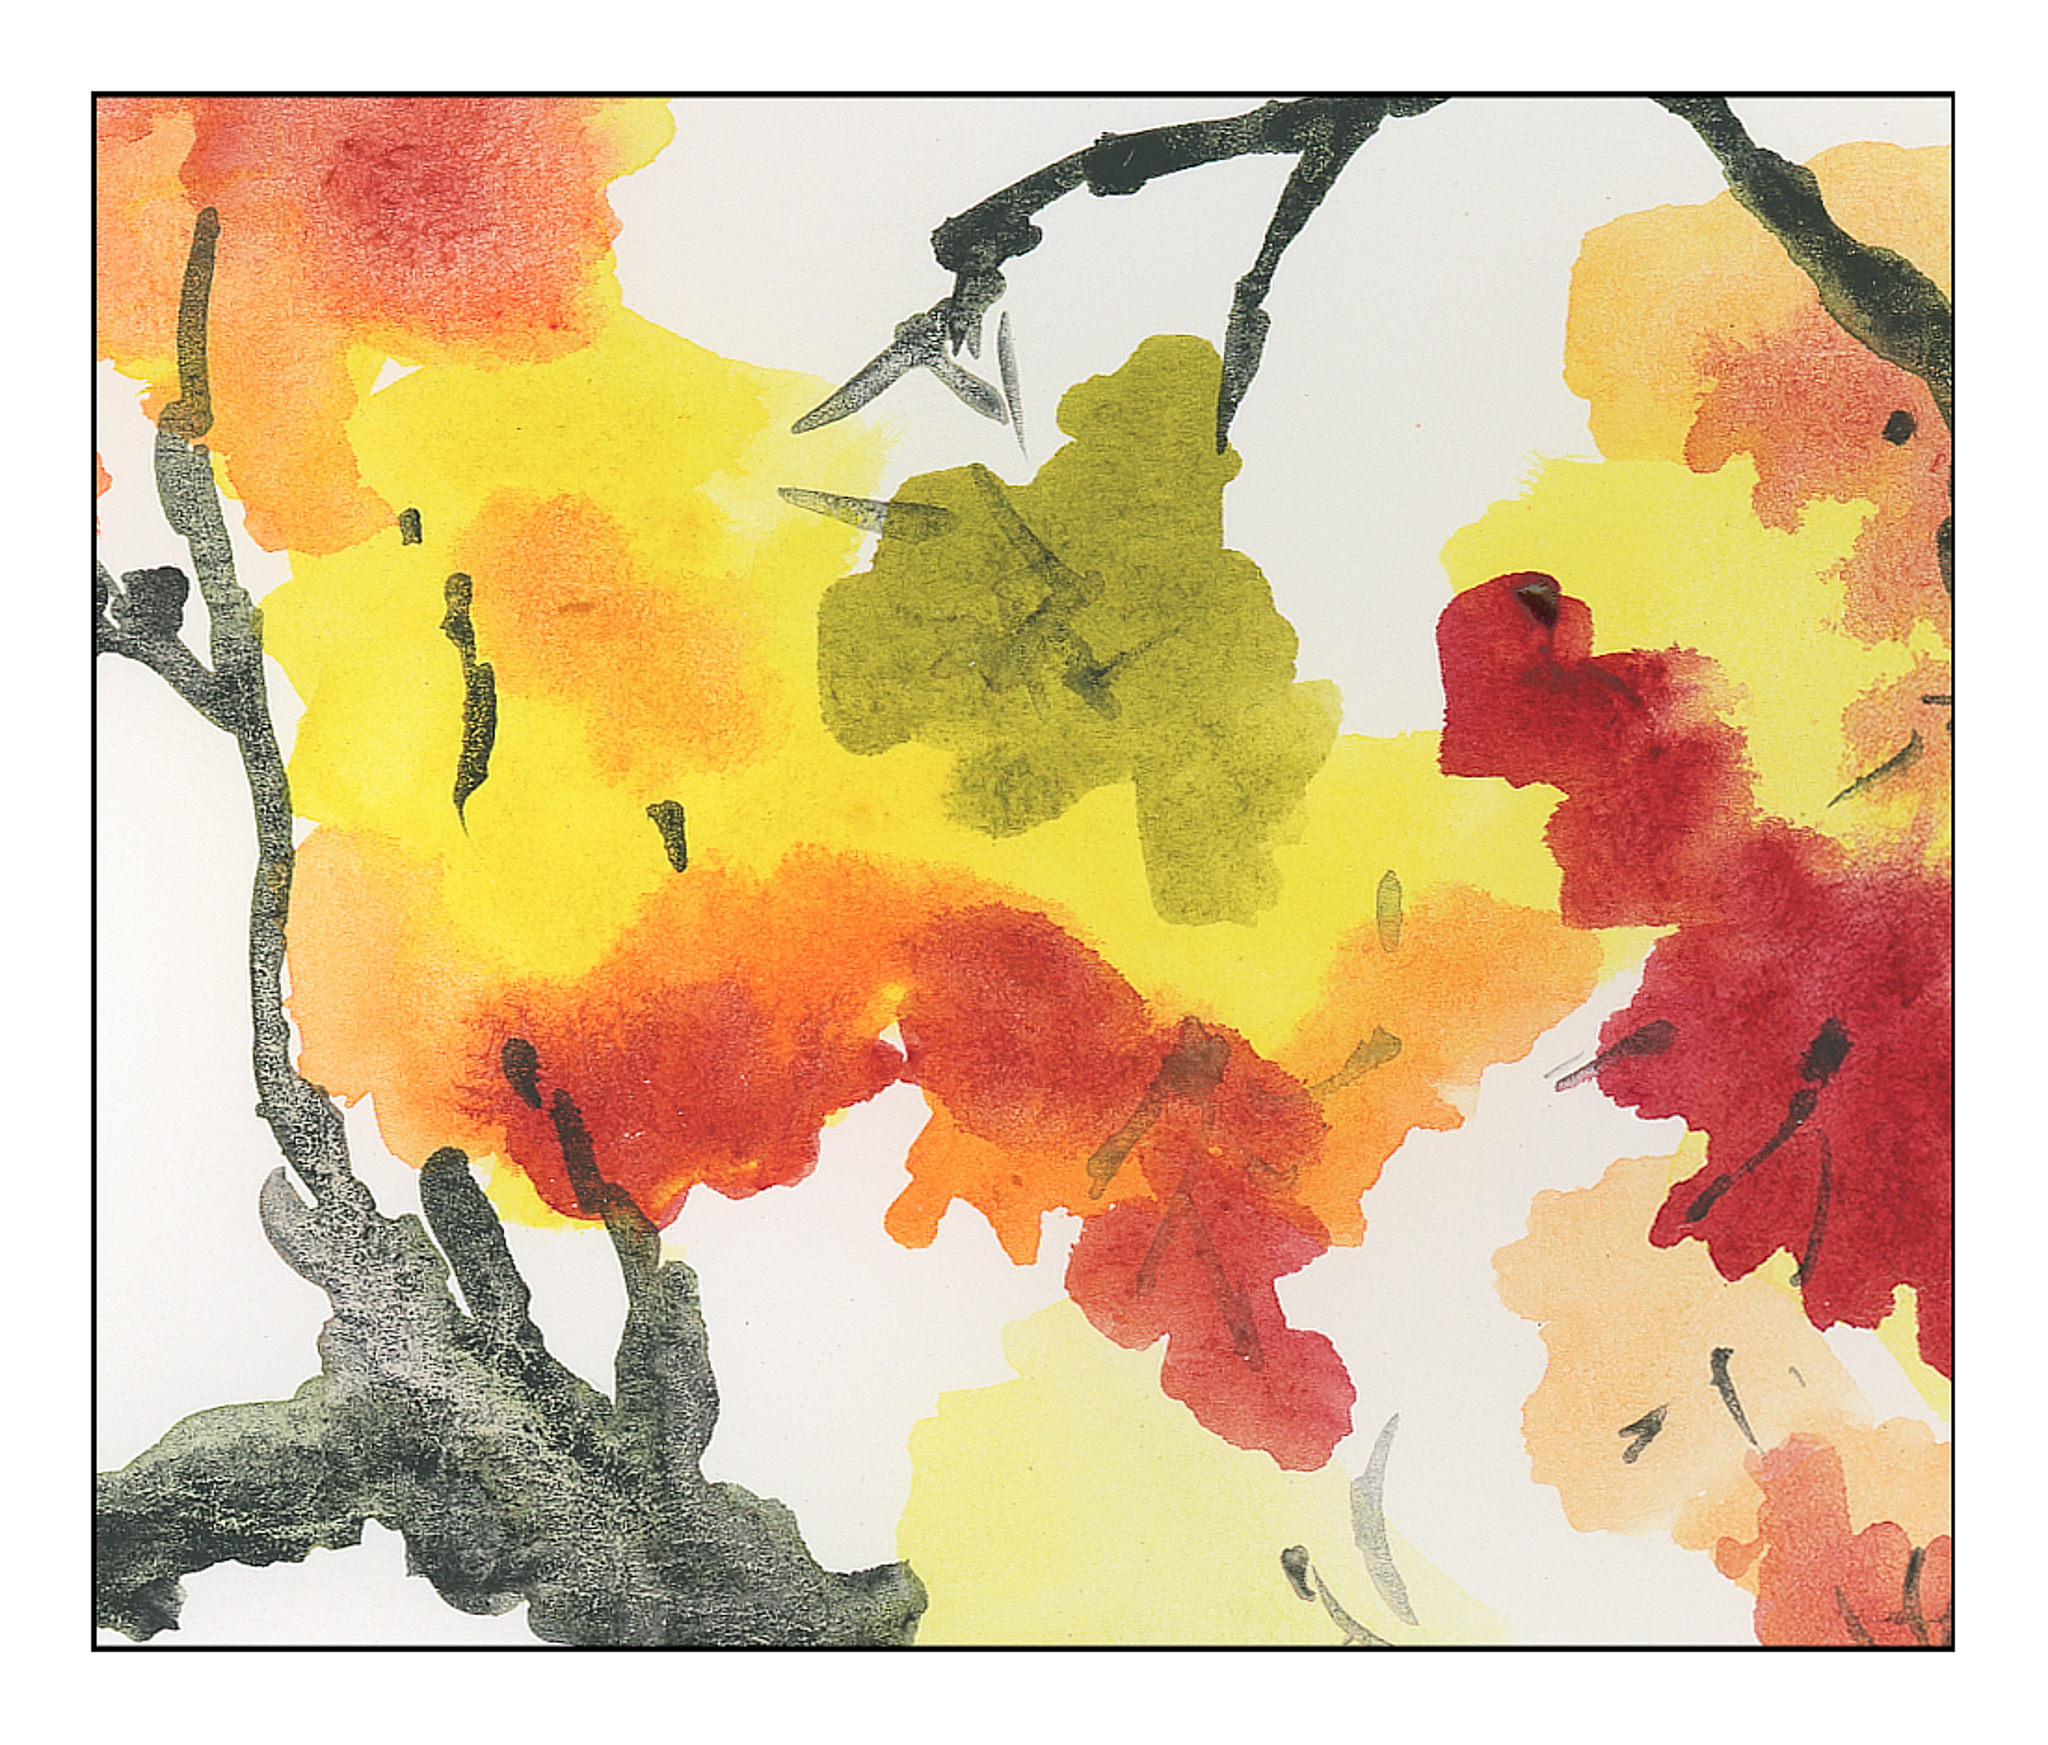
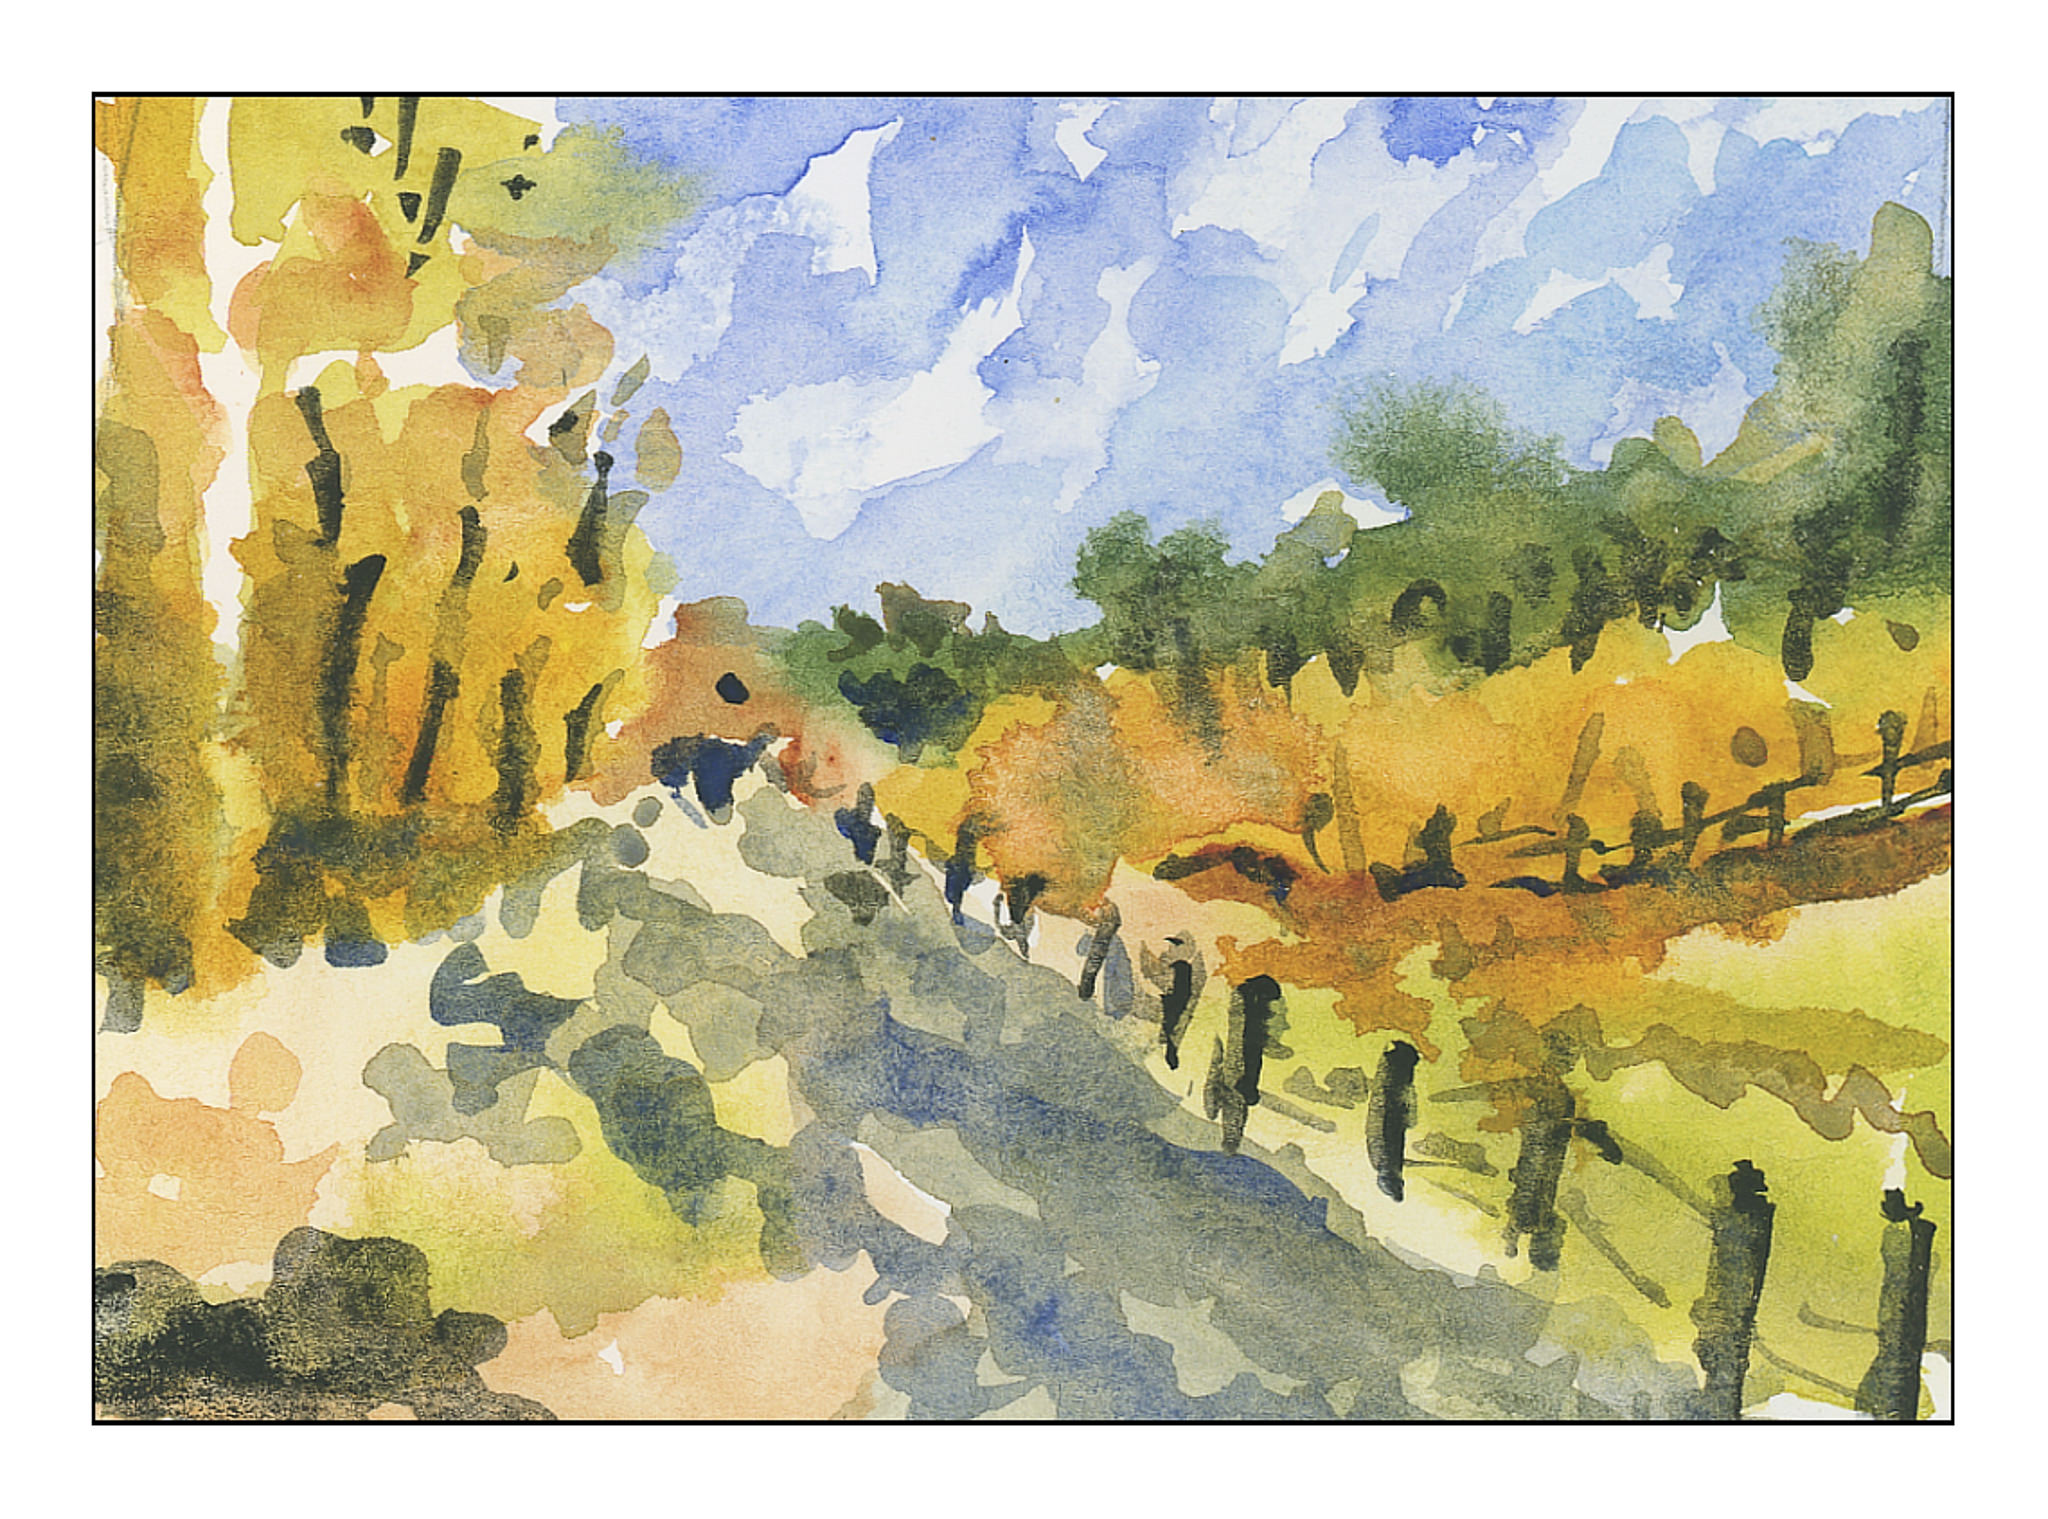
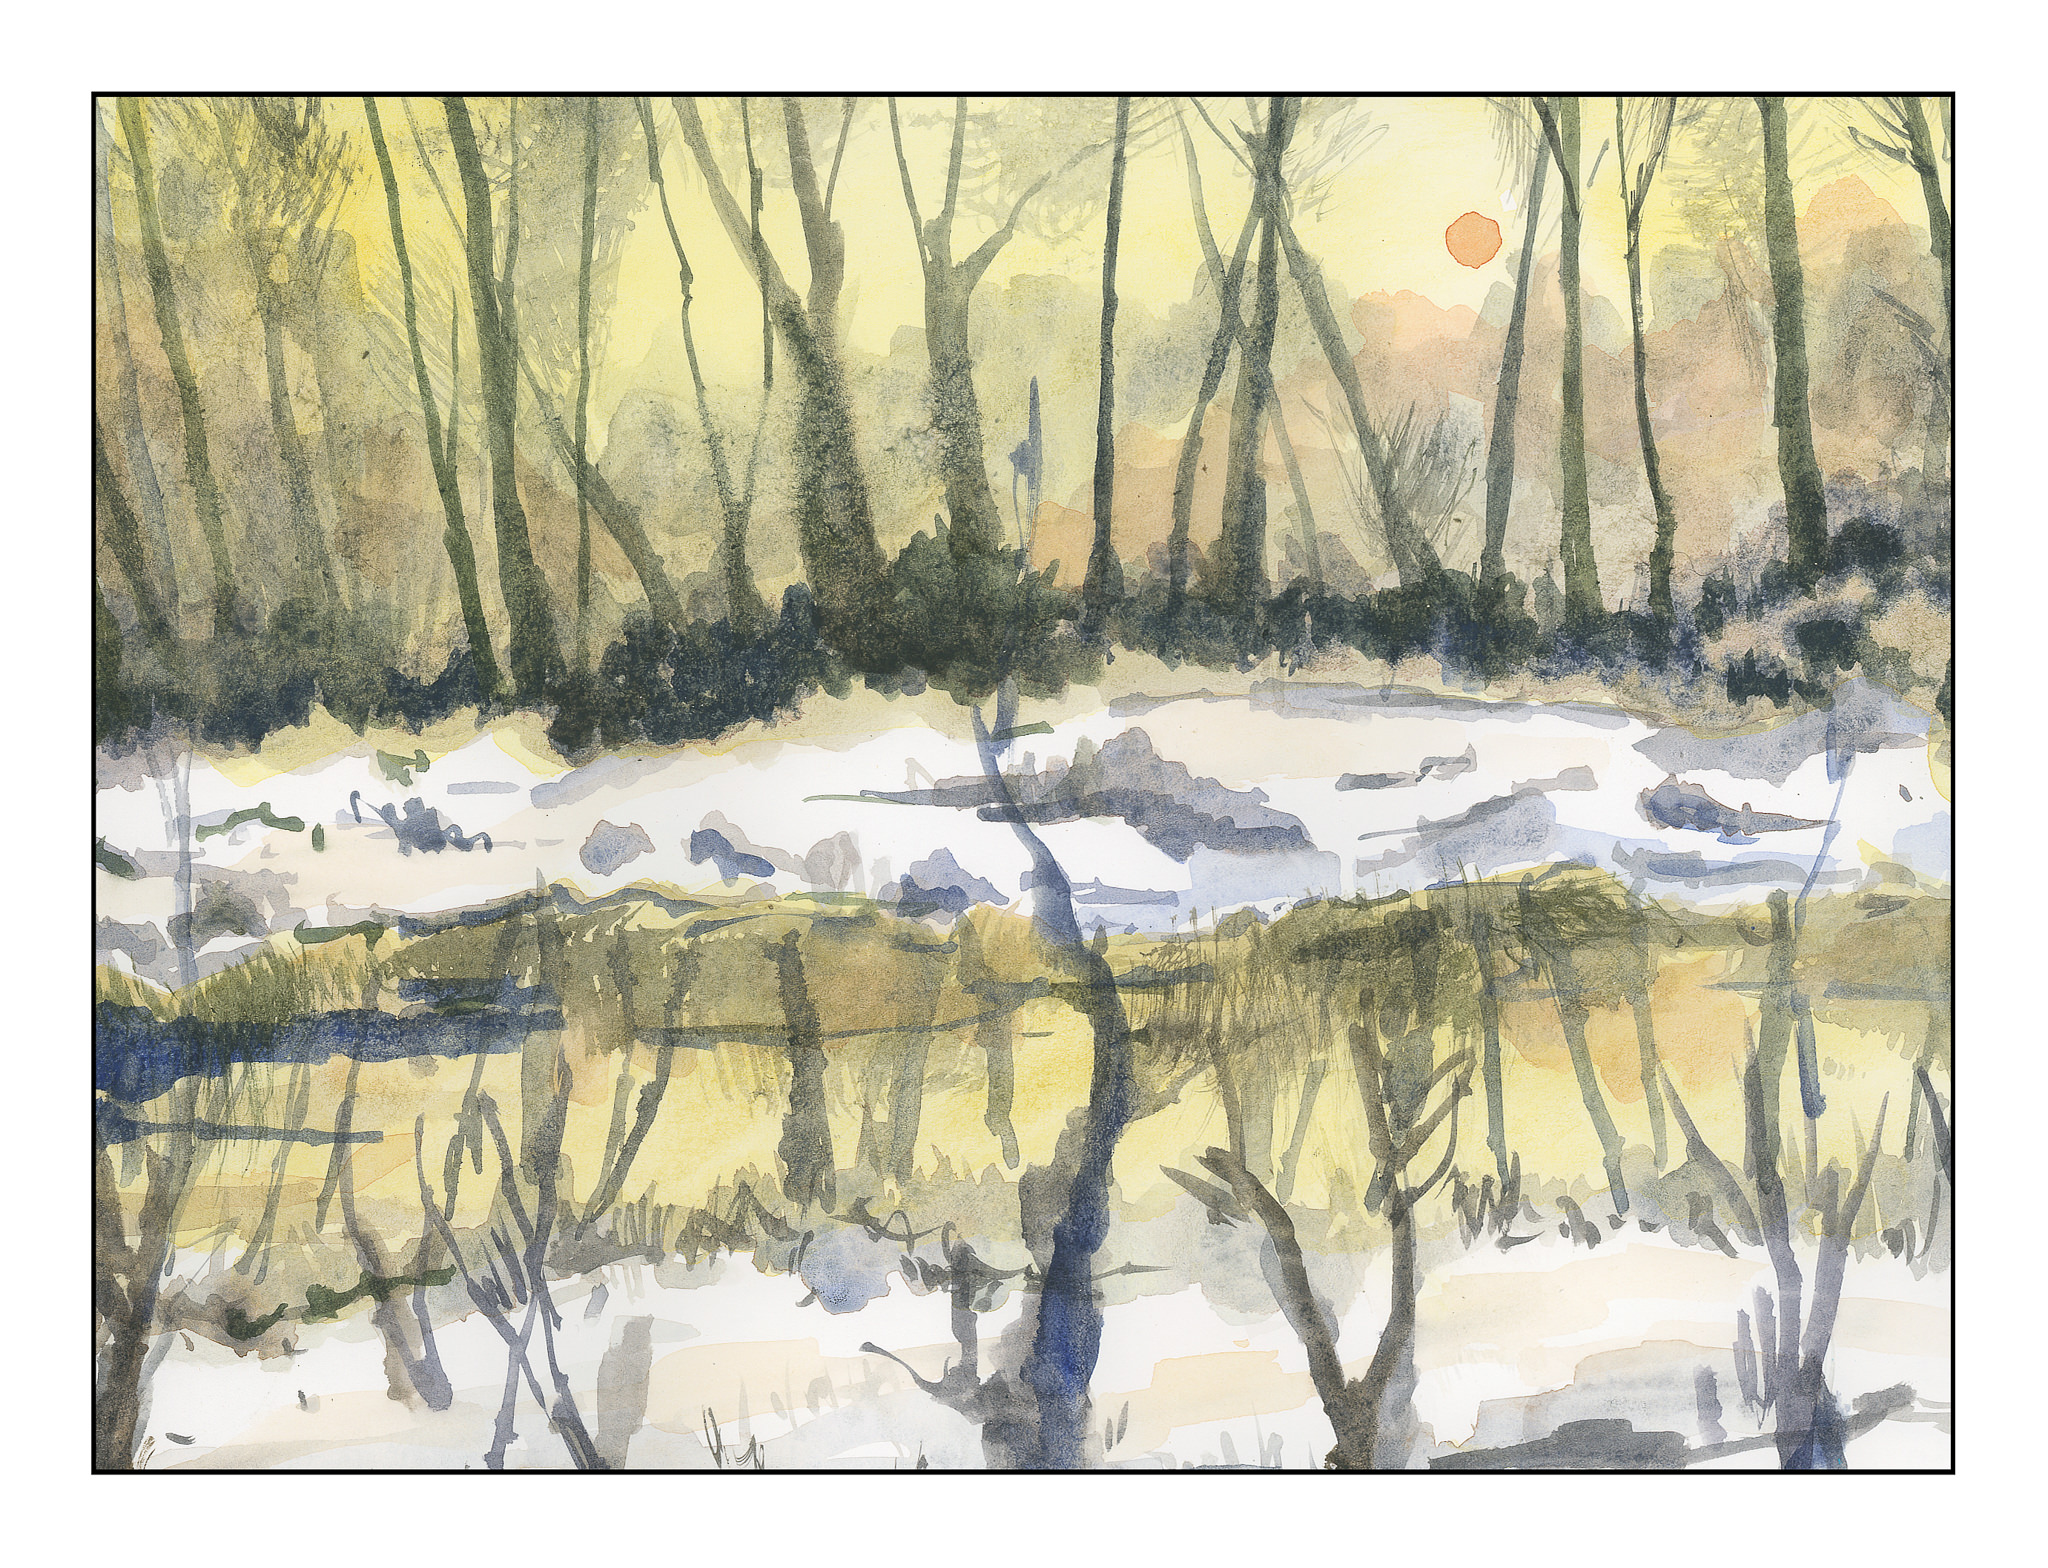
This is my 4th or 5th follow-along with Rick.  Given my more recent issues with representation of detail, not each busy detail, I thought I would do one of his studies today.  (I also am tired of sewing!)  Rick’s video is about 45 minutes long; this took me about 2.5 hours with stopping and starting the show.  It’s a great way to practice different techniques.

There are a lot of really great instructional videos on YouTube – you can – and I have – learn so much.  Right now, though, I have what I consider to be a serious problem:  what is my style?  Copying a masterful painter gives one skills, but the interpretation has to be personal.  I figure I am on the way there – it will sort of happen – but one thing I do know, I do not want to create chaotic paintings without good contrast, clean color, and strong composition.  Rick’s paintings have all three and make for good lessons.  They are very different than the detailed fruits and flowers of Anna Mason, but those very detailed paintings also teach things such as texture, detail, light and dark.  I have learned from those as well.


Simplified Details

Anyone who does watercolor or painting or drawing is well aware of the need to simplify details, especially in masses of color.  Every leaf does not need to be painted.  When we look, we see these details, and the effort to simplify them into areas of light and dark and midtones can be – and often is – very challenging.  Good artists make it look so easy!

The other day I was napping on the patio (I live in a warm part of the world).  When I woke up, I looked at the podocarpus trees along the back wall, and suddenly got the idea.  I saw the details of the leaves – each leaf – but I also saw the light and the dark areas.  That is when I realized I could do it – but it had never been in the front of my mind before.

I went to work.  No outlines by pencil, just some reference photos labeled “foliage” in a search.  Varied pictures showed up, and here are my studies of simplified details.

These first three are thumbnails, about 3×4 inches in the order I painted them.

I did the above paintings yesterday.  This morning, applying the same tactic of no lines drawn, I used a 9×12 inch sheet of paper and painted out to the edges.  Again, the focus is on simplification of details into masses of color.

Success?  I don’t think any of the paintings are particularly good, but I do think I am getting that element of simplification I find so elusive in my own painting.

Keep It Simple!

I have been so focused on buttonholes that I am getting a bit nutso.  Painting is a totally different experience, and was a welcome break yesterday and this morning from the analytics of buttonholes!  If I do anything with sewing today, it will be later on.  In a bit, we are headed out to collect our supplies for Thanksgiving dinner, and that will certainly be another pleasant break.  I don’t know about you, but too much of any one thing becomes almost an obsession with me – analyzing and studying whatever.  Painting does require a bit of analysis, but it also has an element of sheer doing that makes it very different.  It’s very relaxing, and because it just has a life of its own, watercolor is a challenge and a tease as well as a very creative experience.

Anyone who does watercolor or painting or drawing is well aware of the need to simplify details, especially in masses of color.  Every leaf does not need to be painted.  When we look, we see these details, and the effort to simplify them into areas of light and dark and midtones can be – and often is – very challenging.  Good artists make it look so easy!

The other day I was napping on the patio (I live in a warm part of the world).  When I woke up, I looked at the podocarpus trees along the back wall, and suddenly got the idea.  I saw the details of the leaves – each leaf – but I also saw the light and the dark areas.  That is when I realized I could do it – but it had never been in the front of my mind before.

I went to work.  No outlines by pencil, just some reference photos labeled “foliage” in a search.  Varied pictures showed up, and here are my studies of simplified details.

These first three are thumbnails, about 3×4 inches in the order I painted them.

I did the above paintings yesterday.  This morning, applying the same tactic of no lines drawn, I used a 9×12 inch sheet of paper and painted out to the edges.  Again, the focus is on simplification of details into masses of color.

Success?  I don’t think any of the paintings are particularly good, but I do think I am getting that element of simplification I find so elusive in my own painting.

In Search of the “Perfect” Buttonhole, Part I

I don’t know about you, but sewing a good-looking buttonhole, without a mistake, seems to be a nearly impossible task.  There are attachments for machines.  Some machines have 4-to-6 step built-in buttonholes.  Sew a buttonhole by hand?  Hmmm.  I’ve been tempted and then reconsider:  it’s not worth the stress (even though there are some great YouTube tutorials I have watched!).

In each of these, something can go wrong.  A perfect buttonhole can be destroyed with a slip of the seam ripper when making the final slash.  Birds nests of thread can collect under what looks like a beauty of a buttonhole.  Stitches can be skipped.

I have a small (compared to some people) collection of sewing machines, ranging from a treadle with a long bobbin (The Free #5), two old Singer handcranks (a back-clamping Lotus 66 and a 99), a Featherweight 222K, a Necchi hiding out in the garage in a horrid French Provincial table), some Kenmores (158.1030, 158.1400, 158 904, 158.19802), a Bernina or two (801S and 930), a Janome 6500, and a Pfaff Passport 3.0 (which I may trade in as it seems to have a few too many quirks).  I also have a Viking 19e, fixed at long last, which was my mother’s machine, and the one I used throughout my school years.  I also have attachments for the treadle, Singers, Kenmores, Berninas, and Janome – anything to make life easier.  Or purportedly easier.  Buttonhole attachments are included in the mix.  And as adjuncts, a coverstitch machine and a serger.

Not all attachments fit all machines.  Most are proprietary.  For instance, did you know that Singers of yore come with rounded corners and Kenmores are squared?  Round pegs – or rounded corners – do not fit in square holes – or squared holes.  And in reverse.  Thus, Singer attachments are not likely to work on a Kenmore, and Kenmores might not work on a Singer or a Bernina – but they might.

For awhile, Singer made slant-needle machines, and must have slant-needle attachments.  Kenmore machines range from low-shank, to high-shank, to super-high-shank.  These might require specific buttonhole attachments or shank adapters.

Let’s not talk about Kenmore buttonholers of some variety – many are proprietary to given machine models, and are not clearly identified.  Did you ever look at all the models than Kenmore made?  Maybe even more models than Singer.

I have 4 Singer buttonholers (gotten cheap off eBay – some for a couple of bucks) and a generic, low-shank one I bought 20 years ago at a local sewing machine store.  That last buttonholer is the easiest to use of all of them, but the old Singers are a lot of fun and do a pretty good job.

A good or great buttonhole attachment or machine function is a gift from the gods.  Imagine making clothes at home on a straight-stitch machine in a few hours – or several – and then spending the same amount of time (I would think) sewing in 12 buttonholes on a shirt or a blouse or a dress. Even if funky and weird, a buttonholer is up there with a washing machine and a paperclip and a safety pin as far as being this side of miraculous.

Whoever invented the automated buttonholer, thank you, thank you, thank you!

Stay tuned for Part II!