Modular Medium Format: Mamiya 645 Pro TL, Part I

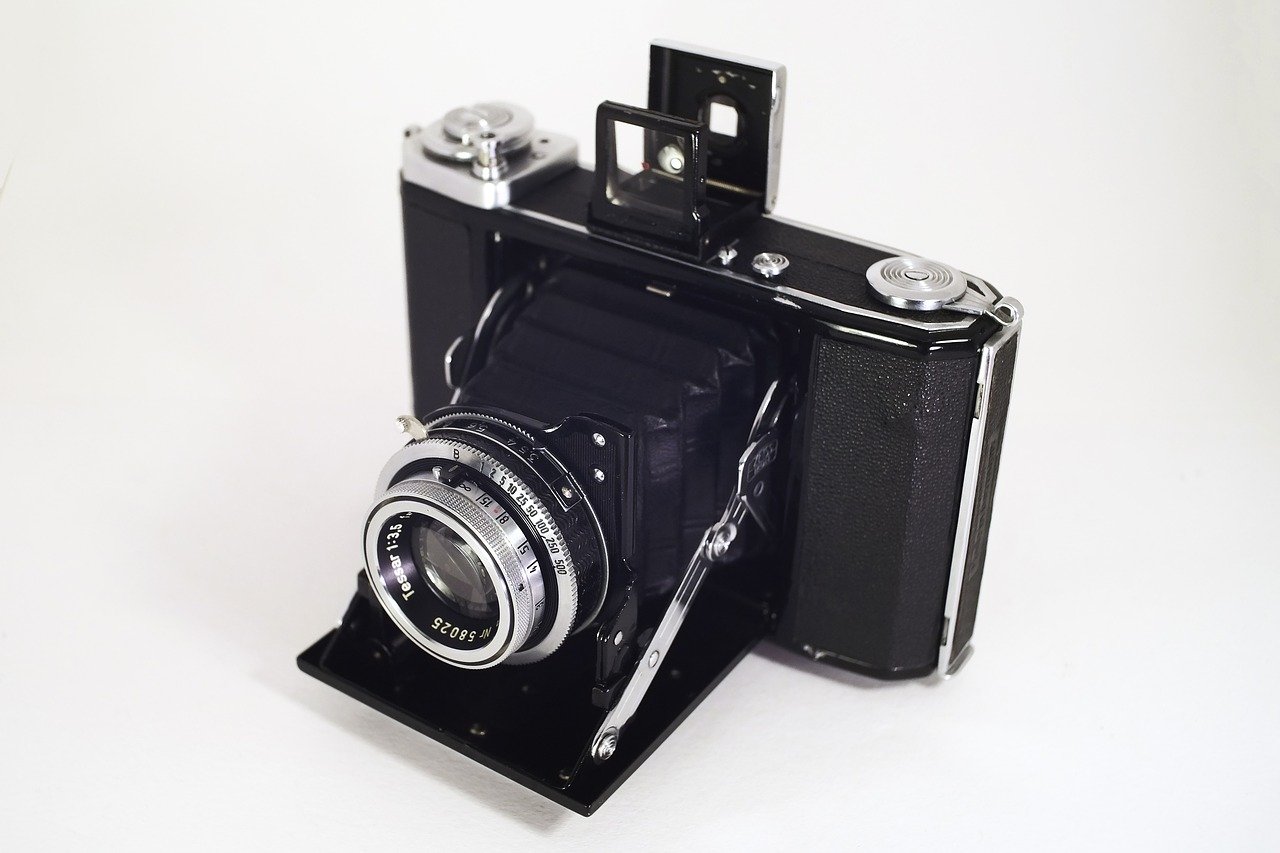
I have a number of medium format cameras, all but one being a German folder, and that one is the Yashica D TLR.  What I like about the folders is their compact size when folded up, their vintage qualities (not so vintage in the 1930s through 1950s I expect), and in particular their beautiful lenses.  The ones I have range in size from 6×4.5 with and without a mask, to 6×6, to 6×9.  All take 120 film.  The Yashica D takes 6×6 images and uses 120 film as well.  However, the drawback to all of these cameras is the limitations of their lenses in length and focusing capabilities – fixed and immutable as they say.  Yes, there are attachments, such as magnifying filters, but none of them can produce the variations available in a system allowing interchangeable lenses.

As a consequence, I have long been contemplating a modular medium format system, and ended up by chance or luck coming across a Mamiya 645 Pro TL with all the parts present in one package.  Numerous YouTubers have really excellent videos, from short to long, from cursory to extensive detail.  The video below shows the bits and pieces I have – it’s long, it’s detailed, but if you are really curious, follow along.  I learned the most about this camera from it, and have watched a number of times.

Truthfully, I just dove into the purchase.  I figured it would be best to get one all put together rather than trying to figure out what I needed.  Searching around online, I found a Mamiya from a reputable dealer with all the parts that I knew a modular system needed for a reasonable price:  A body, a lens, a film back, and a viewfinder.  It has a grip, too, instead of a crank to advance the film.  It’s big and heavy with everything attached – nearly 4 lbs to take a 6×4.5 image.  Is it worth it?  I’ll find out when my first roll of film comes back from the lab next week.

I spent about 3 days reading about each part and watching YouTube videos.  I gathered PDF manuals from around the net.  I fiddled and putzed.  I got frustrated and annoyed, too, as well as learned so much . . .

The fact is, there are a lot of parts available for the Mamiya 645 Pro TL.  It can be simple, it can be complex.  It can be small, it can be big.  Truthfully, I rather like small and light myself, and if I keep the critter (30 day return policy), I most likely will look for a waist-level finder and a crank to advance the film.  I read about the body, the viewfinder with its auto-exposure, the film cartridge, the grip, the lenses.  Everything has to be coordinated to work.

And when it doesn’t work?  Pull out that dark slide!

When I take it out, I have to keep it safe in a camera bag as I have no camera strap is available that works with it with the grip in place.  The Mamiya has proprietary lugs, and that is a nuisance.  With a crank to advance the film, Op-Tech (my favorite camera strap) Style B attachments work, but when the grip is attached, they do not.

So, what do I think about it so far?  I rather like it.  The grip has that wonderful noise only a grip or automatic film advance in a camera can achieve – a click, a whir – just like an exhaust in a classic sports car!  That aside, I really like medium format film photography the more I do it.  Those negatives are beautiful.  Scanning and editing them is not too big of a deal, and the addition of Negative Lab Pro makes them even better.  I hope at some point to develop them using the Lab-Box, both black and white and color.

There are definite aesthetics in the images produced from this camera.  You can find them on Flickr.  You can also learn a bit about people’s reactions to the camera itself.  I always like Max’s commentaries on various cameras found on his channel Analog Insights.  He doesn’t go into how to use a camera, but the experience of using a camera.  See what you think.

So there we are. Once I get the film back from the lab, I will have a better idea if the camera is worth keeping as I will know if the bits and pieces all work. It has automatic exposure with aperture priority using the viewfinder. I can switch to totally manual techniques. The film back advance works well from the sound of it. The lens is bright and clear, as is the viewfinder. The shutter curtain is not wrinkled. All seems fine mechanically and electronically – but the film will have the final say.

Yeah, another roll or two will be worth running through the Mamiya.


#1 – Adventures with Lab-Box and 35mm Film

Retirement means I have time. So, I have decided to try my hand at developing my own film once again. My low level of patience and tolerance for frustration makes a film bag, reels, and a Paterson tank something I don’t really like. When the Lab-Box came out, I thought it looked pretty good, and bought myself one with both the 35mm and 120 film modules.Image result for lab-box

Do you know what the Lab-Box is? Well, it is a day-light loading and processing box system for 35mm and 120 film. Learn about it in this video below.  What is good about this particular video is that it links to “how to” videos on how to assemble the bits and pieces of the critter.  There are a lot of other videos out there, too, so if you are curious, head over to YouTube.

Right up front, I got a bunch of crappy pictures. I had hoped for better using the Lab-Box and black and white 35mm film (Tri-X 400). However, I also really did not expect much as film processing and I have a history of disliking each other it seems.  I had a problem rolling the film onto the reel. If the reel is not properly put together, there are problems, which may be why I had the issues I did.  As a result, I plan to check my rolling of film with a canister of 35mm play film

The developing itself went okay. The images that did develop were at the beginning and at the end of the roll, but the ones in between must have gotten squashed together as I rolled the film in the box.  I also did not attach the crank properly at the beginning of the processing development, and probably had a light leak along with a loss of some chemistry.  The reel may also be improperly assembled.

I am going to continue using the Lab-Box.  Practice is necessary for this kind of stuff.  I will re-check how I assembled it.  For processing the film, I used a monobath, an archival rinse, and PhotoFlo 500 before hanging the roll up to dry.  The steps I used to process the film seem to be okay, but the light leak, chemistry leak, and so on all need to be sorted out.  Others have gotten great results with their Lab-Boxes, in both 35 and 120, and I see no reason I shouldn’t either!

Film

Lately I am shooting a lot of film.  Hopefully I will be processing some once I master the Lab-Box, first in black and white, and then later in color if I find the frustration level not frustrating!

Anyway, here are a few pictures taken with my N90s and 60mm macro lens, which I dropped, but do not seem to have damaged either.  The film here is Fuji Pro 400H, which is great for color.

If you take a look at the camera in the pictures above, you will see it is a Contax IIIa ca. 1953. It has a rather amazing lens, a Zeiss-Opton Sonnar 50mm f1.5. It’s sharp and lovely when I nail it. Being a rangefinder and a new-to-me camera, I am still learning to “get” the focus. The following images were taken using the camera along with Fuji Super 200. Some pictures I did with the Sunny 16 rule, a light meter, or the suggestions from the camera’s readout.

Editing film certainly beats breathing smoke and listening to sirens!

B&W Film and an Orange 21 Filter

I have shot B&W film with a red filter, and a light yellow filter and have been pleased with the results.  Recently I used an Orange 21 filter and got mixed results.  The equipment was an OM-1n and Ilford FP4+ 125 asa film.  The lens is a 50mm f3.5 Zuiko macro lens.  I shot the film at 100 asa, but my battery was dead, so I did the Sunny 16 rule, and hoped  that doing settings I think would work without a filter would be adequate.  I did well with the yellow and red filters, but not so well with the orange.  Admittedly, I still don’t “get” filters – I really need to study them in greater detail – but you (and I) can read about them here.  And you can, of course, google all about them!

I take my film to a local lab to be processed, whether color, slide, or silver-based black and white.  They do a fairly good job.  I can have film pushed if I want it, too.  I scan the film myself, whether 135 or 120, using either a Pakon scanner or my V600.  The results are decent.  I clean things up in LR or another program, depending on what I want.  Sometimes I do more in post, such as noise reduction, vignetting, etc.

The Ilford FP4+ is considered to be an excellent film.  When I scanned the pictures, they ended up with a rather reddish brown cast – was that the scanner, the processing, or the orange filter?  You can see the totally unretouched photos below.

I am not really pleased with any of the above photos.  The orange filter turned the red rose the same shade as the leaves.  Contrast of light and dark disappeared.  I plan to shoot another roll of FP4+, without a filter, to truly assess my like or dislike of this film.

Post-processing can change an image immensely.  Noise can disappear, dust and threads on the film can be eliminated, and contrast and exposure adjusted.  I do these digitally, just as you could do in a regular film dark room.  Here are some of the images I could clean up – and some needed a heck of a lot of work, let me tell you!

I even managed to one into a color picture using preset in On1 Photo Raw 2019!

Crazy stuff!  It will be interesting to try to reproduce this colored picture sometime in the future.  Meanwhile, back to the film cameras!


Whaler’s Cove with a 1937 Welta Weltur

There is something so different in the quality of a photo taken with a film camera, rather than a digital camera.  It is apparent even more so when it is done with an uncoated lens from 1937.  The lens in question is a lovely Schneider Kreuznach Xenar 2.8, 75mm, taken using 1937 Welta Weltur camera.  It is a folding camera that takes the still-available 120mm film.  I used Ektar 100 by Kodak, and applied the Sunny 16 rule for manual exposures.

I have a 6×6 version with a 6×4.5 reduction mask.  I thought I had removed the mask – but hadn’t.  All my supposedly square images came out rectangular!  I stitched two images together in PS6 and then tediously removed threads and dots of dust that were apparent even after scanning with Digital Ice on the Epson V600.

This photo makes me think of landscape paintings of the 1700s and 1800s – especially that turquoise sky.  Mayhap a painting will follow.