#1 – Adventures with Lab-Box and 35mm Film

Retirement means I have time. So, I have decided to try my hand at developing my own film once again. My low level of patience and tolerance for frustration makes a film bag, reels, and a Paterson tank something I don’t really like. When the Lab-Box came out, I thought it looked pretty good, and bought myself one with both the 35mm and 120 film modules.Image result for lab-box

Do you know what the Lab-Box is? Well, it is a day-light loading and processing box system for 35mm and 120 film. Learn about it in this video below.  What is good about this particular video is that it links to “how to” videos on how to assemble the bits and pieces of the critter.  There are a lot of other videos out there, too, so if you are curious, head over to YouTube.

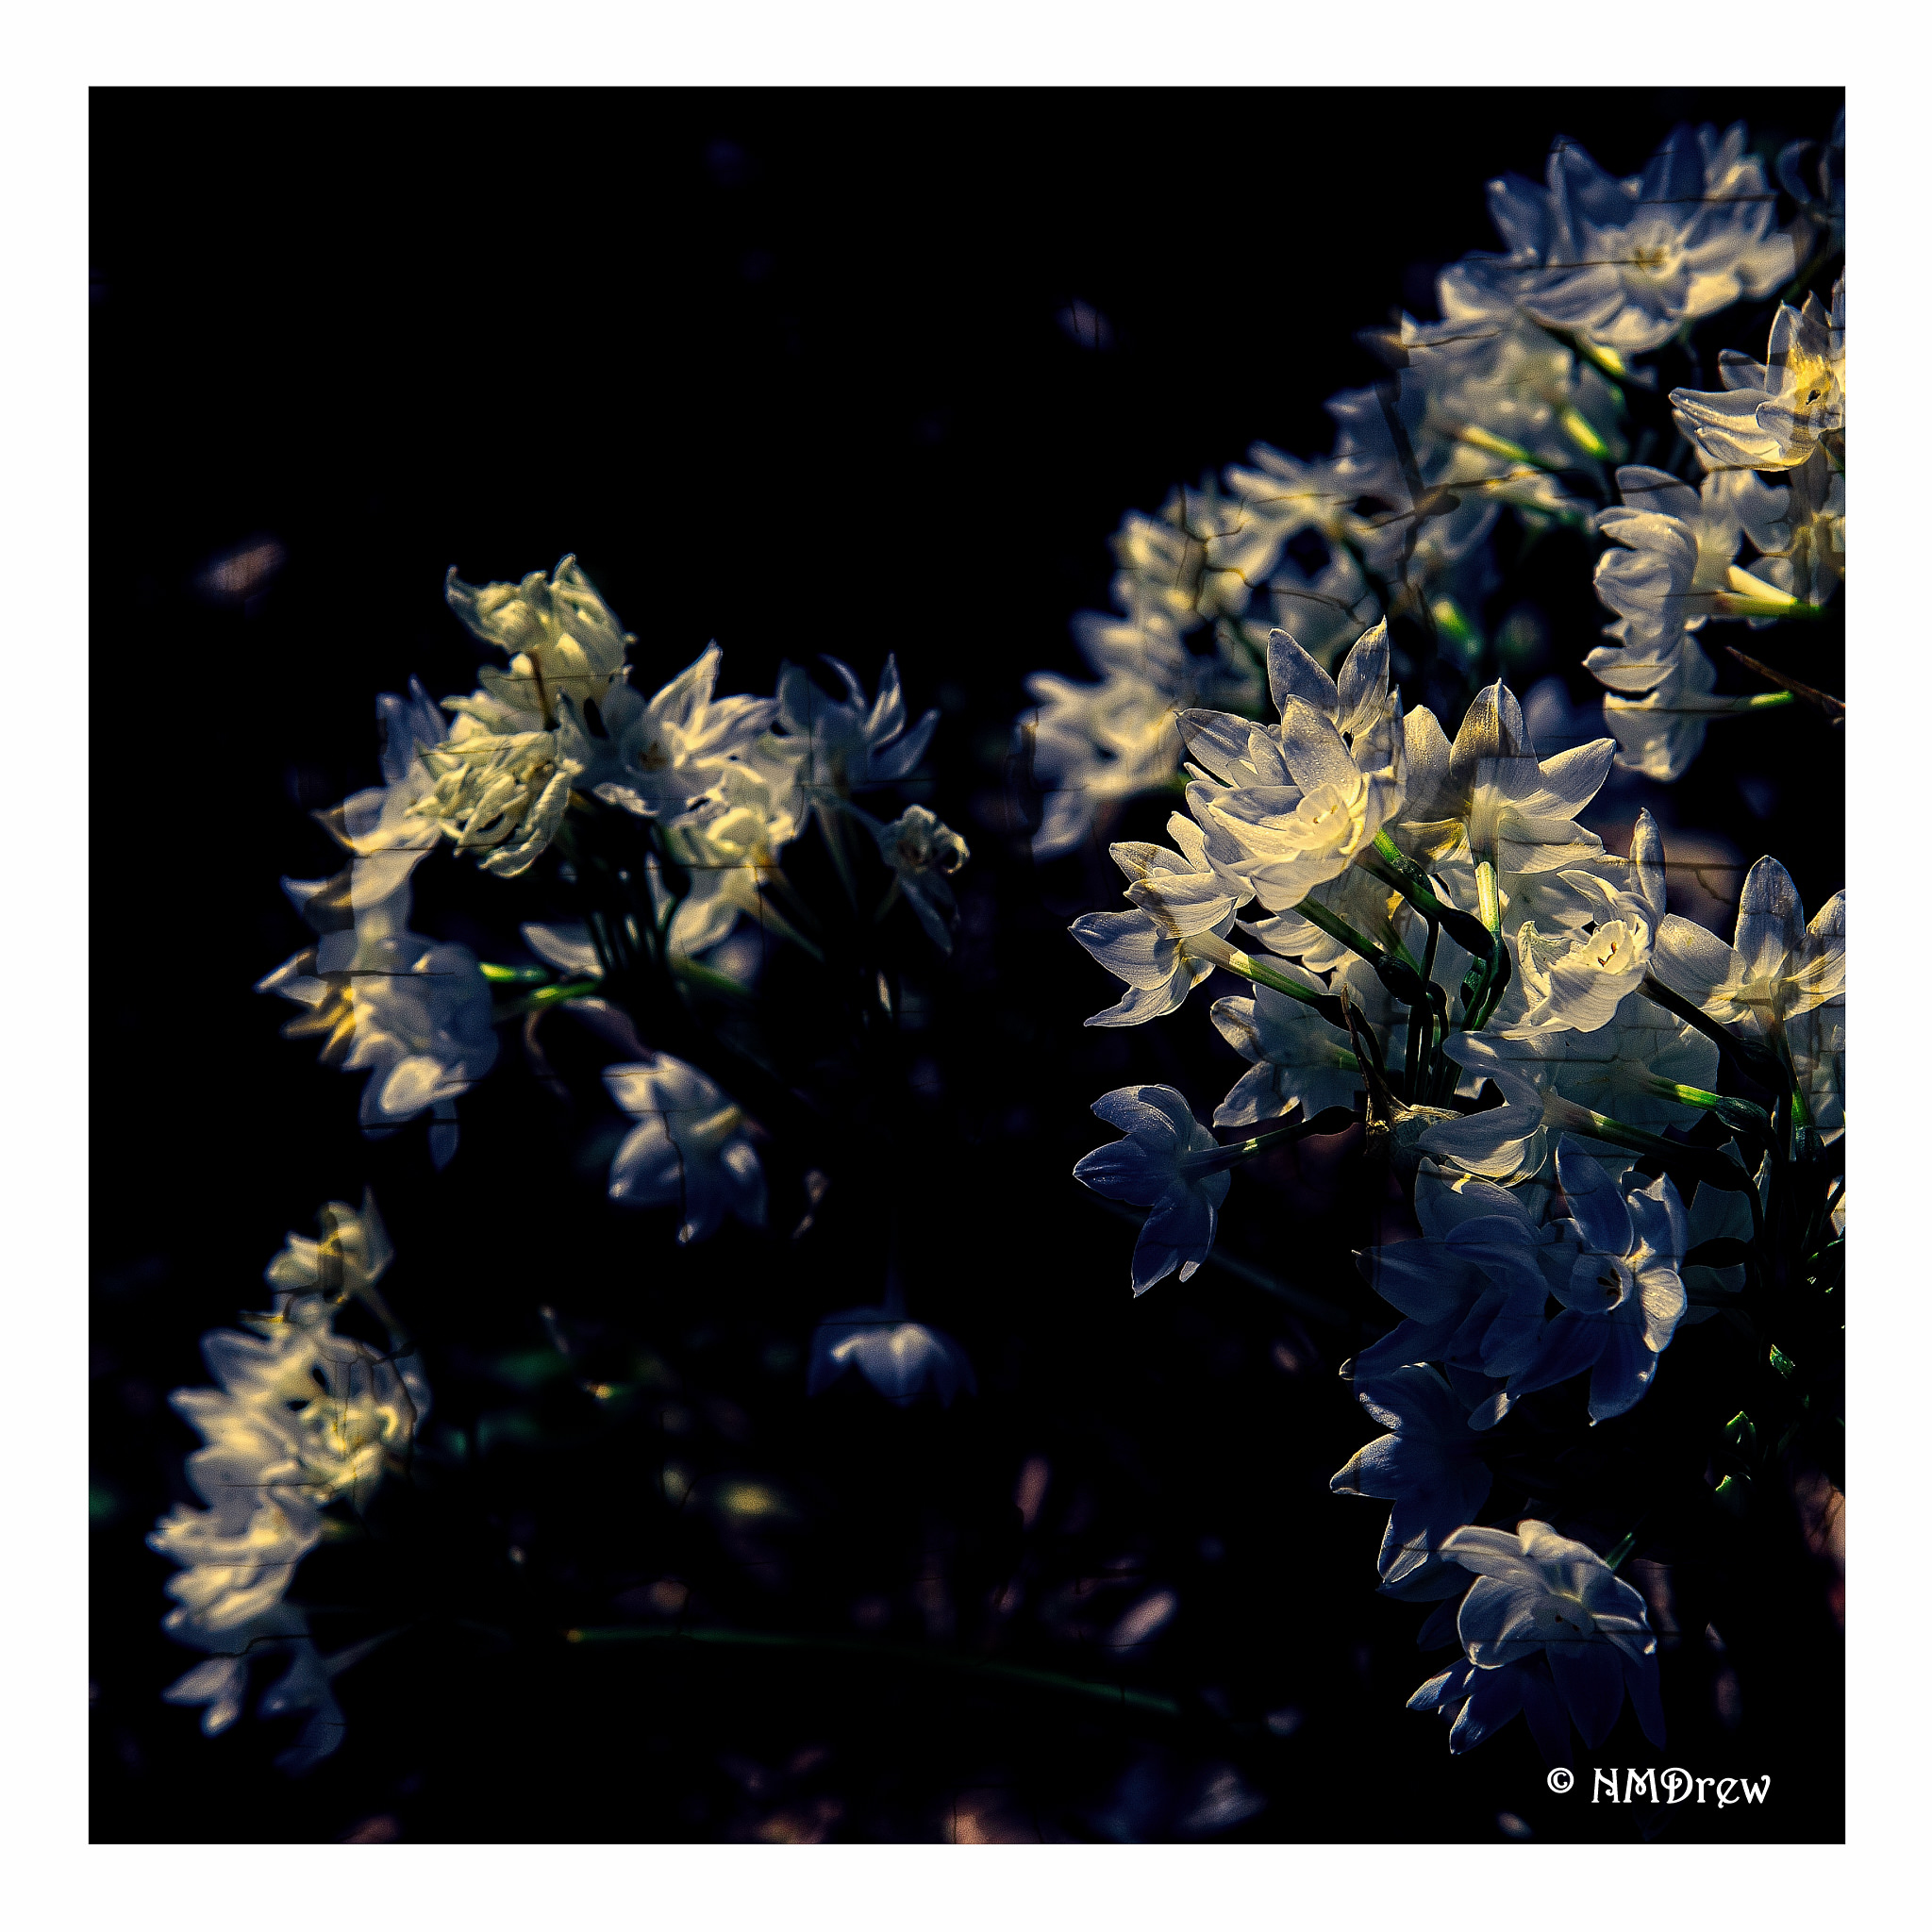
Right up front, I got a bunch of crappy pictures. I had hoped for better using the Lab-Box and black and white 35mm film (Tri-X 400). However, I also really did not expect much as film processing and I have a history of disliking each other it seems.  I had a problem rolling the film onto the reel. If the reel is not properly put together, there are problems, which may be why I had the issues I did.  As a result, I plan to check my rolling of film with a canister of 35mm play film

The developing itself went okay. The images that did develop were at the beginning and at the end of the roll, but the ones in between must have gotten squashed together as I rolled the film in the box.  I also did not attach the crank properly at the beginning of the processing development, and probably had a light leak along with a loss of some chemistry.  The reel may also be improperly assembled.

I am going to continue using the Lab-Box.  Practice is necessary for this kind of stuff.  I will re-check how I assembled it.  For processing the film, I used a monobath, an archival rinse, and PhotoFlo 500 before hanging the roll up to dry.  The steps I used to process the film seem to be okay, but the light leak, chemistry leak, and so on all need to be sorted out.  Others have gotten great results with their Lab-Boxes, in both 35 and 120, and I see no reason I shouldn’t either!

Film

Lately I am shooting a lot of film.  Hopefully I will be processing some once I master the Lab-Box, first in black and white, and then later in color if I find the frustration level not frustrating!

Anyway, here are a few pictures taken with my N90s and 60mm macro lens, which I dropped, but do not seem to have damaged either.  The film here is Fuji Pro 400H, which is great for color.

If you take a look at the camera in the pictures above, you will see it is a Contax IIIa ca. 1953. It has a rather amazing lens, a Zeiss-Opton Sonnar 50mm f1.5. It’s sharp and lovely when I nail it. Being a rangefinder and a new-to-me camera, I am still learning to “get” the focus. The following images were taken using the camera along with Fuji Super 200. Some pictures I did with the Sunny 16 rule, a light meter, or the suggestions from the camera’s readout.

Editing film certainly beats breathing smoke and listening to sirens!

B&W Film and an Orange 21 Filter

I have shot B&W film with a red filter, and a light yellow filter and have been pleased with the results.  Recently I used an Orange 21 filter and got mixed results.  The equipment was an OM-1n and Ilford FP4+ 125 asa film.  The lens is a 50mm f3.5 Zuiko macro lens.  I shot the film at 100 asa, but my battery was dead, so I did the Sunny 16 rule, and hoped  that doing settings I think would work without a filter would be adequate.  I did well with the yellow and red filters, but not so well with the orange.  Admittedly, I still don’t “get” filters – I really need to study them in greater detail – but you (and I) can read about them here.  And you can, of course, google all about them!

I take my film to a local lab to be processed, whether color, slide, or silver-based black and white.  They do a fairly good job.  I can have film pushed if I want it, too.  I scan the film myself, whether 135 or 120, using either a Pakon scanner or my V600.  The results are decent.  I clean things up in LR or another program, depending on what I want.  Sometimes I do more in post, such as noise reduction, vignetting, etc.

The Ilford FP4+ is considered to be an excellent film.  When I scanned the pictures, they ended up with a rather reddish brown cast – was that the scanner, the processing, or the orange filter?  You can see the totally unretouched photos below.

I am not really pleased with any of the above photos.  The orange filter turned the red rose the same shade as the leaves.  Contrast of light and dark disappeared.  I plan to shoot another roll of FP4+, without a filter, to truly assess my like or dislike of this film.

Post-processing can change an image immensely.  Noise can disappear, dust and threads on the film can be eliminated, and contrast and exposure adjusted.  I do these digitally, just as you could do in a regular film dark room.  Here are some of the images I could clean up – and some needed a heck of a lot of work, let me tell you!

I even managed to one into a color picture using preset in On1 Photo Raw 2019!

Crazy stuff!  It will be interesting to try to reproduce this colored picture sometime in the future.  Meanwhile, back to the film cameras!


Whaler’s Cove with a 1937 Welta Weltur

There is something so different in the quality of a photo taken with a film camera, rather than a digital camera.  It is apparent even more so when it is done with an uncoated lens from 1937.  The lens in question is a lovely Schneider Kreuznach Xenar 2.8, 75mm, taken using 1937 Welta Weltur camera.  It is a folding camera that takes the still-available 120mm film.  I used Ektar 100 by Kodak, and applied the Sunny 16 rule for manual exposures.

I have a 6×6 version with a 6×4.5 reduction mask.  I thought I had removed the mask – but hadn’t.  All my supposedly square images came out rectangular!  I stitched two images together in PS6 and then tediously removed threads and dots of dust that were apparent even after scanning with Digital Ice on the Epson V600.

This photo makes me think of landscape paintings of the 1700s and 1800s – especially that turquoise sky.  Mayhap a painting will follow.

A Sunny Day in the Garden

A few miles up the road from me is the local botanical garden.  It’s located on a series of hills that cover several acres.  Trails wander through oak groves and chaparral.  Specific areas are planted for butterflies and birds, sage plants, California natives, rare fruit, cacti.  It’s always a pleasure to meander around in it as it changes with seasons.  Different times of day bring out different animals; as well, the light shifts and changes.  Early morning, sunset, high noon.  Benches  line the paths throughout the garden.  For a wilder walk, there are the trails along the creek.  I’ve seen squirrels, road runners, coyotes and hawks.  Critters like it as much as I do.  It’s even better when you are the only one there except the wildlife!

I went out to take pictures and to draw – it’s been several weeks since I was last there.  Rain and cold as well as being ill kept me home for a bit.  With today’s 70 F, it was hard to stay indoors.  I took a couple of cameras – one film, one digital – some paper and a pen.  I wanted to see the flowers in particular, especially the spring bulbs which come up at this time of year.  I wasn’t disappointed.The outing was soul-satisfying on a personal and artistic level. I’ll be back sooner rather than later!  There is little more satisfying than time spent in solitary and quiet appreciation of nature.