Gonna Keep It! (or, The Beast Can Stay)

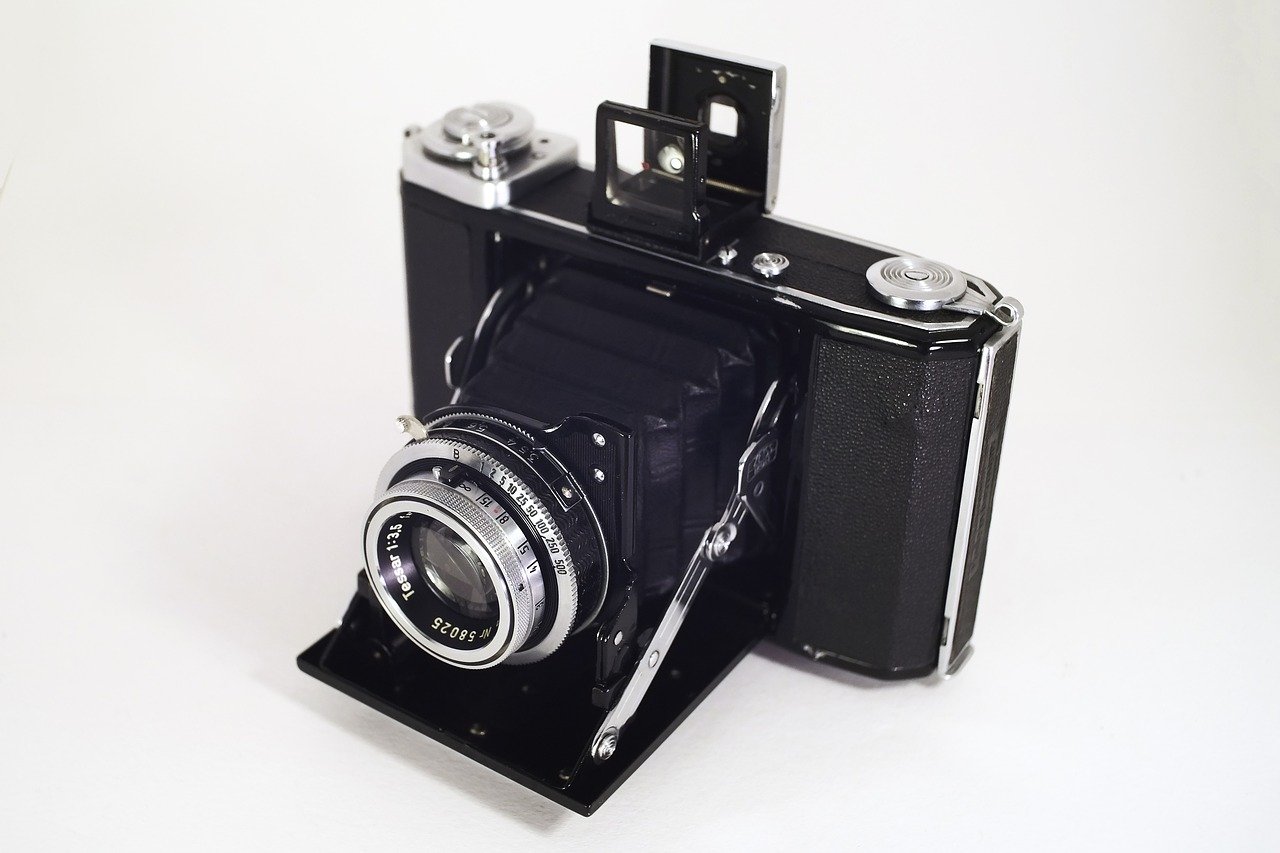
Awhile ago I decided to move more into the medium format world of film photography. I have a Yashica D TLR (6×6) and a number of 6×6 folders from varying years, a 1930s 6×9 Voigtlander folding rangefinder, and now have a Mamiya 645 (6×4.5) and, the latest, a Pentax 6×7 beast with a 135mm f4 macro lens. This last one is the subject of today’s commentary. You can google it, as well as read about it here on Wikipedia.  It’s not something to take lightly – it’s quite the weapon!

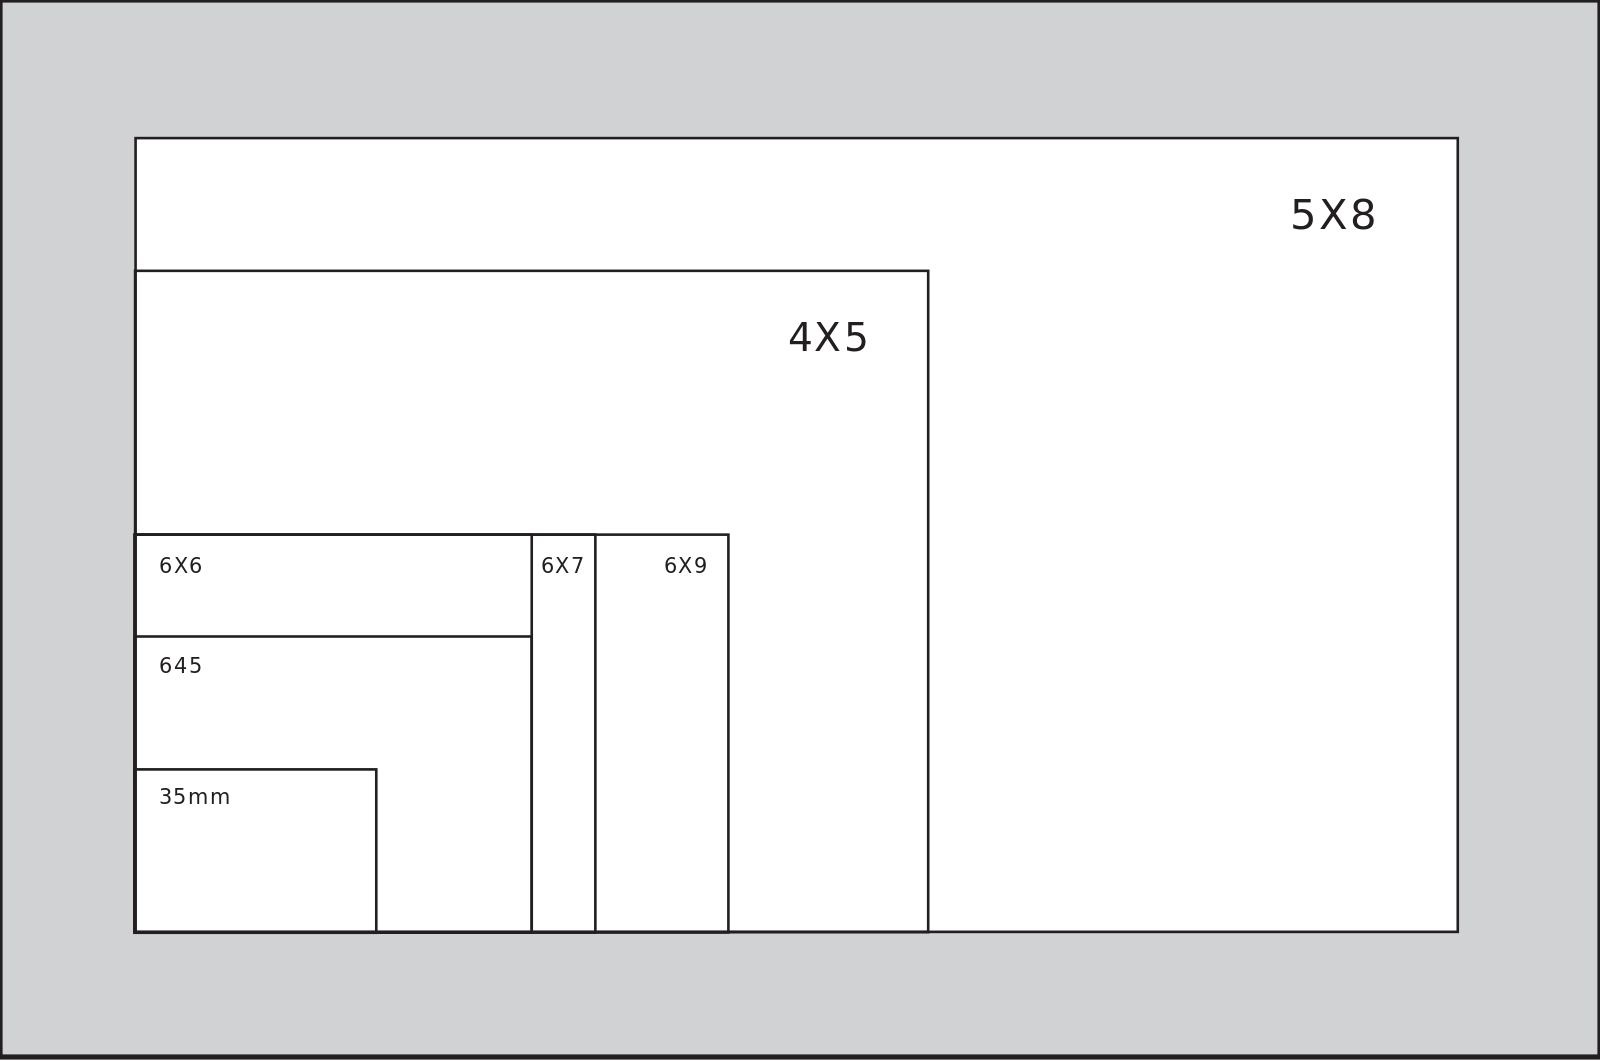
Okay!  First, as the name implies, it takes a 6×7 size negative, which is big, big, big.  Not as big as a 6×9, but still bigger than a 35mm by a lot.  Here is a good article on the size comparisons, complete with images.

I would imagine that, as with digital, the larger the negative, the more important the quality of the image – focus, sharpness, and so on. Of course, film is not digital and has its own personality, but it still needs to meet certain criteria, I am sure.

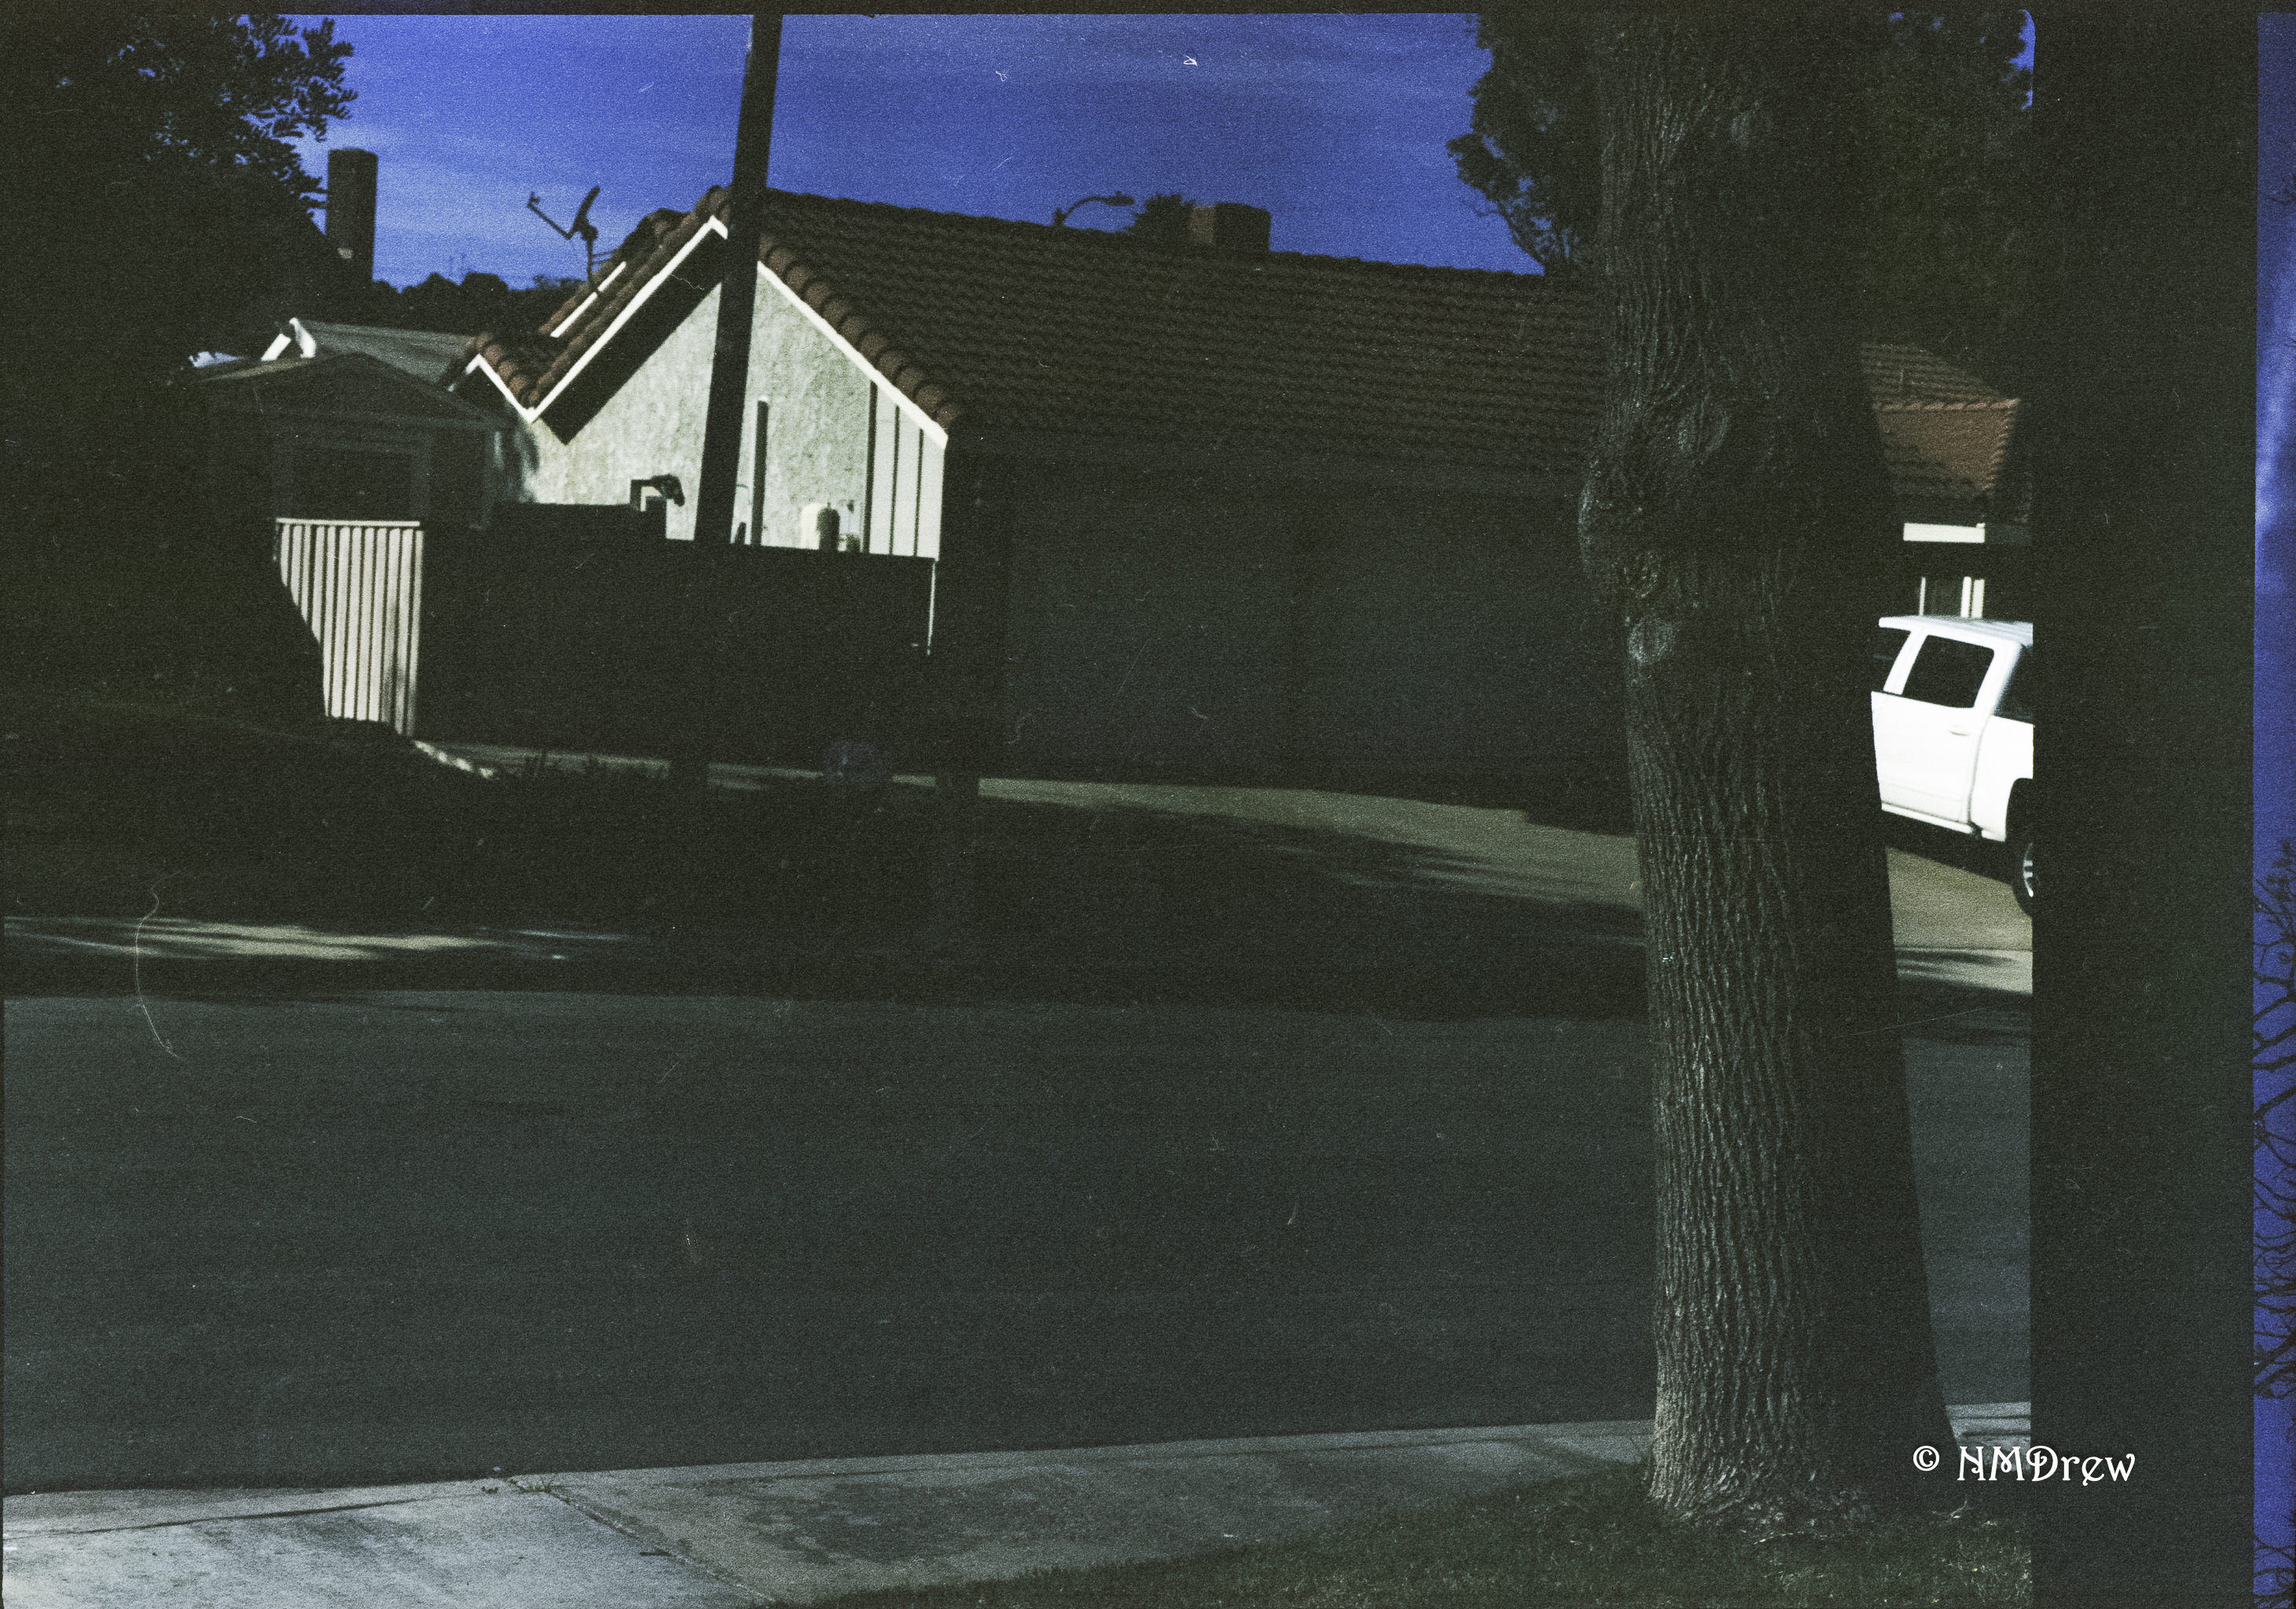
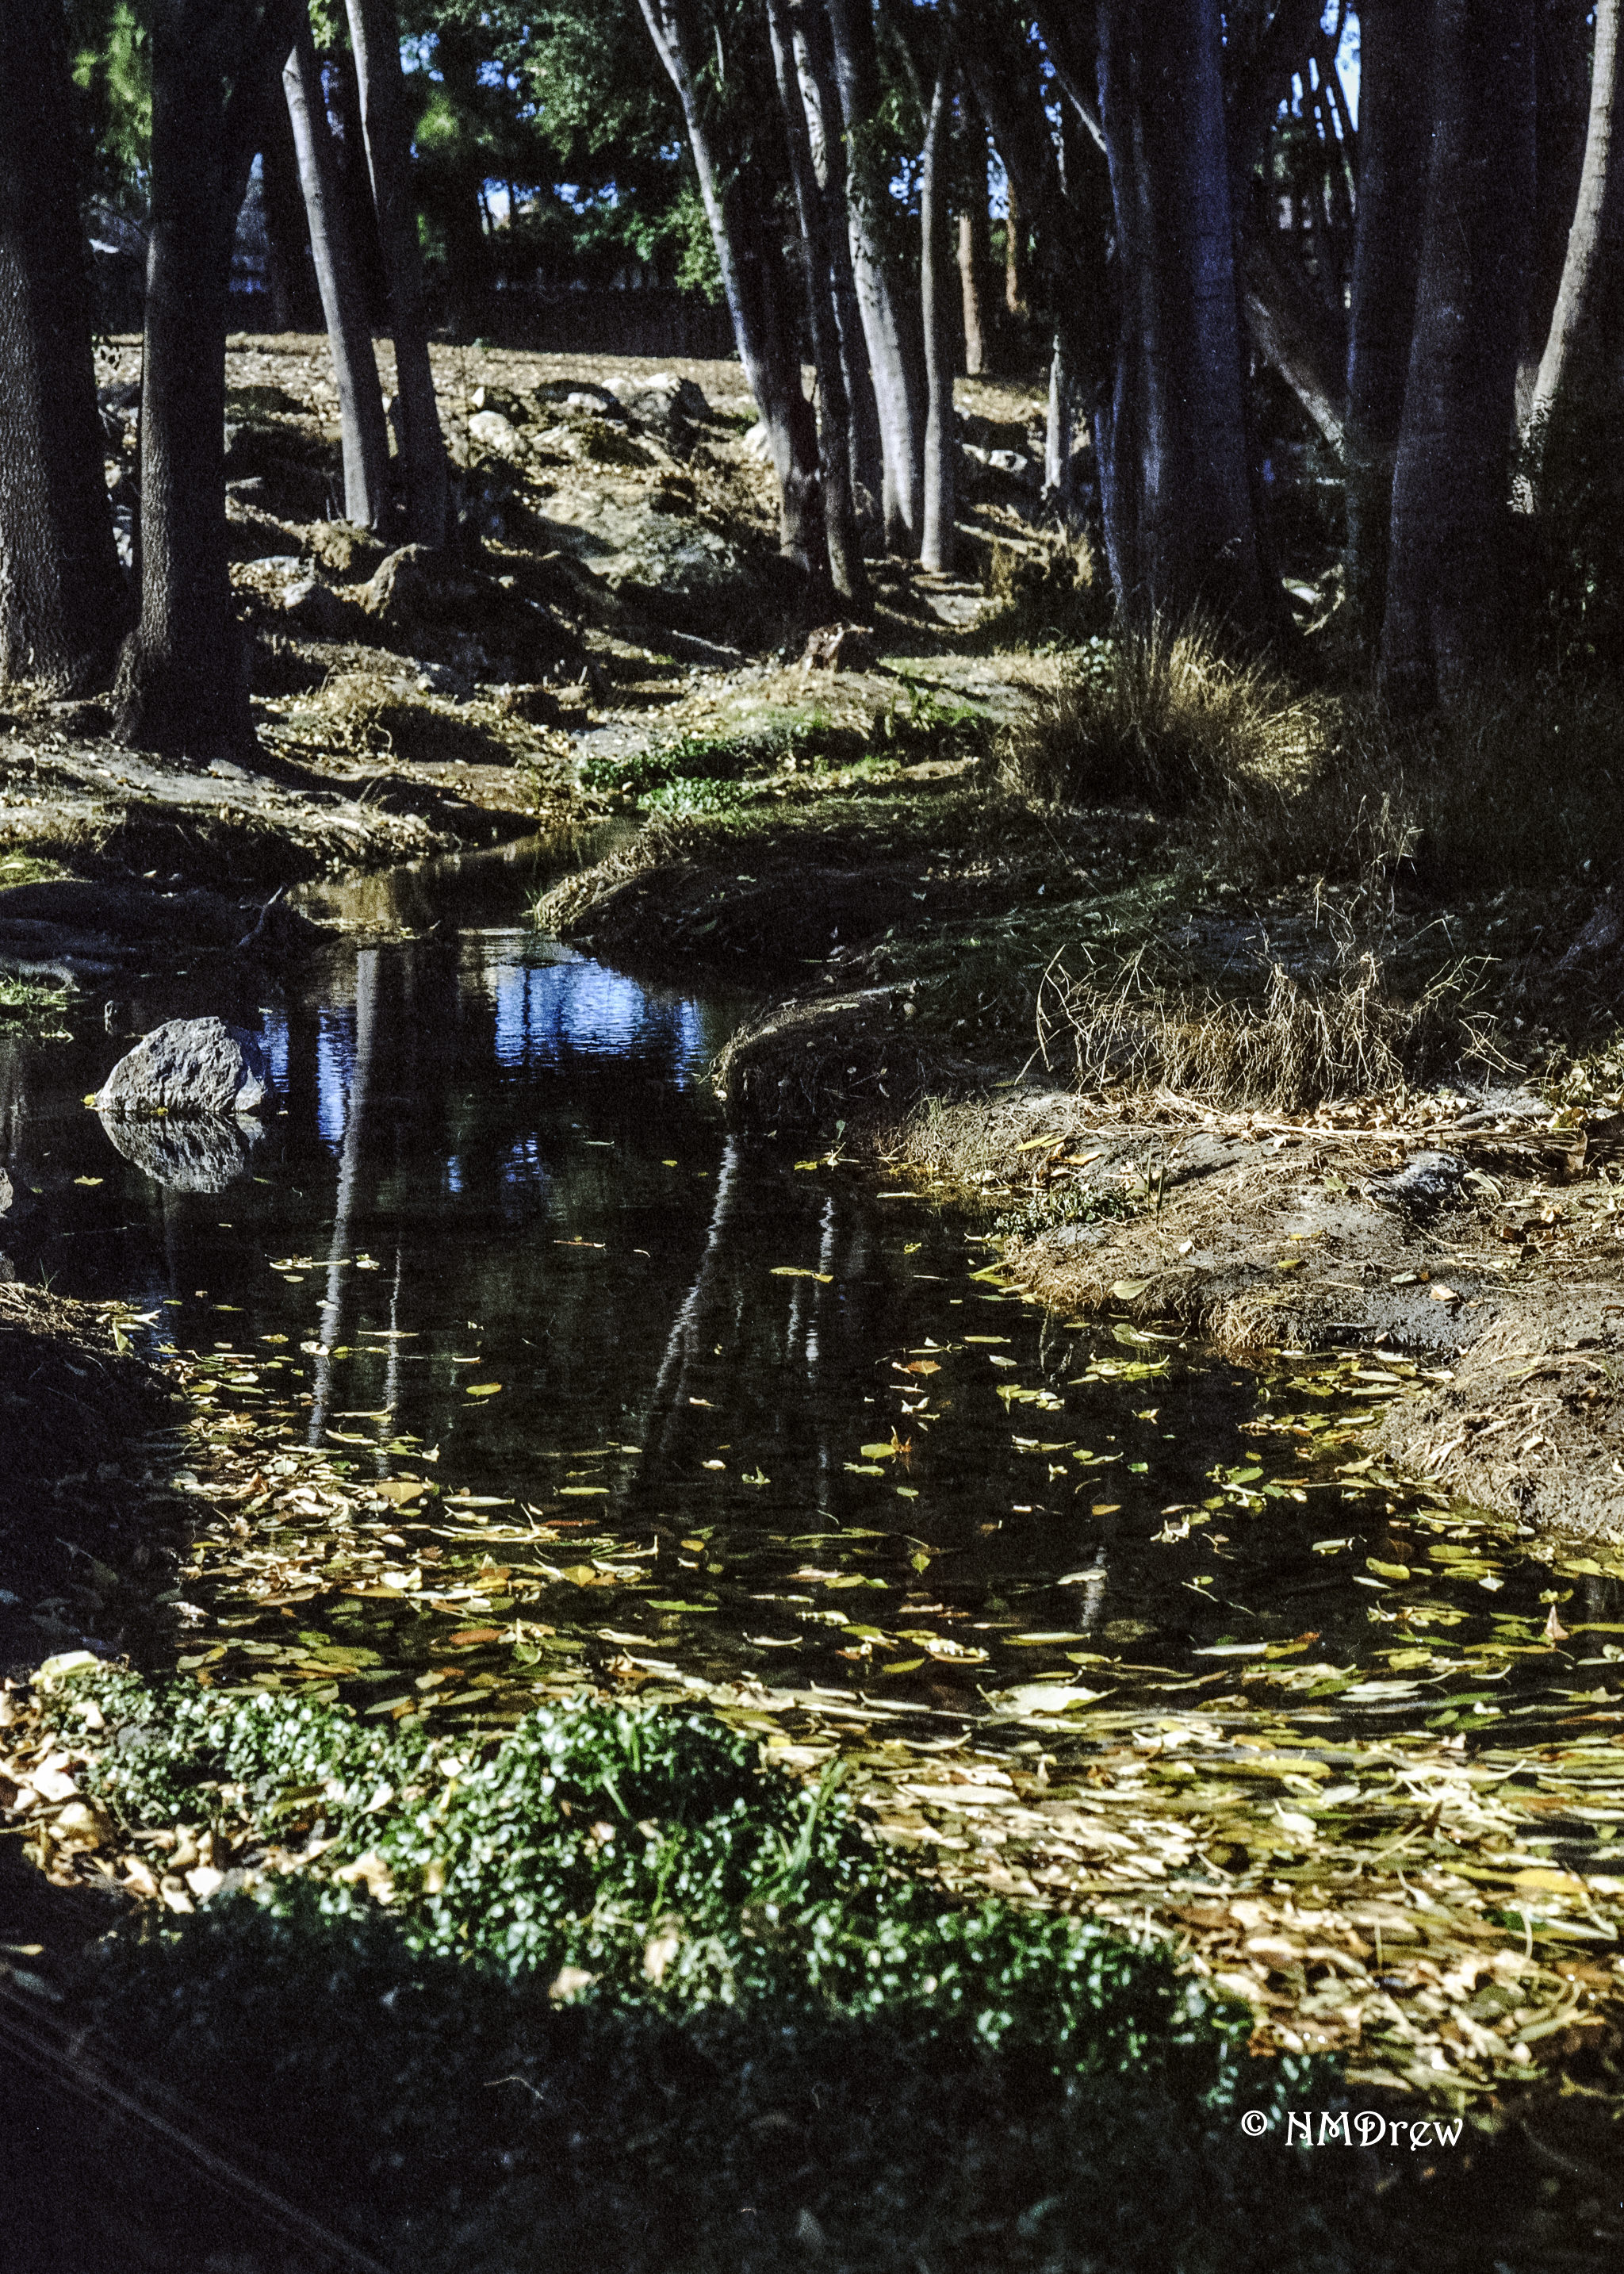
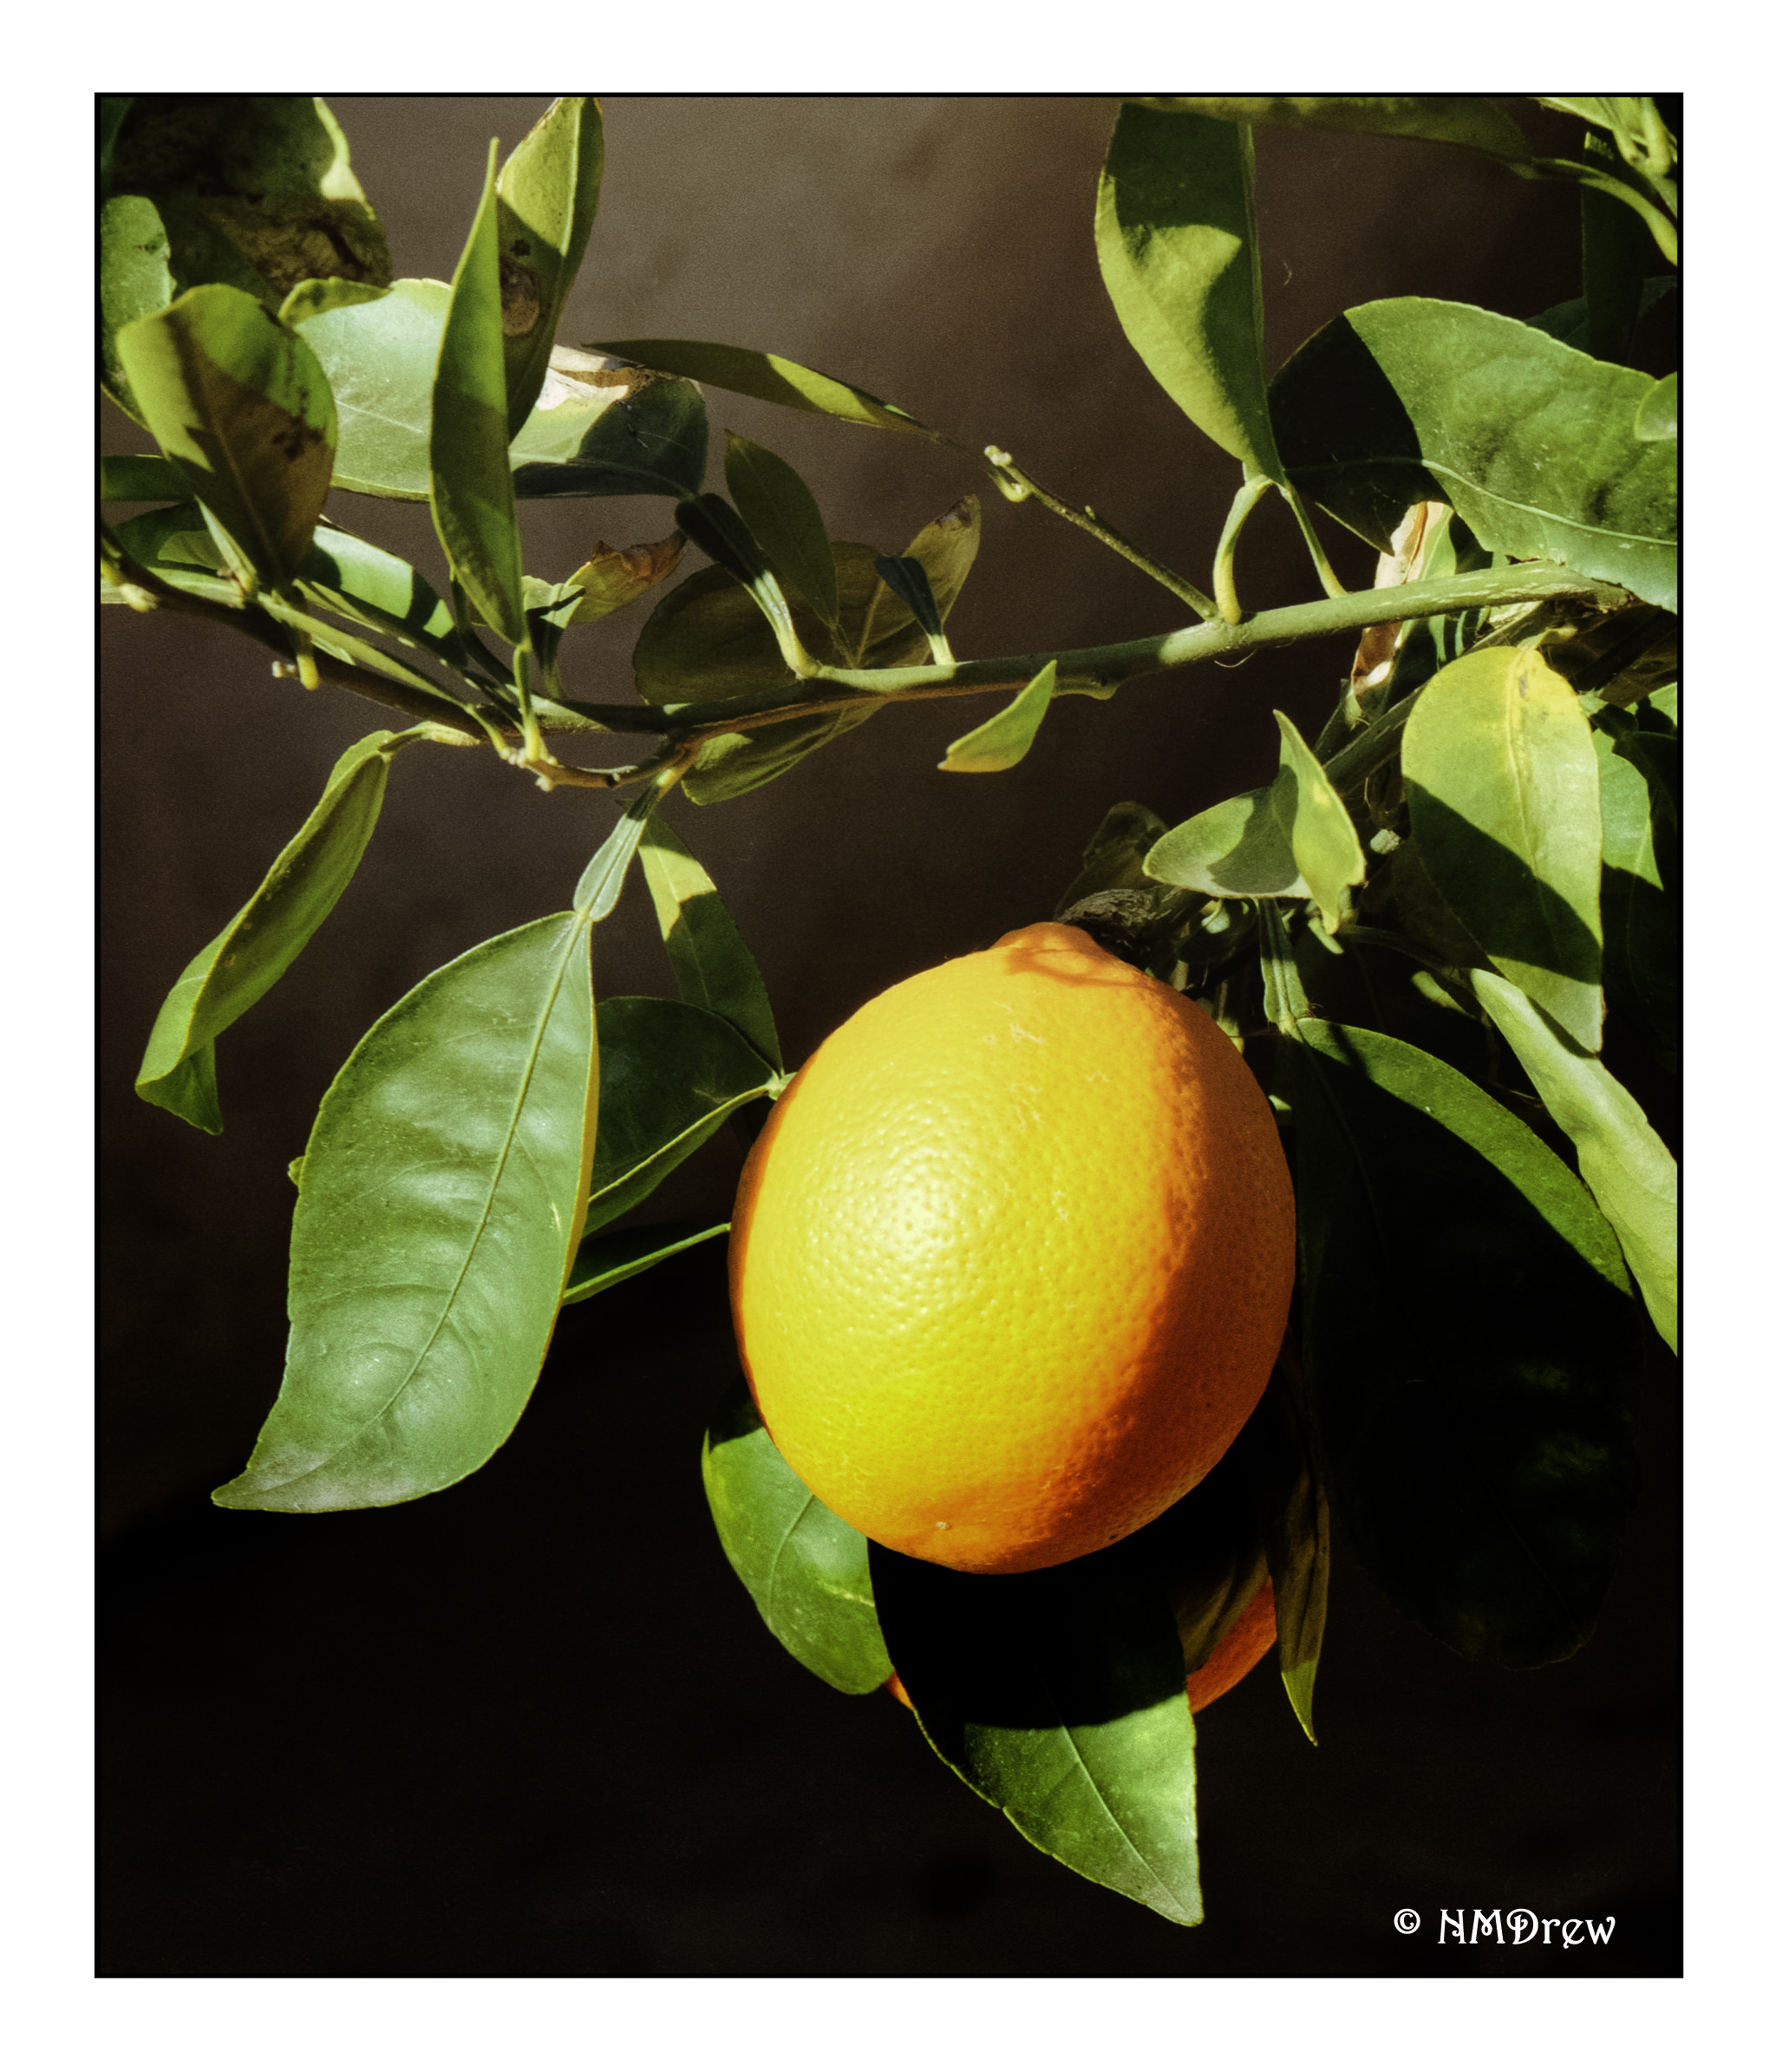
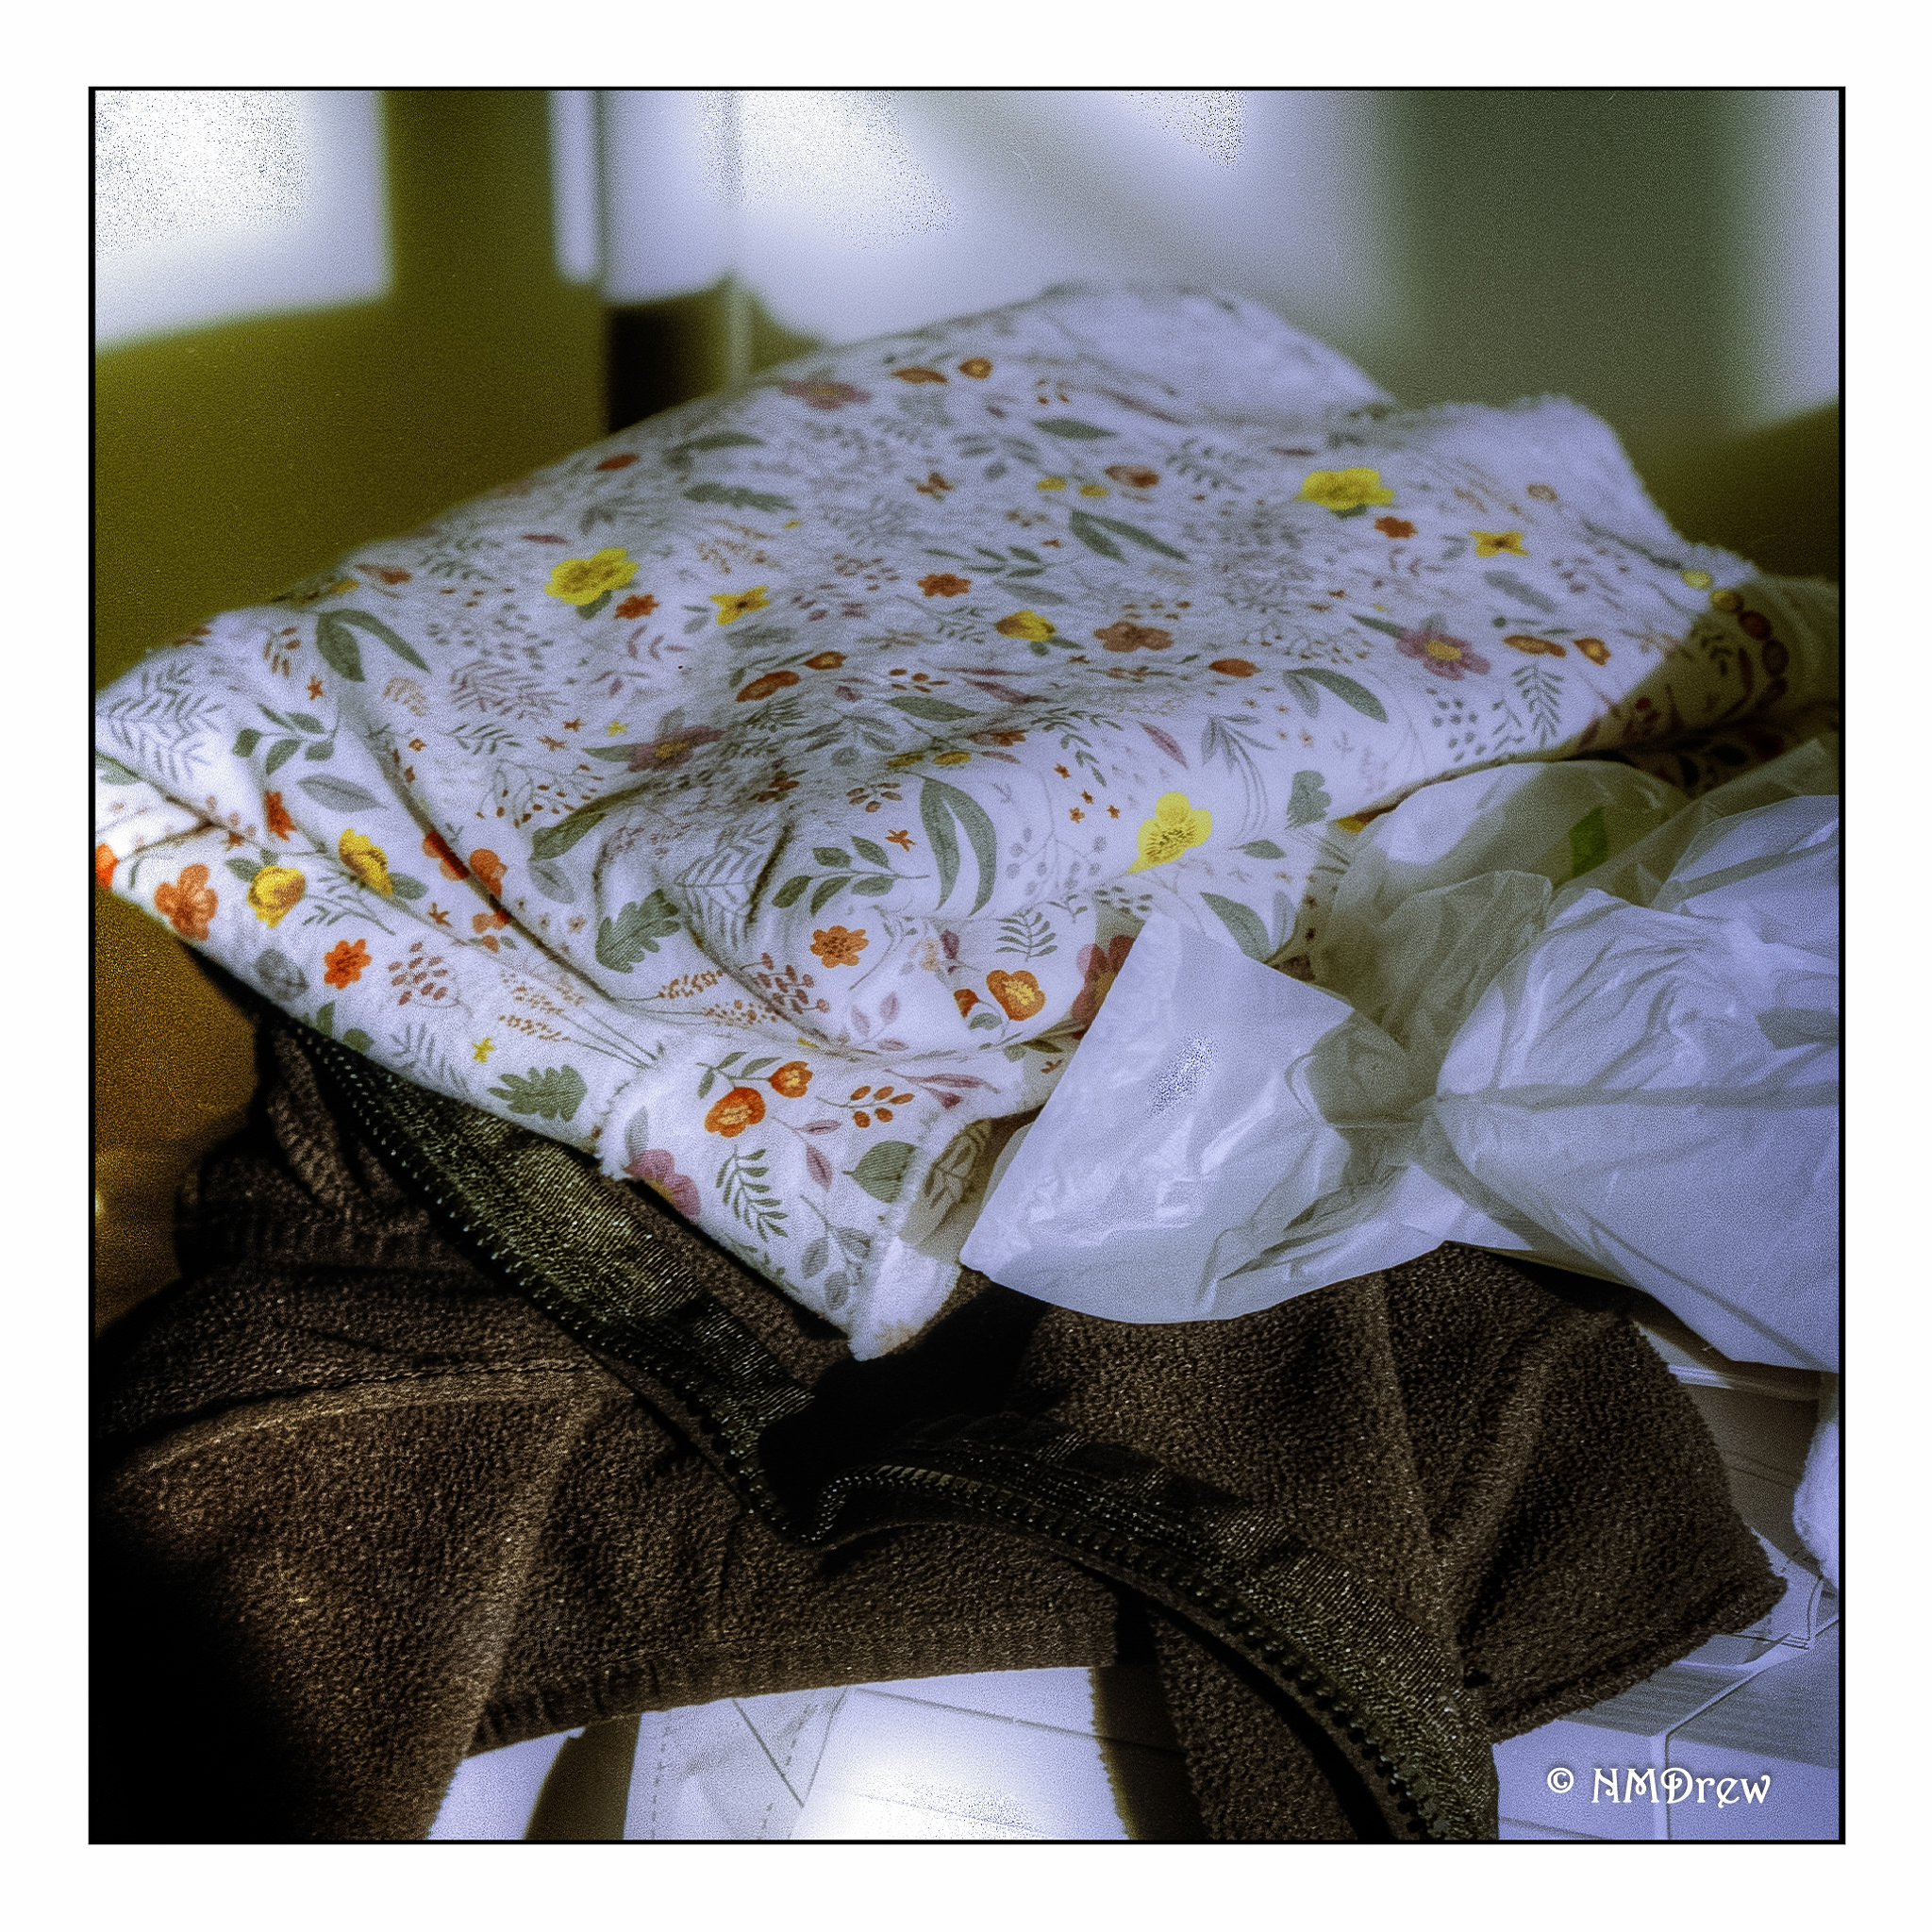
The first roll of film I ran through the camera was basically a disaster. 3 out of 10 images were there, and all were under-exposed. For Portra 400 film, they were trash. This made me wonder about the camera – does it work, are there problems? Having read about the camera and the trickiness of loading the roll of film, I gave it another try with two more rolls.  The first three photos below are the first roll.

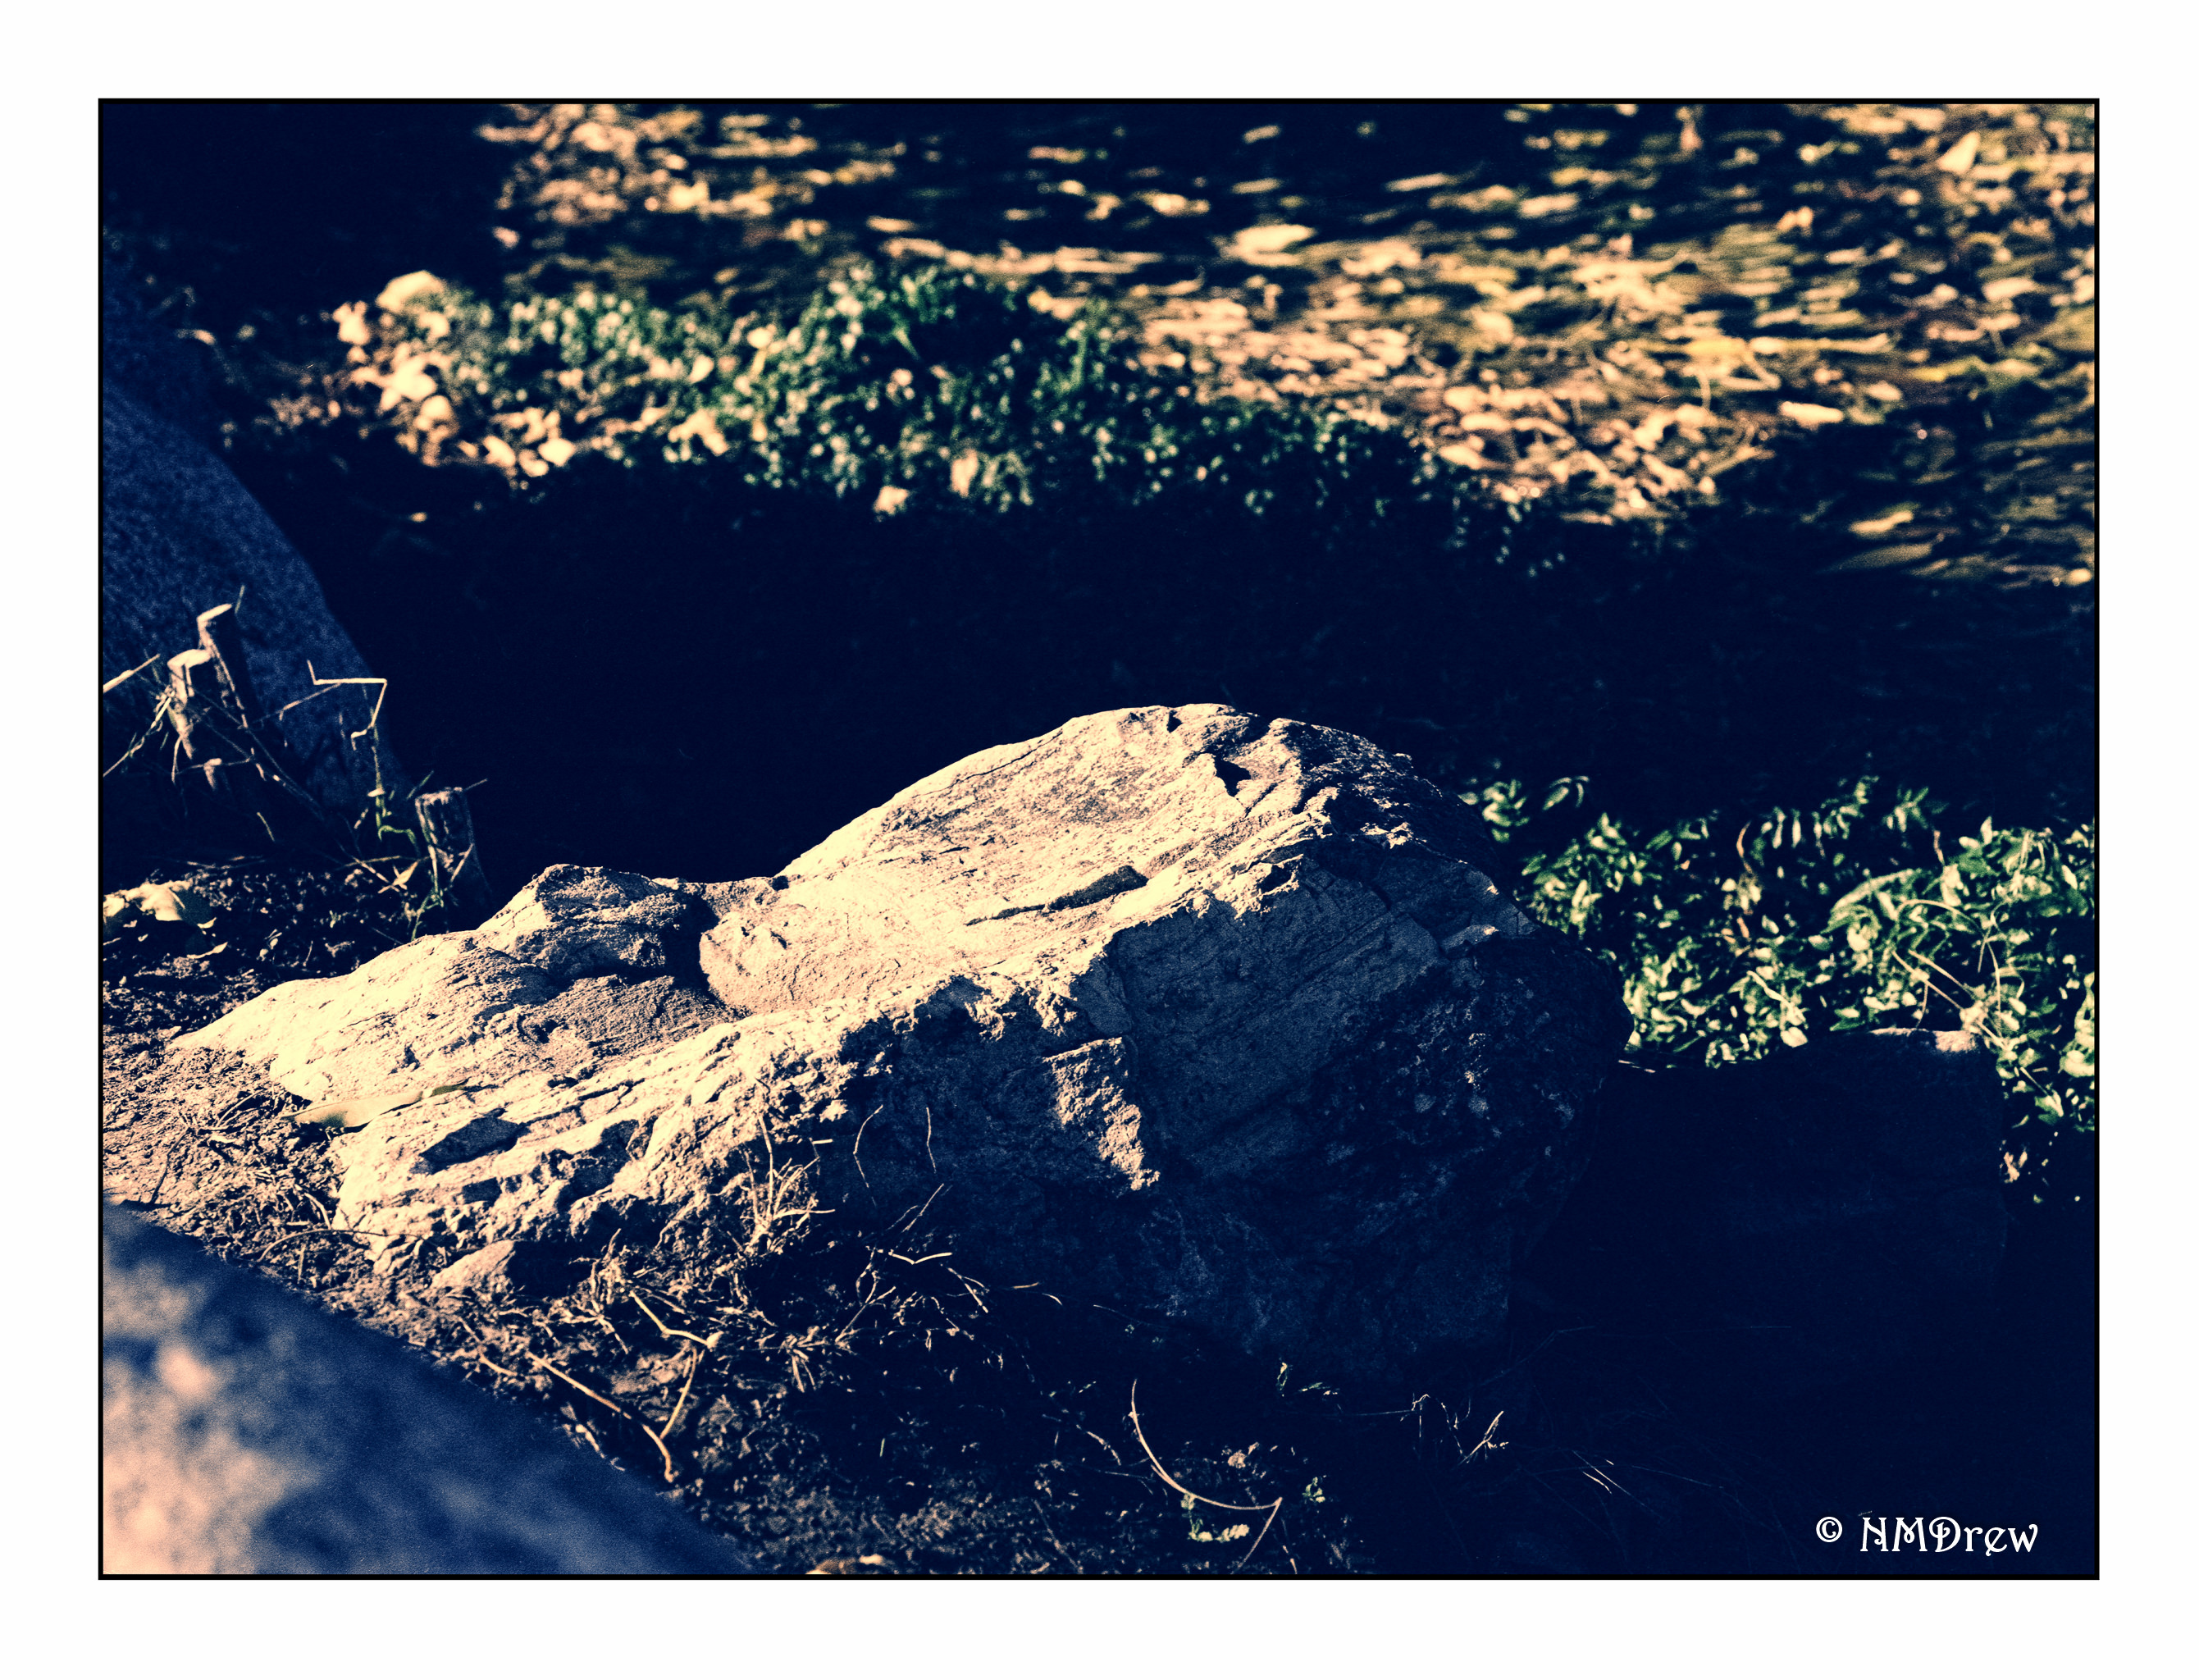
The one above was worked on in post, just to see if anything could be done with it. Not much could be to save it from its ugly self. The ones below are SOOS (scanner), and they are really awful, too.

To make the decision to keep or return the camera meant I needed to do some photography in a very controlled environment. I needed to check the aperture and exposure factors. Out came the tripod and the light meter. Bracketing and moving things around. I took about 20 pictures in about that much time – maybe longer – and documented what I did. In doing so, I learned a bit more about the camera and the lens, as well as had a rather scientific bit of testing.

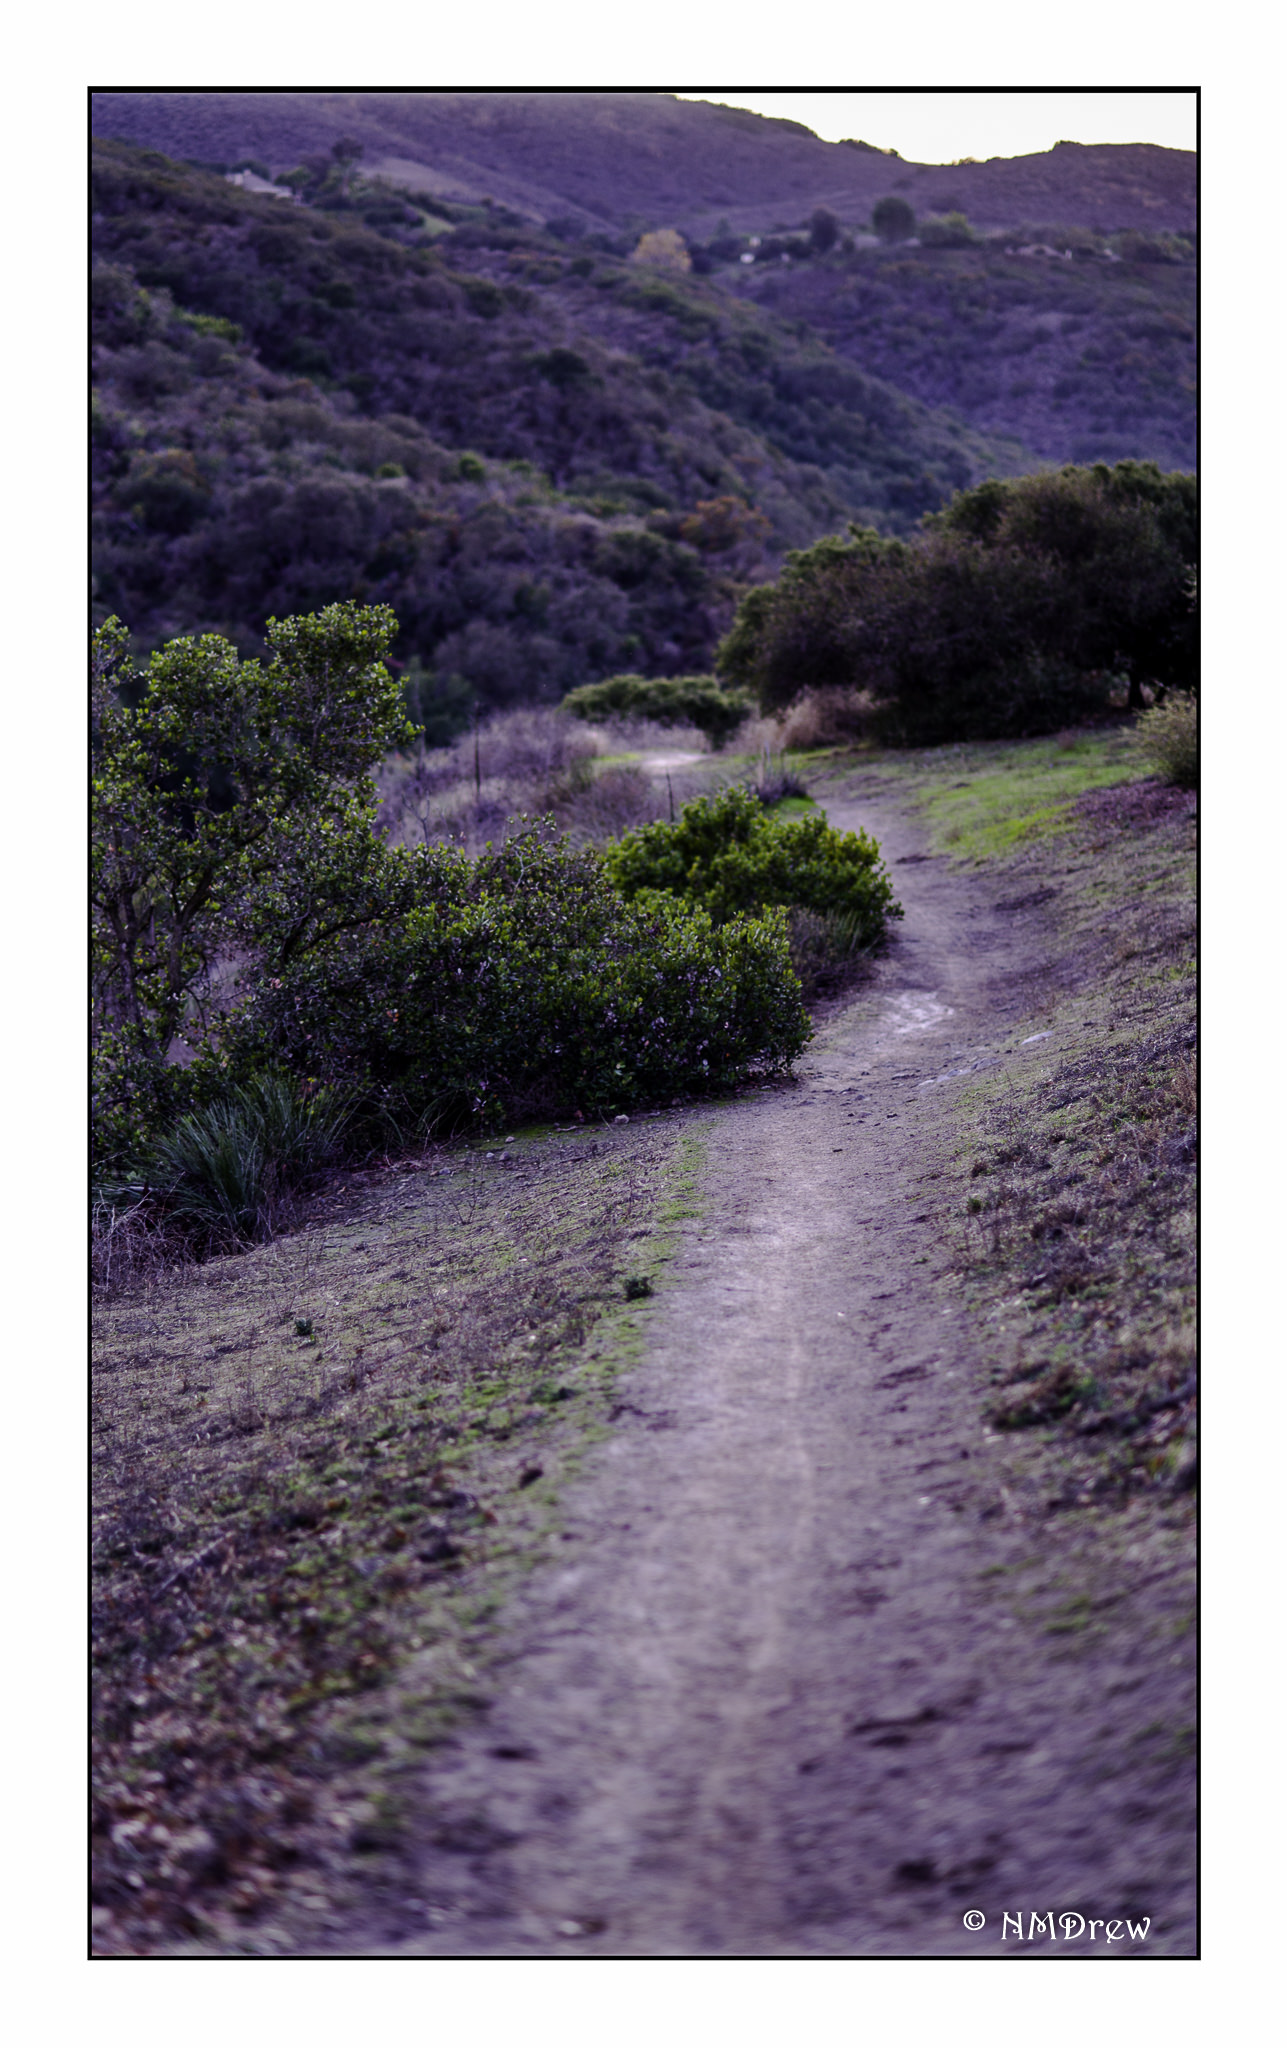
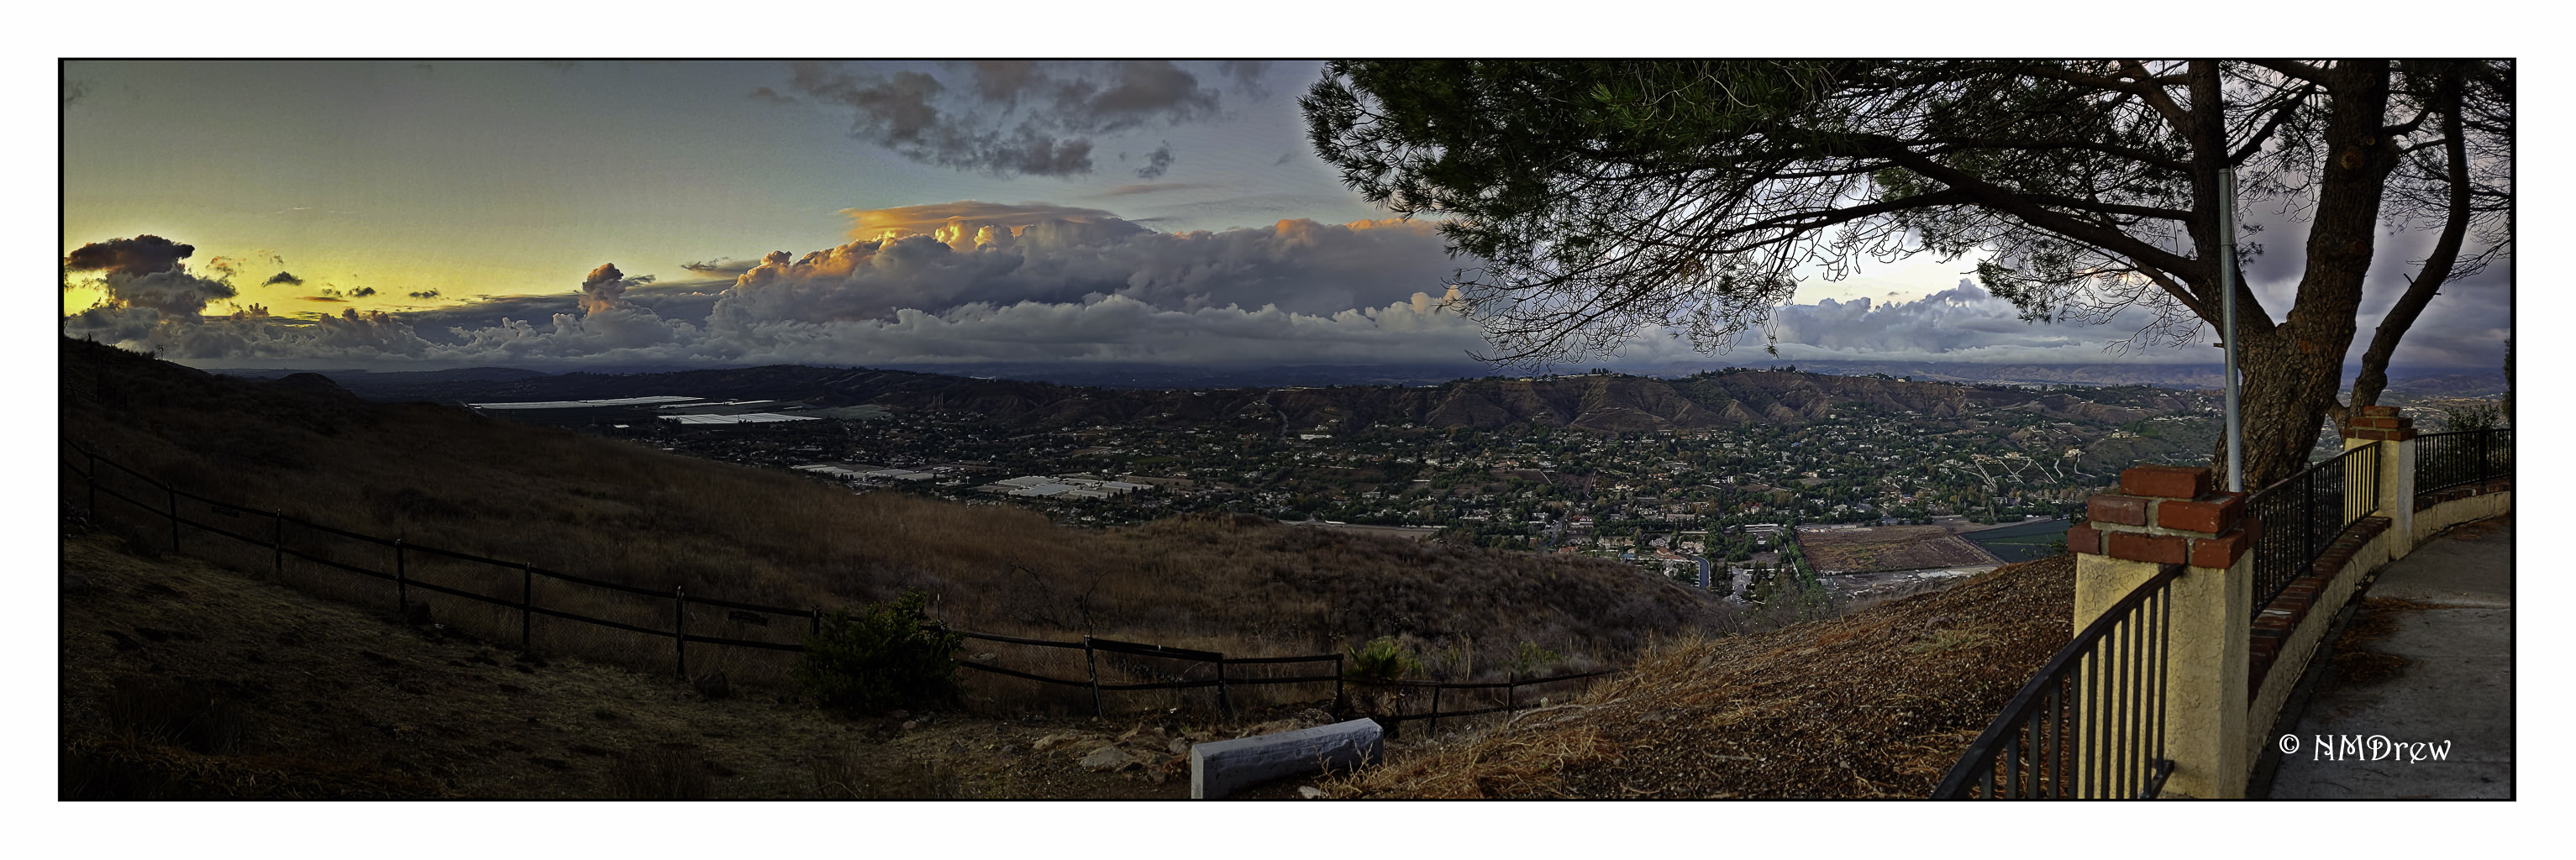
The effort was worth it, and I think that this beastie is going to be fun, and a challenge to my normal scatter gun approach to things. Below are the results, taken using Lomography 100 Color Negative film (120), with some cropping and touching up in post. I didn’t check for spots, come to think of it, so I may need to do that, too. I did clean the negatives before scanning, and used Digital Ice in the scanner . . .

Pentax 6×7 – Lomo 100

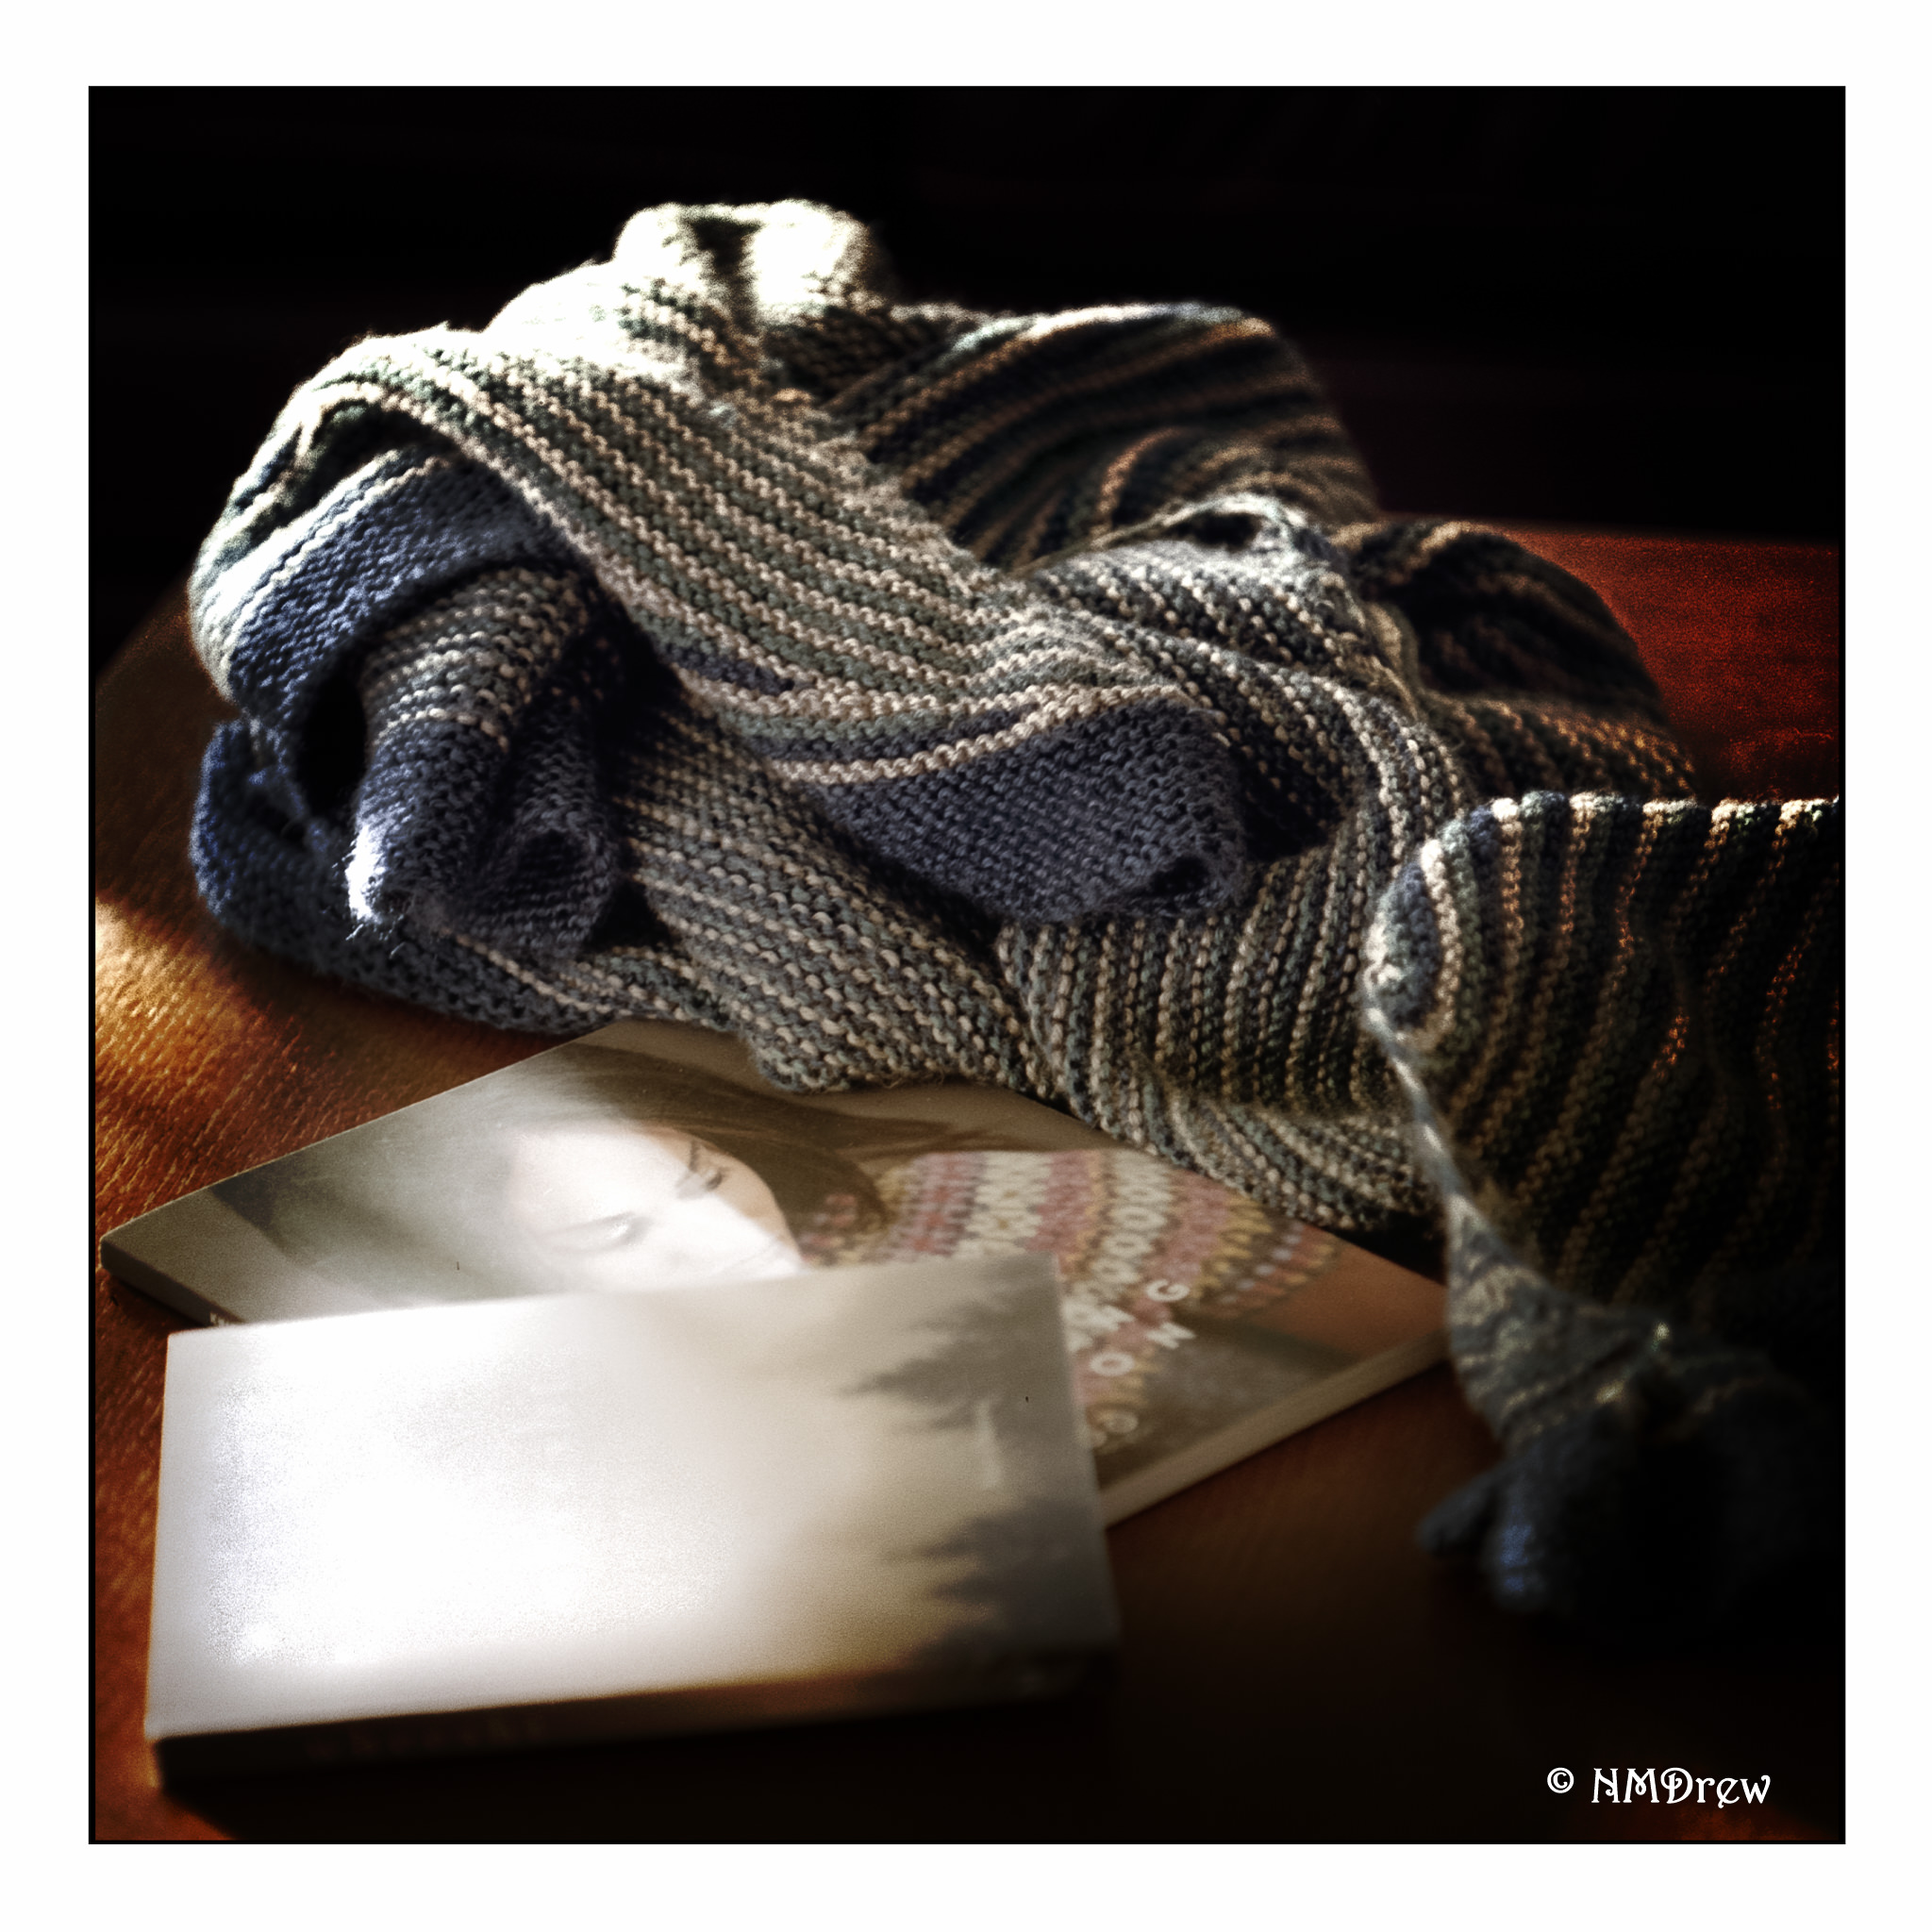
Altogether, very pleased with this camera and the lens. Lomo 100 did a fine job.  It’s doing quite well for a camera that dates from ca. 1969 (older than my husband!). I think I want to get a waist-level view finder for it and probably some shorter lenses. The Yashica TLR is a waist-level viewfinder camera, and I really enjoy that; hence, a waist-level viewfinder for the Pentax, and perhaps the Mamiya.  Unlike all my other medium format cameras, the Mamiya and the Pentax allow for lens changes and other bits that the Yashica and the folding cameras do not have.  That is for the future, though, as I think this camera has a lot to teach me in the meantime.

Color Anon

If you follow my photography blog, The Glass Aerie, you will know that I have spent the last year posting black and white photos I have made.  Some were edited from color images, both digital and film, and changed to black and white, and others were from black and white film.  It’s been quite a journey!

There is a lot to learn from doing black and white.  For one thing, it has changed my perspective – or viewpoint? – concepts – preconceived ideas – about what to look for in a black and white picture.  The simple takeaway is contrast, meaning light against dark.  By asking myself how the light is working I begin to see differently.  This simple question really helps as I see colors far more readily than I see contrast.  I tend to prefer strongly contrasty and graphic expressions of black and white photography, too, and that has been a hindrance in the past.

Let’s take a look at the image below.  Other than adding my name and a frame, this is SOOC.  I made it last night when I was out toward sunset, enjoying the world after the week’s rain, and just for the pure pleasure of taking a camera out on my walk.

As you can see, the above picture is really low key. If you like subtle black and white images, it could work. The thing I like about the picture is the line of the trail – straight, and then curving around the bush into the hills and canyon beyond. Other than that, it holds little interest for my eyes. To me, the only thing to make this a worthwhile black and white picture is to really create a mood in it of some kind. Playing will help. However, before moving into black and white, I also like to see what I can do with color and contrast in LR or other editing software.

Using Lightroom, color in the image below was enhanced, as was contrast by moving the highlight slider down, increasing blacks and whites, and opening up the shadows. Vibrance, clarity, and saturation were also changed. I did not think my first image (above) caught the light at all, nor the rich tints of green that come out after a few days of rain. As it was also sunset, there was a glow to the environment, too, but the sun was blocked by vegetation. To catch this glow, I warmed the image up a bit. The result is still subtle, but more expressive of what I saw and felt when I was out.  Now, on to the black and white conversion.  The image below is the SOOC with vibrance and saturation set to zero.Next is the second color image with saturation and vibrance also set to zero.Of the above, the second one is far more interesting to me than the first.  This is why I find increasing and decreasing varying elements in a color image so important prior to converting an image to black and white.  And, at last, my final image of the trail in black and white.  This is the one I prefer to the other B&Ws, and to the original color one as well.  More punch, more contrast, a bit of blue.

Mood is enhanced or created by using contrast to define shapes, and texture.  The play of light is easily lost for me when what I see first is color.  Playing with color in post helps me begin to see the contrast of light play itself.  It is then that I consider the subtlety of long-scale contrast (lots of greys between the black and the white) or strength of short-scale contrast (fewer shades of grey).  The result is by studying black and white and forcing myself to edit in black and white, my ability to see light and its workings has been strengthened.  It is still a weak area for me nonetheless.

Perhaps next year’s project will be to post color pictures, and then a conversion to B&W.


Chasing the Sunset

The rains cleared and the sky was filled with clouds!  I went to my usual places but they were all closed – muddy trails, swollen creeks.  So I headed for the hills, following roads I sort of knew might give me a clear view of the sky and city.  This one was a total surprise.  Suddenly I was wondering just what I was looking at, and then it hit me – I was looking into the valley beyond the mountains surrounding my own.  The clouds were beautiful as the sun went down, so I took a series of pictures – 4 or 5 – and made a pano of them in PS.  This made my day, let me tell you!

Modular Medium Format: Mamiya 645 Pro TL, Part II

I am gonna keep the beast! 

The image above has the waist level viewfinder, which I would like to have.  I have the eye-level viewer complete with automatic exposure and a hand grip with film advance.

There is a really good review of this critter over at Emulsive, which is a great website for reviews on older cameras.

Everything worked out really well, auto-exposures and ones from reading of the Sekonic light meter, as well as my own guestimates!  Totally happy!  And what I like even better is the distinctive look of the 80mm f2.8 C lens that came with the beast.  Add to that, the Negative Lab Pro has been a real worthwhile investment for post-processing.

In order to check out the camera, I loaded a roll of Fuji Pro 400H, a film which has great color and latitude.  Its color is not as intense as Ektar, but it comes close with the brilliance of the colors.  I just shot around the house and neighborhood.  There is absolutely nothing outstanding about these images except to prove the camera works, and works well.  The whole point was to learn about the various aspects of the camera, both automatic and manual.

I handheld the camera for all these images. Friday I am expecting some of the proprietary Mamiya lugs to attach to a camera strap so that I won’t be as likely to drop it. The hand grip is a great handle, but I have read of people almost losing the camera from depending on the hand grip – somehow, the grip got disconnected from the body. At some point, I will get the waist level finder as I enjoy using so much on my Yashica D that I know it will be a good accessory. Because it is such a large camera, if I do get any other lenses, I am likely to limit myself to a macro lens. Other than that, at this point I don’t plan to accessorize it too much. I like the way it currently is, but if I want to go hiking, a lighter set-up would be good.

Altogether, I am happy with my decision to go with a modular medium format camera.  However!  G.A.S. is setting in . . . 6×7?  4×5?  Oh, dear me!

Modular Medium Format: Mamiya 645 Pro TL, Part I

I have a number of medium format cameras, all but one being a German folder, and that one is the Yashica D TLR.  What I like about the folders is their compact size when folded up, their vintage qualities (not so vintage in the 1930s through 1950s I expect), and in particular their beautiful lenses.  The ones I have range in size from 6×4.5 with and without a mask, to 6×6, to 6×9.  All take 120 film.  The Yashica D takes 6×6 images and uses 120 film as well.  However, the drawback to all of these cameras is the limitations of their lenses in length and focusing capabilities – fixed and immutable as they say.  Yes, there are attachments, such as magnifying filters, but none of them can produce the variations available in a system allowing interchangeable lenses.

As a consequence, I have long been contemplating a modular medium format system, and ended up by chance or luck coming across a Mamiya 645 Pro TL with all the parts present in one package.  Numerous YouTubers have really excellent videos, from short to long, from cursory to extensive detail.  The video below shows the bits and pieces I have – it’s long, it’s detailed, but if you are really curious, follow along.  I learned the most about this camera from it, and have watched a number of times.

Truthfully, I just dove into the purchase.  I figured it would be best to get one all put together rather than trying to figure out what I needed.  Searching around online, I found a Mamiya from a reputable dealer with all the parts that I knew a modular system needed for a reasonable price:  A body, a lens, a film back, and a viewfinder.  It has a grip, too, instead of a crank to advance the film.  It’s big and heavy with everything attached – nearly 4 lbs to take a 6×4.5 image.  Is it worth it?  I’ll find out when my first roll of film comes back from the lab next week.

I spent about 3 days reading about each part and watching YouTube videos.  I gathered PDF manuals from around the net.  I fiddled and putzed.  I got frustrated and annoyed, too, as well as learned so much . . .

The fact is, there are a lot of parts available for the Mamiya 645 Pro TL.  It can be simple, it can be complex.  It can be small, it can be big.  Truthfully, I rather like small and light myself, and if I keep the critter (30 day return policy), I most likely will look for a waist-level finder and a crank to advance the film.  I read about the body, the viewfinder with its auto-exposure, the film cartridge, the grip, the lenses.  Everything has to be coordinated to work.

And when it doesn’t work?  Pull out that dark slide!

When I take it out, I have to keep it safe in a camera bag as I have no camera strap is available that works with it with the grip in place.  The Mamiya has proprietary lugs, and that is a nuisance.  With a crank to advance the film, Op-Tech (my favorite camera strap) Style B attachments work, but when the grip is attached, they do not.

So, what do I think about it so far?  I rather like it.  The grip has that wonderful noise only a grip or automatic film advance in a camera can achieve – a click, a whir – just like an exhaust in a classic sports car!  That aside, I really like medium format film photography the more I do it.  Those negatives are beautiful.  Scanning and editing them is not too big of a deal, and the addition of Negative Lab Pro makes them even better.  I hope at some point to develop them using the Lab-Box, both black and white and color.

There are definite aesthetics in the images produced from this camera.  You can find them on Flickr.  You can also learn a bit about people’s reactions to the camera itself.  I always like Max’s commentaries on various cameras found on his channel Analog Insights.  He doesn’t go into how to use a camera, but the experience of using a camera.  See what you think.

So there we are. Once I get the film back from the lab, I will have a better idea if the camera is worth keeping as I will know if the bits and pieces all work. It has automatic exposure with aperture priority using the viewfinder. I can switch to totally manual techniques. The film back advance works well from the sound of it. The lens is bright and clear, as is the viewfinder. The shutter curtain is not wrinkled. All seems fine mechanically and electronically – but the film will have the final say.

Yeah, another roll or two will be worth running through the Mamiya.