First Practice in Sashiko

Awhile ago I decided to try my hand at sashiko, a traditional Japanese embroidery used for both practical and artistic reasons. Originally it was used to quilt layers of cloth together, old clothes to make new ones. Patches were pieced onto already patched clothing. Today it is hard to imagine that clothing had to last generations, but this art form was for practical reasons. The artistry of it – the creation of patterns – shows the fact that, despite hardship and poverty, the need to express and create, to add beauty to the world, exists at many levels.

Today, we don’t patch clothes like that, to make them last for ages. We don’t need to for the most part. Instead, we call it “visible mending” and use it to enhance our clothes or show off our skills. It is a tradition that is now becoming a fabric art, much as quilting. However, these stitches are made by hand (although Babylock does have a machine which mimics hand sewn sashiko) and add character to jeans or old denim, or are used as a way to enhance something, such a purse or towel or whatever.

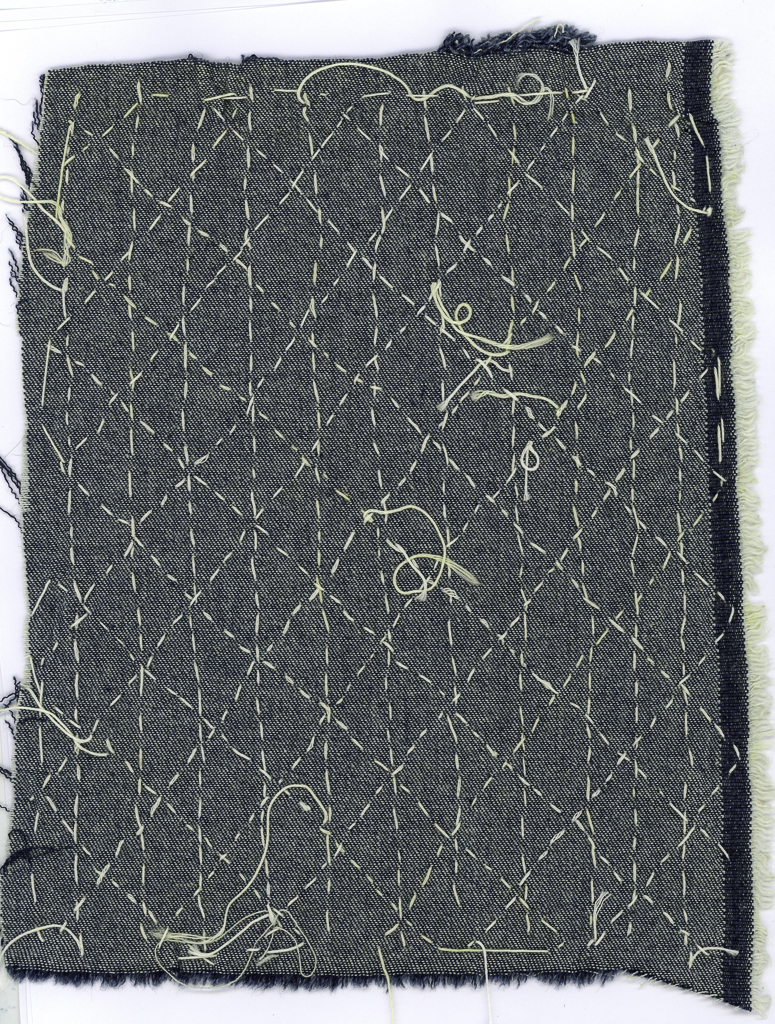
I bought sashiko thread, needles, a palm thimble specific for sashiko, and from there watched a few videos. I have some denim that I am cutting up to practice on. My stitches are uneven and I am trying to find a rhythm first in creating a running stitch. It is far harder than you think. So, first, the rhythm and comfort with the stitches.
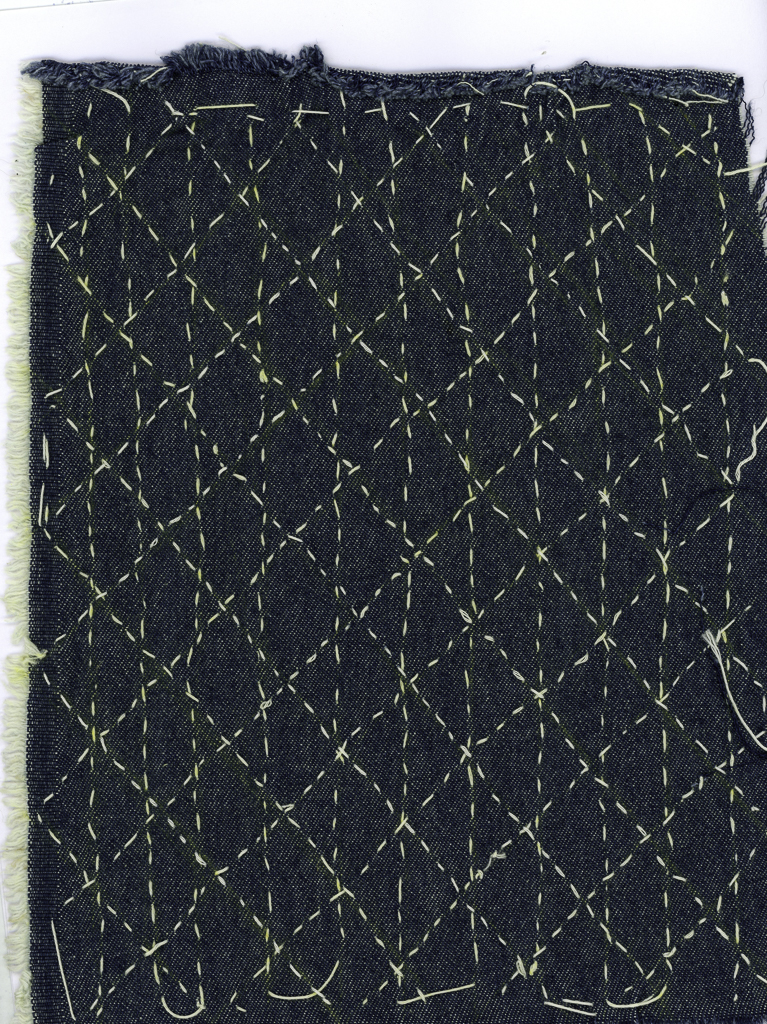
Above is my first attempt. I just drew straight lines by hand, but later got out my pica stick and used it. Loops are left so that the fabric does not pucker as the rows are stitched, and as each row is done, I attempted to straighten and flatten out the fabric – a running stitch is great for gathering!
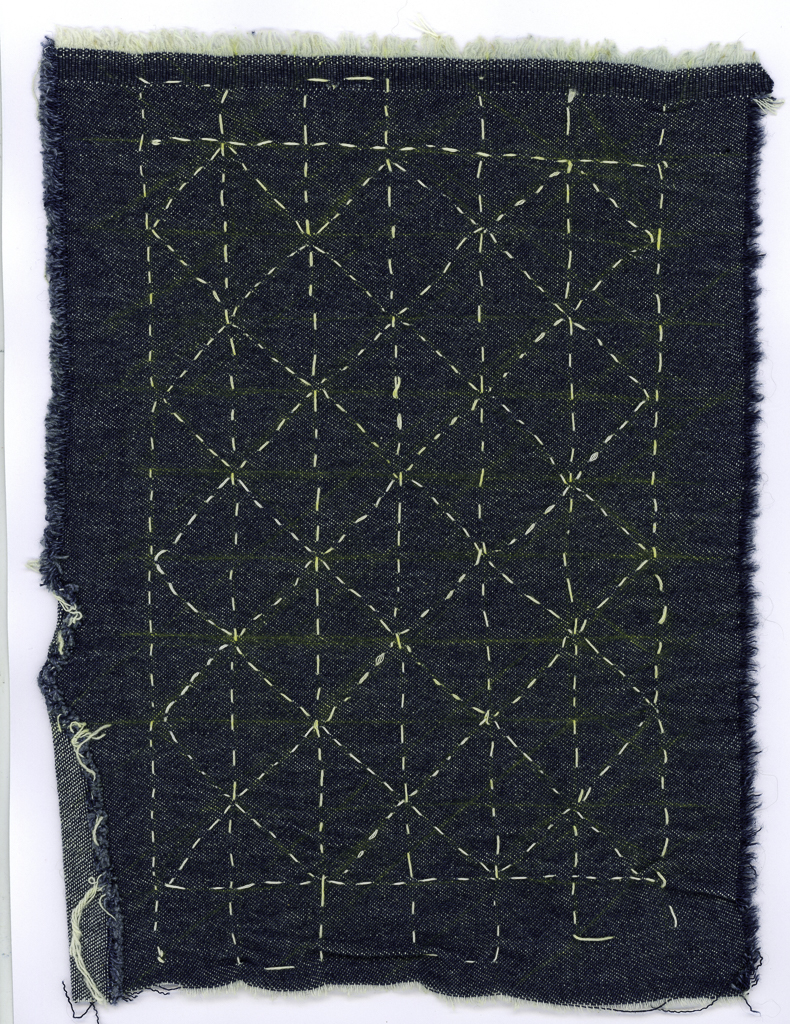
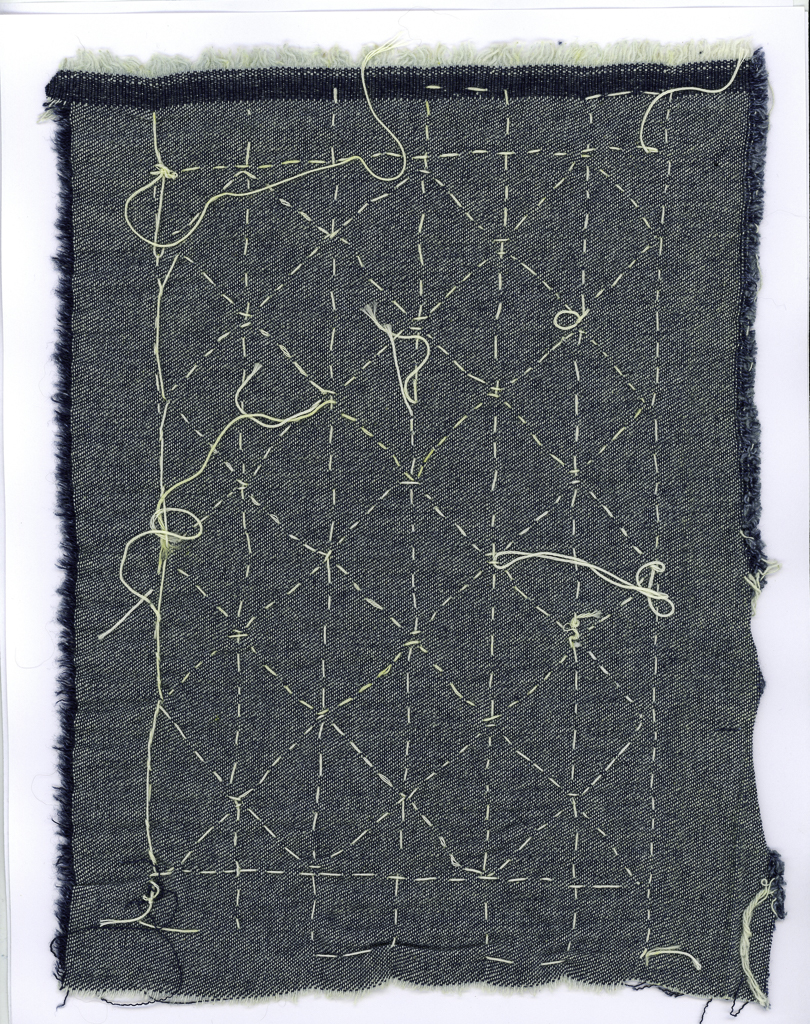
Above is my second attempt. More running stitches, but I tried different ways to begin and end rows. The loops prove to be important is not getting puckers – I got rid of a few with a hot iron, but you can see at the bottom a pucker across the left side.

Securing stitches is important. I tried different ways – many involve stitching over other stitches. I am still exploring that element – I want to figure things out on my own!
Above is the reverse of each of these samplers. The one on the left is the first; the one on the right is the second. The second one is neater as i carefully used a Chaco chalk pen to mark lines as I moved along.

Currently I intend to stick to straight lines and figure out how to connect them in different ways to make patterns. Tradition holds many patterns to be explored – many straight, geometric, circular, a combination of both, and many can become pictorial if you desire. Not all are done in a running stitch is my guess as I have seen some designs with completely solid lines of thread – backstitch or a running stitch then redone in between and in the reverse direction with another running stitch?

Mysteries to be explored!
Colorado Cactus Flowers

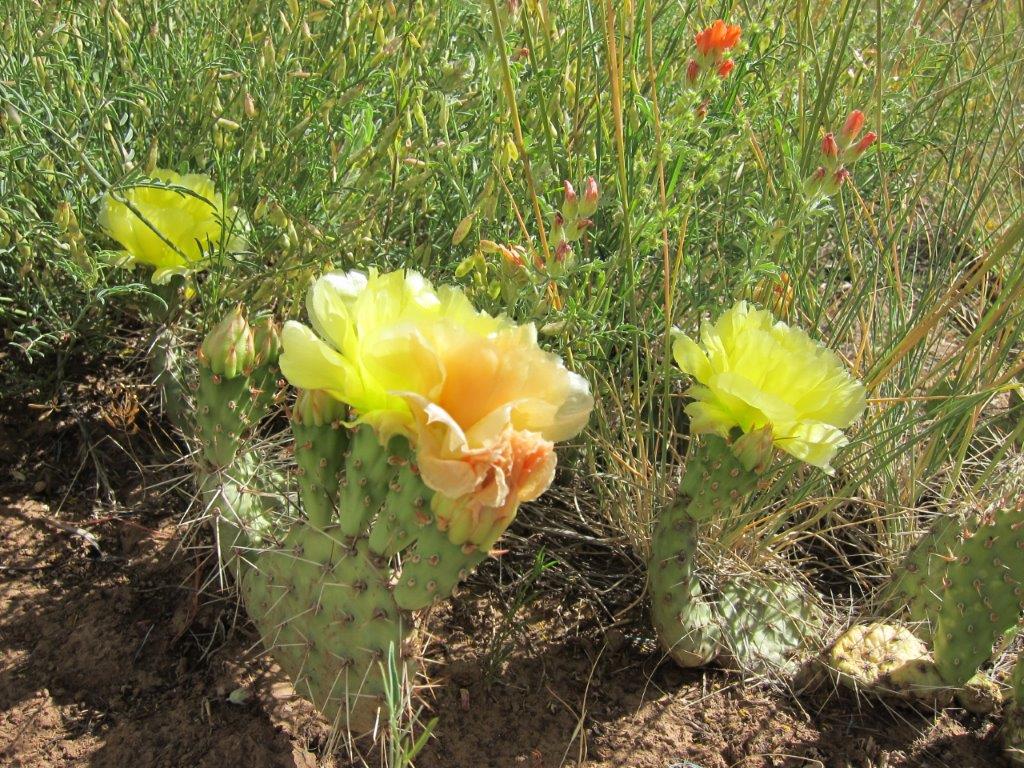
My sister lives outside Durango, CO, on 40 acres of high desert. Scrub oak, cacti, deer, and all sorts of things roam about. Today she sent some photos of the flowers in bloom around her place. Some prickly pears were in bloom, so here is the photo she took.

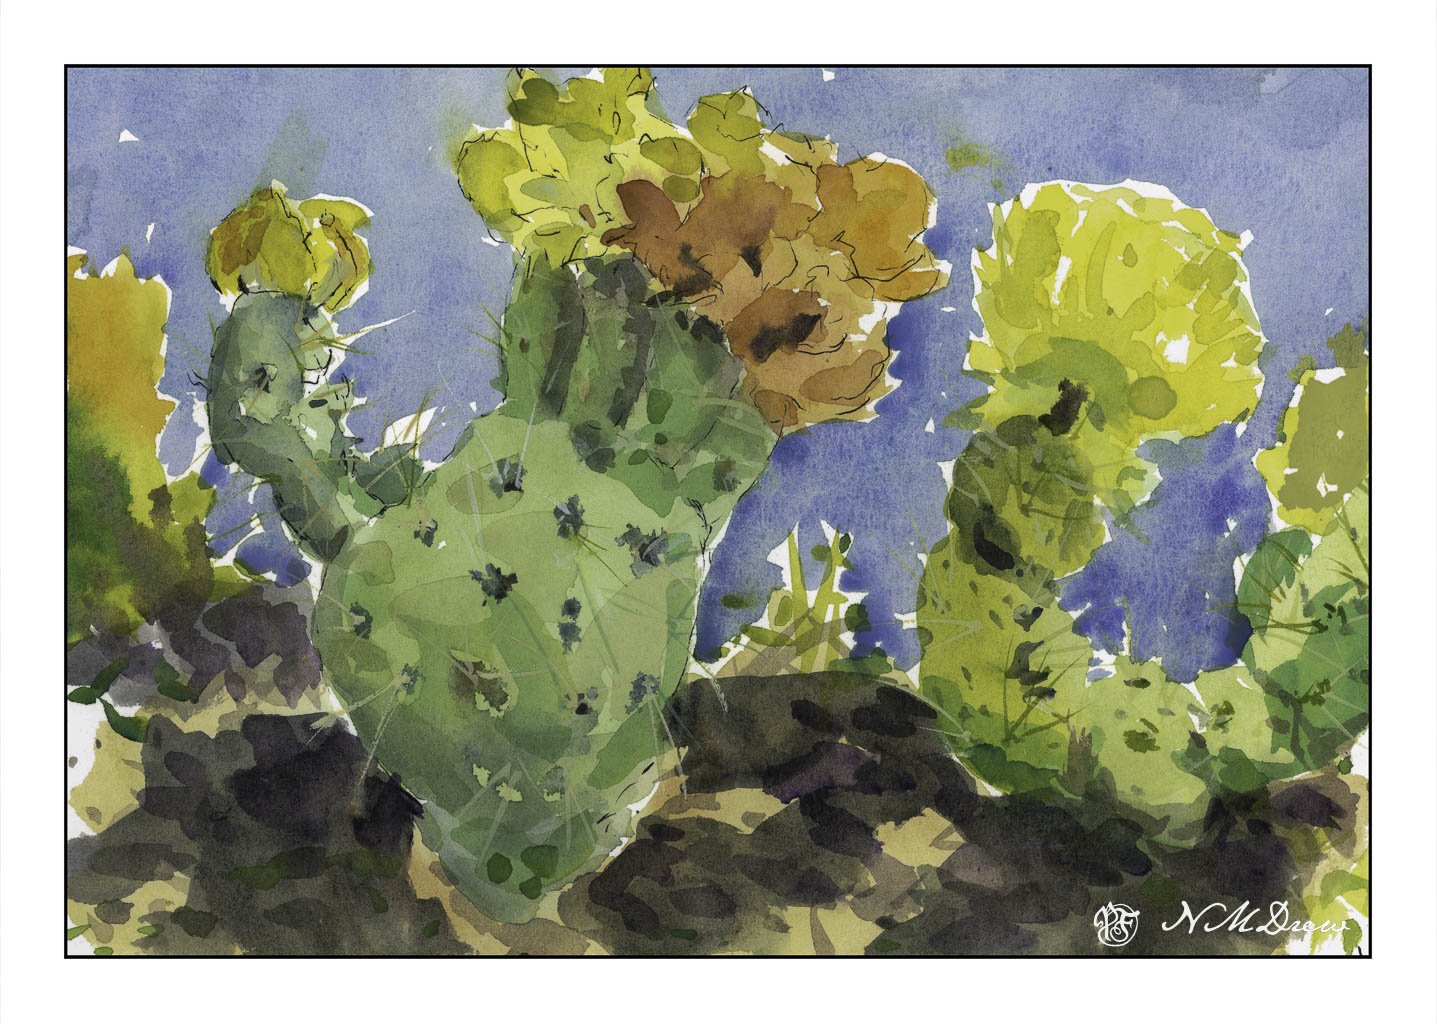
The plants in her area are similar to the ones here in California where we live. There are hillsides covered with prickly pear cacti out here, and as our climate is warmer, they bloom earlier than in Colorado at 8000 feet. This is my painting of her photo.

I outlined the big cactus plant on the left with ink and then painted it. The others I did with direct watercolor. Combining outlines with free form painting is rather fun, and a good way to continue practicing. I think the outlines made for a more successful cactus but not having outlines also makes it very important to look at shape and value. Practicing both in the same painting is rather an interesting process.

Dappled Light

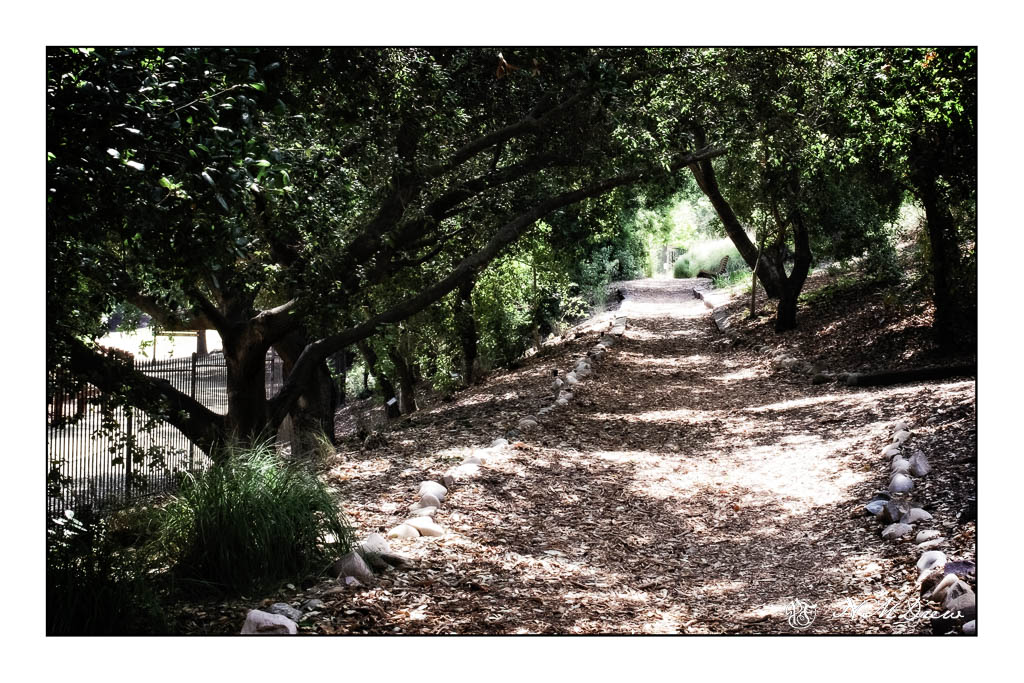
Yesterday I went to the local botanical garden, Smudge on leash, Fuji X100V in hand. Smudge is really good about stopping and sitting and waiting for me as we take a sniffy walk around for her and a looky-lou walk for me. It is a stop and start proposition.

As any photographer know, dappled light is hell to try to catch, especially if there are flowers under the foliage, a bit of wind, and so on. The cameras just cannot do it justice and our eyes see more than the camera in many instances, digital or film. But, I was determined to find something to both photograph and then paint.

I doctored it a bit in post as I wanted fairly strong contrast and warm / cool balance. This one pleased me. It is right at the gateway to the botanical garden and the path zooms off uphill, which we see ahead and to the right, and downhill, which is behind me. I always enjoy this section as I can choose my adventure.

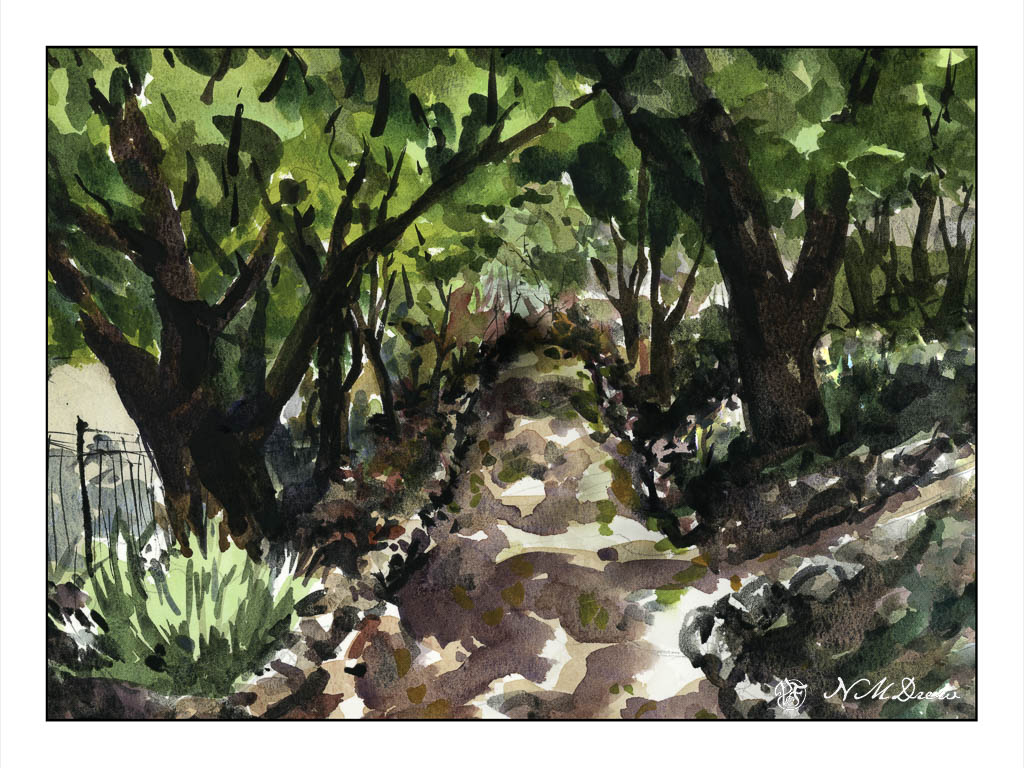
I tried to keep this painting fairly close to both the values and perspective of the photo, but as always what I see and want is not necessarily what I paint. My sense of depth is not good and I often find it happens when I paint. I know a few tricks, but that is not always something I “get” – oh, well. Nonetheless, I rather like the dappled light I did get even if the end of the path ahead is rather wonky.

This took me a bit of time to do, and I did it in my sketchbook. Sort of a “serious” study, but because it was a sketchbook and I did it at my desk I didn’t take it too seriously. Cramped and messy space to work in but it did work out fairly well. I wonder if this ability to work in limited areas, such as my desk rather than my drafting table, will also help when I decide to go plein aire . . . .

More Podocarpus Trees

I am trying out different ways to paint plein air in my back yard, which is nothing of any beauty being just dirt and podocarpus trees (also called plum pines). It is going to cost an arm and a leg and a first born child to get it done the way I want, but such is life. In the meantime, use it to my advantage – like lots of container plants!

Anyway, I set up a plein air easel on a tripod I just bought for $20.00 and it did a good job. I clipped my large sketch book to the easel and put a lightweight travel watercolor palette on it. I sat on my travel stool. These details are for a future post.

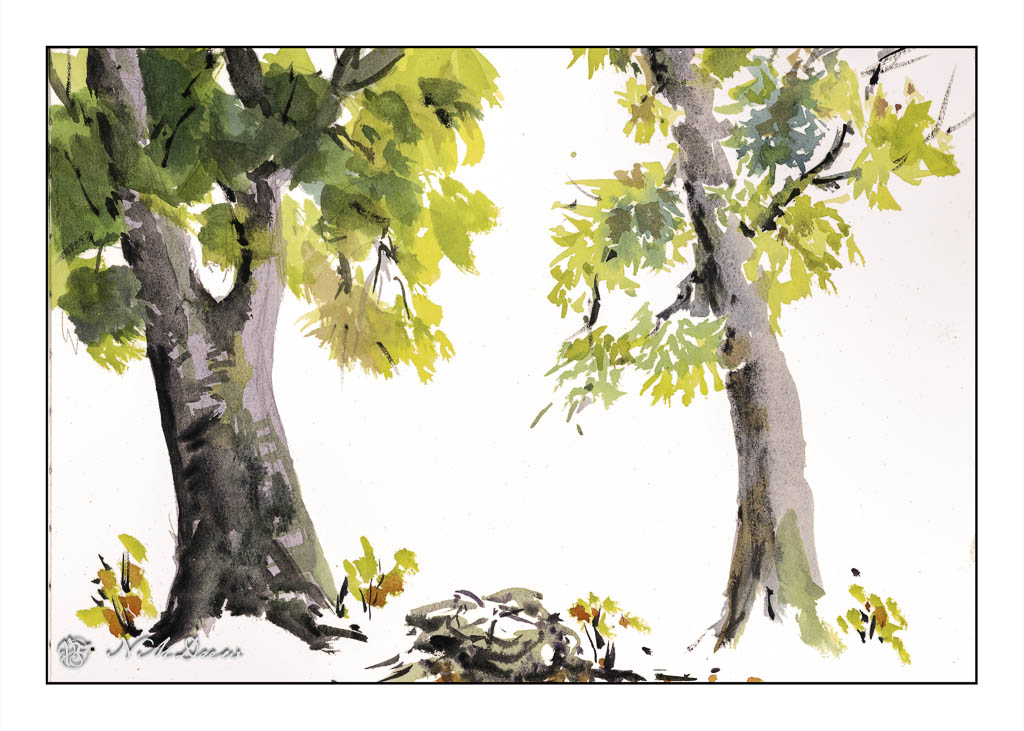
I painted one podocarpus tree with outlines and more traditional ways of applying color in layers; that is the one on the left. The one on the right is direct watercolor. In the middle is a stump in direct watercolor and a few sketchy little camphor tree shoots from the root system still in the dirt.

I painted both trees to practice both ways of painting as well as to check out the plein air set up. With the tripod low to the ground, I could put water and such on the ground next to me. The plein air palette and sketchbook were propped up on the easel attached to the camera tripod. I sat on my stool. Everything was fairly comfortable, within reach and easy to get. The height was good. I think I might not want to sit down for a long time while painting, but it is something I want to experience.

So, though the painting subject is podocarpus trees, the real focus for painting was the plein air set up. It worked pretty good. I have another easel to use, and I think I am beginning to get a nice set up for my future career as an old lady painter in the countryside or patio, depending . . . .