The Days of Inktober 2018

October is “Inktober” to many artists – a time when, around the world, artists focus on ink drawing, from a suggested list of words, or just because you can.  Drawing in ink can be done spontaneously, over a preliminary drawing, with pen or brush, with black or colored inks.  Ink is ink.  And the experience is great.

I’ve been focusing on the list, which you can see below.

When you think about it, it can be really hard to be inspired by the topics.  How do you depict “precious”?  “Chicken” can be pretty obvious – until you pursue the more obscure meanings of “chicken” – as in cowardly or yellow.

Below are my Inktober drawings through the 11th day.   For the last one, the mushrooms just have to have that glorious red – so watercolors were added.  And, to be honest, I needed something beyond the black and grey and whites of ink.

I hope you enjoy them!

Boxy Tote, Part II – Completed!

Last month I started the “Boxy Tote” at a local quilt shop.  This is a very complex project, encompassing fusible foam, fusible batting, stays (the things that give the top of the tote its “snap” when opened and shut), pockets, quilting, and sew on (to excuse the bad joke).  It took close to 30 hours to complete!  You can read about it here.

Below is a picture of the bag, inside and outside.  The top side is the lining, which is quilted and has pockets in it.

And finally, here is the tote.  Look at the shape of the top of the bag – flat with tapering sides.  This is where the stays come in.  They are actually quite handy.  The zipper also is there, a plastic jacket zipper to which, on either end, tabs have been added.  Without the tabs, the bag would be really raw.

As I have said, I probably would have thrown the whole project out if I had not taken a class.  Others in the class have said the same thing.  While the bag is great, the instructions left a lot to be desired.  I rather doubt I will make this again, but the experience was so worthwhile.  I learned about fusible foam and batting, neither of which I have ever used before.  Inserting the zipper and stays were also valuable experiences.  Having a room full of fun women (we had a lot of childbirth jokes going on, but I won’t repeat them here!) and an excellent instructor was worth it all.  I’ll be doing more classes, I know, from bags to maybe some quilting, just to refine some sewing techniques if nothing else, as I do not see myself as ever being interested in making quilts – quilted clothing, yes, but not quilts.  But, ya never know!

The Boxy Tote, Part I

I have spent the last two Saturdays sewing up a monstrously complex – and decidedly fun but crazy-making – project.  If it weren’t for Betsy, the able and skilled teacher, I probably would have stopped midway through it.  Besides spending 2 six-hour Saturdays in a classroom at Quilty Pleasures, I also spent about 15 hours quilting the pieces.  Oy oy vay!

This is my first sewing class since I left middle school a century ago.  Then, it was called Home Economics and we learned to sew by making aprons and A-line skirts.  Very simple and basic.  Since then, I have sewn oodles of stuff, but nothing like this.

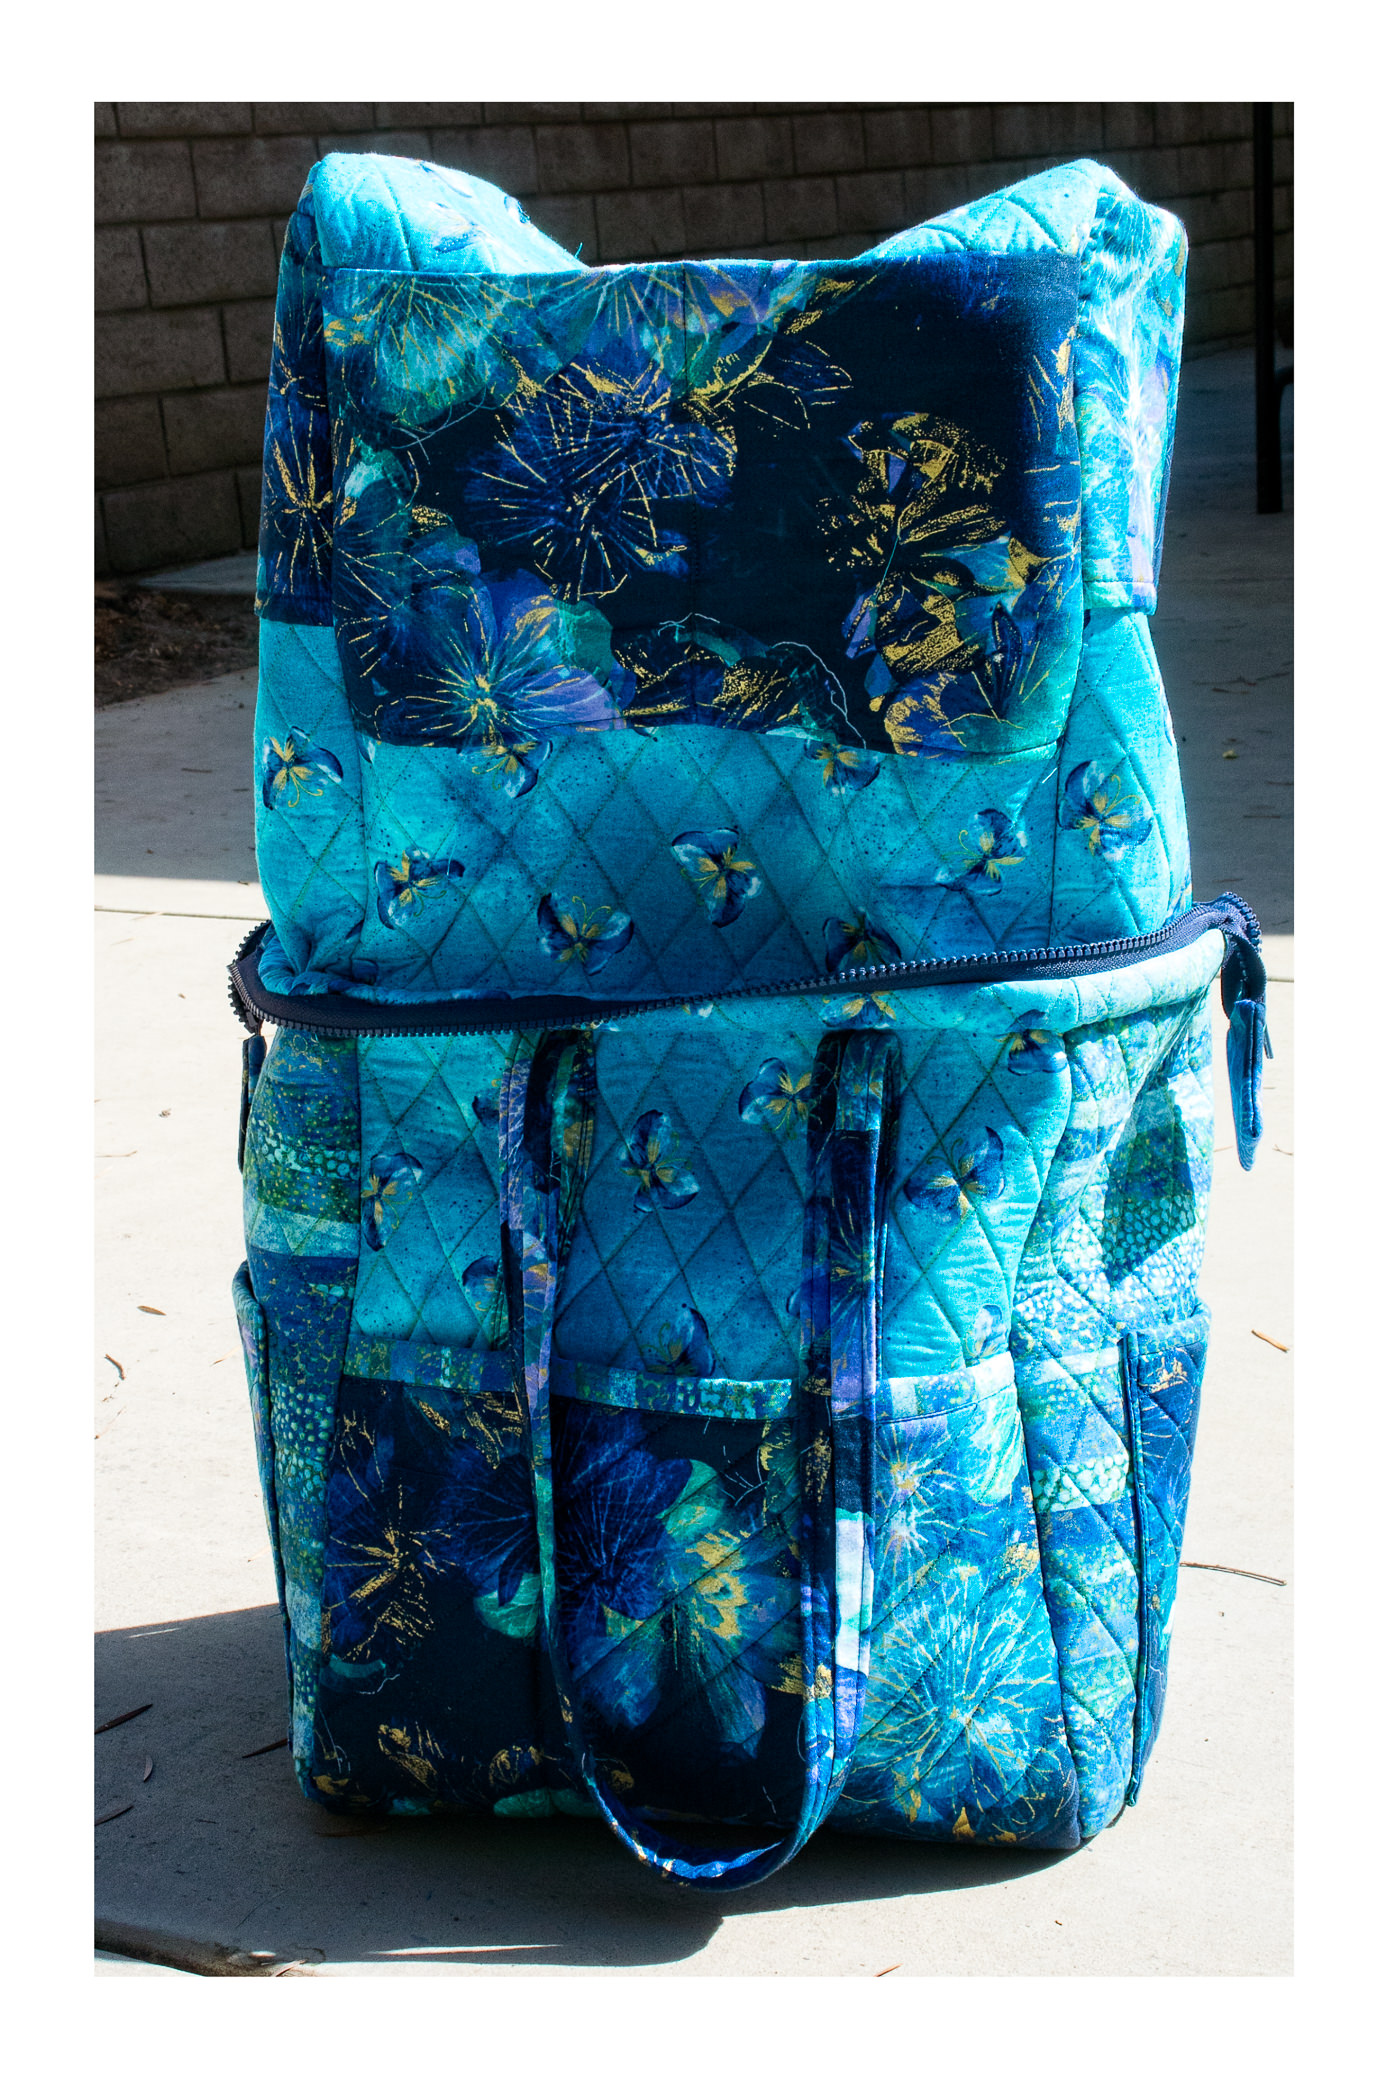
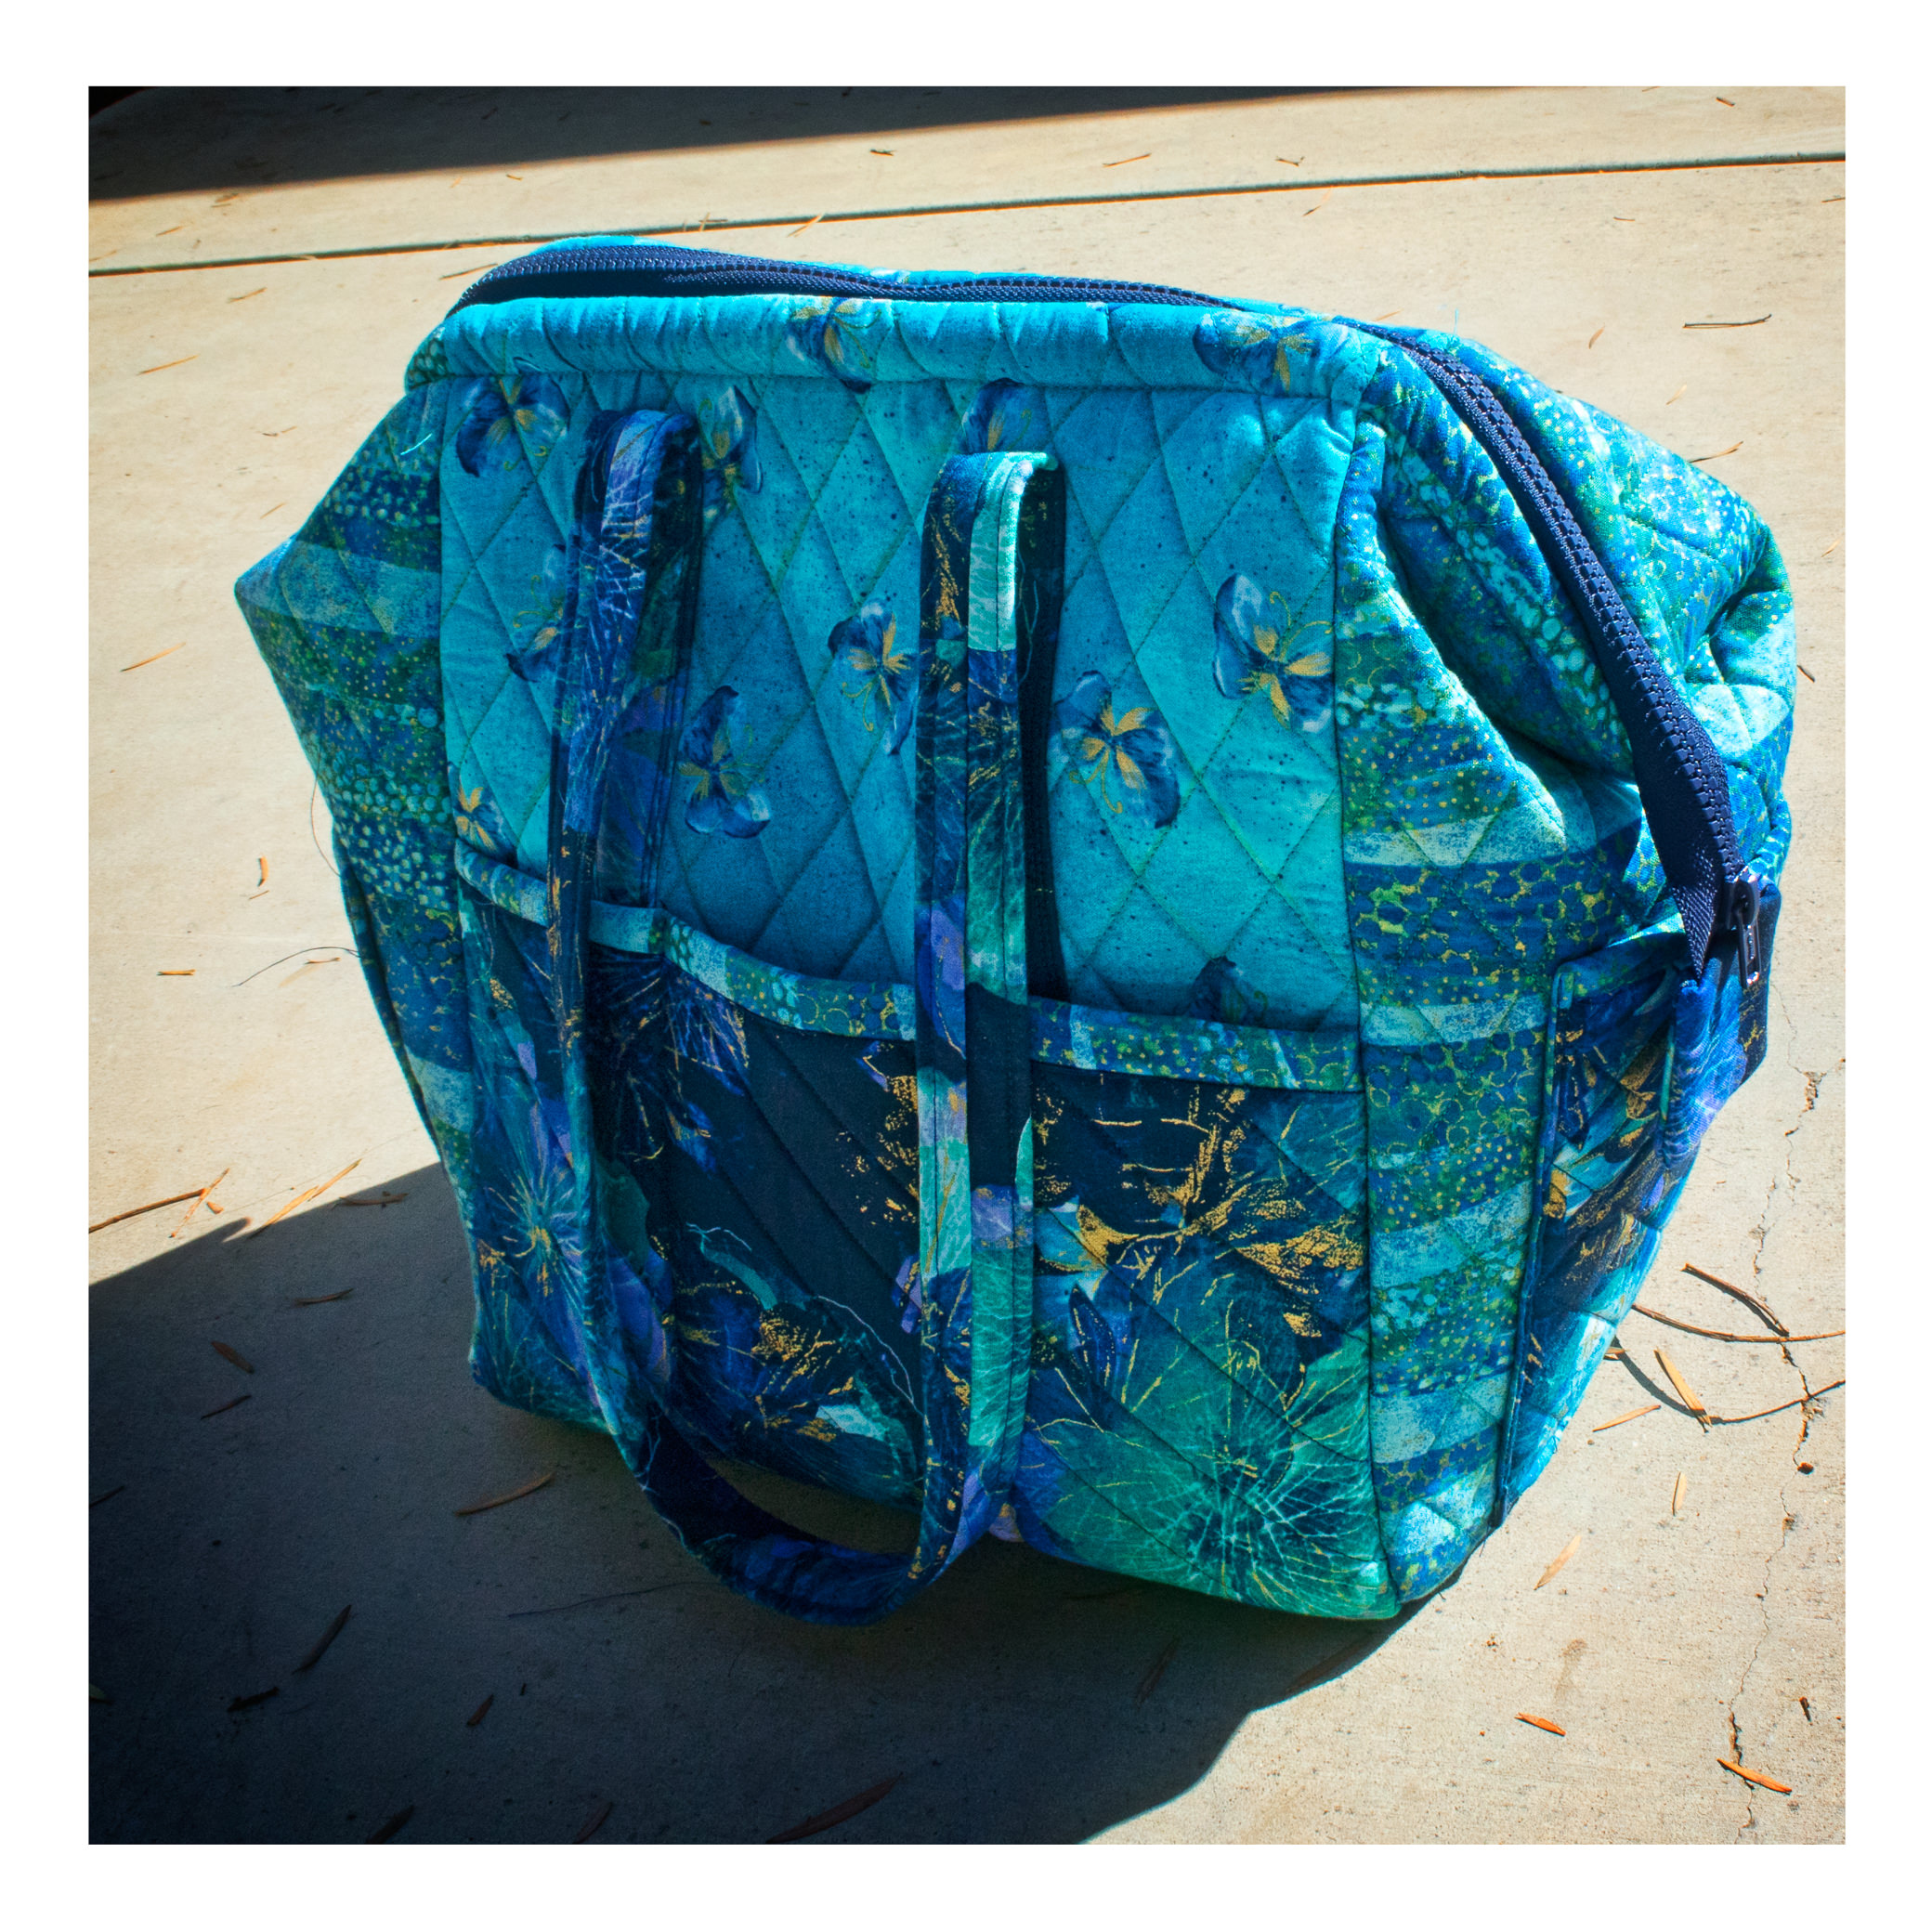
The “Boxy Tote” is designed by Penny Sturges from Quilts Illustrated.  It’s rather sophisticated and well-designed, but the directions for many people were confusing.  This is where having an instructor who had it figured out was great.  The fun thing is, for me, there are a lot of new sewing gizmos and whatevers that I haven’t used, like fusible foam and fusible batting.  A zipper closes the bag, and arms or something, which you can see in the picture below, are used to pop it open.  There is also a firm flooring or bottom for the base, to keep the shape of the bag, as well as handles which, instead of batting, our instructor used webbing for the insides.

I am going back on this Thursday to finish it up.  Betsy is being kind enough to help us stragglers along, on her own time.  I’ll lug my machine and supplies over there and have a good time altogether.  I’ll probably buy fabric, too, as there is another bag class I’ll (hopefully) be attending in November.  Time to make Christmas presents, you know!

So, here are photos of the bag in different degrees of construction.   Maybe by Friday I’ll have it all together and ready for Part II.


Me & My Cookie Scoop: Gluten-Free Almond Butter Cookies

I don’t like peanut butter.  I’m off gluten.  I love cookies.

It’s a hot, Sunday afternoon, and I am lolling around, overheated and sleepy.

What is a girl to do?

Well, one of the best – really the best gluten-free chocolate chip cookies can be found at My Gluten Free Kitchen – peanut butter cookies at My Gluten Free Kitchen so I went there in search of some kind of nut butter cookies, but finding only peanut butter, used the recipe as a basis for my own.  The major differences are different gluten-free flour and use of almond butter and slivered almonds instead of peanut butter and peanut butter baking chips.  (Ugh!  You just don’t know how much I dislike peanut butter!!)  But, these are pretty good, if I do not-so-modestly say so myself.

Gluten-Free Almond Butter Cookies

1.5 c. Bob’s Red Mill 1-for-1 Gluten-Free Flour
1/2 t. baking powder
3/4 t. baking soda
1/4 t. salt
1/2 c. softened, unsalted butter
1 c. almond butter (unsalted from Trader Joe’s)
3/4 c. white sugar
1/2 c. dark brown sugar
1 egg
1 T. cream / half-and-half
1 t. vanilla extract
1 c. slivered almonds

Preheat oven to 350F. Beat together butter, almond butter, and sugars till creamy. Beat in egg and vanilla until fluffy. Add the flour, soda, salt, powder, and beat until well blended. Stir in slivered almonds

Refrigerate dough for at least 30 minutes. Gluten-free baking – at least cookies – seem to do better with chilled dough. Use a cookie scoop or a couple of teaspoons to make your cookies.

If you like, roll your cookies in granulated sugar before baking.

Bake for 8-10 minutes. Be sure to make test cookies! Let cool a few minutes on cookie sheet, then remove to wire rack to cool.

When done – devour!!


Little Rags

About a month ago I was browsing through different food blogs and came across what seemed to me to be a perfect dish.  Not Chinese Egg Drop Soup, which is thickened with cornstarch and, to me, rather unappealing.  Not Greek Lemon Egg Soup, which I love, but didn’t have the taste for at lunch – though I do love lemon, and have lemons on the counter top.  What I wanted was something simple and quick and made with ingredients on hand.

Enter Stracciatelle – “little rags” in Italian.  A simple soup that takes about 5 minutes if you have stock, some greens or parsley, an egg, and some Romano or Parmesan cheese.

Besides being easy to make, it is damned fun to say!  The Italian language just lends itself to enTHUsiasm!

Stracciatelle

I made this for myself at lunch – just multiply the amounts for each person if it going to be main meal, or maybe a little less for an appetizer.

1 – 1.5 c. chicken broth
handful of spinach, or some parsley, or some basil
1 egg
2-3 T. grated Romano cheese

Beat together the egg and cheese. Set aside. Put broth in sauce pan, bring to a simmer, dump in the green vegetables. Stir. As you stir, pour in the egg-cheese mixture. Cook until the egg is done and looks like its namesake – little rags.

Serve with fresh pepper and perhaps, if you want, a bit extra cheese.