A Good Day to Dye

Dyeing Supplies

I have been feeling really all over the map of late – partly because the puppies do require a lot of work, such as walking, training, feeding, kissing, disciplining.  They are coming along fine.  Me, I am in need of sleep.  And a change of pace.

Today is overcast along the California central coast.  We even got a few drops of rain.  I nearly fainted.  The puppies, too, were shocked, because I don’t think they knew what it was.  And because it was dreary, what better way to pass some time than dyeing some yarn?

I have powdered dyes which I use; however, I need more colors in my palette as all are toward violets and teals.  There is a black and a lime green and a red, but really, not enough for a bigger variety of color choice.  I think I will order some new colors soon.

Anyway, I dug out my supplies – a couple of boxes of stuff dedicated to dyeing.  Nothing that is eaten out of is used in the process.  Pots, wooden spoons, steamers, pitchers, whatever.  I had some Bare Hare, an angora-merino blend from KnitPicks, along with their merino-silk blend.  I also had two balls of Lion’s “Sockease,” which is 75% wool and 25% nylon.
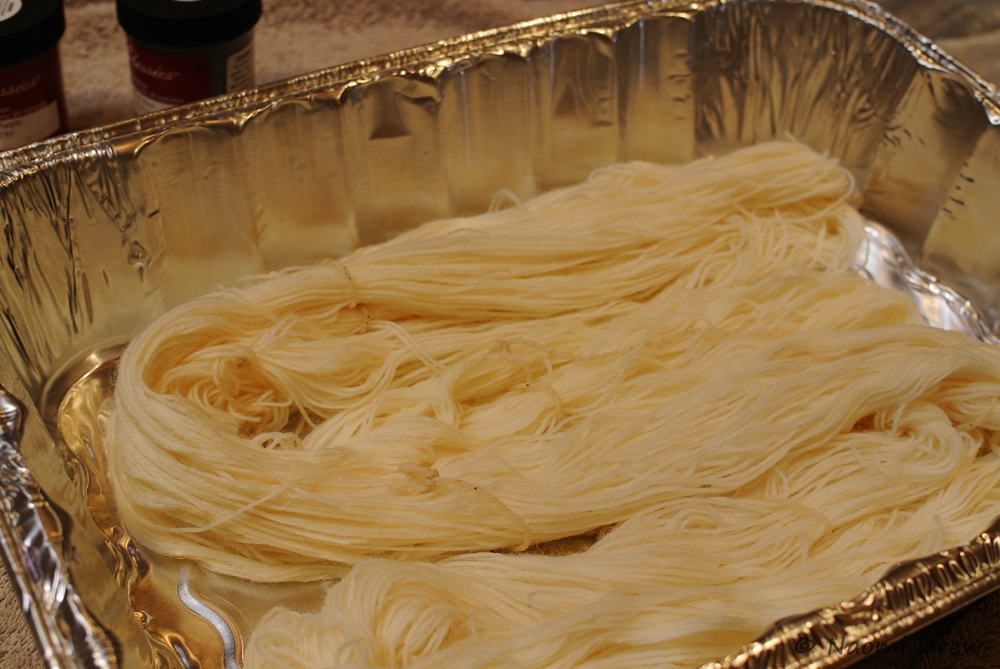
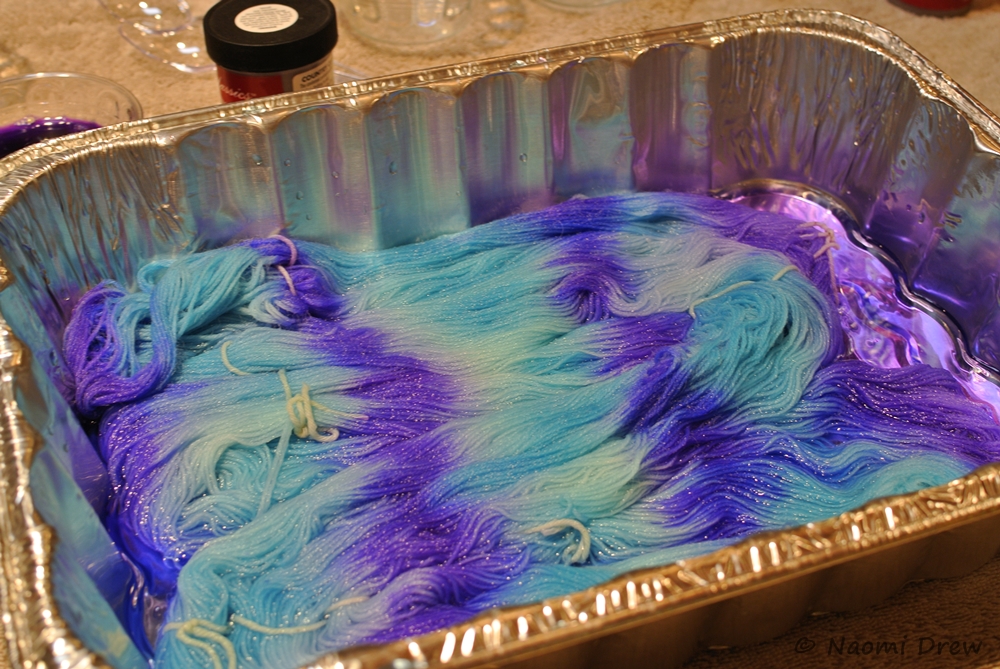
Yarn in Aluminum Pan

Stripes

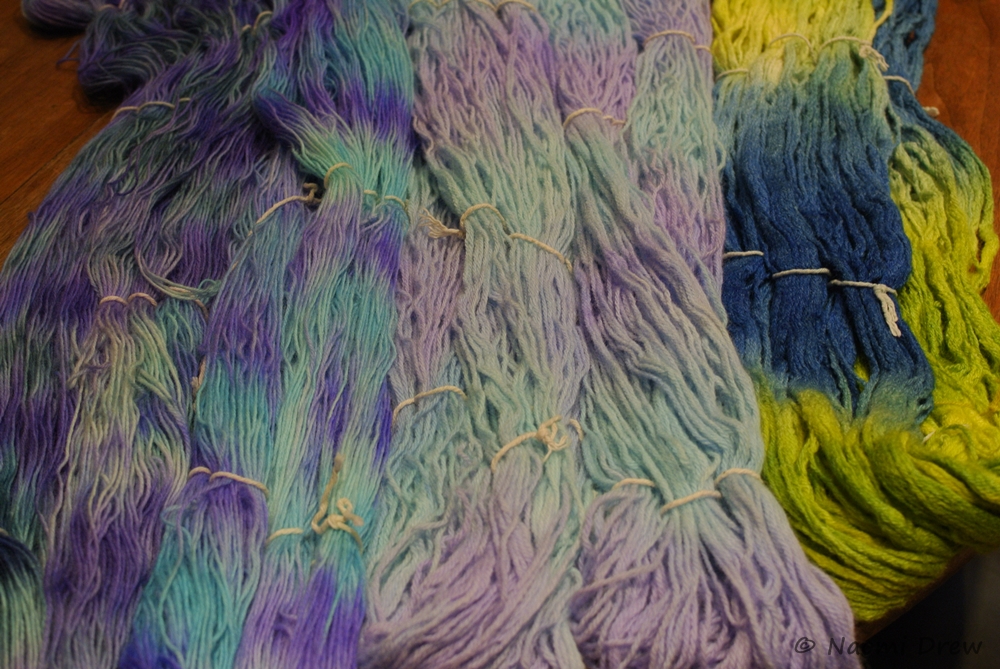
The process of dyeing this yarn was quite simple.  In little plastic bowls, some dye powder, add boiling water, stir, and use a 60cc syringe to deliver the colors in stripes.  I poured some hot water between the stripes and patted the yarn to blend the colors, wearing, of course, my stylish blue nitrile gloves.
_DSC5188

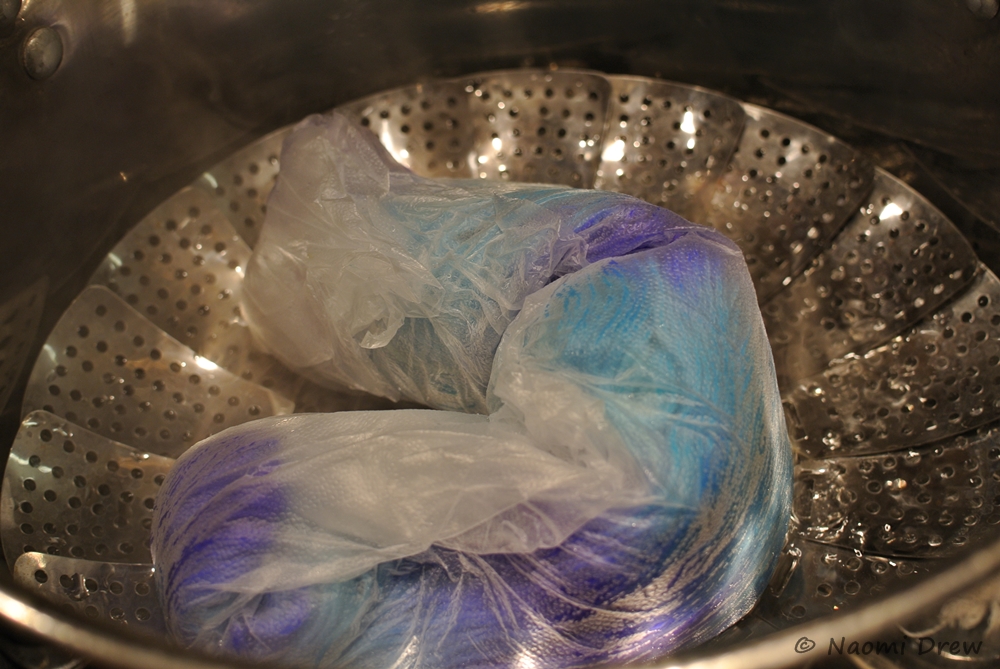
I wrapped the skeins up in plastic wrap, placed them on vegetable steamers in the boiling pots of water (water is just above the level of the steamer), and let them go to town for 30 minutes.  Then, dump onto a towel, take apart the plastic wrap, and dump the yarns into a water-vinegar rinse to cool and set the dye.  Lots of dumping.

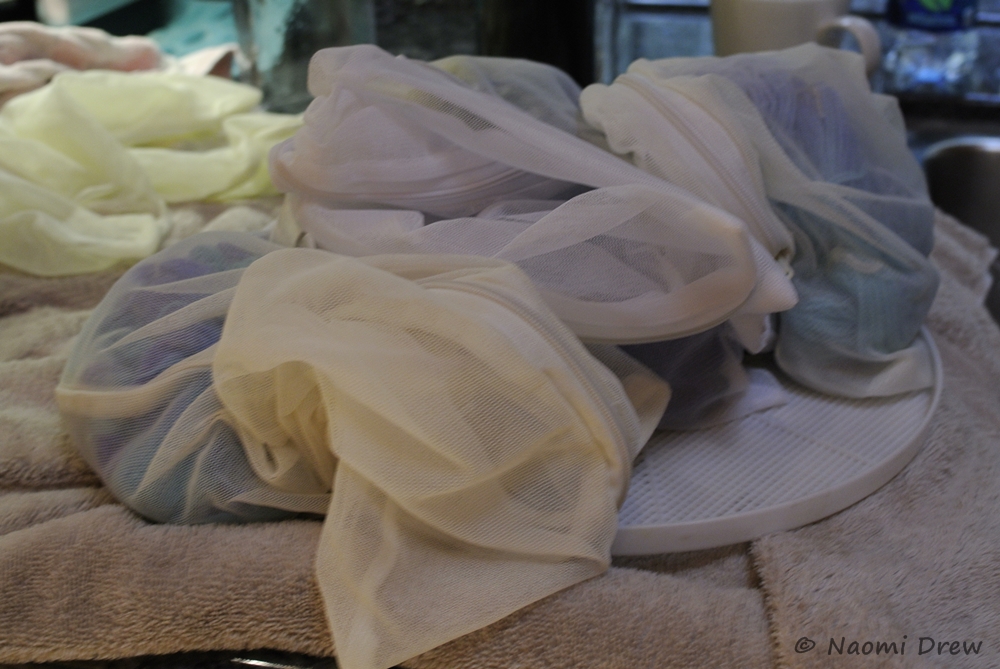
Once that is done, put them into cool, soapy water, wash, and rinse.  You can spin them out in your washing machine, but place the skeins in lingerie bags.
_DSC5199

The picture below is really bad. All the colors are actually fairly nice. And mostly violets and turquoises . . .
_DSC5204

Puppies!

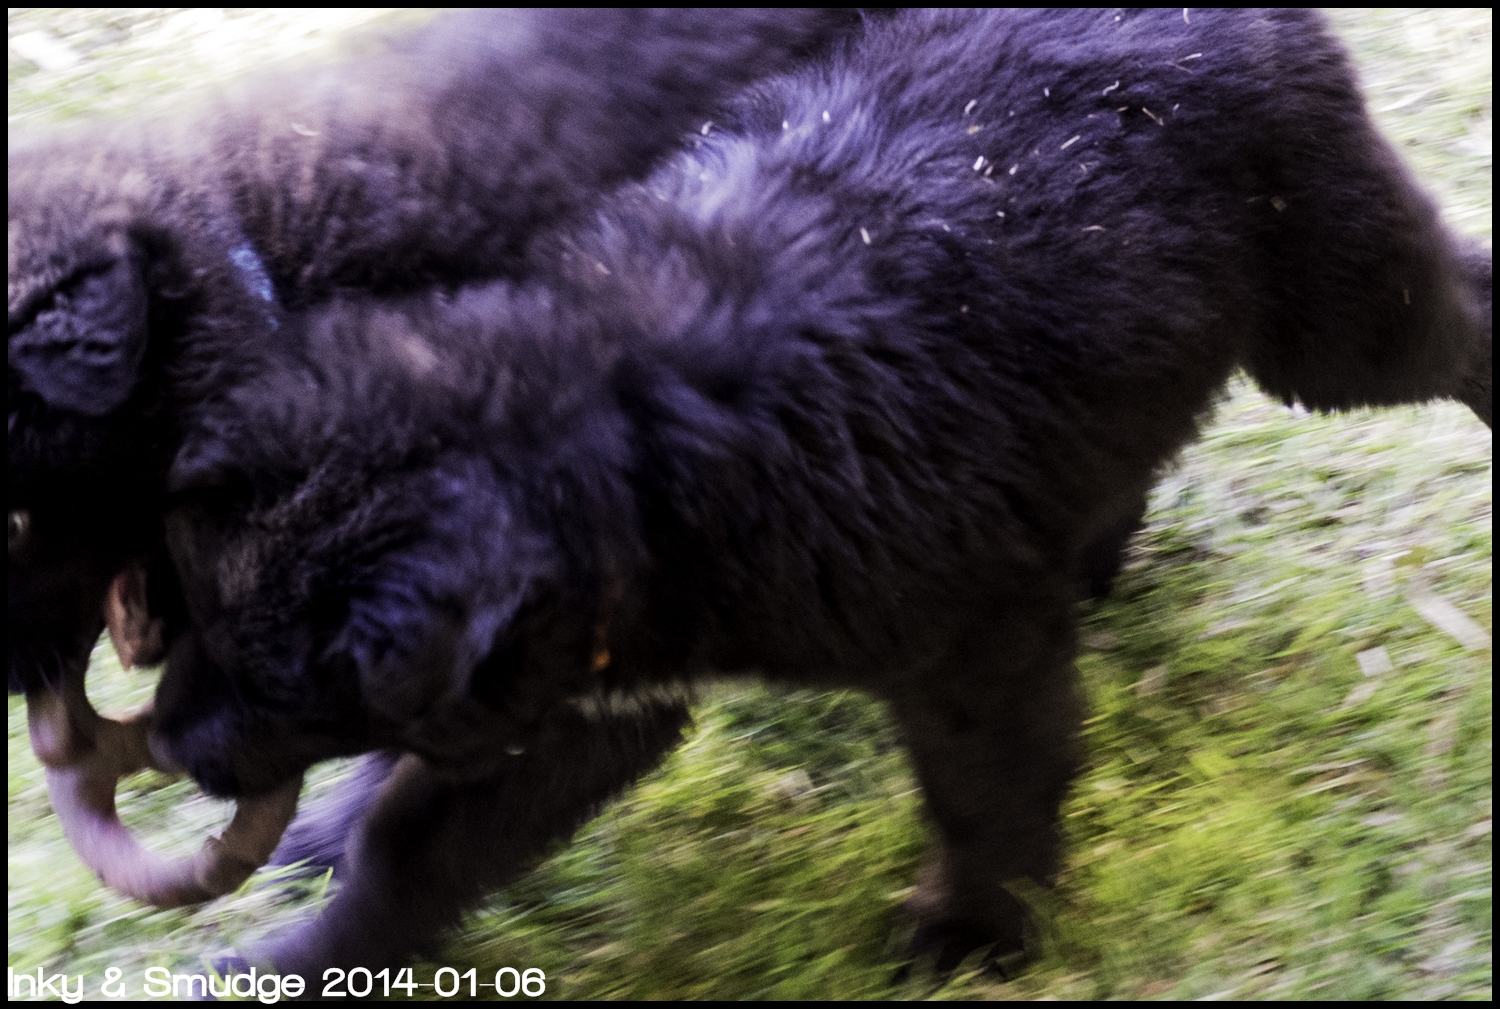
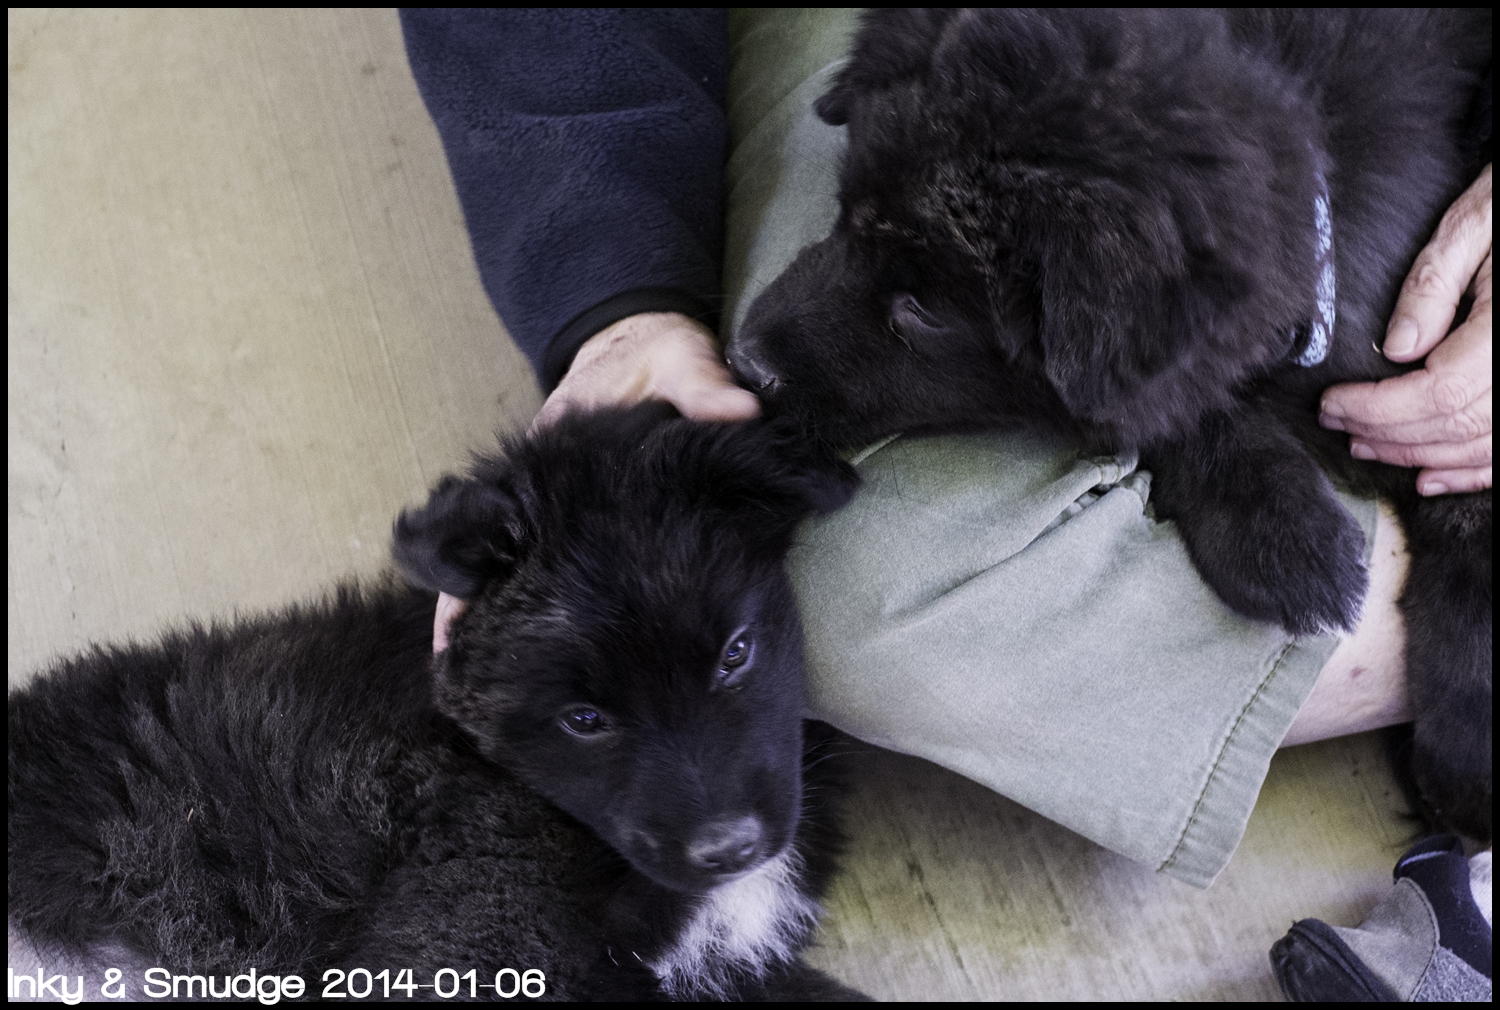
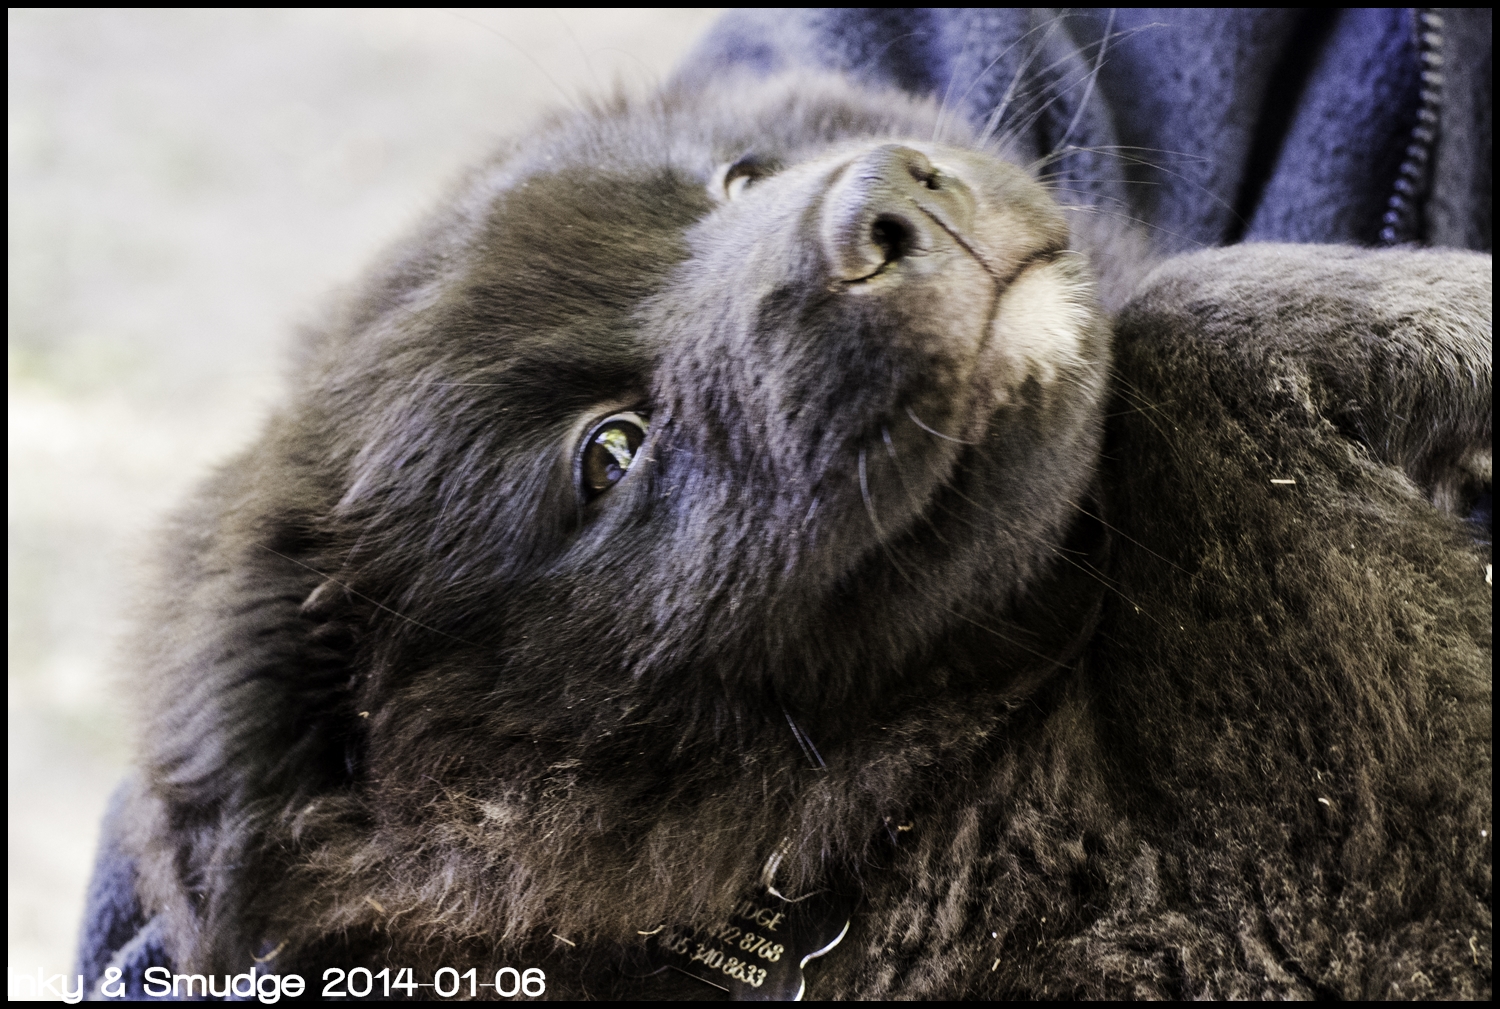
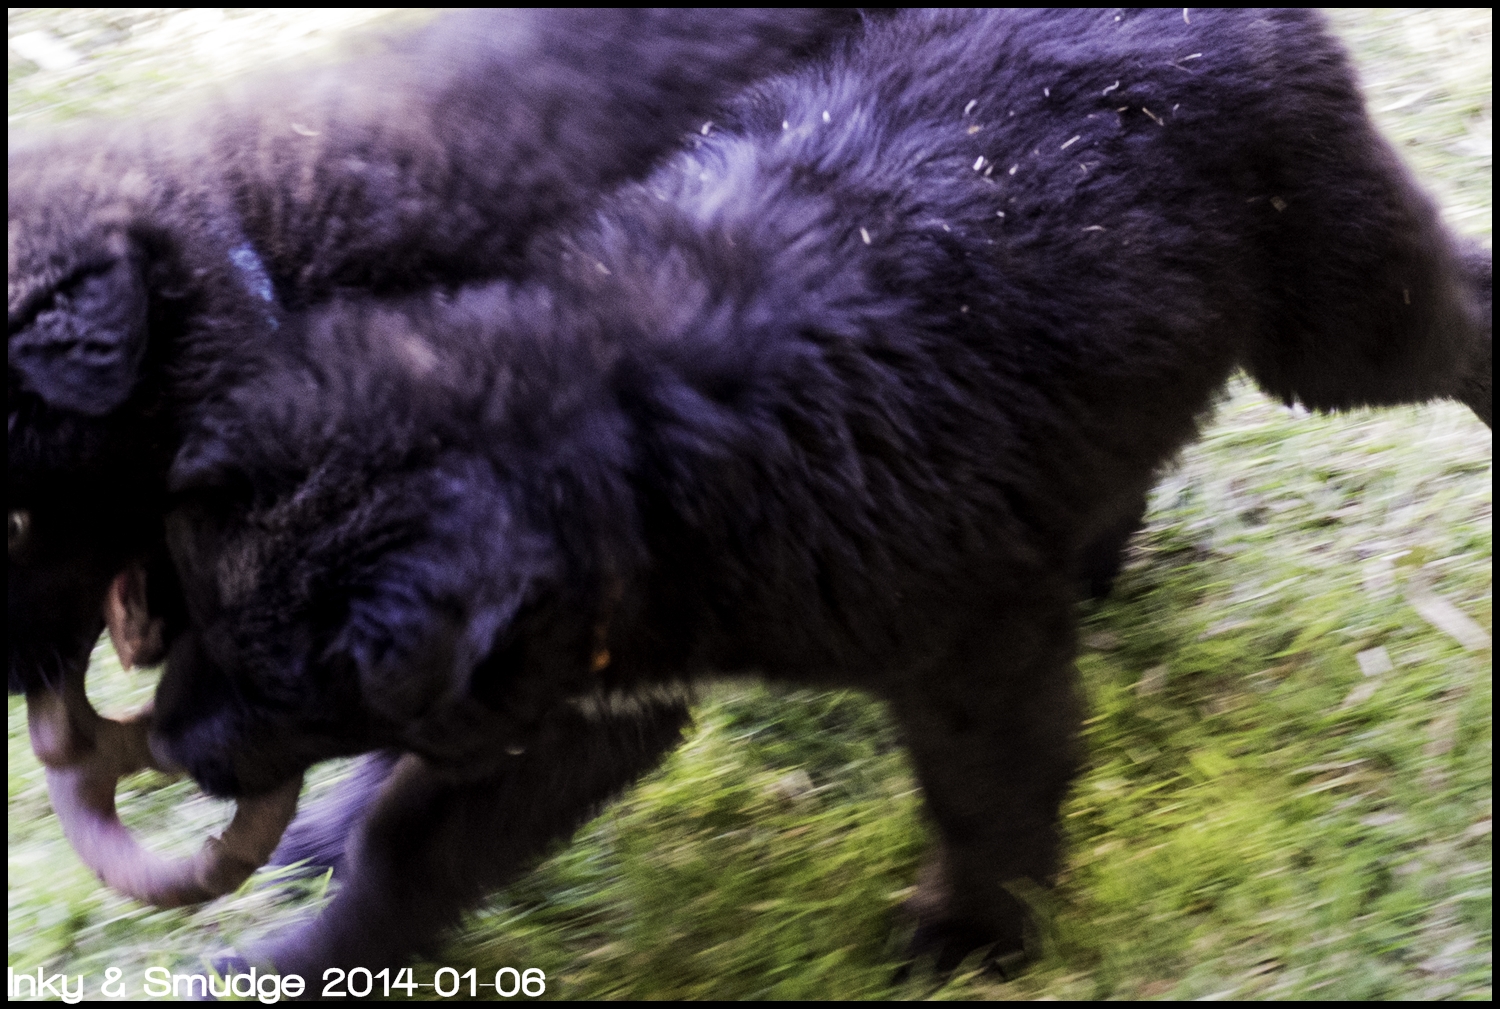
Let me introduce you to two new family members: Inky and Smudge, labrador-Aussie mix. Mellow, fuzzy, cute. 10 weeks old. From St. Martin’s Animal Rescue. Cutest little things (we think!).  Smudge is bigger (at 13 lbs.) and a dark grey, and Inky is smaller (at 11 lbs.) and blacker.

Inky & Smudge 1 BW

Inky & Smudge 2 BW

Inky & Smudge 3

Inky & Smudge 4

Inky & Smudge 5

Inky 1
Inky
Smudge
Smudge

The Heinisch Project, i

R. Heinisch Shears, Size 3 1/2

I’ve begun sewing again, and in the midst of it all, started looking at scissors and shears. There is quite a bit of history! In the U.S., two names seem to come up most often when it comes to the older manufacturers, J. Wiss, and R. Heinisch.

Most Americans in my age group are familiar with Wiss. They were the most popular scissor, as they have been made for many years, and were owned by the same family until, I think, the mid-1970s. Historically, J. Wiss came to the U.S. in the 1800s, and began to work for R. Heinisch making scissors and medical instruments. Eventually Heinisch’s enterprise failed, and Wiss, having been laid off by Heinisch and starting his own business, bought out Heinisch around 1917. Wiss is a household name, but I had never heard of Heinisch until my curiosity was piqued by seeing some very old vintage shears that were beautifully refurbished and still in use by tailors.

So, off to eBay, and a high bid brought these into my life. Sadly, they won’t cut fabric at all, and will need to be restored to sharpness. Thus, a project, with some elbow grease and some research. First of all, these shears are about 12 inches long – about 30 cm. They have a wonderful balance to them, and are easy to manipulate despite their size. The bolt is in good shape, as, it appears, are the blades. The japanning on the handles is gone. The first step to renovating these shears is to clean them up with steel wool. I will clean up the blades and handles with 00 and 0000 steel wool, being very careful not to work at all on the cutting edges of the blades.

I took a lot of photos of the shears, as they are now, and will, over time, post more. If you have any knowledge of restoration of old shears, please get in touch with me!