Silent Sunday

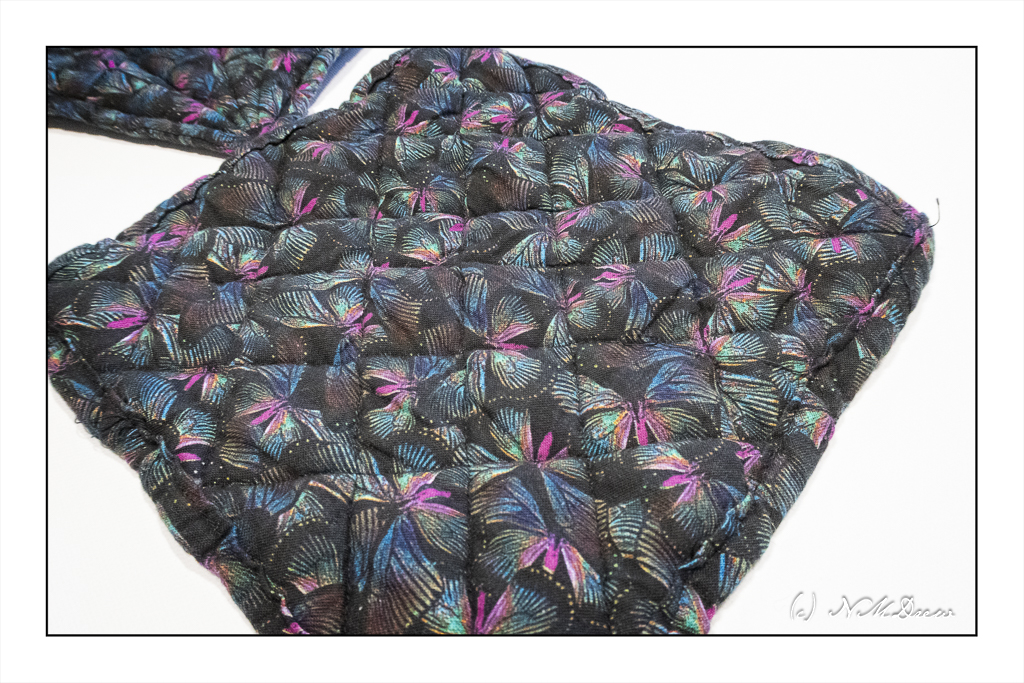
My favorite potholders are finally getting just too beat up to do much good. They are simple cotton pads, about 8 inches square, filled with some kind of batting, and quilted. I have silicon ones, mitts, and so on, and when my cotton potholders are in the wash, I prefer my Ove Gloves. This morning is dedicated to sewing some new, padded, old-time potholders.
It’s is time to see if I can make something to replace my dying heroes . . . .
As always, YouTube provided some good videos, and this was my favorite. I made the first two. Hers look great, mine look pretty sad, but if they do their job – to protect my hands – then my sad potholders are a success.
My machine is my old workhorse, my mid-1950s Singer 15-91. Straight stitch, forward and back. It’s a great machine, but not as up-to-date as some of my other machines. No walking foot. No automatically adjusting pressure as the material goes from two layers of fabric to two layers of fabric, cotton batting, and “Insul-Bright” batting for heat reduction on the hands. I had to watch what I was doing because I have never sewn a potholder in my life.
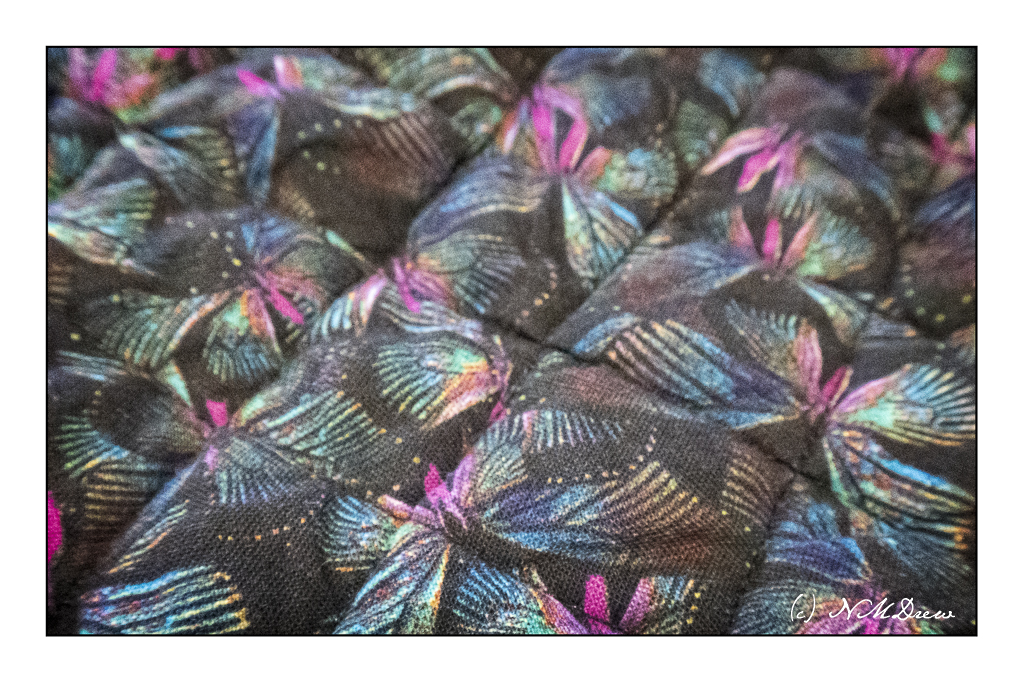
Here is a close-up of the fabric. I didn’t pre-wash the material, which is a quilting cotton. I put each potholder together, batting, fabric, and quilted it before throwing them into the washing machine. I like to do this whenever I have made anything quilted because the cotton shrinks and the quilting becomes more prominent.
A few things about the potholders. I used 100% cotton fabric and thread, one layer of 100% cotton batting, and one layer of the “Insul-Bright”. I avoided polyester in any form as it is plastic and melts – no polyester thread, no polyester in the fabric. Interestingly, the “Insul-Bright” is polyester with something embedded within it, so we shall se there – but these are not going into the microwave!
When I quilted, I worked diagonally across the fabric. I think this made the fabric stretch and pull out. It got rather annoying. Next set of potholders – yes, there will be more – will be quilted along the warp and weft as much as possible.
These were not particularly difficult to make – a bit of a challenge as they are a new project. I have some ideas about how to do things differently. Let’s see how it goes.

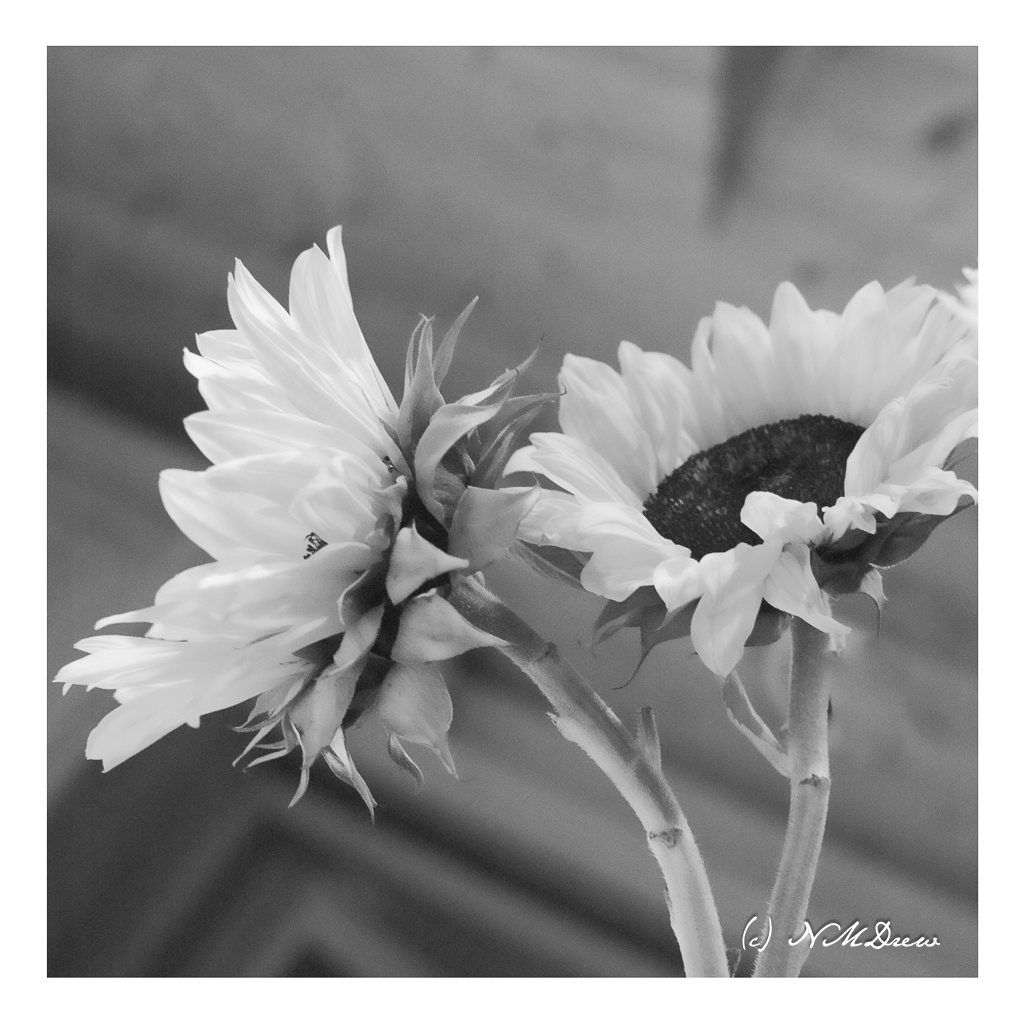
While I am busy with lots of other things – sewing, painting, learning 3-deck Canasta – I am also trying to move back into photography and just getting out. As well, editing photos I have taken, and adding mood to them which matches my mood but perhaps not what the original photo looked like! I guess that is cheating per some, but for me it is artistic license.
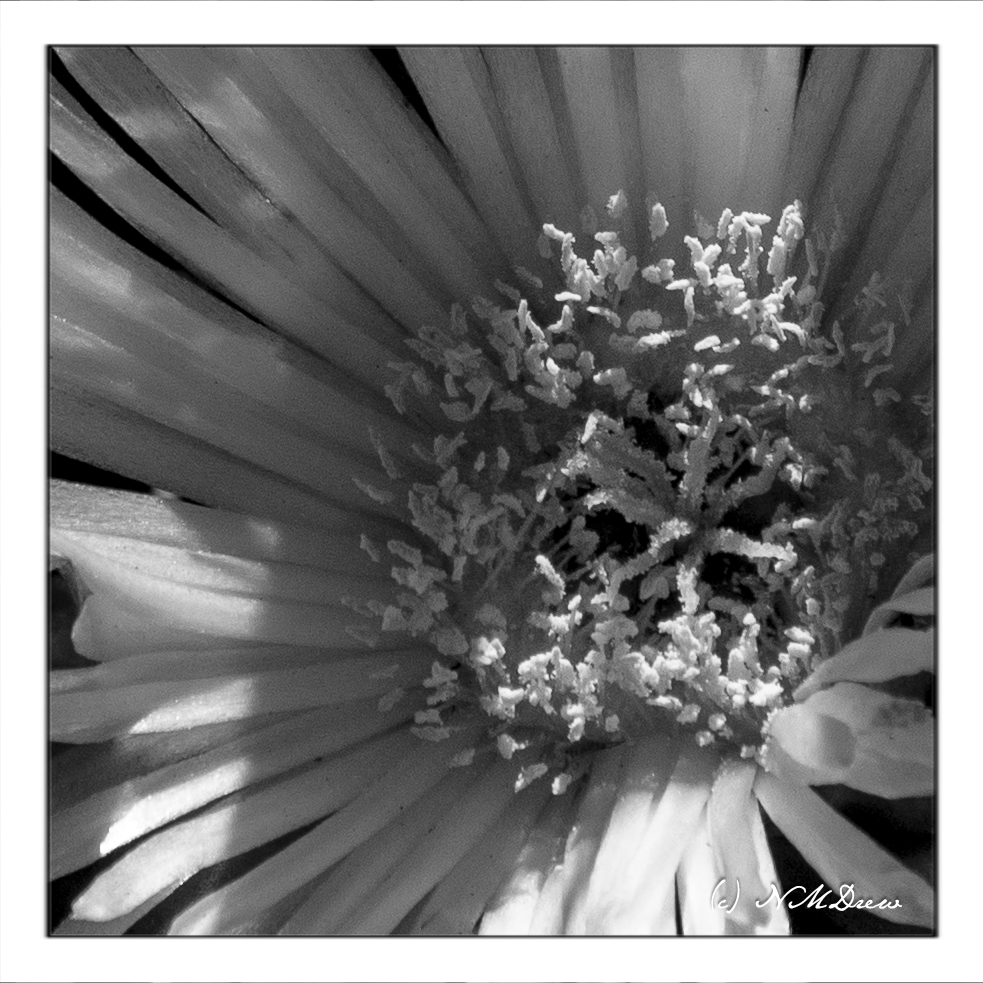
Before the day begins and I have read my snippets of depressing news, coffee in hand, I am reviewing past photos and editing them. This photo is one I took while at the Settling Ponds earlier this month.
Taken with a Canon G7X, edited with LR and On1.

With the weather shifting from awful to delightful, and wanting to get oot and aboot, photography is always the excuse. As well, I have not been doing much in that arena. When I saw the Lens Artists Challenge #381- minimalist, black and white, I figured one way to get me moving was to edit some of the photos I took when a friend and I went to the settling ponds at a local water treatment plant. It is a dog-free bird sanctuary, and we saw egrets, herons, grebes, and a lot of others. It’s not a well-known place and the only person we saw was a man leaving with a spotting scope. My kind of place.
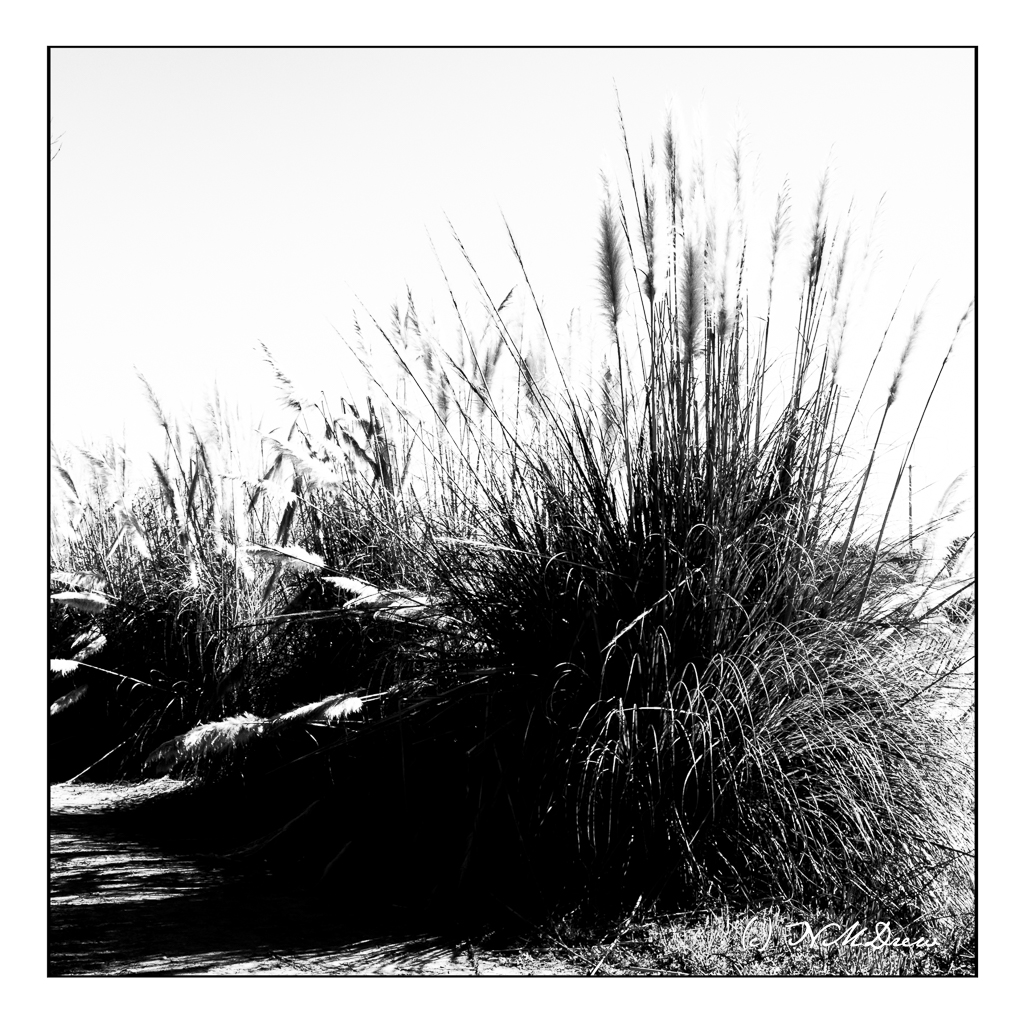
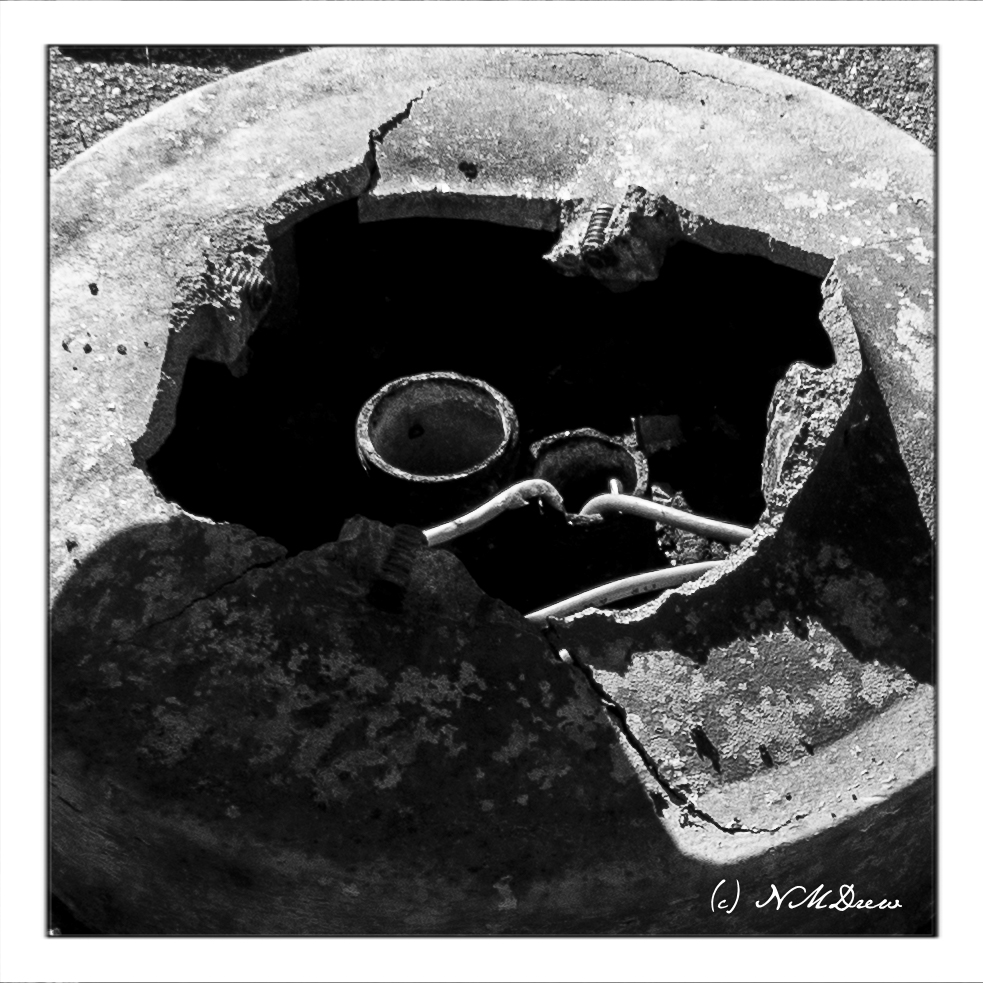
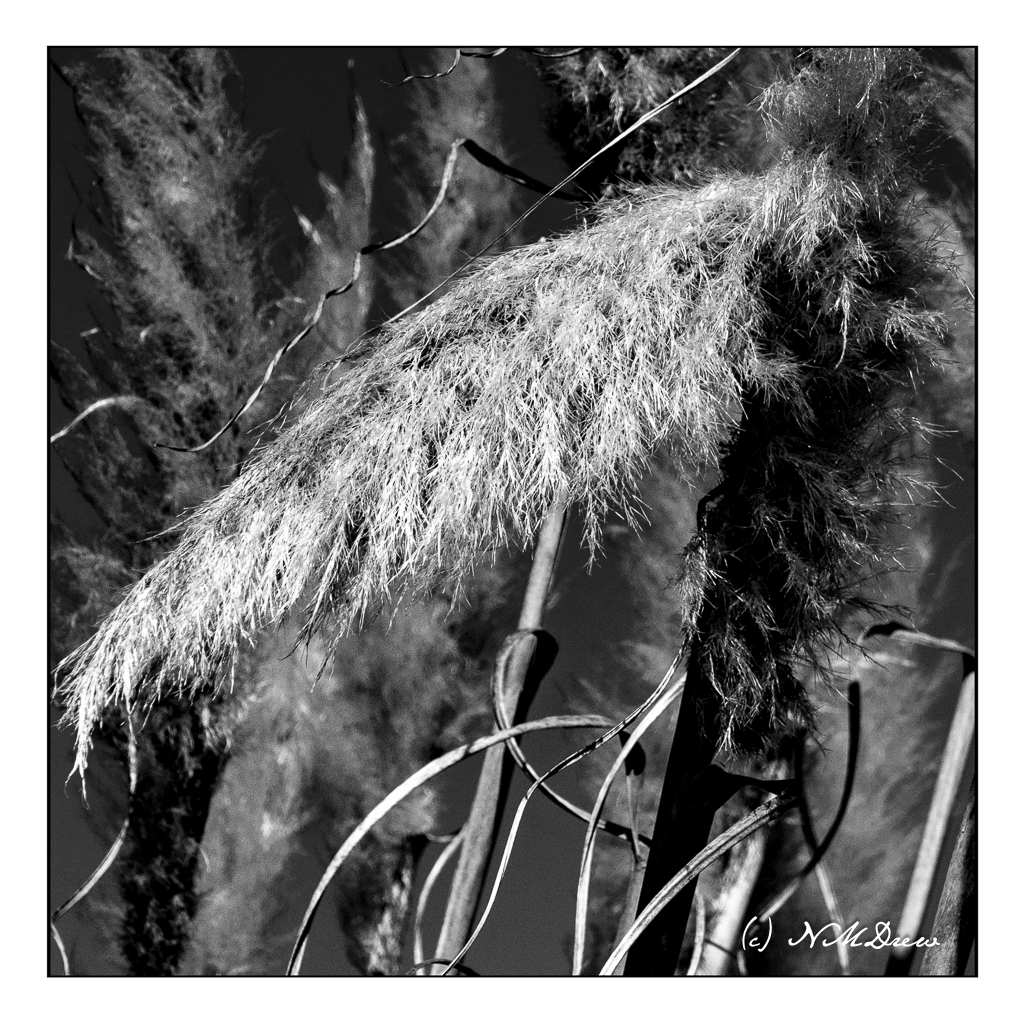
Now, whether or not these can be considered “minimalist” is up to you, but converted them to black and white, cropped them, sometimes severely to get a closer look, and how they hold up may be a bit dicey. Additionally, I pushed contrast, black and white, as well as dropping some of the highlights for a bit more detail.
Taken with a Canon G7X Mark II camera.
