Before I get into the morning’s routine, I feel like writing up what I did yesterday afternoon on my first “me only” day in a long time. After my nap and afternoon coffee, I pulled out a novel, watercolors, paper, iPad, and a few other things, and moved out to the back patio. The goal was to work on using a round brush and practicing how to use it.
I did – and still do occasionally – sumi-e – which is really focused on brushwork on absorbent paper. Watercolor is not ink only, but colors, and the colors are alluring and distracting. So distracting are they that I forget the value of brushwork and am completely seduced by colors! As a result, I did some web searching and found a nice article on different brushstrokes to do with a round brush, as well as with a flat brush. I chose the round to begin with as that is my go-to brush type. Below are the exercises.


I made notes as I moved along. I used pale colors, too, just to see how my scanner would pick them up (BTW, it did a pretty good job – the ink is a bit pale, though).
From this point – which was about an hour’s practice – I moved on to deciding what to do next. Read my novel? Have more coffee? Paint a picture and focus on brushwork using a round brush! I alternated between a larger squirrel mop and a synthetic sable round.
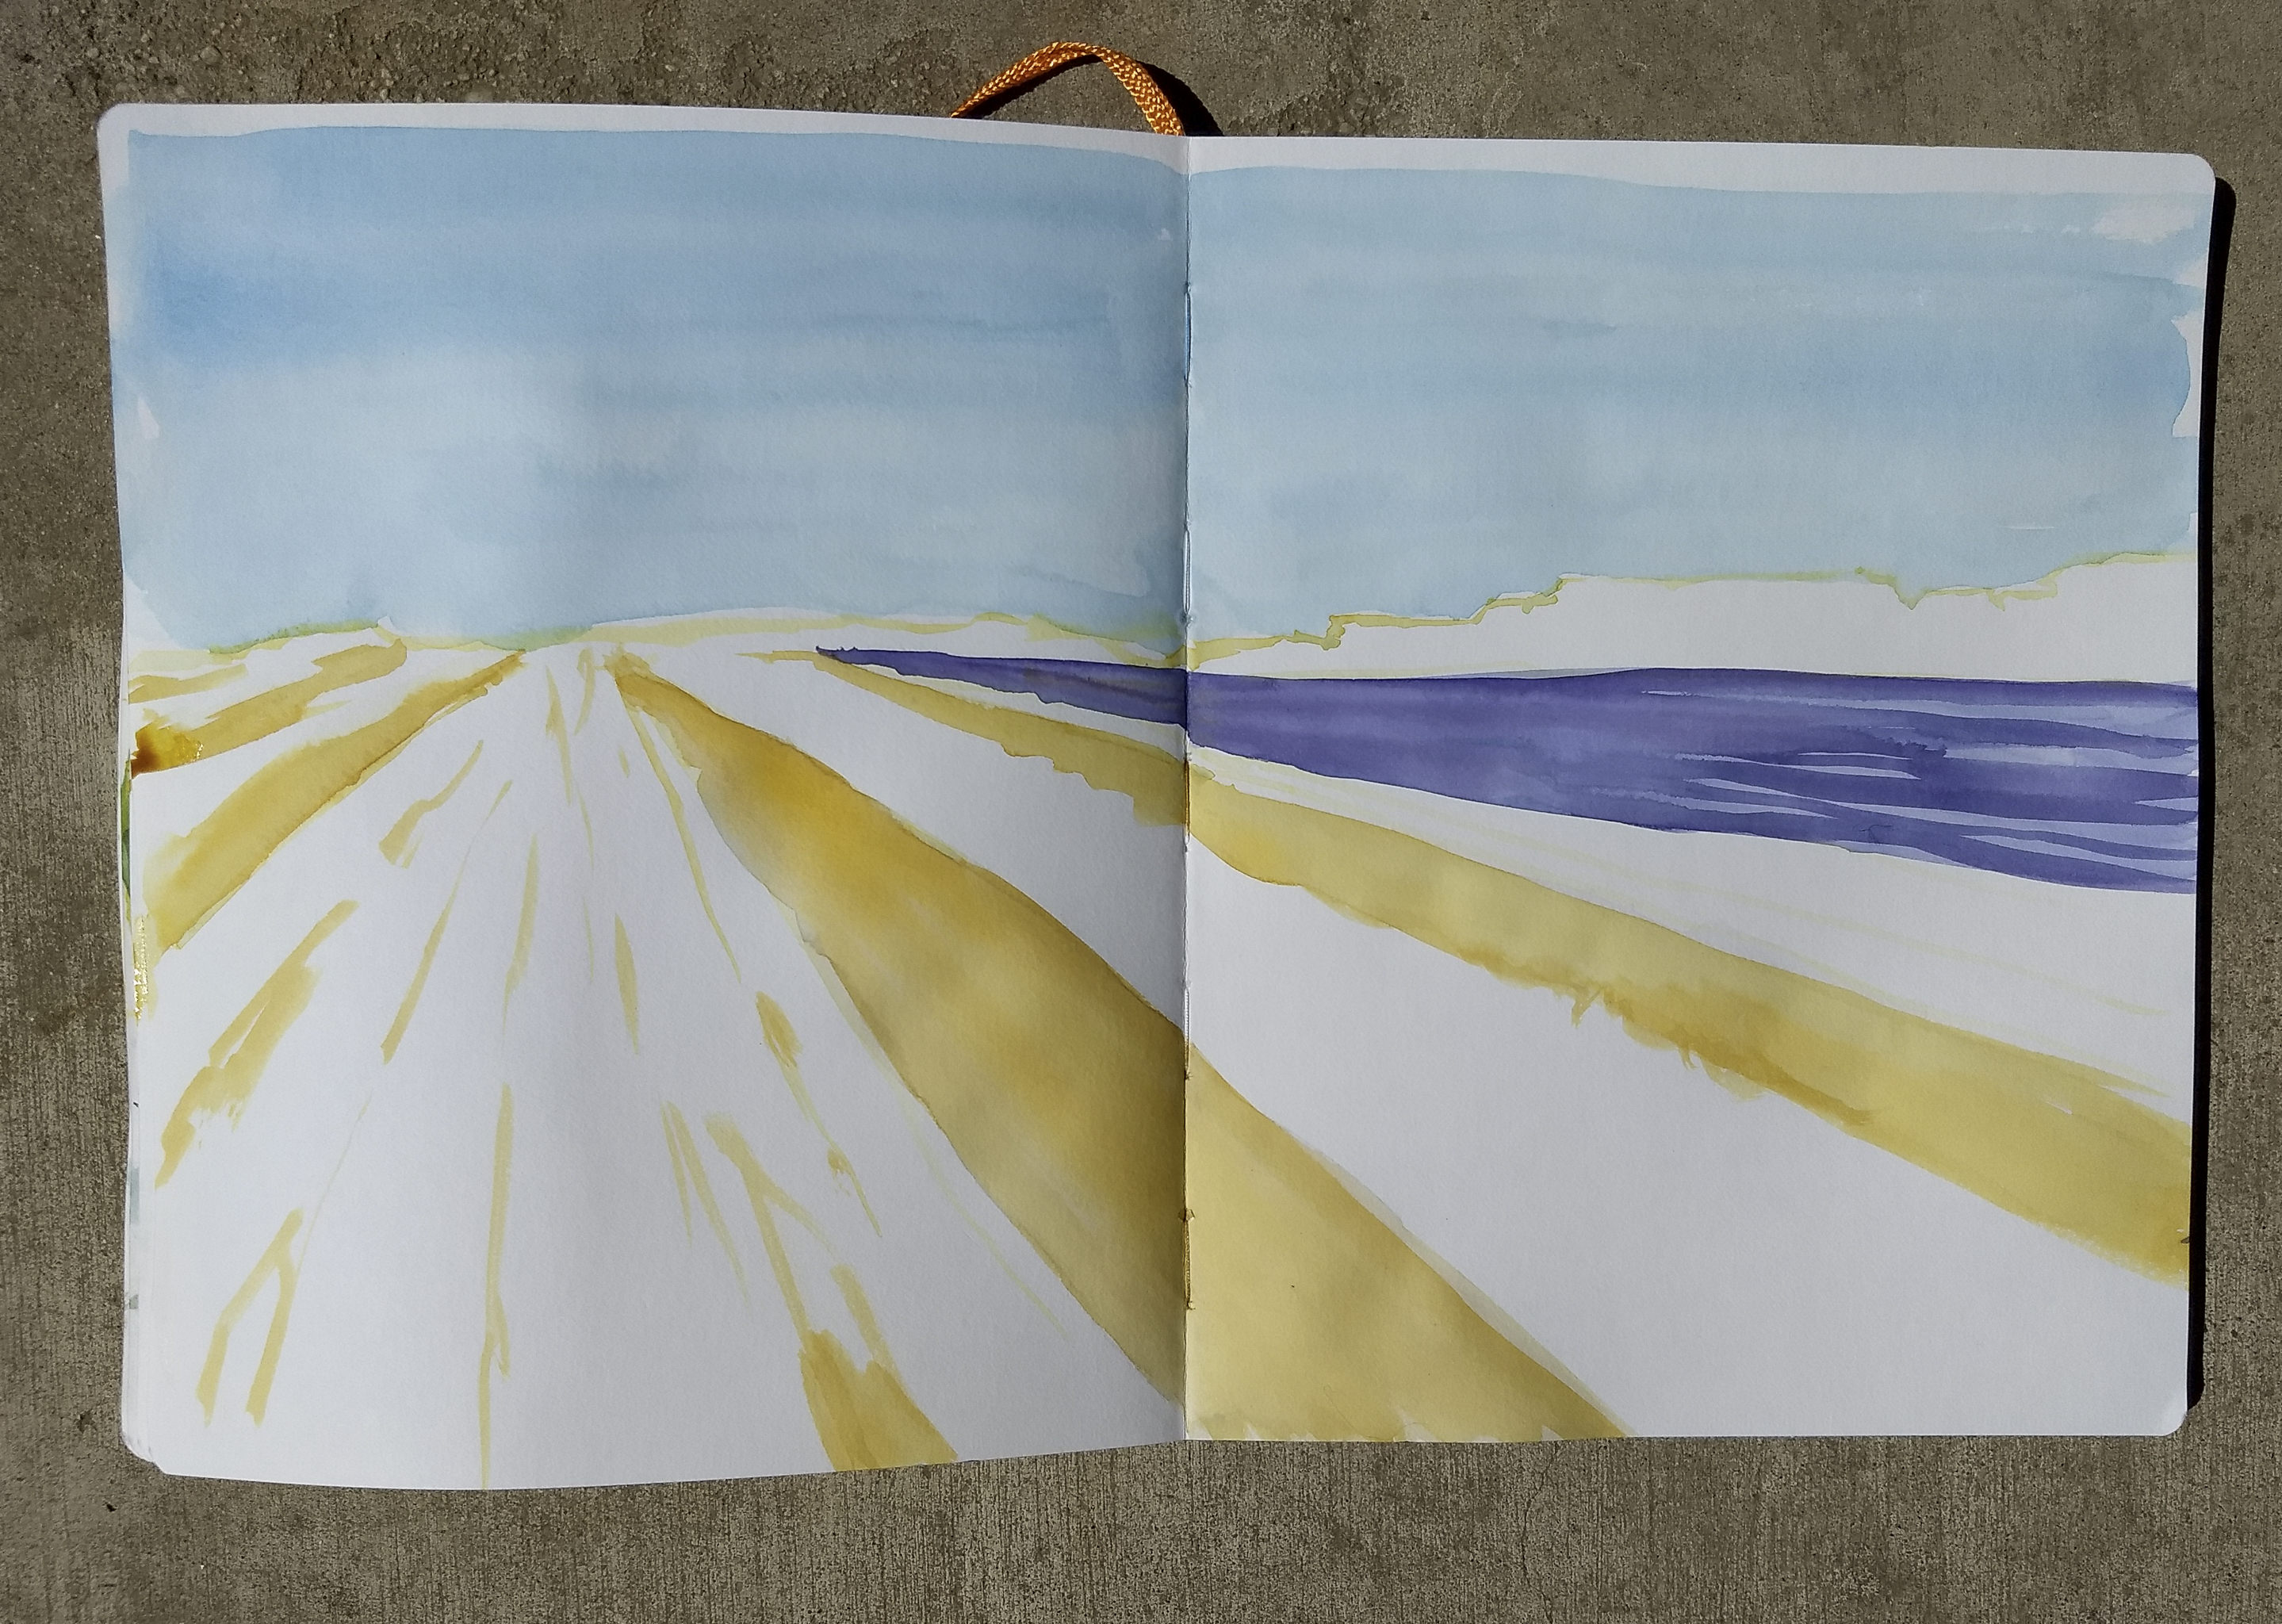
The first step was to choose the paper. In the end, I chose a Handbook across two pages. I had read somewhere about using a light color to create the outlines one might make with a pencil, so I used Quinacridone Gold and laid down the foundational lines.

At this point I worked out the building structure, horizon, and vanishing point, more by eye than using anything scientific like a ruler.
The next step was to add vast washes of color for the sky and field debris between the flowers. The brushwork was done wet-on-wet for the sky. A clear wash was followed by a sky of cerulean. The same was done with the purple flower field on the right, which was then overlaid with a wet-into-kinda-wet mix of Alizarin Crimson and Carbazole Violet. The gold between the long white was also wet-into-wet using Quinacridone Gold in varying strengths. Then I let it all dry.
The next step was to create the pink flowerbeds. I used a mixture of Quinacridone Gold, Quinacridone Rose, and Alizarin Crimson. I really pushed the colors here, laying down values far darker than I would if I was working toward what I wanted – I really need to remember than watercolors dry about 30% lighter than the wet paint!

As you can see, I worked to create white space in the pink flower beds, and tried to add depth as they move toward the horizon. From this point, the painting continued, and I didn’t stop to take pictures. I read my novel as different layers dried.
As each step of proceeded – from initial lines of the sketch to the flower field – I thought about brush strokes. The lines of the initial sketch were simple lines with the tip of the brush. The washes for the sky used the side of the brush. The fields of gold and violet were done as washes and as brush tip lines. The pink flowers were a combination of lines and curves and dots.
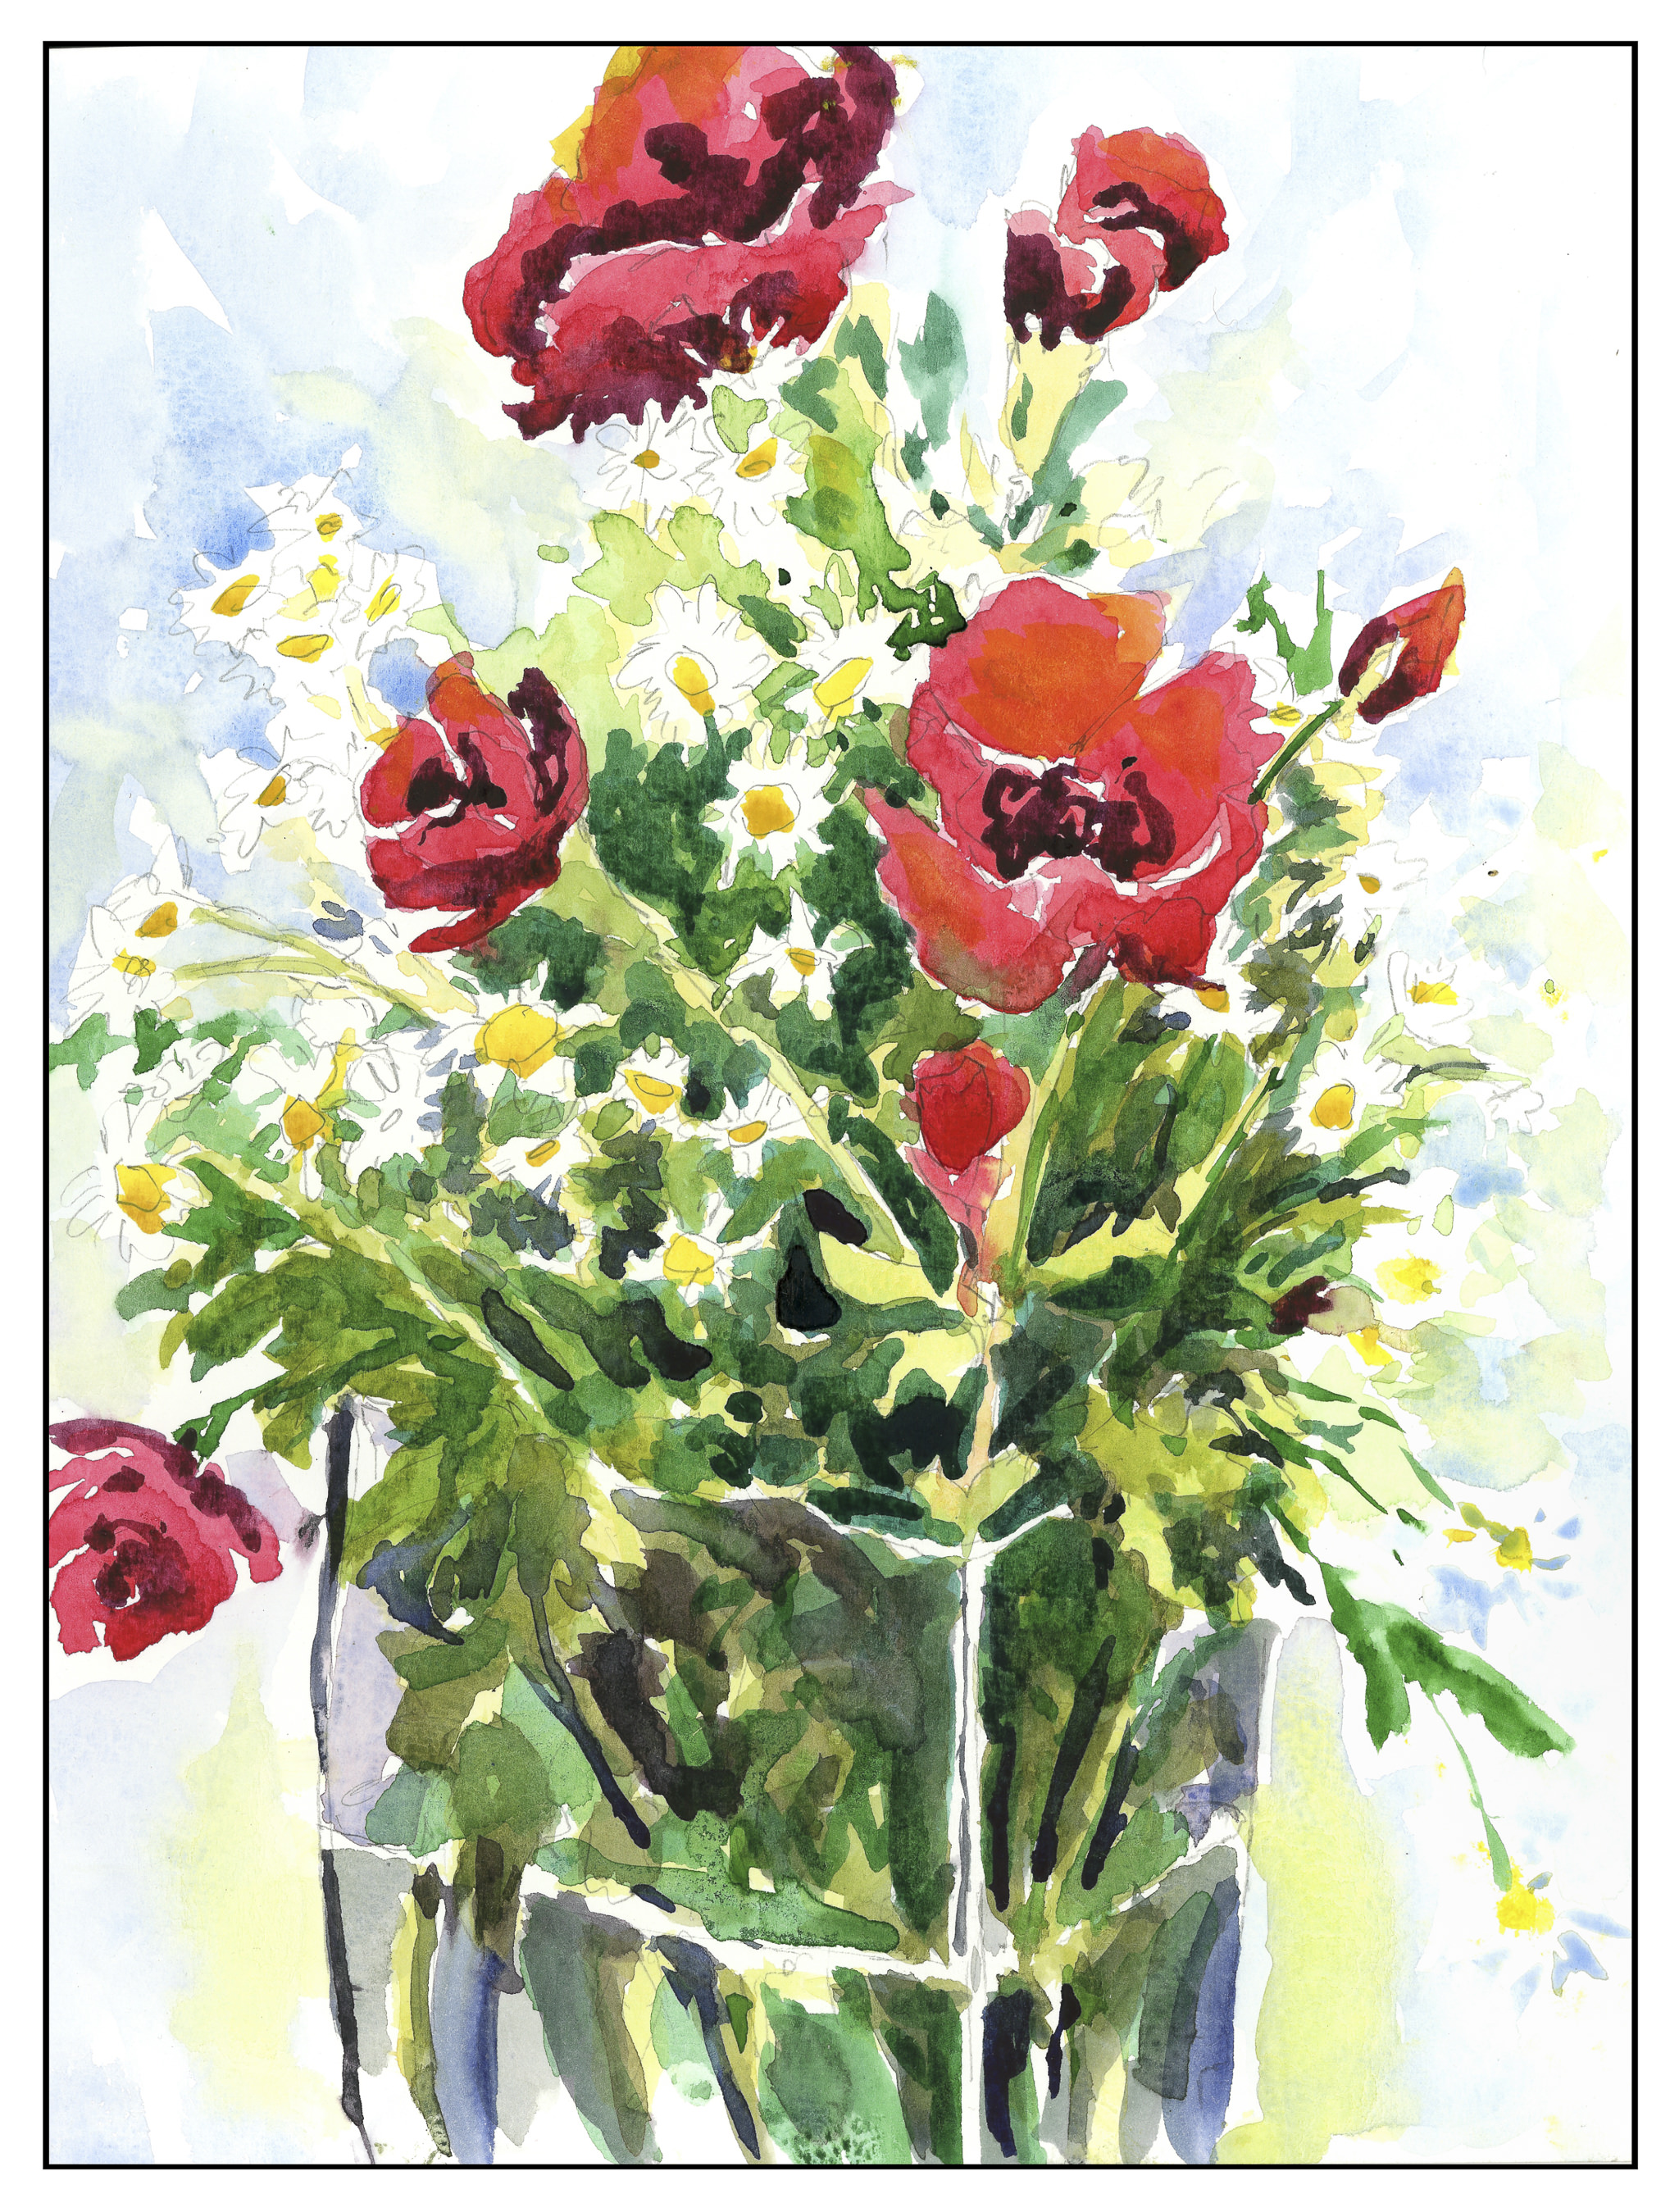
Below is the final image. The sky is vastly different than the flat wash, which I initially had planned on retaining, but as the outlines on the building were not strong, and the whites too pale and lacking in contrast, I turned the painting upside down and used a mix of Cerulean and Ultramarine to make edges pop. This led to just doing the sky all over. Imagine my surprise when I saw not only lines in my brushwork, but the lines in the composition! The way the fields of flowers create a diagonal motion matches the opposite movement of the sky and clouds.

Altogether, I am really pleased with this study. It took about 2 hours, with layers drying and my thinking and reading my novel. Certainly an afternoon well spent, I think.