Brain Training with Negative Painting

No, I don’t mean painting with negative themes or thoughts, but painting around things – but you already knew that!

The normal course of painting, for the major part anyway, is to paint the object you are focused on. Then you paint around it. Most often it works, but for light-colored objects, or flowers, sometimes you just need to paint around the white to keep it white. Paper also can affect negative painting by how well it absorbs water and pigment. 100% cotton watercolor paper is best for this, and its sizing also will affect its absorbency. Cellulose papers, even if heavy, react differently to layers and layers of watercolors and pigments.

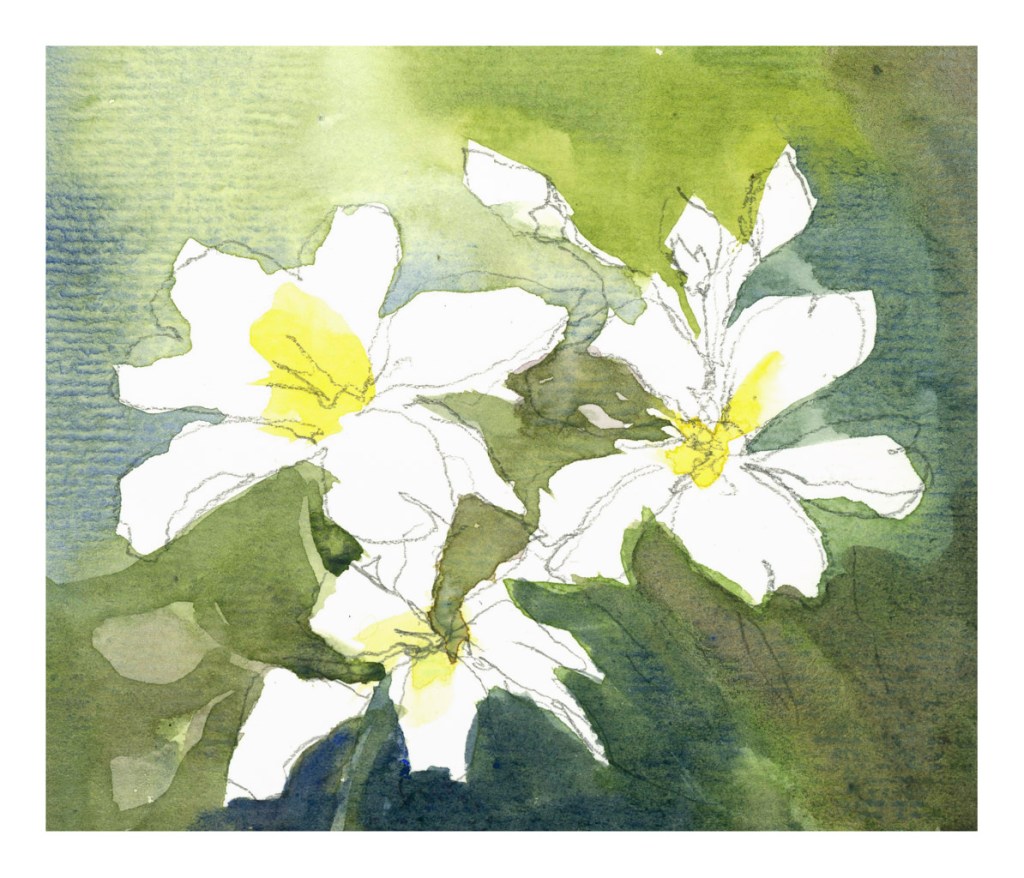
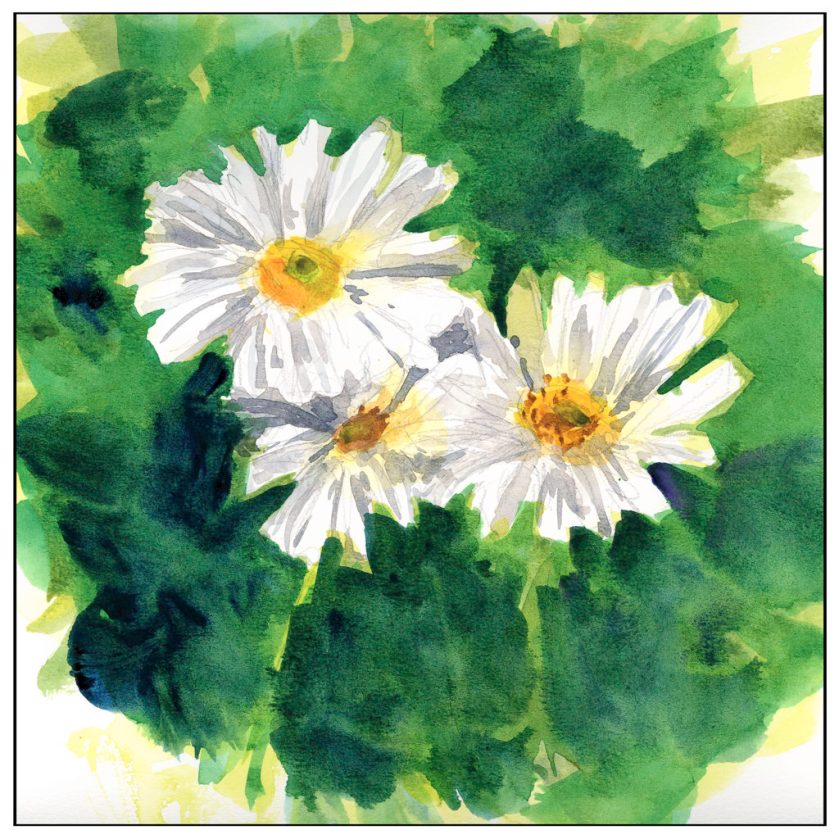
Below is one of my first focused attempts on negative painting. Supposedly these are chamomile flowers, but the fact is they look a lot like any generic daisy. Painted on the cellulose paper, absorbency was an issue, as seen clearly on the flowers. Blending of color was rather forced. However, I could paint around the white of the flower and get crisp edges. The outside green was more difficult; I think if I used water between two green values to soften the edges, blending might have been more successeful.

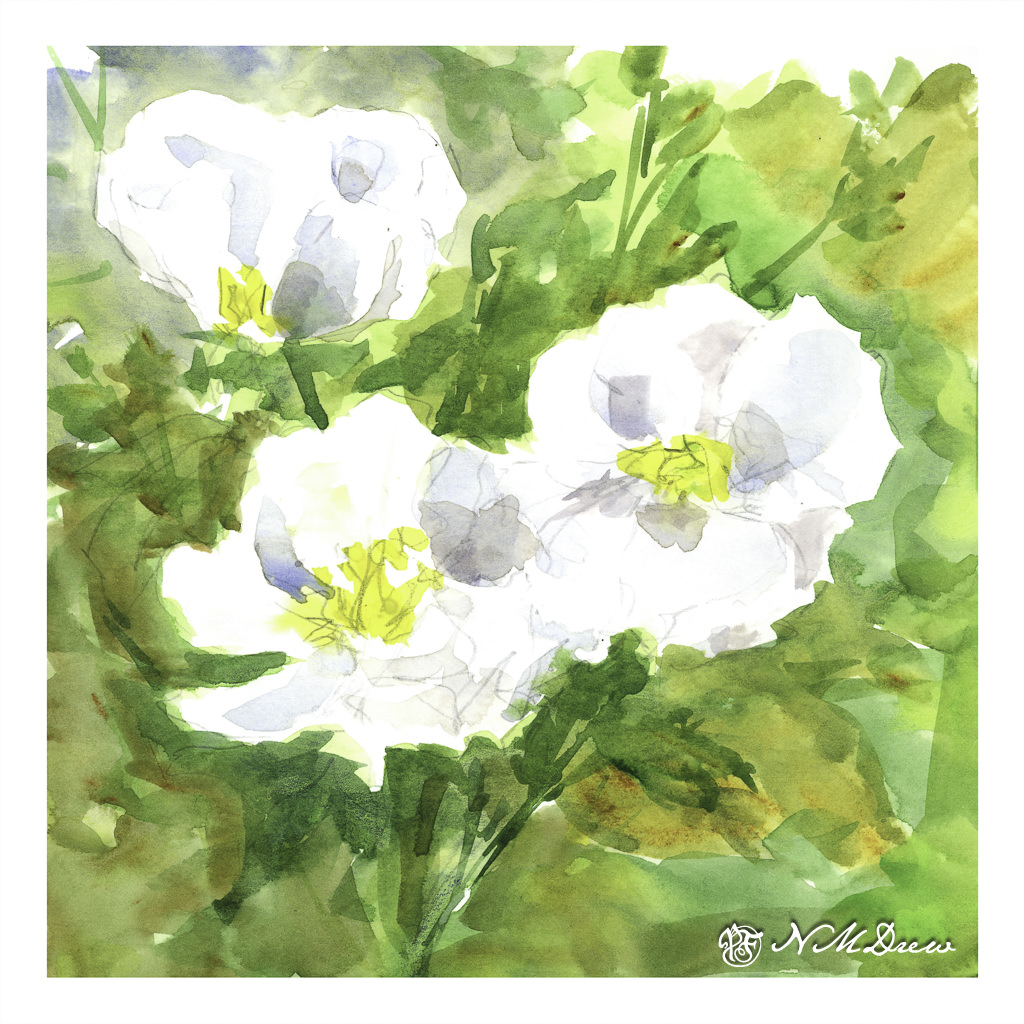
From this paper I went to 100% cotton Kilimanjaro 140# CP paper, natural tone. Already a difference can be seen and, while painting, felt. Color is easily absorbed and blurs nicely. Layers of color, laid in while wet and dry, still creates a lovelier quality than above. It was far easier to paint the petals with shades of grey and with thin glazes than above since the paper’s response was more absorbent and less resistant to both water and color.

Finally, a painting of yellow lilies – lilies? you ask? Yeah, me, too. Anyway, yellow flowers. I painted the basic shapes of the flowers, then painted around them, and then added what was supposed to add character and depth to the flowers, and then back to the back ground, and then back to the flowers, and so on. As a flower painting it is nothing great, but it was good practice for negative painting. I worked at shapes more than anything – the shape the yellows create as well as the greens and darks outside and in between the flowers themselves. This, too, was on the Kilimanjaro paper, and it shows.

The cellulose paper fails when it comes to lots of washes, but for more direct painting it works pretty well. For lots of water and color, as with the two on the Kilimanjaro, the cotton paper is far better. The frustration level with the cellulose paper is certainly there as I had to pick up drops of water and spend a lot of time with the hair dryer so I could move on to the next wash or glaze. With the Kilimanjaro, only when I wanted a totally dry sheet to paint upon, to add glazes or more paint or another layer of clean water, did I need to use the hair dryer.

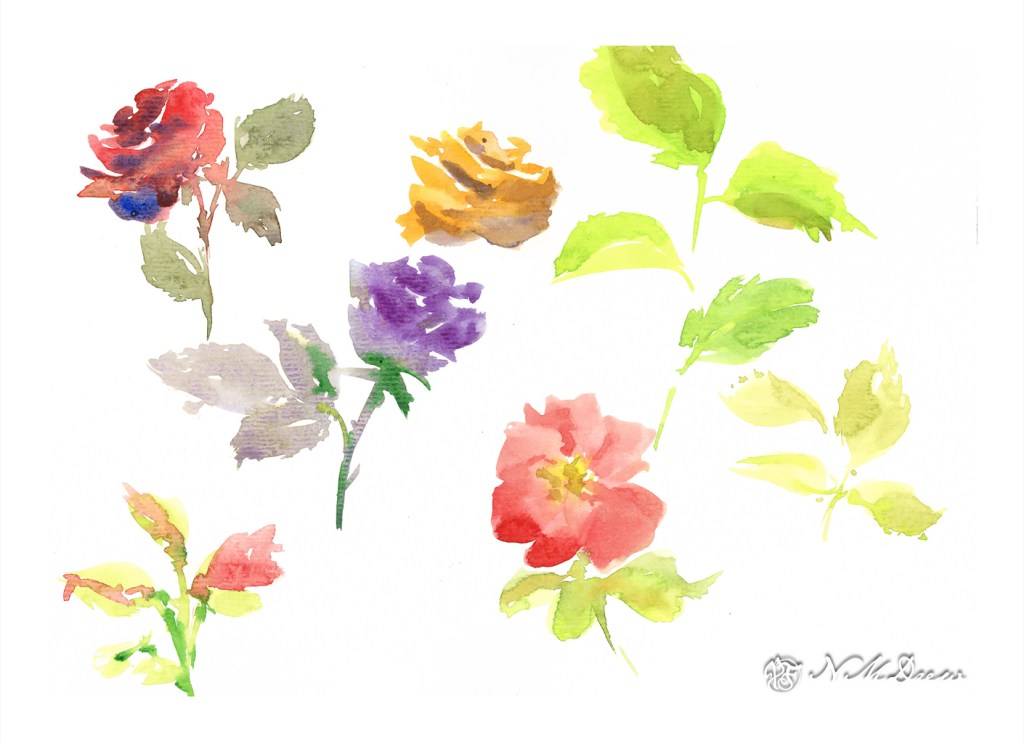
So, more painting and focus. Not great, but it is in the doing and the play the learning is done.

Morning Sketch 10 – More Roses

More roses – more C strokes – and then other kinds of strokes to make leaves. For the leaves, brush point on paper, squish down and move, bring brush up to another point. Just as in sumi-e! Then, while the paper and paint are still wet, take the tip of the brush and create little points around the outer edge of each leaf. Some roses have pointy leaf edges, others do not. I don’t think the Rose Police will come knocking on my door, though, so I am safe.

Roses in these kinds of sketches are easy enough to do. However, creating a successful painting of more than one sketchy rose is another story. Light, shadow, shape all begin to play together, and sometimes not very nicely.

Here, a rose with a simpler petal style than the classical tea rose. As a kid in the midwest there were deep red wild roses throughout the countryside, and here in California there is a bush as above along a local trail. There are about 5 petals around a yellow center, and the wild roses are messy things that are such a pleasure and delight to encounter.

Painting a white rose is not easy because white is influenced by light and shadow and shade. Instead, you have to look at the colors in the white – light? dark? cool? warm?

The above little painting was a success, but it is only a sketch. A bouquet of roses will be far more challenging and I really doubt my ability to succeed there.

Morning Sketch 5 – Negative Painting & Flowers

Practice makes perfect. While far from perfect, I have been trying to improve how I do negative painting. Flowers work well for this, but I have also decided to conscientiously work on flower painting.

I looked over at Pixabay and searched for “white flower” – several came up, some too busy with other things, some too simple, some lacking definition. What I wanted were white petals sticking out from something. As I already did daisies, I thought ones a bit simpler but still having interesting characteristics could be nice. Anemones of varying sorts came up, so off I went.

Above is the first one. I drew in the outline of the flower and then painted the center of the flowers but not any shadows on the petals. From there, I worked on the negative painting, trying to paint around the white petals. Then I let it dry and, as you can see in the lower left, put in a darker wash to outline leaves and a stem or two.

The second painting below was a bit more complex. I did the shadows on the flower petals – still white – after drawing in the basic shapes. You can see my pencil lines throughout. Then I did the leaves and stems in a lighter green. From there, I mixed in greens and blues for the most part and worked to paint around the white and shadowed petals, looking for contrast, coolness and warmth. After I let the painting dry, I went in again with shadows, augmenting a few petals here and there. The final step was to paint in the yellow flower centers with a dab and press of the brush.

I rather like these – they don’t look too overworked compared to the previous ones. My style is looser, which I prefer. As well, I worked with tube paints and a bigger palette so as to mix more colors. The paper this time is 100% cotton, a student grade one, but acceptable.

Just because these are better than previous negative painting studies doesn’t mean I’ve gotten there yet! So much more to learn – and a lot to do in that learning process.

In the Underbrush

One thing nice about a TLR is that it hangs around your neck at waist level. Tilt it up, tilt it down, and the world and perspective changes. With my old, creaky knees, it’s really a pleasure to be able to get closer to the ground without falling over!