Above the Treeline – Mountain Peak & Snow

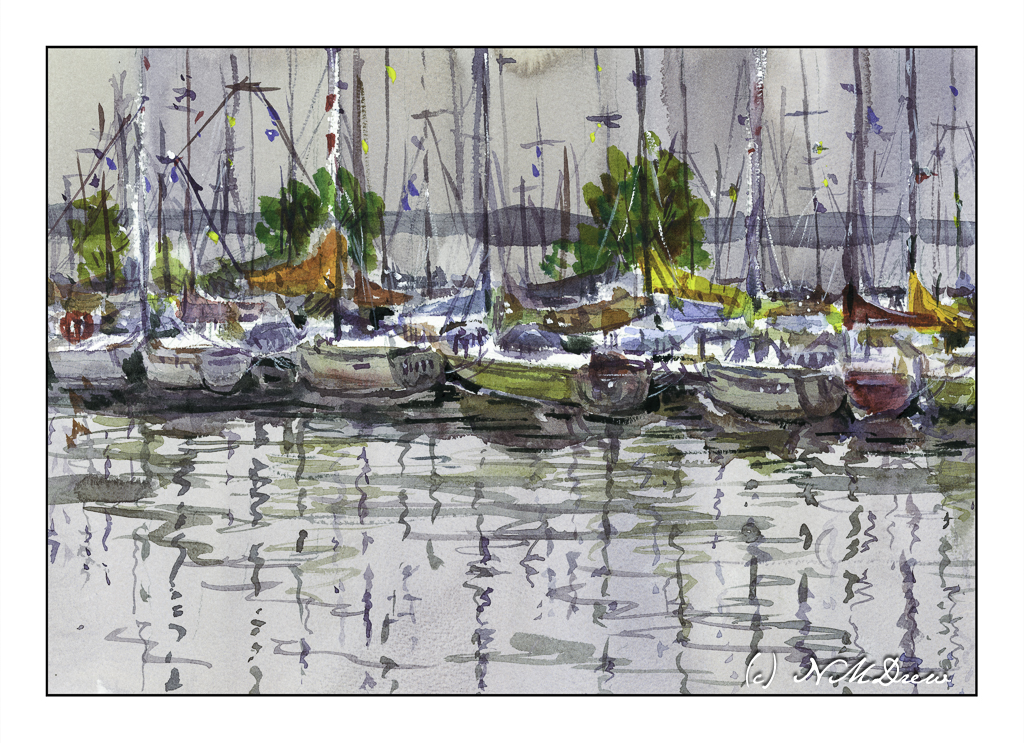
As always, I can never fail to but enthusiastically recommend the short watercolor courses by Shari Blaukopf! Her most recent one is called “Peaks and Valleys.” It is inspired by her trip into the Alps while teaching a class. Having lived near the Rocky Mountains in Colorado and driven through them many times, I found this course especially fun to do. Shari’s instruction is clear and to the point, but her lovely personality shows through to make the lessons personable and friendly.

I am not going to show you the subject matter I have done so far in the course. Instead, I am going to show you what I learned to put into my own painting. My reference for this watercolor was a mountain peak photo found on Pixabay – the best resource for public domain, royalty free photos (and other things, too!).

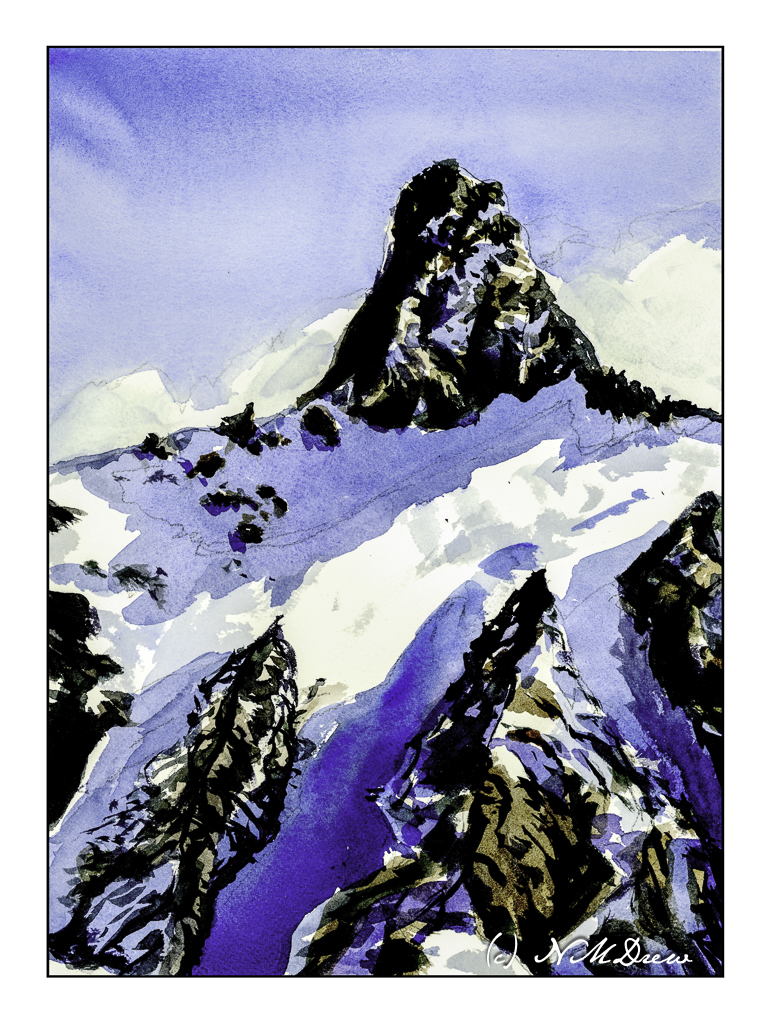
Mont Blanc was the first mountain top study in this course. At 14,000 feet, it is way above the timberline, covered in snow, and nothing else than barren rock and clouds. At this elevation, the view across the Alps must have been amazing with ridges of more and more mountains before and beyond Mont Blanc itself. To paint it, essentially blues and browns were used in the class – cobalt, ultramarine, burnt sienna – with the addition of Payne’s grey, some organic viridian, and yellow ochre to neutralize of brighten the colors. Myself, for this painting, I stayed pretty much with these colors, but threw in some dioxazine purple as well.

It seems that the one most important lesson I fail to really retain when I watercolor is to be patient and think ahead on what I want to do. Taking a class such as this make me remember to plan ahead.

On the other hand much of my color mixing is automatic because I am familiar with how my colors look and blend, but my natural impatience is sorely tested. This is where 99% of my mishaps occur – rushing. With this painting, not so much because I started playing a game with myself – how will I plot my next step? I didn’t do a value study, but I want to try to do that more often. Here, the strong contrasts of light and dark, warm and cold, made the values and contrast easy to perceive.

I am rather pleased with this painting. It is cold and starkly beautiful, and that was the whole point of this painting.

Watercolor, Arches 140# CP, 9 x 12.

Another Class – Lotsa Boats

Once more, a class by Shari Blaukopf, “Sketching Boats: Simple Solutions for a Complex Scene,” has changed my approach to subject matter in watercolor and other media. I think this class amazed me the most in how it affected my own painting. As Shari writes:

I love painting boats, but this course is not really about that. It’s about simplifying a complex scene. So, while boats and their reflections are our ostensible subject, I’ll be sharing my tips and techniques for making visual sense from any scene of complexity.

Complex scenes – other than landscapes – overwhelm me when it comes to painting. I just have no idea where to begin. Looking at a bazillion things cluttering up the subject matter and deciding what to do is sometimes so much that it is better to walk away and try something simpler. For me, buildings are often the culprit, and this means city scenes go unpainted. Certainly scenes of harbors and boats and marinas are even more complex as boats sit on the water and are all about the same height – masts being the main difference in a marina full of sailboats. However, this class broke it down quite nicely, and while I am not especially enamored with the results, I am really happy with what I learned from this class and the general success of the painting.

Essentially, the process is very logical and simple. The scene is drawn in pencil. The horizon line is determined, and then the drawing is begun. The boats, as they are the main subject, are drawn on an even level – they all are pulled up against a dock and the water is the surface. There are no hills or valleys. The boats closest to the viewer are drawn in detail, and the rest are suggested with shapes and lines, with their “oh, that’s a boat” qualities indicated when painted.

The sky and the forefront water first were painted along with the land in the distance behind the boats. Areas for larger masts, the white ones, are left unpainted. Then the detailed boats were generally limned in with color. Masts and reflections are indicated in this early period. From there, the painter works back toward the more distant boats and such. Eventually, details are added and final, tiny touches with color and white gouache complete the painting.

In summary: the simplest areas are completed first. The complex areas where detail counts is narrowed down to the first row of boats. Large to small. General to specific.

Writing this does absolutely no justice to Shari’s wonderful short course. I recommend it for watercolorists and any painter intimidated by complex scenes. Her breakdown of a complex scene is very simple – but I personally would never have thought about painting this way!

I was floored by my results – I did not expect to be able to do this painting at all.

Watercolor, short course by Shari Blaukopf, Arches Rough 140# paper, 10×14.

Sketching with Shari, iv

The very last lesson in this delightful class on ink and color sketching by Shari Blaukopf. As soon as I saw it I knew it was La Super-Rica Taqueria on Milpas Street in Santa Barbara, CA. Excellent food – it opened years ago and was a walking dinner destination when I lived in the area.

Anyway, this drawing is a culmination of drawing people and buildings, learning a bit about perspective and thoughts about how to do things. I enjoyed this one a lot even in my moments of frustration. Rather than using Bristol paper, I used 140# CP watercolor paper. The first frustration was the texture of the paper and my pencil – a lot of smudges. Still, I continued and laid down the ink lines after I had it limned out. Then, erasing all that smudging with the kneaded rubber eraser, and it cleaned up very well.

As you can tell by the shadows, this is either early morning or late afternoon – and it is late afternoon. The sun is to the left, which is in the west toward the Pacific. This is an older section of Santa Barbara, and because it is not filled with new and modern buildings, it is charming and pleasant, and certainly a break from modern suburban architecture.

When I started inking the outlines, I began with the stop sign on the right. Can you see how stupidly out of proportion it is? You could knock an elephant out with it! The people and the rest of the drawing are in decent relationships to each other. Unfortunately, I used colors which are rather saturated and did not pay attention to the fact that the ink bleeds a lot. When I painted the major tree to the left of the building, the trunk should have been very light. The same with the mountains above the taqueria itself. Despite that, I like the way it turned out overall. A word of caution – don’t drive the cars as they look quite unsafe.

Ancient Copper ink; fountain pen; 140# CP watercolor paper; brush and watercolors. About 11×13.

Sketching with Shari, iii

Another pleasant break to be had yesterday afternoon! Tasks and chores shucked and done; dinner to be prepared. In between, back to Shari Blaukopf’s short course on ink and pen and drawing.

I tackled the section on drawing people, and I think I accomplished my task quite well. As always, a few good tips really helped move my sketches into more successful areas – in particular the one about getting the shape of the shoulders correct and then moving up and down the body as needed.

The hands in the above drawing are not at all good, but such is life. The basic drawing was done in pencil, which I did not erase after applying the ink. The line drawing was done using Sailor’s black pigmented ink, and the washes were done with India ink, diluted to make the washes.

From there, we moved on to water soluble ink in color. The color Shari used, and which I bought, is called Ancient Copper. The pen I used is my trusty Spencerian nib in my vintage Edwardian pen hold made of silver (yeah, posh!). The Spencerian nib is great as it provides a very fine line, but with pressure yields a good thick line.

Looking at my signed and scanned image, it looks like there is black ink used here, but there is none. It just shows how scans can mutate color, but also just how variable the ink itself is – from on the nib, to dissolved with a brush dipped in water and applied across the lines.

First a pencil drawing, then outlines and cross-hatching with the pen. Darker areas have more hatching. Then, let the ink dry and erase the lines with a kneaded rubber eraser. From there, a brush dipped in water to create the lights and darks by applying it over the lines. Areas with more lines = darker areas. Then, while the paper was damp or dry, I used my dip pen to apply more ink. In particular, I used it to outline the man, his clothes, and the edges of the bench. This helped emphasize contrast and to help separate different areas of the drawing from other areas.

Bristol paper, 11×14, India ink, Sailor pigmented black ink, Ancient Copper ink, Spencerian dip pen, brush.

Sketching with Shari, ii

It seems as if my life has been in a frenzy with multiple little tasks to be done before the day’s fun can begin! Today is no exception – banking, bills, dishes, housework – and then little petty things that pop up, like buying a bit of something for dinner as we have no leftovers today. Yes, we have no leftovers! And no bananas.

Nonetheless . . . I did complete the second exercise series in Shari Blaukopf’s most recent online class of pen and ink. This time we have a square somewhere in France. I know because she said so! This time it was to be done with a water soluble ink, of which I have none, so I again played with diluted permanent ink. In a few areas I wet the paper and then drew with a permanent pen, but I don’t like that as it seems to mess up a pen’s nib.

This is done on Bristol paper, very smooth but fairly heavy. The lack of tooth can be very nice when drawing with pen and ink as well as washes. My lines are a bit wonky here and there – earthquake? – and people are not well done, but I struggled most with the park bench on the right!! I will say I don’t like my results as much as I did the first exercise, but this is also a far larger drawing, taking up the entire sheet of 11×14 paper. Still, it was fun and satisfying to do.

Bristol paper, 11×14, ink, pen, ink washes.