Flowers and Negative Painting

Negative painting is when you paint around an object. You can do this in any painting media, and it is really a good way to preserve the white paper for watercolors. As watercolor is transparent, painting over other colors influences the final result – for better or worse!

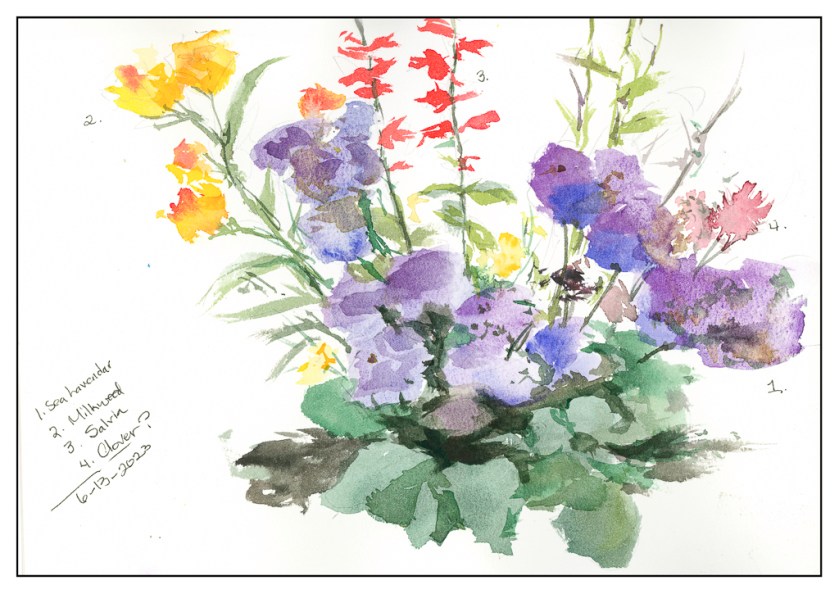
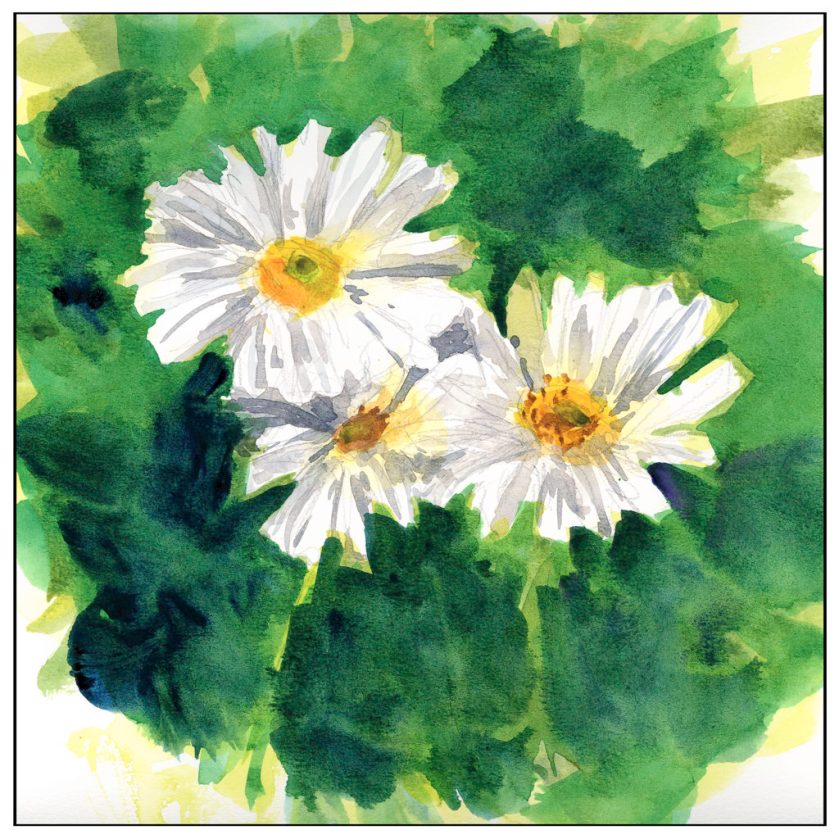
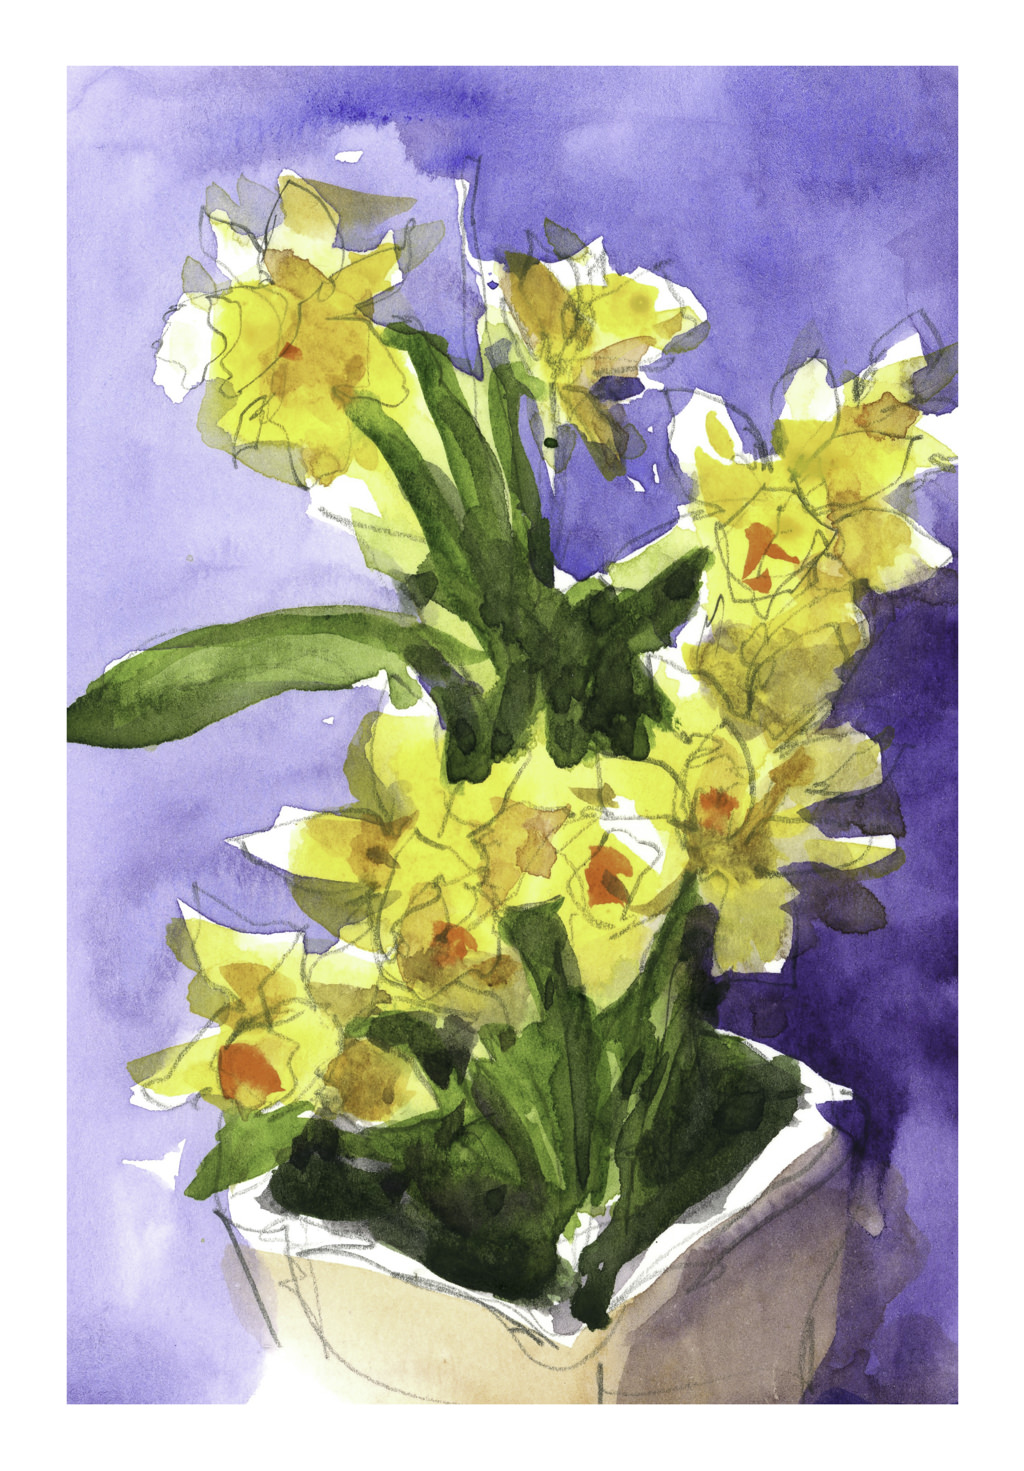
Today I decided to practice negative painting. Flowers are always a great subject (for anything!) – and a challenge, too.

I decided to start with an umbelliform flower – generic, no specific plant. If you know anything about flowers, think in terms of Queen Anne’s Lace or Cow Parsnip or Fennel. The flowers spread out over long stems branching off in a cone shape from a main stem. The shape is something like that of an umbrella, but the individual plant can be flat, convex, or concave. I chose a convex shape.

The first thing I did was pencil in the flower and stems. From there, a light wash of cobalt teal, diluted, to paint around the flower’s shapes. This took a bit of doing,and a bit of patience – to paint, and to let dry.

And, as you can see, the next step was to paint the flowers. The sun is above the shapes, so I tried to make the upper parts of the flower brighter than those bits directly beneath, and then with a spot of lighter ones further down the stem. By allowing the background to dry around the white areas my flowers were painted, in general, on a clean bit of paper. The colors are more clear. Yes, I did go in here and there later to paint onto the flowers again, and on the background, in an attempt to make sure I didn’t have any overwhelming pattern repeats and to help or improve areas I thought were not quite to my liking.

My next attempt is Spanish Broom. If you know what broom looks like, that is great – you know there are a lot of bright yellow flowers and buds which all clump beautifully together on a bush with dark green foliage. I did this background with the same goal as the umbelliform painting – keep white paper for more clear colors.

I took this painting a lot further than my umbelliform when it came to negative painting! I did 4 to 5 negative painting layers to get the sense of busy-ness of a Spanish Broom plant. I first added cadmium yellow, painting into the white paper and leaving some uncovered. From there, a bit of quinacridone gold or yellow ochre to add dimension to the flowers. Once these colors were dried, I went in with a slightly darker and more yellow green to depict leaves, and from there consecutive layers of darker and darker greens. In the end I diluted some white gouache into a greenish yellow mess on the palette to paint into the leafy areas.

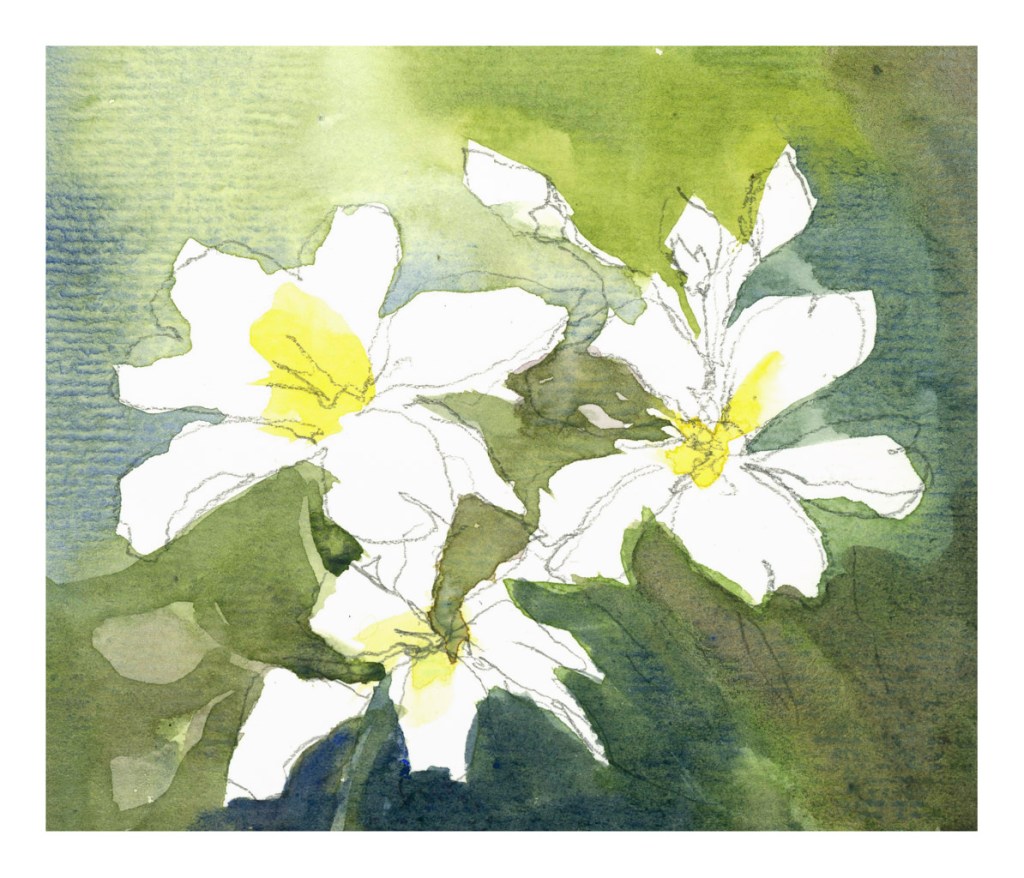
As with the previous two flower paintings, I did a quick, simple outline in pencil. However, instead of painting the entire background and in between plants, I used the big green leaves of the Greater Celadine plant as a frame for its bright yellow flower, and greenish-yellow and dark green buds. Again, leaving white paper was important for the freshness of color.

The next step was to paint the yellow flower itself overall – no shadows or gradations until later. The yellowish-green buds were painted more wet-in-wet for blurring. I also painted some layers of darker greens and warmer greens on the leaves, and a mix of cadmium yellow and ochre for the shadows and stamens (pistils? – can never remember!) within the flower itself. The final touches were the fine hairs on leaves, stem, and buds. I used pure white for painting them on the colors, but added some lavendery green with the white gouache to paint onto the white paper in the background.

These exercises were time intensive, but in the end the focus and willingness to be patient paid off. I like each one for different reasons and I used each to try different ways of painting flowers. All of these are in my big sketchbook, and I am beginning to realize with each painting experience how much both a sketchbook and painting daily as much as possible are paying off. This along with losing a fear of failure a “formal” painting can bring are allowing me to explore and experiment in ways I never foresaw.

Potted Flowers without the Pots

I wasn’t interested in the flower pots these potted flowers are in, so I left them out. Now they are unpotted for your perusal.

Above are what are supposed to be little daisies and some lobelia. More negative painting practice, which didn’t really work out, but I did try it, both around the daisies and then painting green onto green in the greenery.

Venery in the greenery anyone?

I am much happier with this painting than the first one. Some negative painting, such as in the leaves and in the lavenders of the sea lavenders. With both, but particularly the sea lavender, I also tried to merge colors in the wet washes. There was a cauliflower which occurred in the far right sea lavender, but too much working on it made it a bit more messy. My mind was on painting colors, not really on patience of waiting for things to dry a bit – hence the cauliflower.

I worked on these this morning, painting on the patio in a bit of a gloomy day, but it was certainly pleasant enough. Being outdoors while painting certainly is beginning to have its appeal; now I think I might take a handcrank sewing machine outside to enjoy more of this summery now sunny weather whilst I sew!

Brain Training with Negative Painting

No, I don’t mean painting with negative themes or thoughts, but painting around things – but you already knew that!

The normal course of painting, for the major part anyway, is to paint the object you are focused on. Then you paint around it. Most often it works, but for light-colored objects, or flowers, sometimes you just need to paint around the white to keep it white. Paper also can affect negative painting by how well it absorbs water and pigment. 100% cotton watercolor paper is best for this, and its sizing also will affect its absorbency. Cellulose papers, even if heavy, react differently to layers and layers of watercolors and pigments.

Below is one of my first focused attempts on negative painting. Supposedly these are chamomile flowers, but the fact is they look a lot like any generic daisy. Painted on the cellulose paper, absorbency was an issue, as seen clearly on the flowers. Blending of color was rather forced. However, I could paint around the white of the flower and get crisp edges. The outside green was more difficult; I think if I used water between two green values to soften the edges, blending might have been more successeful.

From this paper I went to 100% cotton Kilimanjaro 140# CP paper, natural tone. Already a difference can be seen and, while painting, felt. Color is easily absorbed and blurs nicely. Layers of color, laid in while wet and dry, still creates a lovelier quality than above. It was far easier to paint the petals with shades of grey and with thin glazes than above since the paper’s response was more absorbent and less resistant to both water and color.

Finally, a painting of yellow lilies – lilies? you ask? Yeah, me, too. Anyway, yellow flowers. I painted the basic shapes of the flowers, then painted around them, and then added what was supposed to add character and depth to the flowers, and then back to the back ground, and then back to the flowers, and so on. As a flower painting it is nothing great, but it was good practice for negative painting. I worked at shapes more than anything – the shape the yellows create as well as the greens and darks outside and in between the flowers themselves. This, too, was on the Kilimanjaro paper, and it shows.

The cellulose paper fails when it comes to lots of washes, but for more direct painting it works pretty well. For lots of water and color, as with the two on the Kilimanjaro, the cotton paper is far better. The frustration level with the cellulose paper is certainly there as I had to pick up drops of water and spend a lot of time with the hair dryer so I could move on to the next wash or glaze. With the Kilimanjaro, only when I wanted a totally dry sheet to paint upon, to add glazes or more paint or another layer of clean water, did I need to use the hair dryer.

So, more painting and focus. Not great, but it is in the doing and the play the learning is done.

Morning Sketch 7 – Negative Painting & Daffodils

More work on negative painting and flowers. I wanted simple but interesting flowers to paint. Daffodils are perfect for this – beautiful flowers, usually one color, and have a relative simple shape – petals and a tube in the middle.

To begin, I obviously did a sketch, and obviously also depend on the sketch to let the viewer know these are (supposedly) daffodils. I painted the blue around the drawing first – working the dark in against all traditional watercolor rules. Then, the vase. Then a loose blobbing of yellow, darker yellow, some greyed yellow for shadows, and a touch of orange for the centers of the flowers. The leaves happened somewhere, and final daubs of darkestness to accent things.

Not a great painting but it was a good practice piece. Still more practice is needed. Negative painting is getting easier. Color blobs are getting easier, too, to show lighter and darker areas, as practiced in yesterdays press-release brush play. Once more, I am not after a botanical painting with detail, but an ability to have a loose, expressive style that shows things in a painterly manner for what they really are.

One day, one day . . .

Morning Sketch 5 – Negative Painting & Flowers

Practice makes perfect. While far from perfect, I have been trying to improve how I do negative painting. Flowers work well for this, but I have also decided to conscientiously work on flower painting.

I looked over at Pixabay and searched for “white flower” – several came up, some too busy with other things, some too simple, some lacking definition. What I wanted were white petals sticking out from something. As I already did daisies, I thought ones a bit simpler but still having interesting characteristics could be nice. Anemones of varying sorts came up, so off I went.

Above is the first one. I drew in the outline of the flower and then painted the center of the flowers but not any shadows on the petals. From there, I worked on the negative painting, trying to paint around the white petals. Then I let it dry and, as you can see in the lower left, put in a darker wash to outline leaves and a stem or two.

The second painting below was a bit more complex. I did the shadows on the flower petals – still white – after drawing in the basic shapes. You can see my pencil lines throughout. Then I did the leaves and stems in a lighter green. From there, I mixed in greens and blues for the most part and worked to paint around the white and shadowed petals, looking for contrast, coolness and warmth. After I let the painting dry, I went in again with shadows, augmenting a few petals here and there. The final step was to paint in the yellow flower centers with a dab and press of the brush.

I rather like these – they don’t look too overworked compared to the previous ones. My style is looser, which I prefer. As well, I worked with tube paints and a bigger palette so as to mix more colors. The paper this time is 100% cotton, a student grade one, but acceptable.

Just because these are better than previous negative painting studies doesn’t mean I’ve gotten there yet! So much more to learn – and a lot to do in that learning process.