
Oh, the cleverness of me!
I am feeling quite smug.
I am not a musician, but I do goof around on the ukulele. I picked it up a few years ago. I prefer fingerstyle to strumming chords as I don’t sing. I have books. I have sheet music. My music stand will easily hold a book opened up or two letter-sized bits of printed paper. However, beyond that, I have to resort to turning pages, and that is not an easy thing to do when your two hands are busy.
So what is a girl to do? Of course! Go shopping and look for an overly large music stand for a small fortune or poorly rated extenders for a smaller price and much less durability.
But, nothing appealed to me, and then my leetle grey cells went to work: make one!
The big question was what to use? And then it dawned on me to use the same material I use to support my watercolor paintings, is lightweight, at hand, and cheap. The material is called Coroplast which is thin, easily cut to size, and good for all sorts of things. All I needed to make my extender was a ruler, a utility knife for cutting, a cutting mat, and a bit of tape.
My music stand measures about 12″ high by 16″ wide with a 2″ lip to hold the book. I took an existing large piece of Coroplast I had lying around and cut it to 14″ x 30″. Along the long edge, on the reverse side of of the Coroplast, I created a cut 2″ up from the long edge, making sure not to cut all the way through. The purpose was to keep the piece intact but with the ability to fold the piece 90 degrees to mimic or recreate the 2″ rest for books or sheet music. This I bent forward, and then used a piece of green masking tape to cover the part I cut.
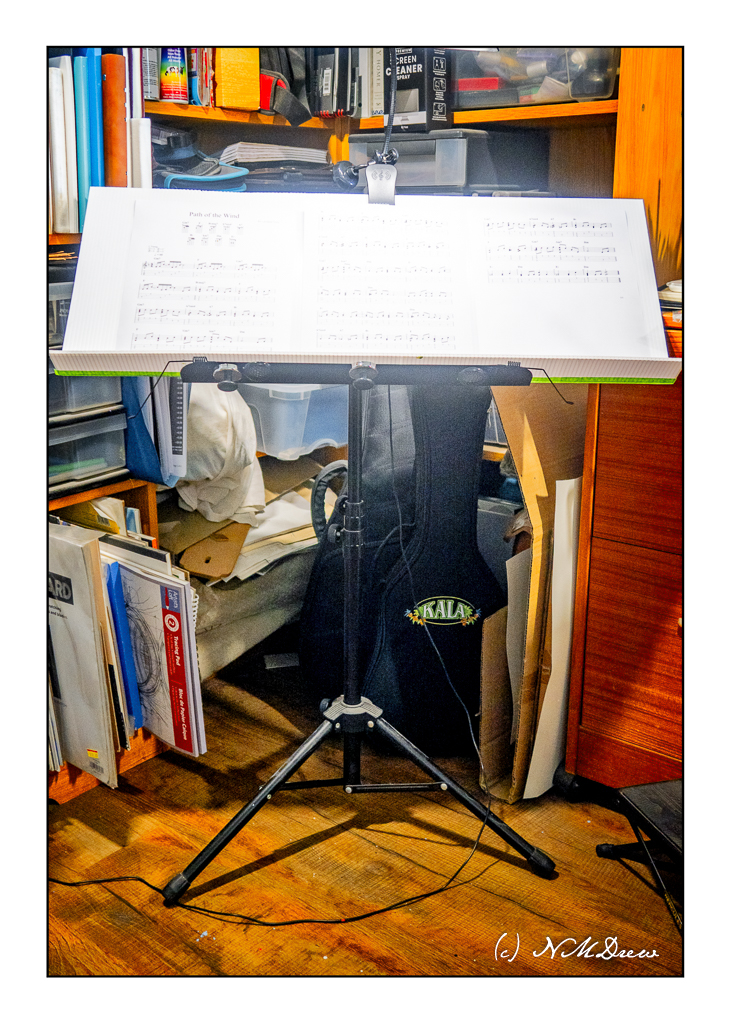
This is how the Coroplast extender sits on top of my music stand. I have an LED lamp which clamps to the top of the stand, providing light, and I am using this to hold the extender in place. If you look at the bottom of the white extender, you can see my green tape over the “hinge” of the tray.

Above, you can see the fold creating the surface upon which books and sheets can rest, as well as a tray. On the right, you can see the cut edge of the Coroplast.
Altogether, this project cost nothing as all the things I needed were at hand. It just took a bit of thought. It fits easily on the existing stand, is lightweight, and can easily be replaced it it gets disgusting. Total time was about an hour once I figured out what I needed to do. One of the best things about Coroplast is it is inexpensive, so mistakes can be made. The sheets come in at the hardware store measuring 4′ x 8′. Have at it if you need it!
