A Bit of Dishonesty

I’ve been editing photos for a while now.  One of my favorite tools is spot removal, from spots on a dirty digital lens to lint in film.

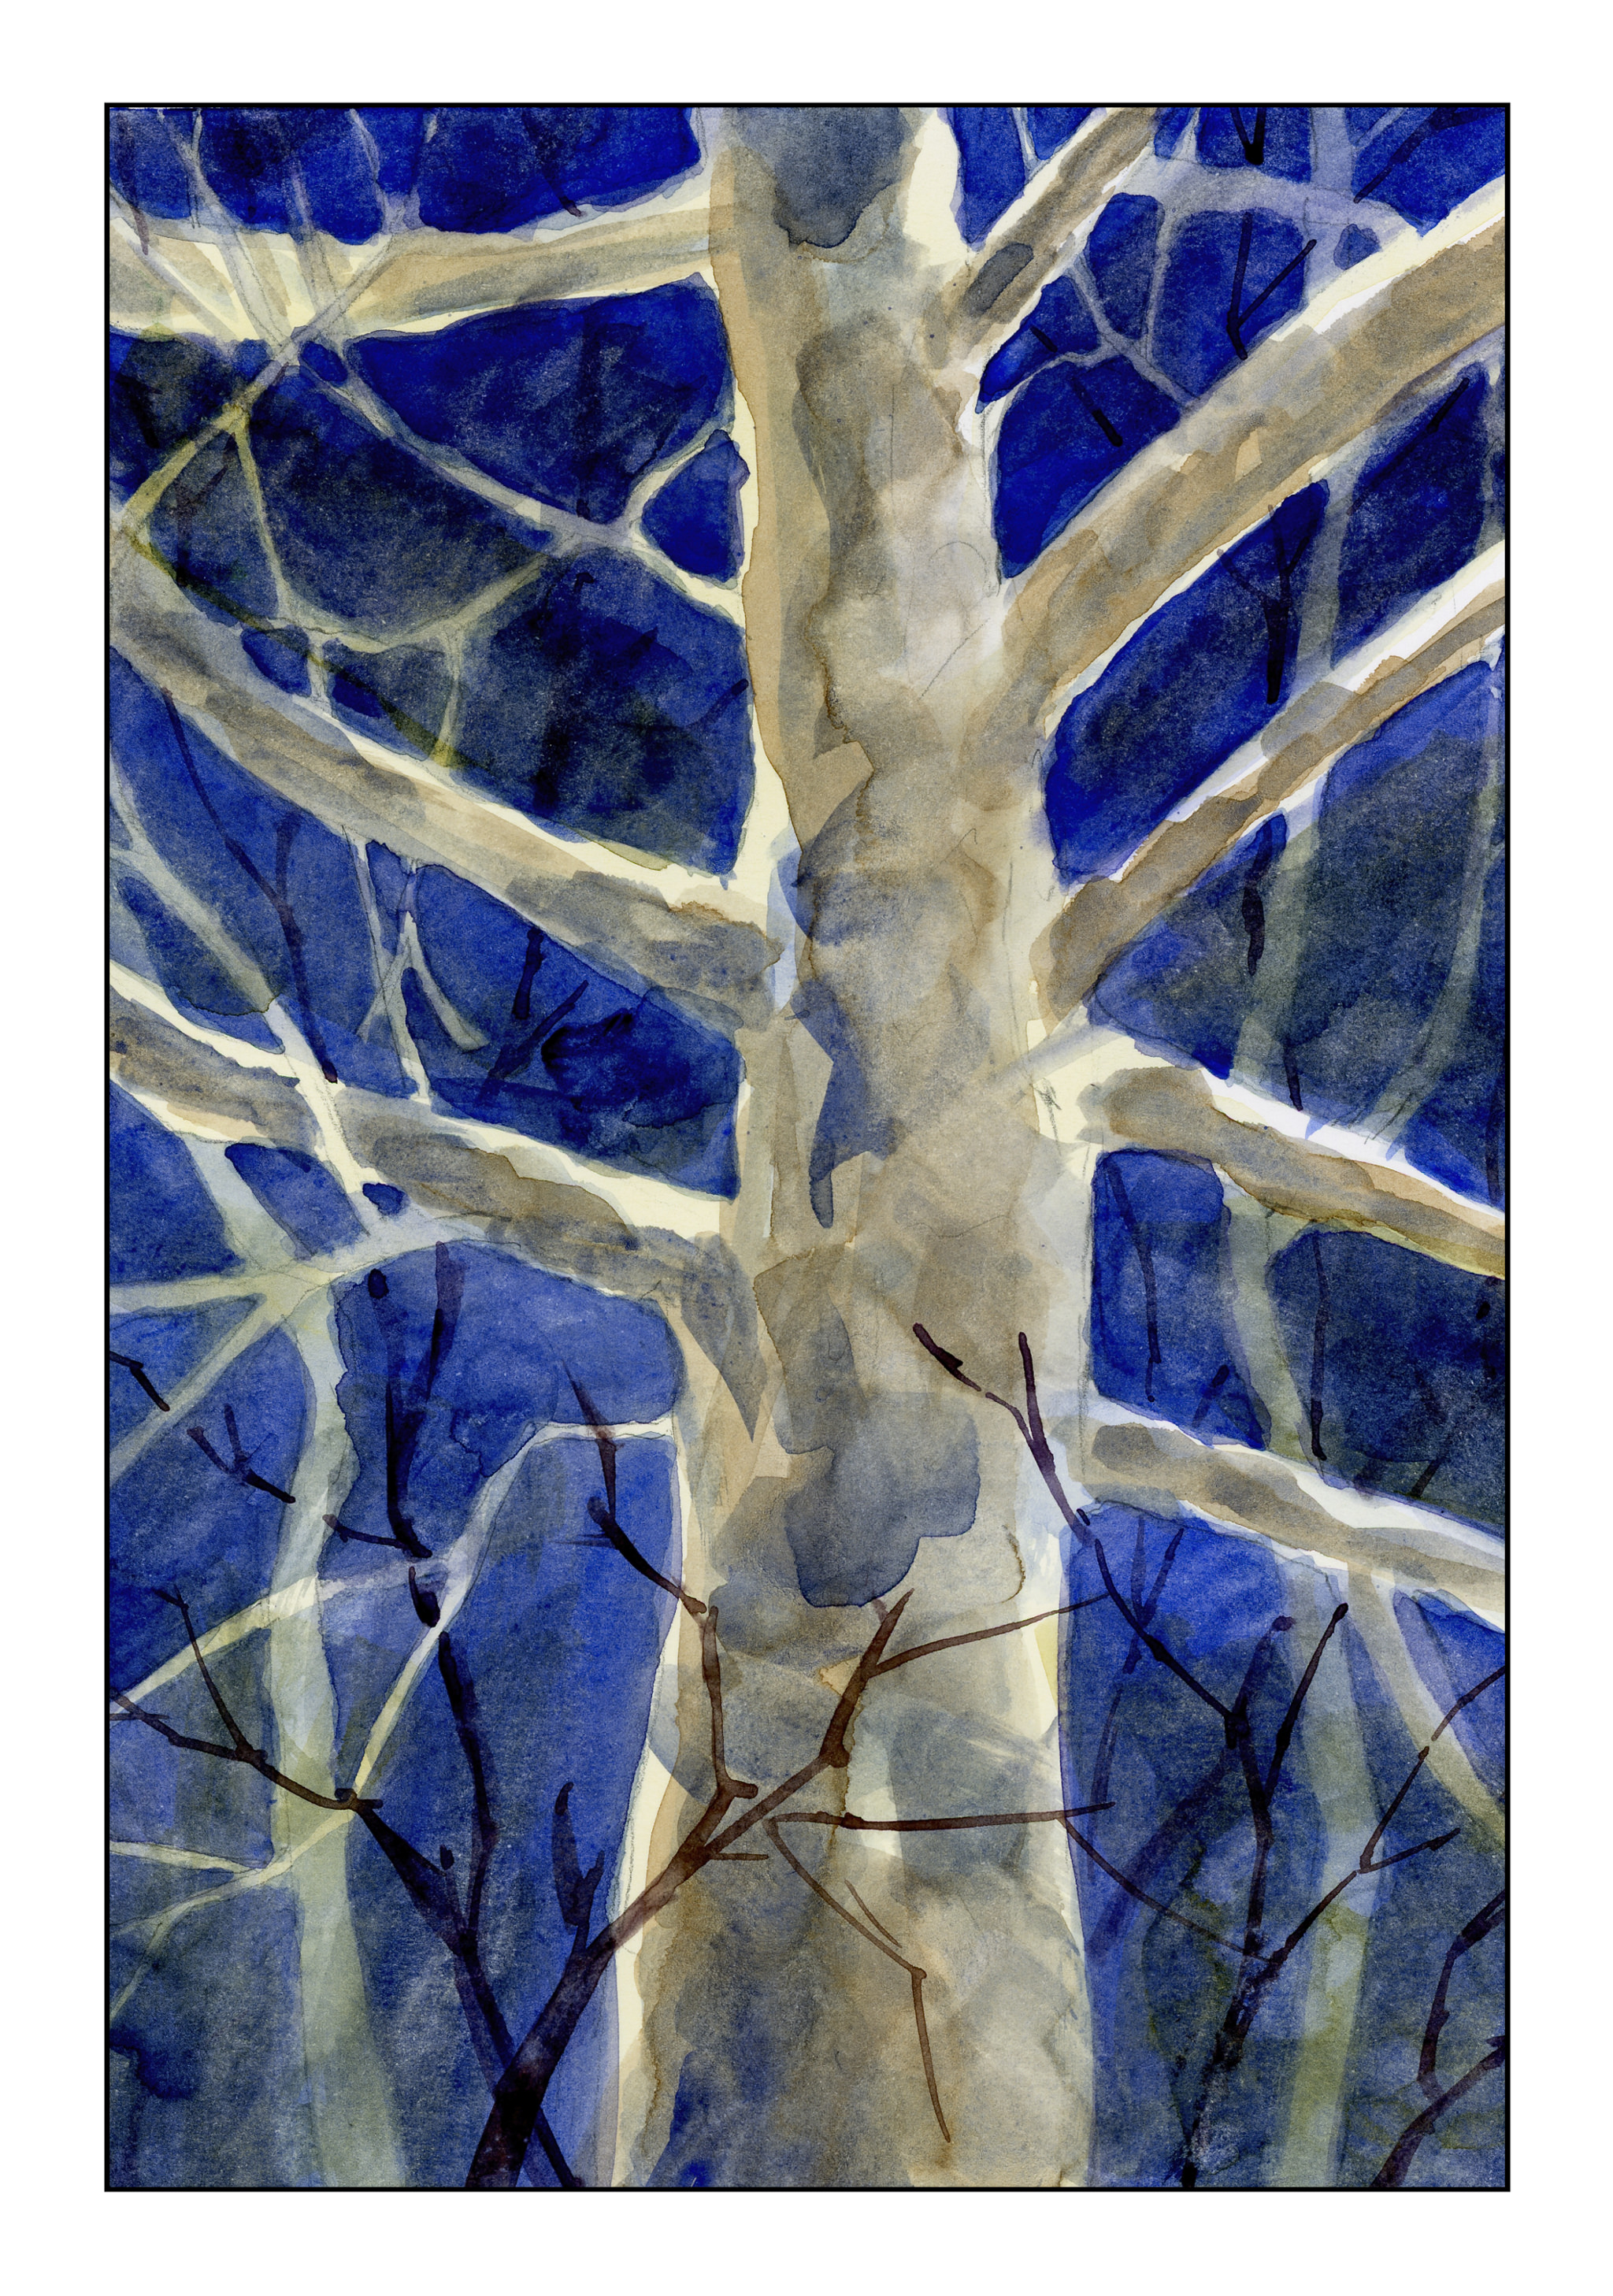
The other day I was comparing my second edition of the Moonlit Sycamore with the first edition of the same.  I liked the first one better, but did not like all the little twiggy lines I put in to represent a tangled undergrowth at the base of the tree.

Then the thought hit:  edit it out!

So I did.

For your viewing pleasure, here is the before, and then the after.  The third image is the second real painting of the same subject.  What do you think?

Moonlight

My original “Moonlit Sycamore” is below.  I like it a lot – except for the squiggly black lines I put into it.  They ruined the painting for me.

So, a second attempt, this time on 12×15 paper rather than 9×12.  No squiggles in front of the main trunk.  Instead, this new version is much darker, and the squiggly lines don’t exist, but dark lines, to suggest other trees and branches, exist, but not across the main trunk.  Here is the new version below.

The scan doesn’t really do it justice – the burnt sienna is a bit less intense in the original.

Both painting were designed to work on negative painting.  This is not easy and I expect it takes a lot of practice to do it well.  Years ago, I did take a workshop and saw negative painting and masking fluid for the first time.  It was quite impressive and looked deceptively easy.  I am finding it is not – but it will improve with time!  Funny how a scan makes you see a painting so differently . . . flaws are more apparent, as are areas of success.

Moonlight

Night is always mysterious and exciting.  The moon overhead – clouds – wind- the creaking of branches – the rustles in the undergrowth.  This is what I decided to try, using an old sycamore tree as the subject, and a bit of my imagination.

First step was to decide on colors, and approach.  I decided warm undertones for the tree and the sky.  I used a bit of Quinacridone gold and Yellow Ochre for a thin wash.  From there, successive glazes in Ultramarine Blue, Indrathene Blue, and Carbazole Violet.  As things progressed, some Burnt Sienna.  You can see the different layers below.

At times I used a hair dryer to dry the layers . . . other times I painted as I held the hair dryer.  I used rounds, flats, and finally a rigger brush (for the very first time!)  It was okay to use the rigger in the background, but crossing it along the bottom of the tree – I don’t know – I think it detracts from the rest of the tree – hard to say at the moment.


Negative Painting & Glazing

This morning I decided to do a few things I haven’t been too fond of in the past.  One is negative painting.  The other is using glazes.  That’s what I did here.  The first layer was a warm yellowish wash, very thin.  From there, about 3 or 4 consecutive layers of blues and violets around the main trunks, and then over the ones to the sides, making them bluish.  I then used a rigger brush (for the first time) to create branches.

Overall, the picture works, but the areas I can say shouldn’t have happened are the branches in front of the central trunk.  The other thing I need to do is to create better contrast on the branches, in particular it seems on the right.  I would like to see more blue in there, in narrow strips using a flat brush.  I may do that later.

The idea behind this painting a sycamore tree in moonlight, with the above exercises to accomplish it.  I thought ahead more than I usually do, considering colors and such, as well as the approach to creating what I desired as an end product.