For most people, like me, who like to paint or draw but have little formal training, shapes can be challenging. I’ve taken art classes when I was in college, but the fact is, most American colleges fail terribly at providing practical knowledge to their art students. Too often the dictum is essentially “Go forth and create!” without any foundational information. In my adult school art classes, there is far more information to be had, and when I see fellow classmates from Asia and Europe with superb technical skills, I feel overwhelmed. How the heck do I get that?? But, on the other hand, they like my messy art and wonder how the heck to get that!
So, we are stuck. All of us. We all face challenges in how to do or express things with whatever medium we use. For me, shapes are most often the biggest challenge, and maybe that is because I prefer landscapes to people or buildings. I am working on meeting these challenges, and YouTube provides a lot of help in all areas confusing. My current challenge is to paint boats. I don’t have an easy way to get their correct shape.
So, enter YouTube and three methods to get a boat shape: figure 8, blocks, and a petal shape with lines and crosshairs. All work. The simplest is the figure 8 method, and that is what I applied here. I used a reference photo and then superimposed the figure 8 method to the boat. It took a bit, but below is the boat – a simple sailboat anchored at low tide.
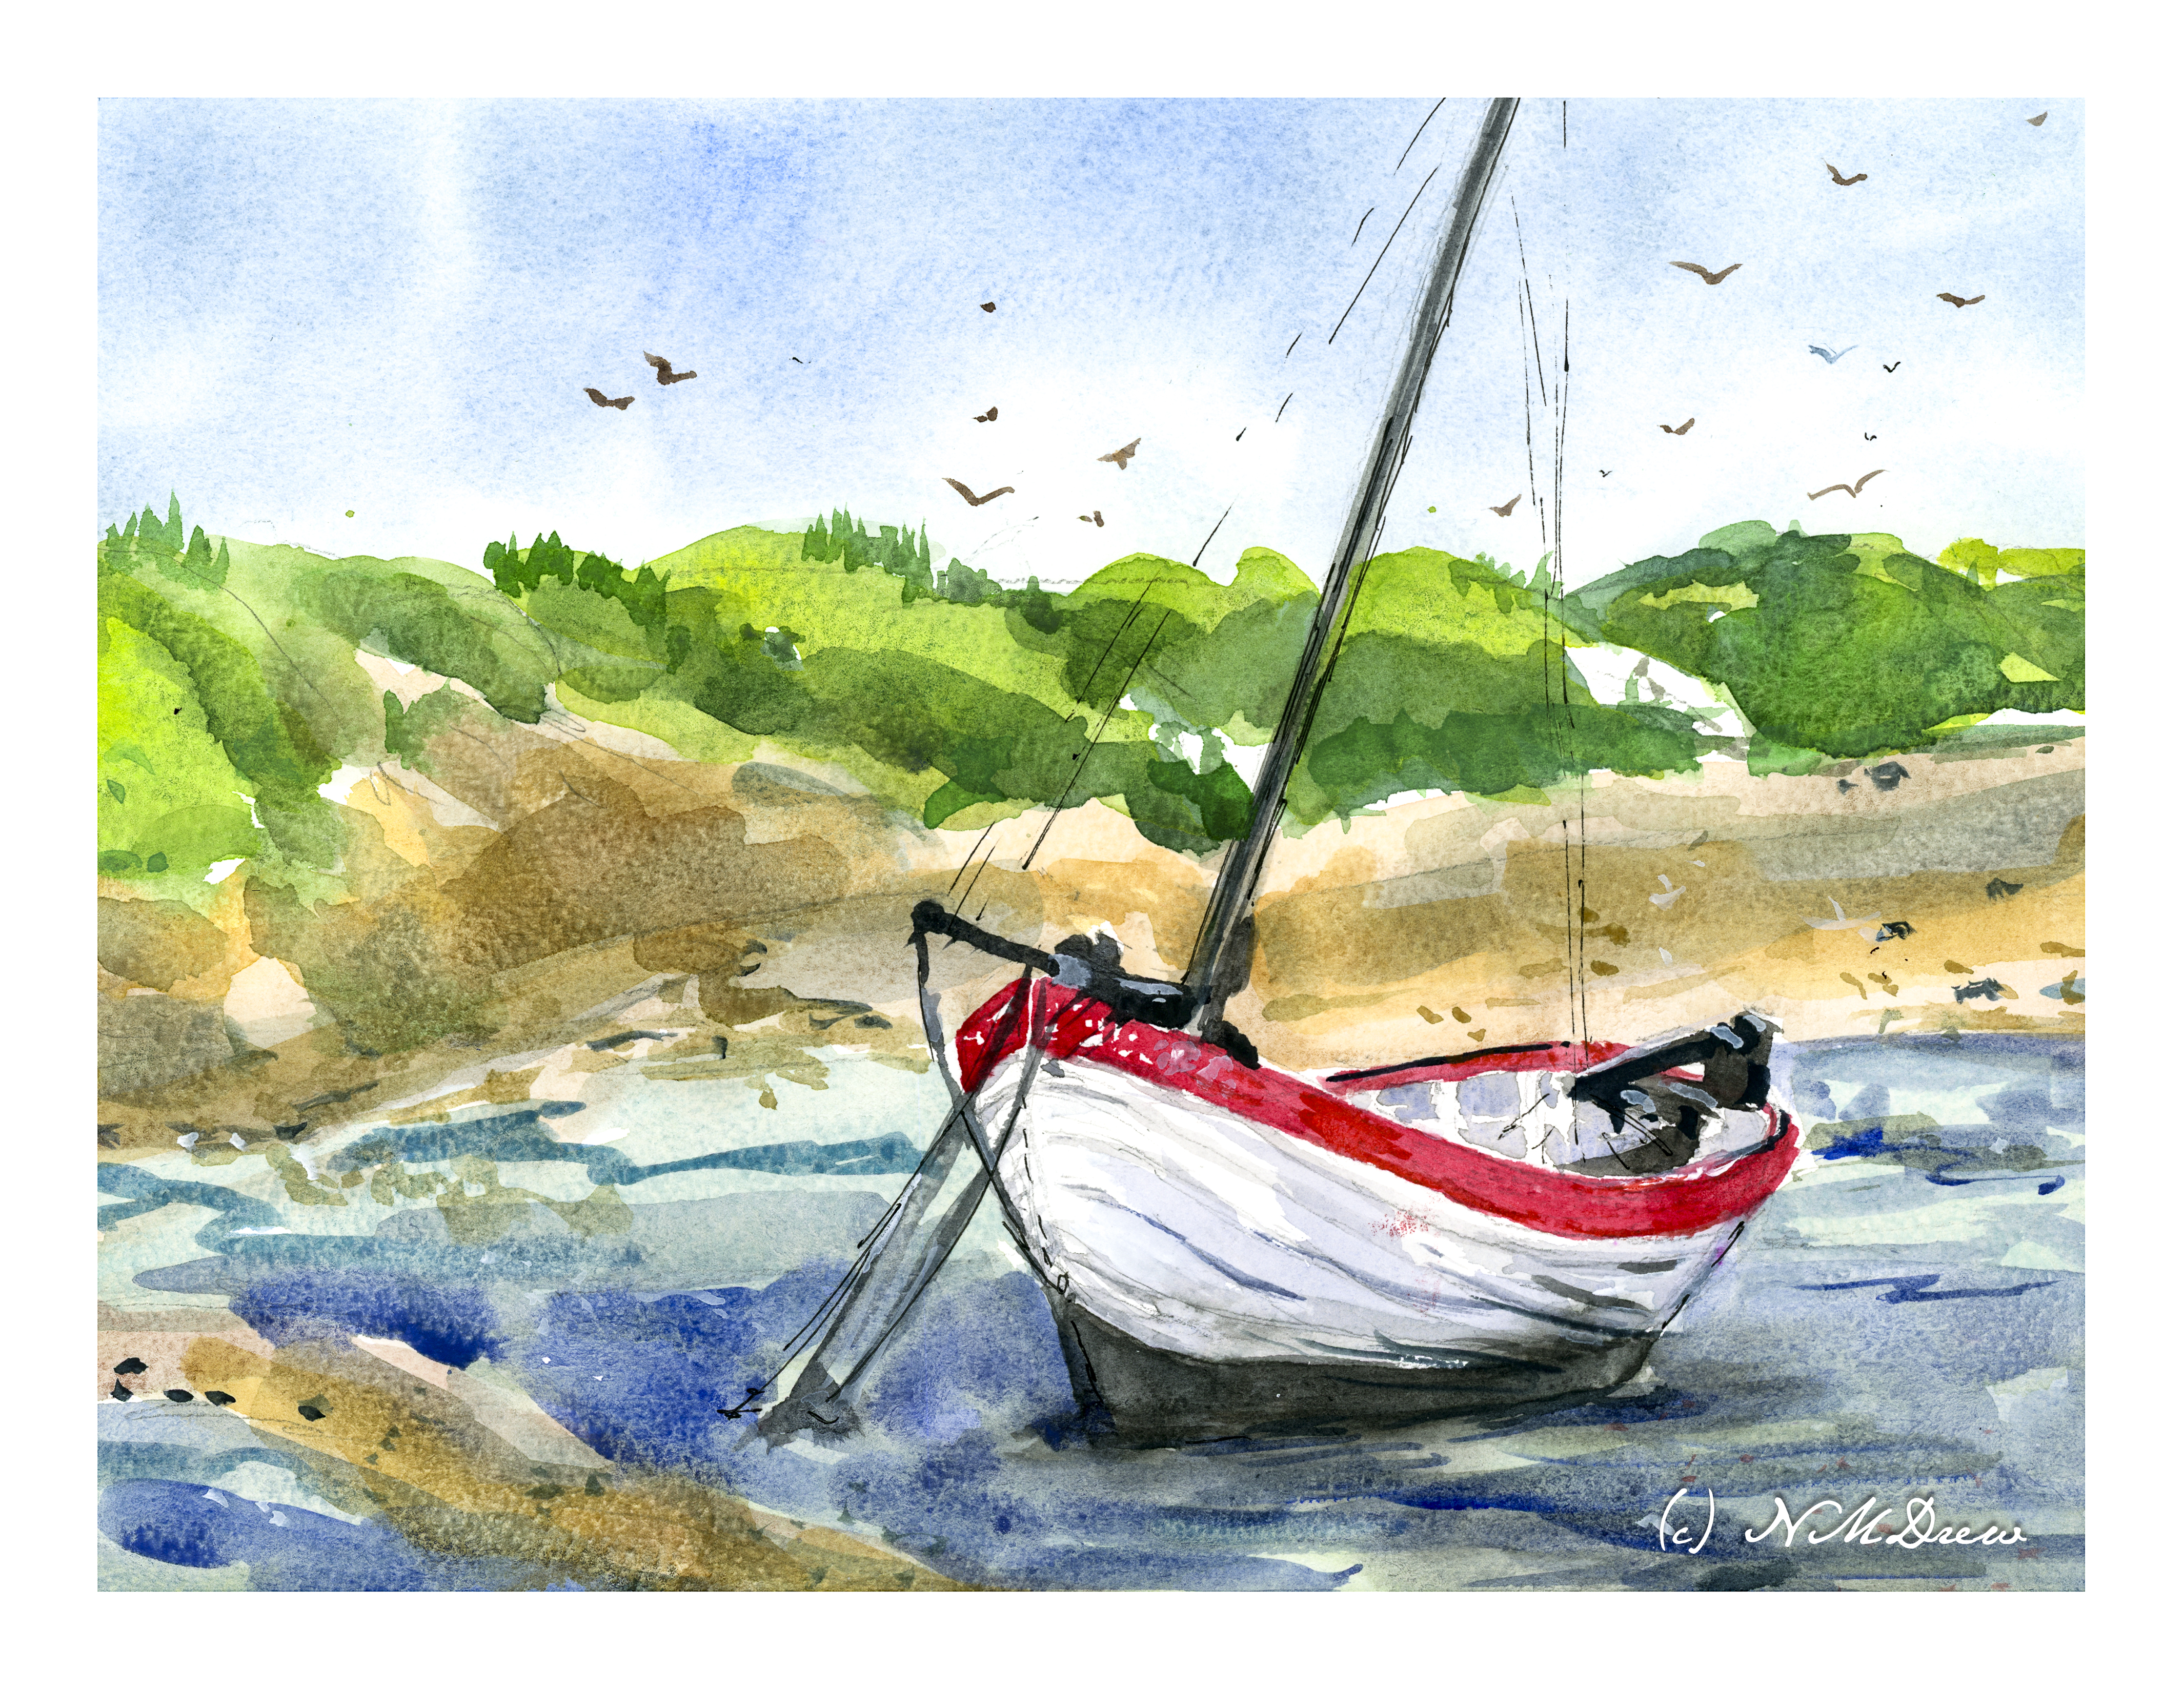
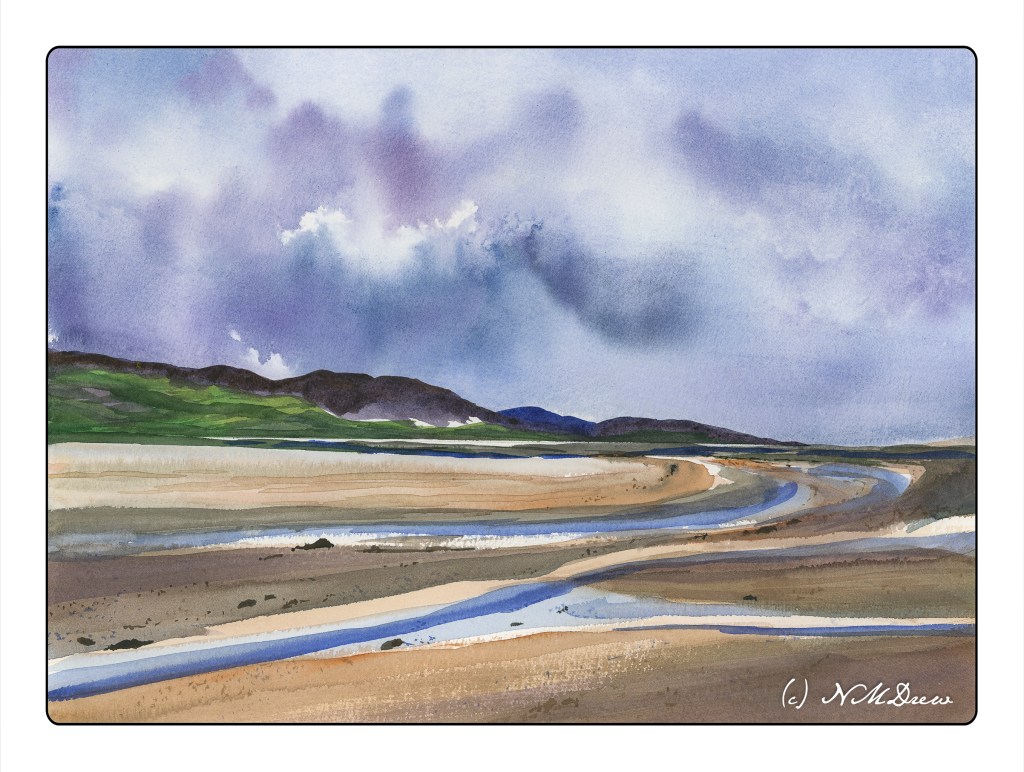
I drew several figure 8 boats with pencil and paper, but painting one proved a bit of a challenge. It took awhile to get my mind wrapped around the image and then the figure 8. Going from figure 8 to boat with pencil and paper was easy, but looking at a real boat required more work. Still, not really displeased with the end result of the boat – she’ll float – and that is the point of this painting: a boat that looks real(ish)! As far as the rest of the painting? It’s just there for filler.
Watercolor, Bockingford 140# CP, 9×12.