Out in the Back Yard: Dinghy, Trees, and Lilies

This past week has been spent sewing, learning software, socializing, keeping appointments, and going to Santa Monica via the canyons. Fun stuff. Today, though, the urge to paint came upon me – it really is part of my identity, for better or worse.

For some reason I am obsessed with boats of late – trying to get their shapes and such. I figured a dinghy on water, reflections and all, would be a good place to begin. Boat shapes are hard in some way, but if you create a series of rectangles, the curves and such are easy to create. I drew this one in my watercolor sketchbook, and there were a lot of pencil marks. In the end I needed a bit of definition, so added blackish paint lines here and there.

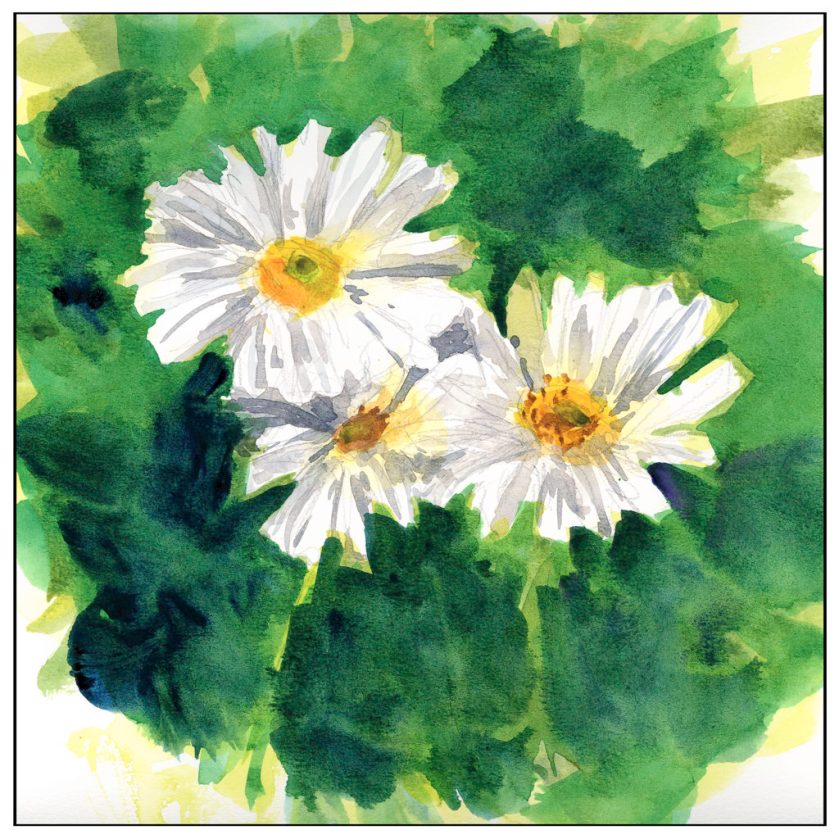
My sister asked me if I ever paint from real life or outdoors. Seldom will I do either, but I have been doing my garden plants, so I decided to do my podocarpus trees along the back wall, and added some imaginary grass to replace the dirt and roots. (I need to cut these all done, have the yard dug out, and then re-landscape. What’s a couple of million bucks?)

After these, drawn ahead with pencil on the paper, I decided to work on what is referred to as “direct watercolor” – a phrase invented by Marc Taro Holmes. This is when you paint directly on the paper – no prelim drawing, no pencil lines. You put pigment on paper and off you go.

The first subject is the large grouping of banana and palm trees across the street from me. I wanted to catch the light, so I began with the beige of the banana plants, and then began creating shapes with negative painting and then adding more colors and so on. The negative painting is easier to do with direct watercolor, I think.

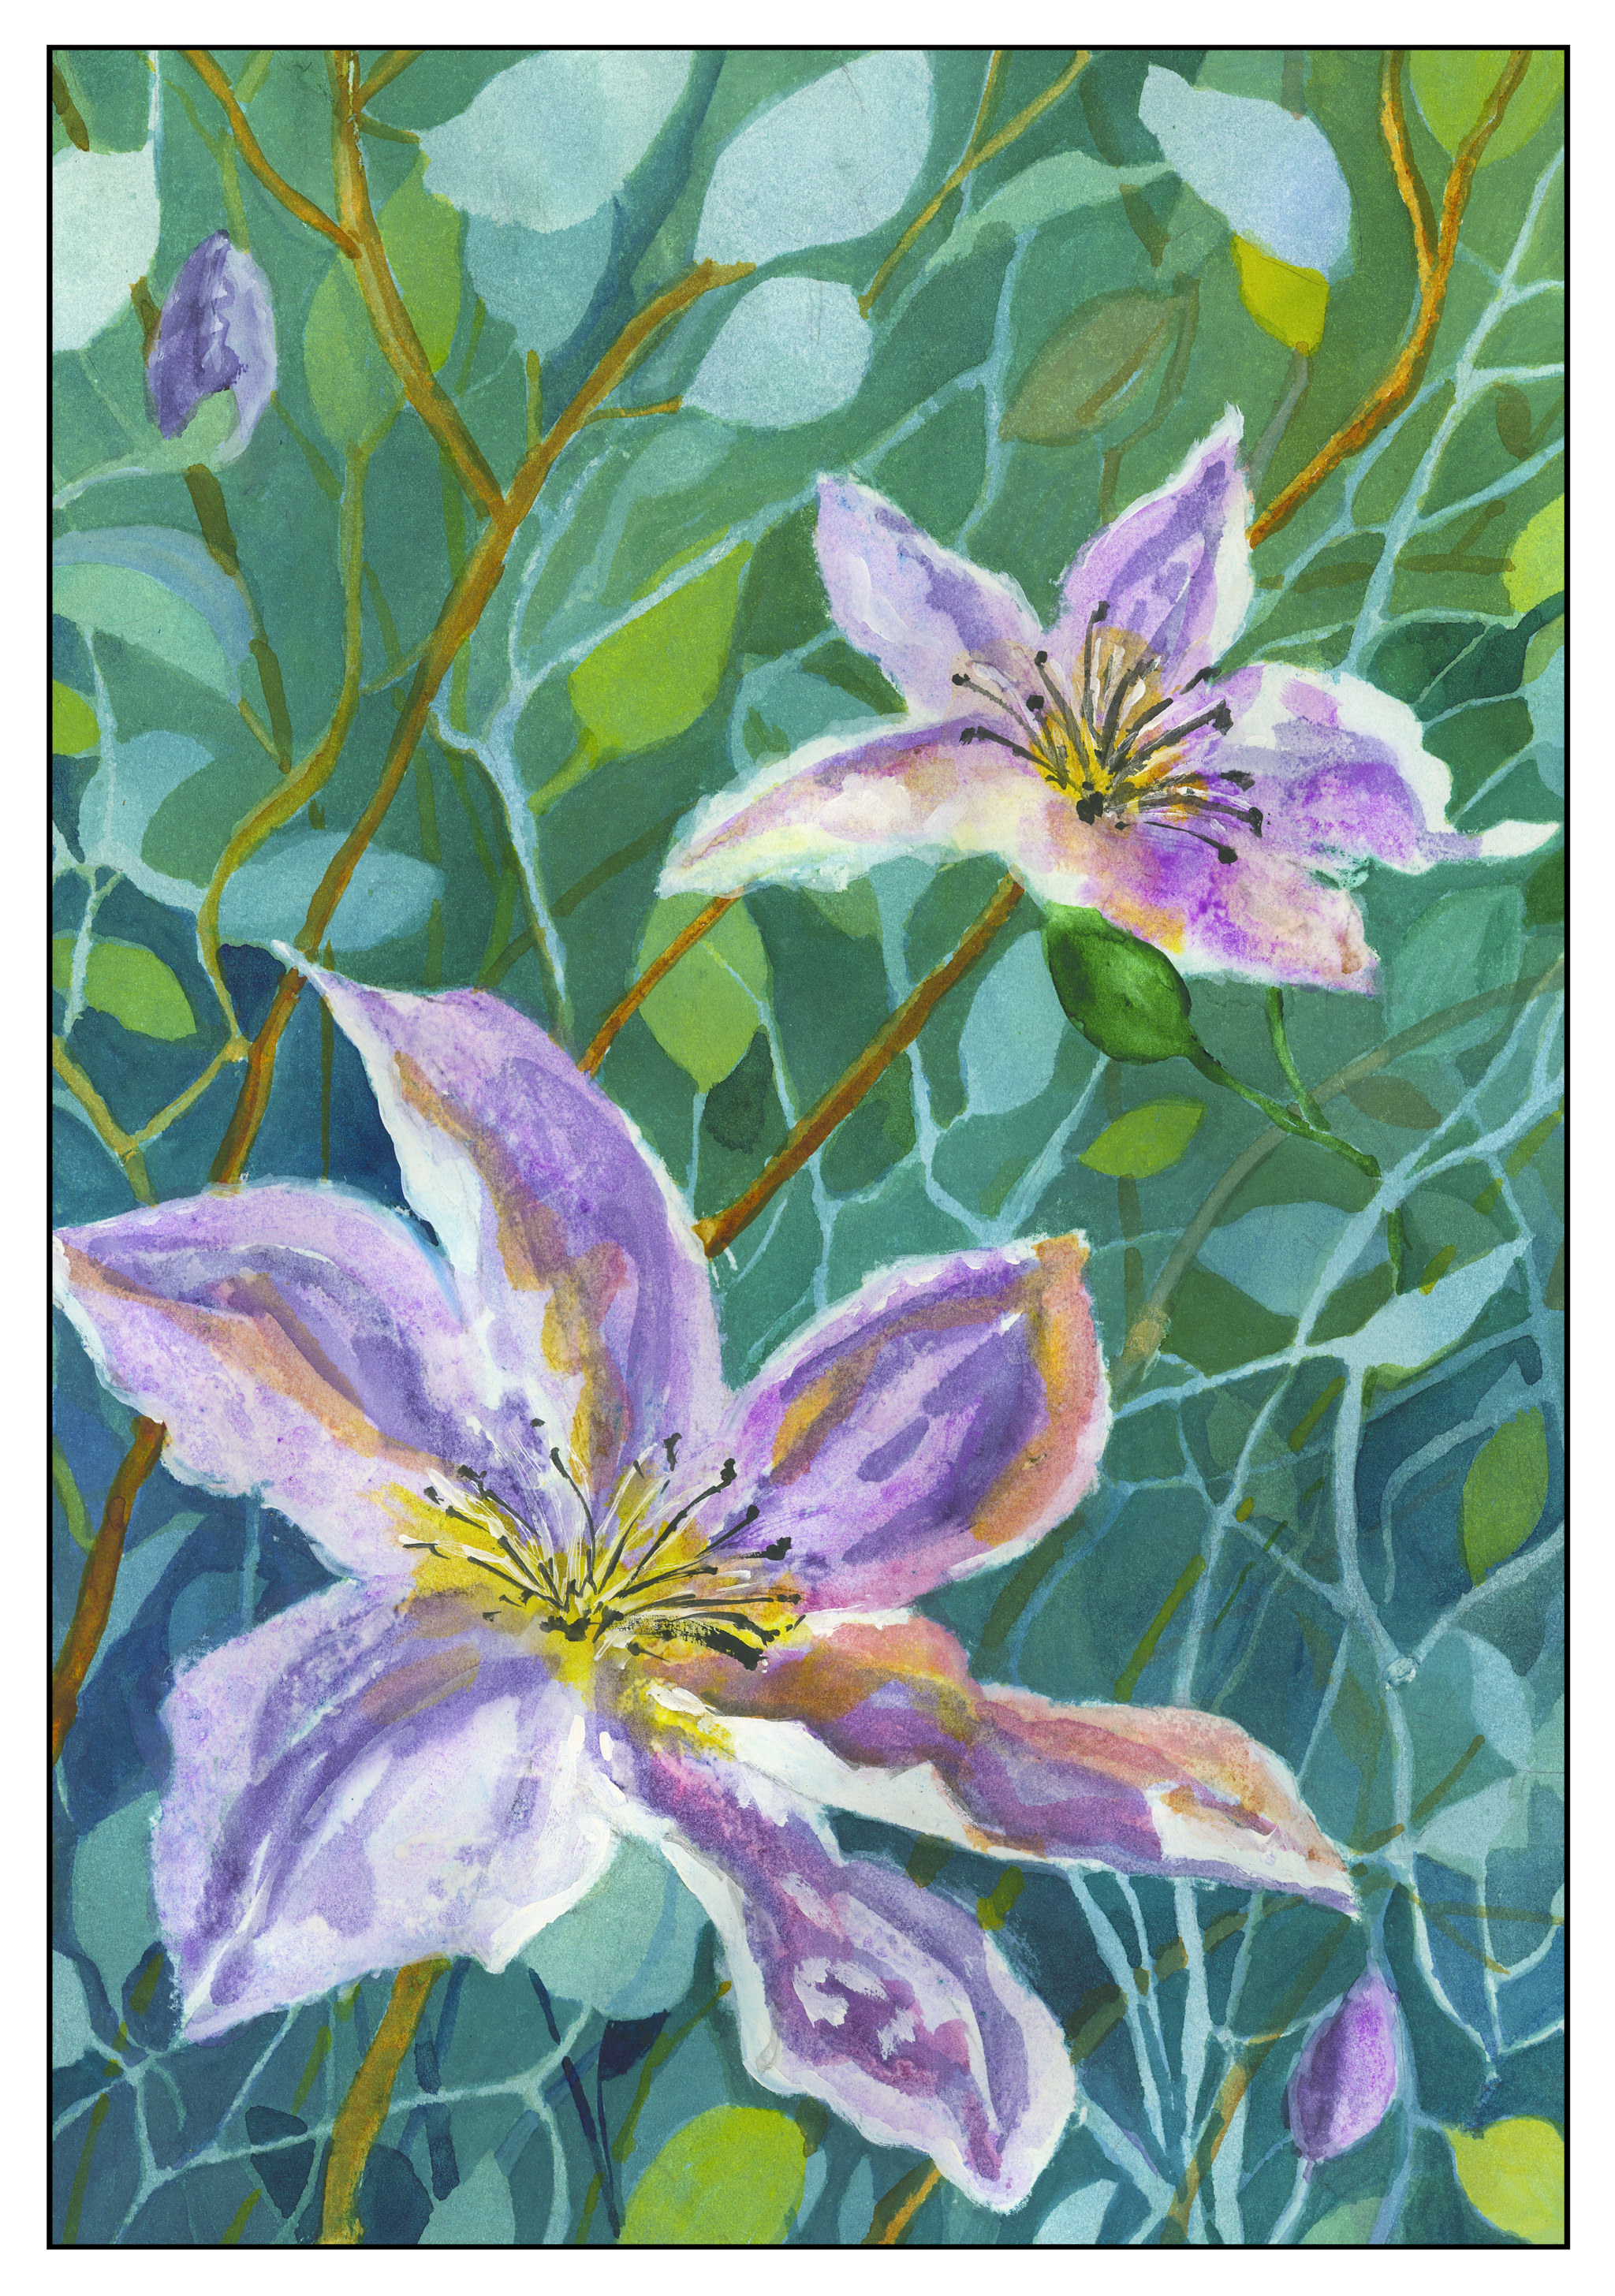
And finally, more of the orange lilies I have. This time I included the pot! I began this painting with the pale beige of the wall, creating leaf shapes by negative painting. I wanted to catch the light and sparkle on these complex plants. They are lighter at the top, and get darker as you move down and to the left. The patio is covered with light and shadow from the sun through the leaves of the overhead trees.

Nothing spectacular, but a good way to spend some time outdoors, seated at the picnic table, and playing around.

Brain Training with Negative Painting

No, I don’t mean painting with negative themes or thoughts, but painting around things – but you already knew that!

The normal course of painting, for the major part anyway, is to paint the object you are focused on. Then you paint around it. Most often it works, but for light-colored objects, or flowers, sometimes you just need to paint around the white to keep it white. Paper also can affect negative painting by how well it absorbs water and pigment. 100% cotton watercolor paper is best for this, and its sizing also will affect its absorbency. Cellulose papers, even if heavy, react differently to layers and layers of watercolors and pigments.

Below is one of my first focused attempts on negative painting. Supposedly these are chamomile flowers, but the fact is they look a lot like any generic daisy. Painted on the cellulose paper, absorbency was an issue, as seen clearly on the flowers. Blending of color was rather forced. However, I could paint around the white of the flower and get crisp edges. The outside green was more difficult; I think if I used water between two green values to soften the edges, blending might have been more successeful.

From this paper I went to 100% cotton Kilimanjaro 140# CP paper, natural tone. Already a difference can be seen and, while painting, felt. Color is easily absorbed and blurs nicely. Layers of color, laid in while wet and dry, still creates a lovelier quality than above. It was far easier to paint the petals with shades of grey and with thin glazes than above since the paper’s response was more absorbent and less resistant to both water and color.

Finally, a painting of yellow lilies – lilies? you ask? Yeah, me, too. Anyway, yellow flowers. I painted the basic shapes of the flowers, then painted around them, and then added what was supposed to add character and depth to the flowers, and then back to the back ground, and then back to the flowers, and so on. As a flower painting it is nothing great, but it was good practice for negative painting. I worked at shapes more than anything – the shape the yellows create as well as the greens and darks outside and in between the flowers themselves. This, too, was on the Kilimanjaro paper, and it shows.

The cellulose paper fails when it comes to lots of washes, but for more direct painting it works pretty well. For lots of water and color, as with the two on the Kilimanjaro, the cotton paper is far better. The frustration level with the cellulose paper is certainly there as I had to pick up drops of water and spend a lot of time with the hair dryer so I could move on to the next wash or glaze. With the Kilimanjaro, only when I wanted a totally dry sheet to paint upon, to add glazes or more paint or another layer of clean water, did I need to use the hair dryer.

So, more painting and focus. Not great, but it is in the doing and the play the learning is done.

Orange Lilies

After “getting” negative space yesterday, I decided to make a complicated drawing and “work” at negative space.  I have orange lilies blooming in pots on the patio every year, and they are brilliantly orange with piles of leaves in all directions.  What better source of light and dark, overlaps, medium shades?  And in the afternoon sun.  So, here you go.

Lilies

Well – let’s just say that the lilies suck.  The masking fluid tore up the surface of the paper, which is student grade to begin with, and the soap suds from straight dishwashing soap seemed to have remove the sizing – or a lot of it – from the paper.  The paper itself is good for studies with less water, and I enjoy using it for play and experimentation.

The lilies are out of proportion.  Rather a disappointing experience, to say the least.

Still, I am inclined to want to think about this painting.  In reality, this style of painting is better suited, in my opinion, to a graphic presentation.  It’s not “painterly” in the way I want to do watercolors.  If nothing else, that is my take-away from this experience.

Besides being too graphic for my taste in watercolor, the masking fluid was a disaster.  Straight dishwashing soap does not work on the paper, even though my brush didn’t suffer in the least.  I’ve used a diluted soap solution with better results.  I also would prefer to not use masking, simply because I want to keep the process as clean as possible, with few if any extras in the way of the process.

In the end, I think learning what you don’t like is fundamental to many things, whether it’s a job or a way of painting.  This helps to focus your thoughts on your goals because you rid yourself of an unwanted item.  I still plan to focus on negative painting, but want to find a different way to approach it.

Lilies

I’ve said it before, and I’ll say it again:  I am an impatient person, particularly when it comes to painting watercolor.  The look of spontaneous painting requires forethought and planning, even for the simplest of pictures.  I keep falling for that lie!  Therefore, in an effort to tame my monkey mind, I decided to work on negative painting, which is not an easy thing to do.  Looking through YouTube, I found a lovely example of negative painting by Krzysztof Kowalski, which you can view below.

This painting study requires the usage of masking fluid in addition to working up layers of colors.  My sketch came out fairly good, as you can see below, but the first layer of water over the masking fluid turned rather comical.

I didn’t dilute my dishwashing soap before dipping my brush in it, then the mask.  The result, when I began to wet the paper, was soap suds!  Okay, dilute it next time.  I think the density of the dish soap also may not allow the masking fluid to adhere properly – I’ll find this out when I begin to remove it.  I spent a few hours painting the layers; this is my afternoon’s work.