For the next week, my schedule is a bit different. I have to be in to work 30 minutes earlier than normal, so I did this quick sketch in my Stillman & Birn softcover book. The ink is iron gall. I tried to keep the lines minimal, enough to capture important elements of the landscape, but not so much that they become dominant or what will (eventually) hold the image together. Hopefully I will be able to work on shadows and light, working to good contrast. I seem to need lines – I am comfortable with them – that are clearly visible. Interesting to find out how we all work, eh?
Neighborhood Tree
This is from my Stillman & Birn soft cover (blue) sketchbook with 180# paper. A part of me likes the thing, and another doesn’t. I’m not sure why.
Anyway, this shows what I am trying to do . . . establish shadow, play with color combos or swatches. I used all sorts of brushes on this. In general, it is overworked, and the trunk looks like some tree has landed on an octopus. (Poor octopus!)
This is the final product, with some work on it . . . The contrast is a bit better, but it still looks pretty much in the same key to me – in other words, the grey scale is pretty much the same to my eye when I see it in color. In B&W it is still not quite what I would like to see.
Neighborhood Tree
By nature, I am quite impatient. Maybe just not patient enough? What I mean is that sometimes I work too fast, rather than thinking ahead. In watercolor, timing is important, as is speed, but with patience thrown in. If I look at what I am doing, some are tight-ass line drawings, and others are just messy and rather free form, without lines. Here, I used a basic tree shape with cutouts to remind me where to not have leaves, so as to have room for sky and branches. I also worked for shadows.
Altogether, I worked too fast. I wanted to make some nice washes of the leaves, to show the color shifts from green to the glows of autumn. I also need to test out colors on a piece of paper. This is painted in a notebook, so the back of the previous page is a good place to do this (I keep trying to remind myself).  Accomplishment, though, is no mud.
Colors were fun to use, too. I mixed together an especially interesting mix of Payne’s Grey, Carbazole Violet, and Burnt Sienna. That is part of the pleasure of a sketch book – playtime and exploring.
I will be doing a lot of trees as I move along, but will need to do some stilllifes as well.
Tree Ferns
When I first posted the outline of these ferns, a reader, Sharon, suggested in her comment to fill in just the background. I was going to fill in the stems and leaves, but her idea was intriguing. I had thought of using watercolor with a brush, or watercolor pencils, or even just colored pencils. Instead, I thought brush pens (like Tombow, but not Tombow) might work. So, I ordered them from Amazon. Fun to use, and a lot of colors! And a great excuse to buy some art supplies, don’t you think? I rather like the results. Thanks, Sharon!
Cauliflower Rice Risotto
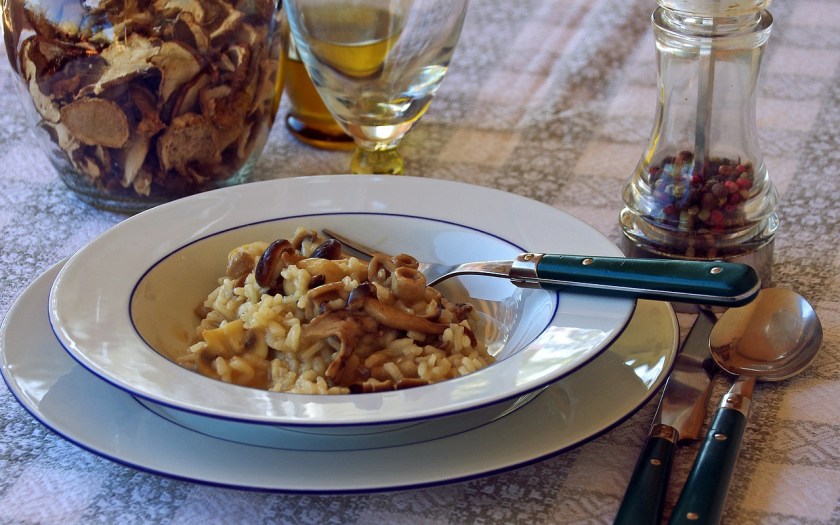
I am not a big fan of cauliflower, but I adore a good risotto. As we (the DH et moi) are changing our diet a bit, rice is off the menu (for now). Truthfully, most “substitutes” for other foods made in a traditional manner really are not good, as far as we are concerned, but we were both pretty pleased with this recipe, made by yours truly.
One of the most off-putting about cauliflower rice risottos is that they are too wet. Almost soggy. And never are they any good as leftovers. So, this recipe is good for 2 people as a side. Let me know what you think!
Cauliflower Rice Risotto
1/2 stick of butter
8 oz. riced cauliflower (I used a half of a Trader Joe’s packet)
8 oz. mushrooms, sliced
1/4 medium onion, chopped fine
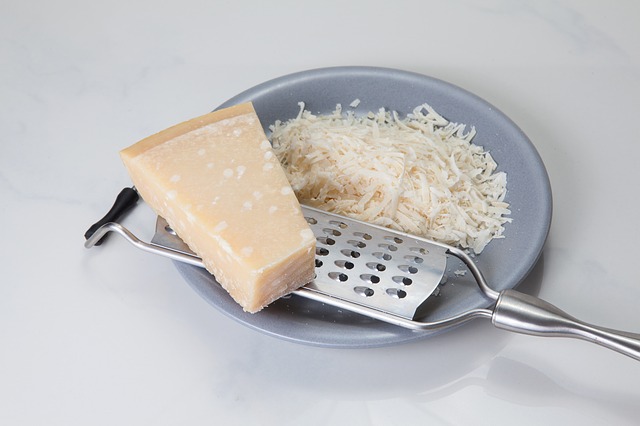
Romano or Parmesan cheese, grated
1/4 c. plain, whole milk yogurt
2-4 T. chicken stock
Ahead of time, fry up the mushrooms and onions in a very hot frying pan with the butter. Heat the pan first, put in the butter, and let it melt. When it begins to sizzle, add the mushrooms and chopped onion. Stir and flip the mushrooms and onions until the onions are rather browned. Continue to cook the mixture and let some of the liquor evaporate. Set aside in a small bowl until ready to use.
Add a small amount of butter back into the frying pan. Dump in the riced cauliflower and stir fry it, letting liquid evaporate. I used a rather high heat as I wanted to brown the cauliflower a bit. Stir constantly. When it is to your liking, return the mushroom-onion mixture to the pan.
Add a small amount of chicken broth to the pan, stirring everything together. Do not let the mixture become too wet, so it is better to slowly add the chicken broth. When you think it is ready, add the yogurt, and stir in thoroughly. (Yogurt? Yeah – it gives a slightly tart taste to the mixture, like white wine does to traditional risotto.) Again, let liquids evaporate. Add the Romano cheese (or Parmesan), and stir. Serve immediately; have extra grated cheese at the table for your dinner mates to add.  Add pepper to taste but be careful if you add salt – the cheese is salty enough for us.


