Catastrophe in the Dark Room

img008

Well, in the film-changing bag.

I have the Paterson set-up, with adjustable reels, for home developing of film.  My first round of developing was smooth and easy, using 35mm black and white film.  This time, though, was awful.  The Paterson reels are plastic and adjustable, and I like them for the 35mm – but did not like them at all for the 120 film.

The reels are harder to load than I realized for 120, and as soon as I got the film in the bag (without any practicing), I knew I was in for trouble.  I couldn’t do it.  Neither could my husband.  The film was bent, spindled, and mutilated.  As I had already poured out my chemicals, I just went ahead and jammed the film in, figuring the practice in developing wouldn’t hurt, and since things were already a mess, what the hell.

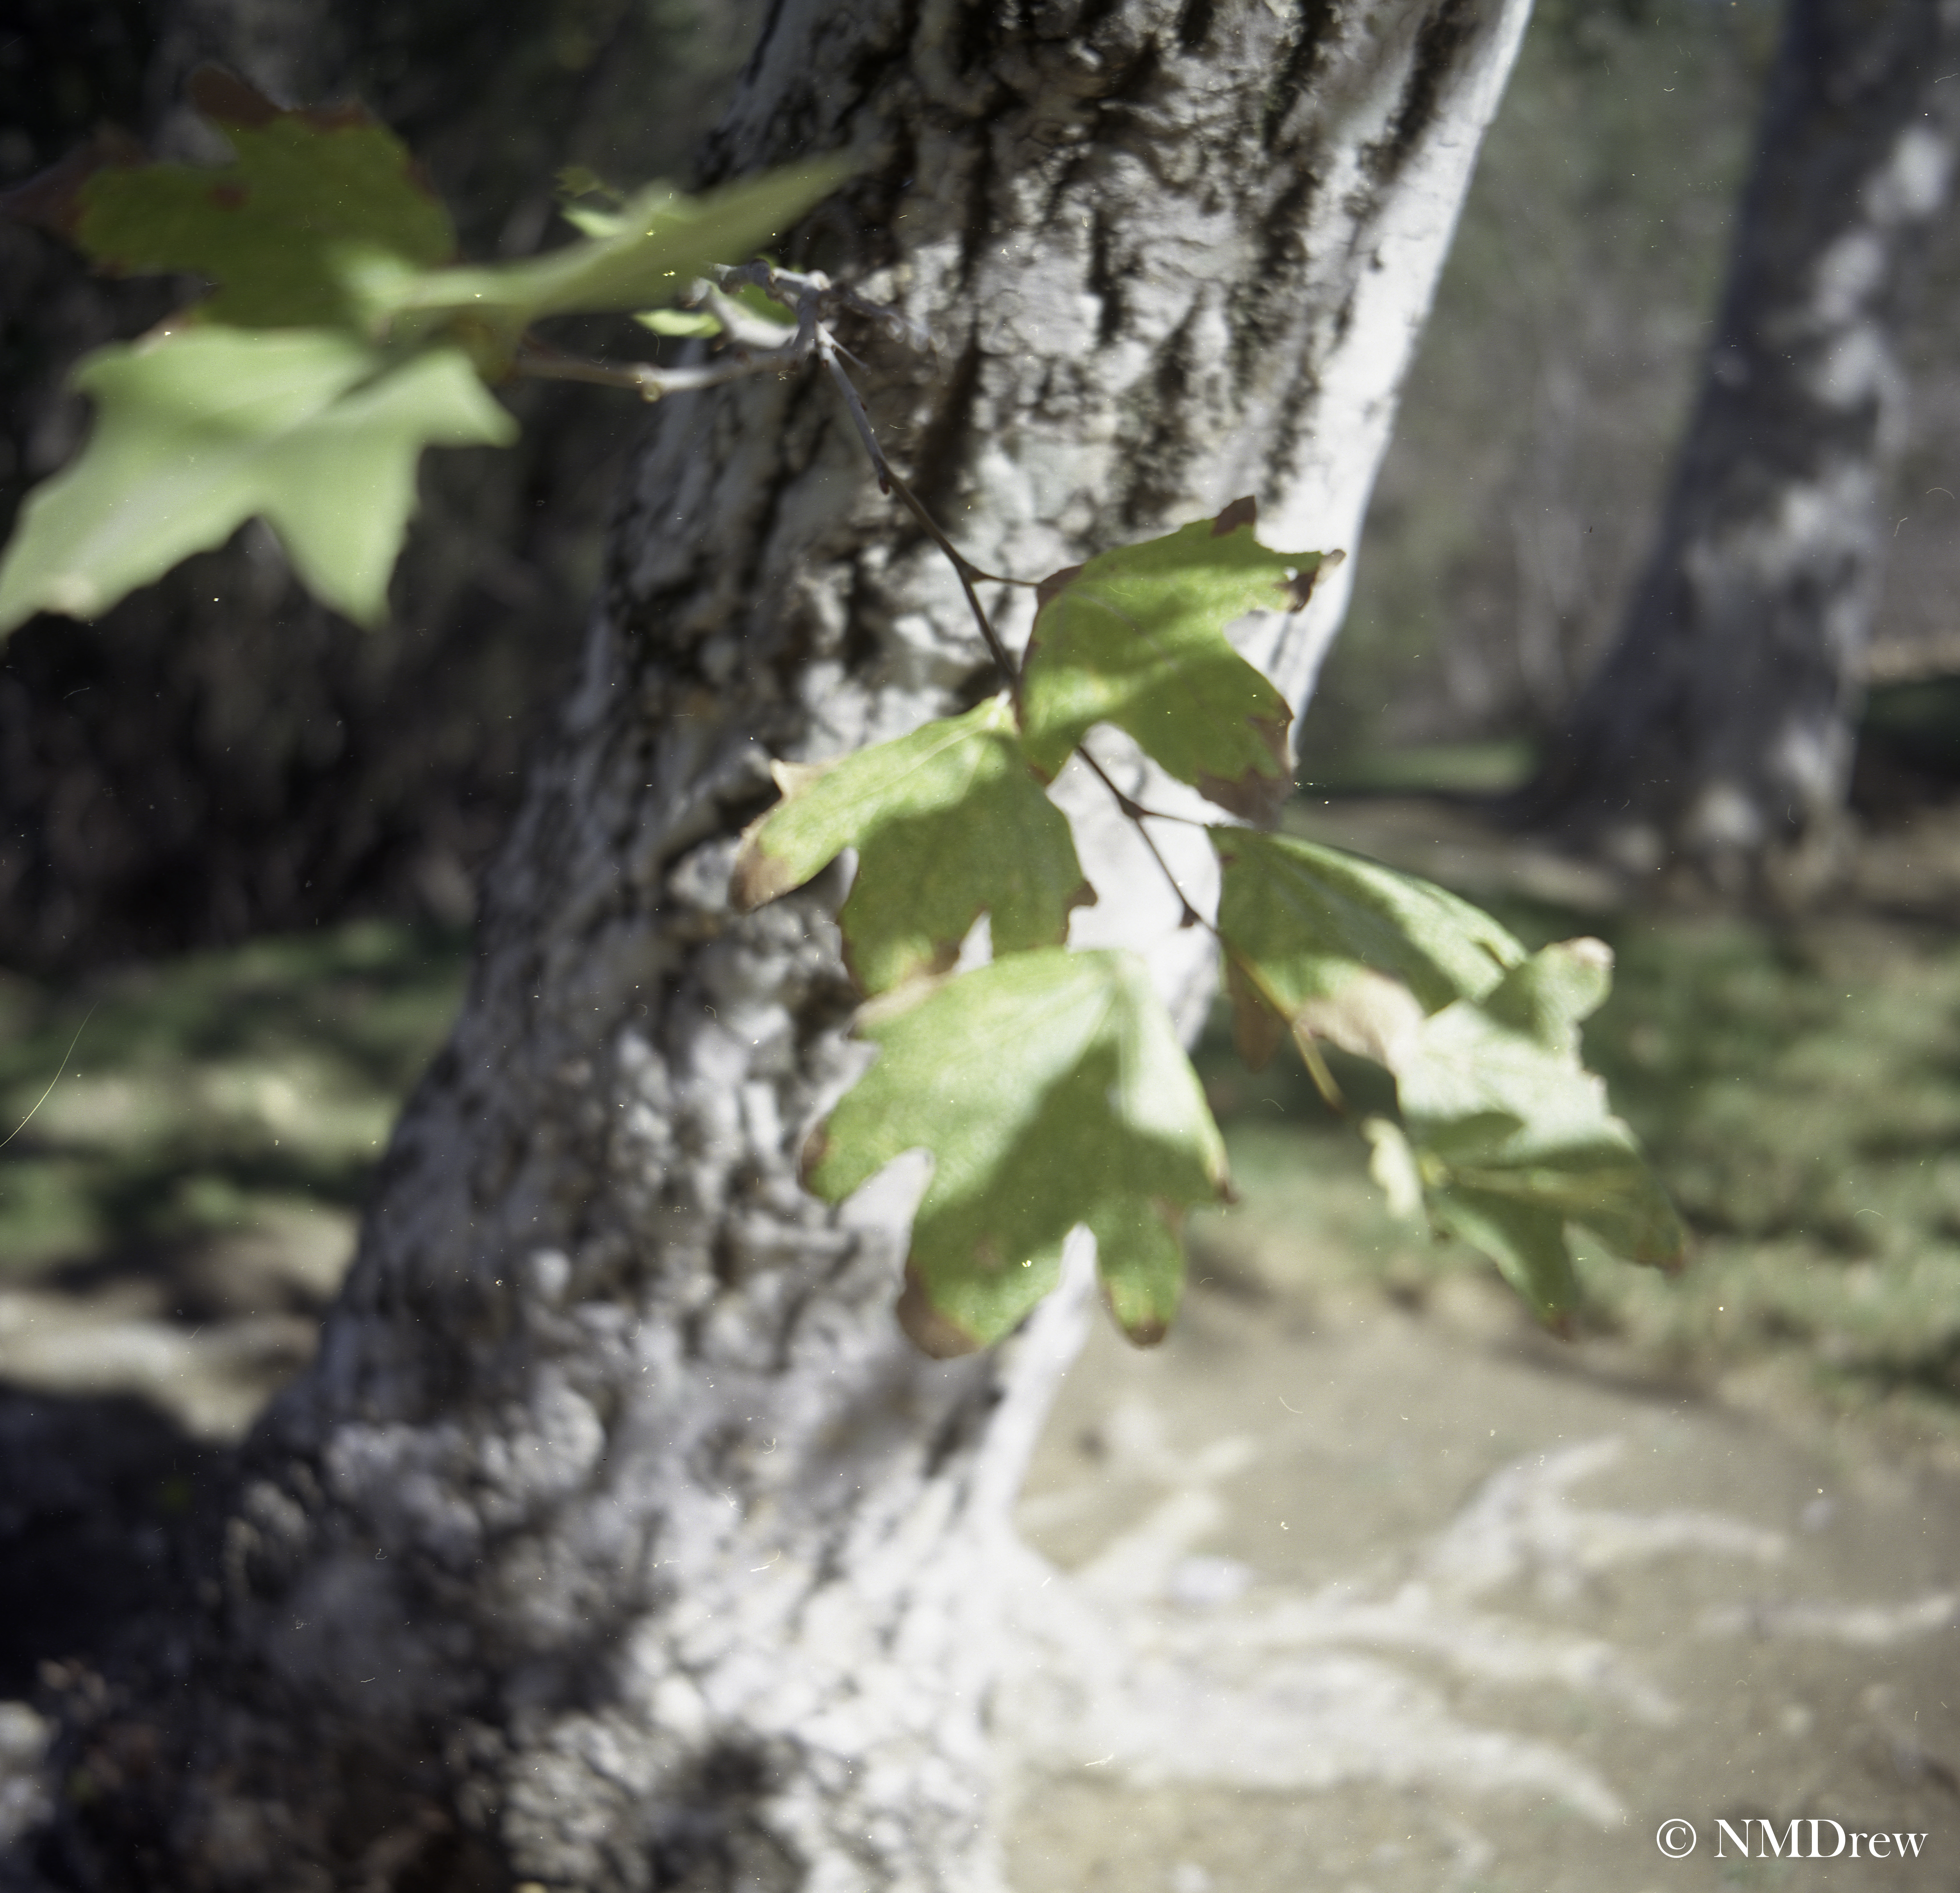
The film here is Ilford HP5+ used with the Holga GCFN 120 camera I got for my birthday last month.  I kind of like what happened, but don’t want this experience to be my usual for 120.

The funny thing is, there are some pictures in here I actually like, but will need to do some work on to get them where I find them acceptable.  Contrast adjustments, cropping, whatever.  In particular, out of this sea of mistakes, I like the leaves – I’ve never thought about deliberately doing double exposures, but the double exposure of the leaves are pretty cool.  (I also have some Kodak Ektar 100 I double exposed in another camera that I also like.)  So, even though there was catastrophe, Pandora’s box is not all dark.

Agfa Isolette iii and Epson V600

I decided to try a medium format camera – an Agfa Isolette iii – and a scanner for film – the Epson V600.  These are scans directly out of the scanner, scanned at 3200 dpi, 48 bit, with dust and Digital Ice turned on.  They are pretty cruddy, and I don’t if the lab developed the film was not too clean, or if there is just schmutz on the scanner or film.  Regardless, this is just a foray into a new-to-me adventure.  Click on the images for a better idea as to what they look like.  Let me know what you think!

img006 img007 img008

Film . . .

I am beginning to really enjoy taking pictures with film these days.

Autumnal Grasses-1

As I’ve said, in my early days of photography – back in the 80s when digital didn’t exist – my experiences were all really bad.  I had no training and no idea what to do.  Maybe it is because my own family didn’t take pictures, so my experience with photography was very, very limited.  I had no idea what made a good picture as far as composition, and no idea how to make a good exposure.  Hundreds of dollars in printed ugliness was no reward, but the best deterrent!

Woodland-1

Enter the digital camera, some classes, lots of reading, and now I think I can go out and take a few shots in film without screaming at the results.  One reason is I can get digital images, rather than prints.  Costs are $10 – $11 / roll of film.  I have my own scanner.  Now, I am learning how to shoot film, such as lowering the iso for richer color and better contrast.  I am learning how to use my software to do post production, which may seem like cheating, but it is simply a digital vs. chemical darkroom.  Film still retains the quality of film, even if digitized – at least, it seems to me it does!

Fallen-1

One of the most fun things about film is trying out different types of film, and finding ones I like.  I have tried Tri-X, T-Max, Superia, Rollei Crossbird, UltraMax, Ektar, and have a few others.  It’s really cool.  Developing B&W is going to happen with greater frequency, and later, developing color.

Trees & Rocks-1

What have I gotten out of this?  Patience with composition.  Appreciation of digital and analog film processes.  A sense of success.  And a whole hell of a lot of fun!

The First Pictures

As I stated in my last post, I processed my own film at home for the first time. and scanned them after the film strip hung drying several hours in the bathroom.  I have a Pakon 135 scanner, and it gives excellent results.

15

Initially, with the Pakon, I was getting only negatives – I had forgotten what to check off in the software to make the negatives into positives.  Once that was figured out, the results were interesting – for some reason the Pakon will image black and white with a rather reddish tint.

8

Desaturation was the key, so in LR, the saturation bar was moved to the far left, and the result was a black and white image! Now editing could begin.

The scans showed scratches and bits of debris – not sure if the debris is in the scanner (blow it out with canned air?) – but I expect the scratches were the result of my trying to roll the film onto the reel prior to developing. Fortunately, LR and Perfect Photo Suite help a lot in the post-production clean up to produce the final digital image.

Follows are some images . . . not all have been worked on, except to reduce the reddish tint.