I decided to try a medium format camera – an Agfa Isolette iii – and a scanner for film – the Epson V600. These are scans directly out of the scanner, scanned at 3200 dpi, 48 bit, with dust and Digital Ice turned on. They are pretty cruddy, and I don’t if the lab developed the film was not too clean, or if there is just schmutz on the scanner or film. Regardless, this is just a foray into a new-to-me adventure. Click on the images for a better idea as to what they look like. Let me know what you think!
Category: Photography
Birthday Lomography
Film . . .
I am beginning to really enjoy taking pictures with film these days.

As I’ve said, in my early days of photography – back in the 80s when digital didn’t exist – my experiences were all really bad. I had no training and no idea what to do. Maybe it is because my own family didn’t take pictures, so my experience with photography was very, very limited. I had no idea what made a good picture as far as composition, and no idea how to make a good exposure. Hundreds of dollars in printed ugliness was no reward, but the best deterrent!

Enter the digital camera, some classes, lots of reading, and now I think I can go out and take a few shots in film without screaming at the results. One reason is I can get digital images, rather than prints. Costs are $10 – $11 / roll of film. I have my own scanner. Now, I am learning how to shoot film, such as lowering the iso for richer color and better contrast. I am learning how to use my software to do post production, which may seem like cheating, but it is simply a digital vs. chemical darkroom. Film still retains the quality of film, even if digitized – at least, it seems to me it does!

One of the most fun things about film is trying out different types of film, and finding ones I like. I have tried Tri-X, T-Max, Superia, Rollei Crossbird, UltraMax, Ektar, and have a few others. It’s really cool. Developing B&W is going to happen with greater frequency, and later, developing color.

What have I gotten out of this? Patience with composition. Appreciation of digital and analog film processes. A sense of success. And a whole hell of a lot of fun!
The First Pictures
As I stated in my last post, I processed my own film at home for the first time. and scanned them after the film strip hung drying several hours in the bathroom. I have a Pakon 135 scanner, and it gives excellent results.

Initially, with the Pakon, I was getting only negatives – I had forgotten what to check off in the software to make the negatives into positives. Once that was figured out, the results were interesting – for some reason the Pakon will image black and white with a rather reddish tint.

Desaturation was the key, so in LR, the saturation bar was moved to the far left, and the result was a black and white image! Now editing could begin.
The scans showed scratches and bits of debris – not sure if the debris is in the scanner (blow it out with canned air?) – but I expect the scratches were the result of my trying to roll the film onto the reel prior to developing. Fortunately, LR and Perfect Photo Suite help a lot in the post-production clean up to produce the final digital image.
Follows are some images . . . not all have been worked on, except to reduce the reddish tint.
Developing My First Roll of Film at Home!
This adventure began this summer, and only now did I finally get around to developing my first roll of black and white film (Ilford HP5, 400 iso) at home. I was tooooooo scared!

On the dining room table, on a towel and metal tray, the chemicals and such were laid out. I practiced loading the reel and placing it in the developing tank multiple times. I have a developing bag that I bought, and it, as you may know, replaces the need for a dark room. I found that if I closed my eyes and focused on touch, things were much easier. Of course, when a dog barks suddenly, it does get a little stressful.
The directions I followed were from Peter at prosophos.com, and while my water out of the tap was a little warmer, I am hoping that there is a bit of latitude when it comes to temperature and time. My husband also helped out, sort of supervising the “now do this! now do that!” part of it – the first time doing anything is a challenge, no matter how many times you rehearse, eh?
So, now, I have film hanging in the shower stall, drip drying until later this afternoon or early evening, which is when I will scan it to see what I got.

What excitement to pull out the developed roll! I can see that I got photos – there is contrast, so that means something worked right . . . on this roll, I used the Werra along with green, yellow, and orange filters to see how they affect contrast. Feeling the film, it is not tacky, which means the chemicals were good, too.
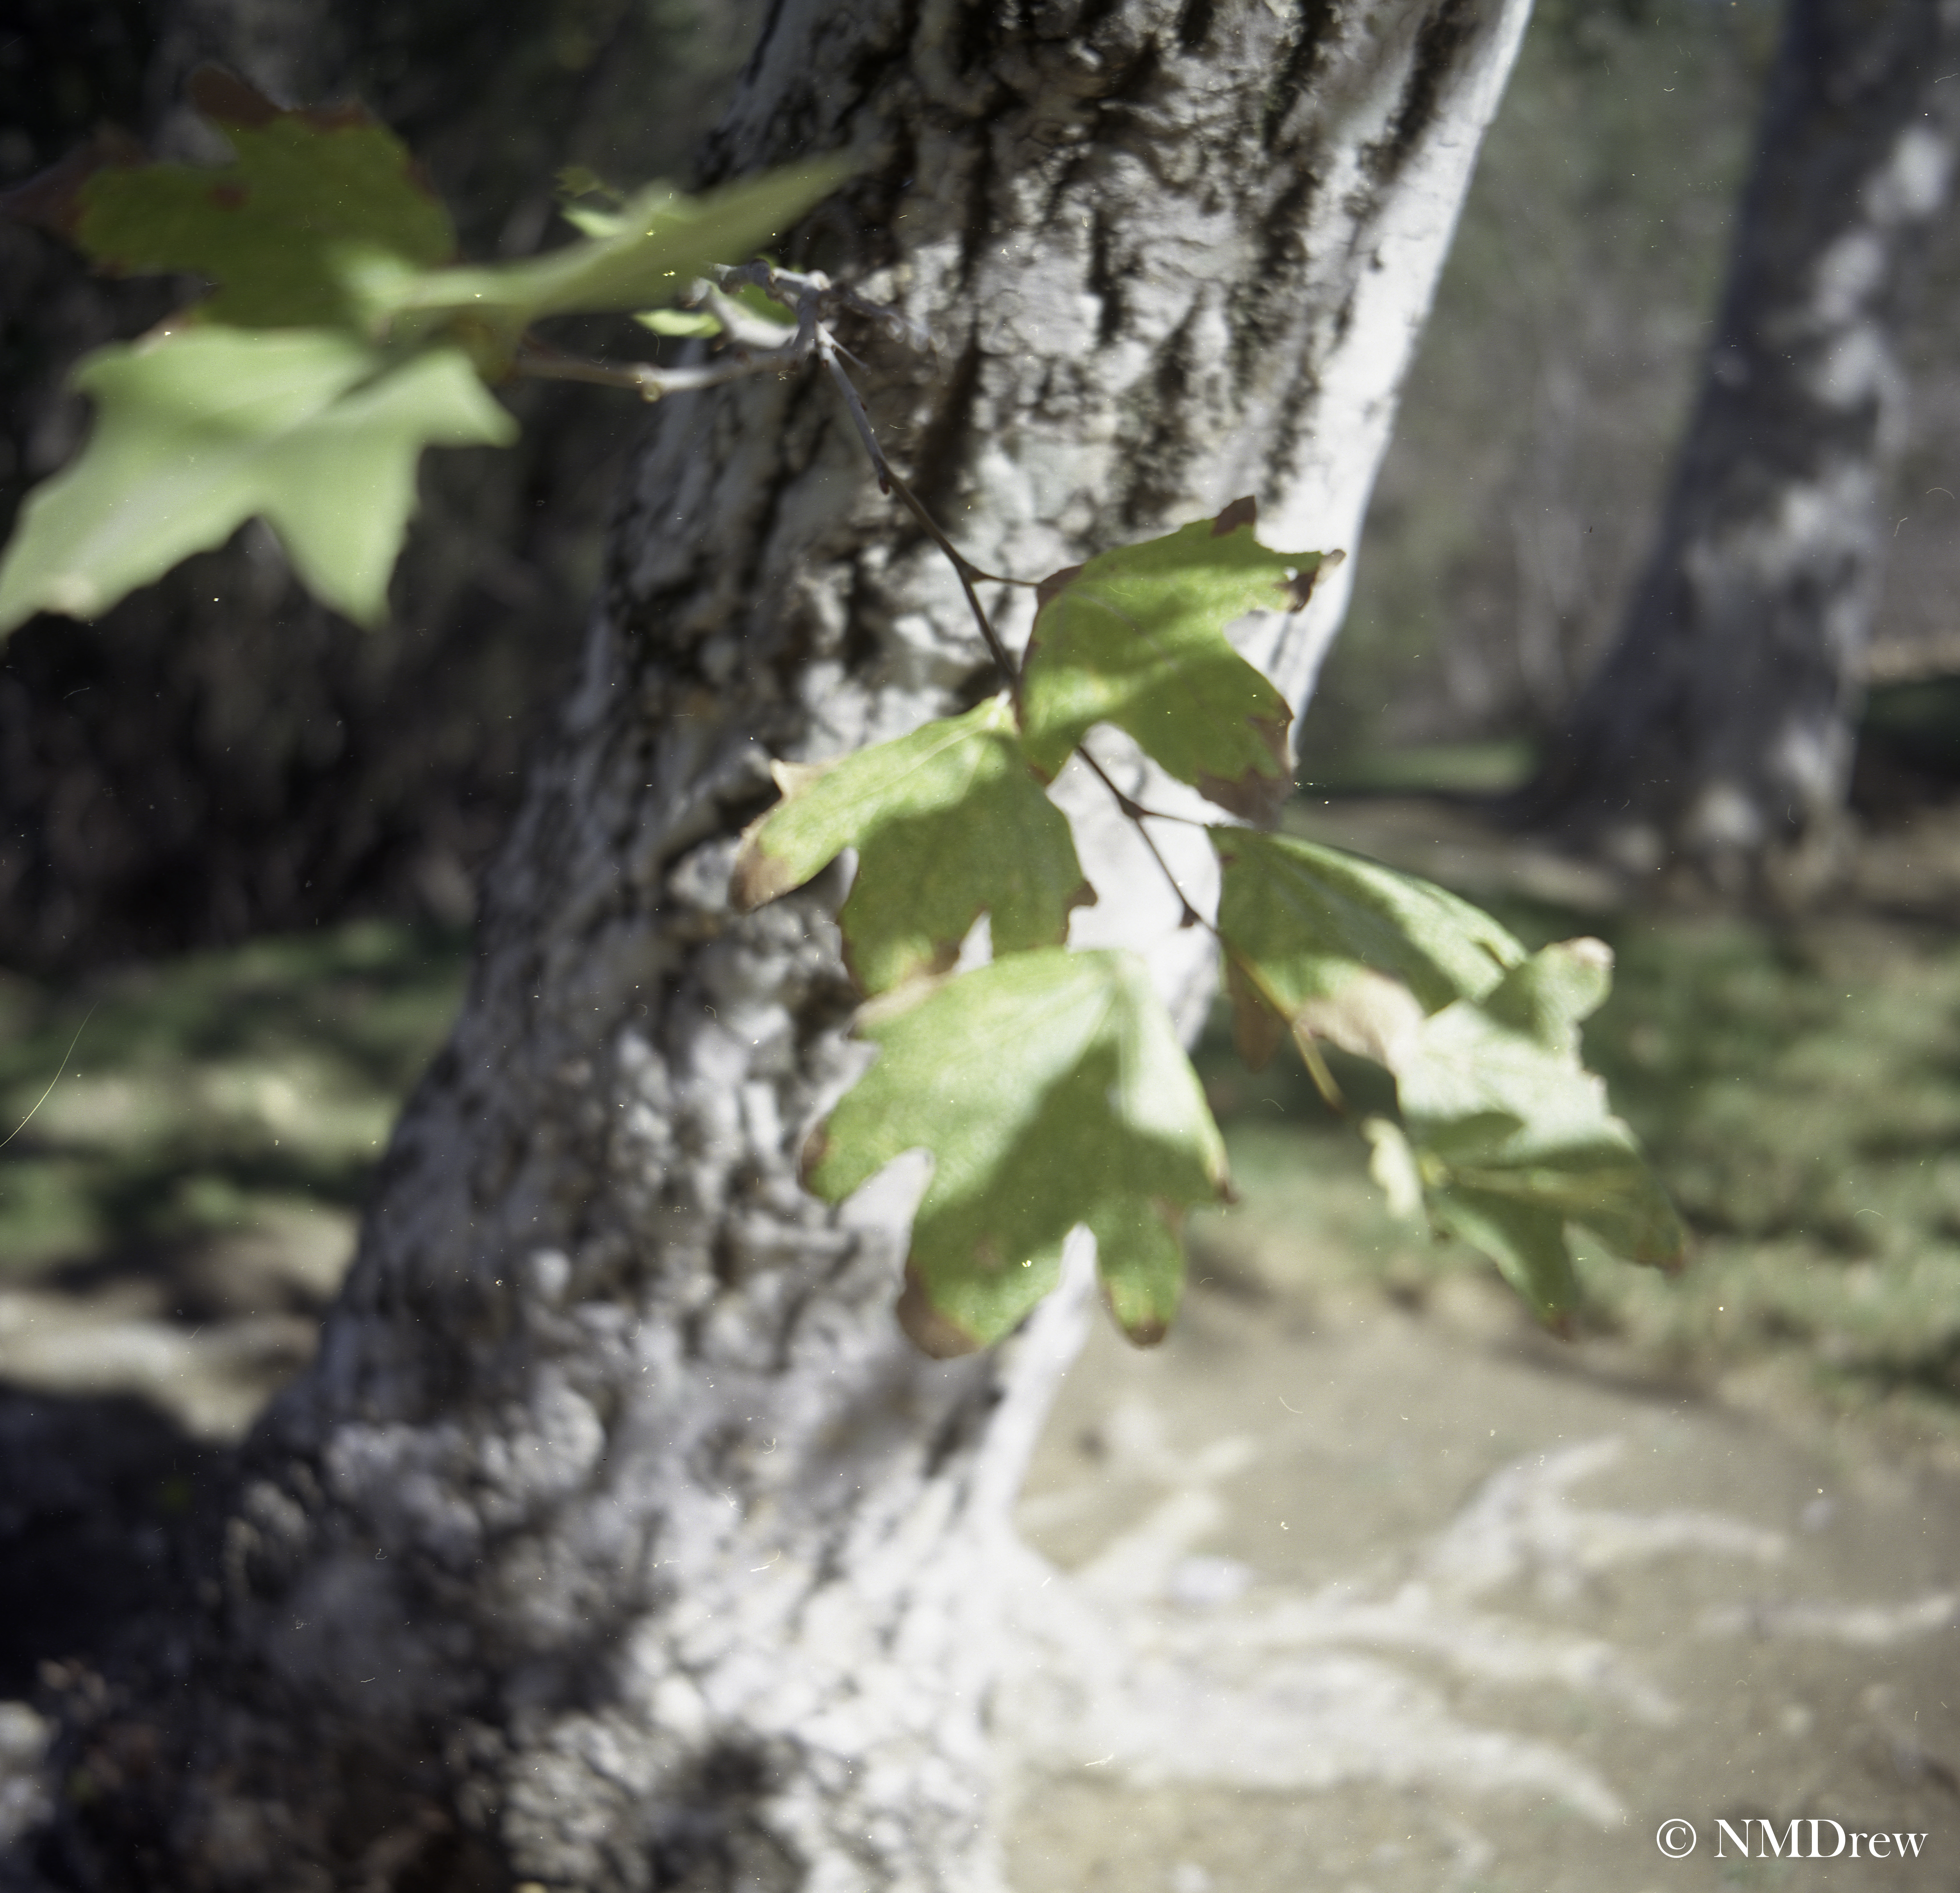
So, I leave you with this hint below . . . and will show you the results after I scan them. Stay tuned!


