Fun & Games with Topaz Glow

Every now and again a program comes along for photography that is just plain fun. Topaz Glow is one of them.  Essentially a fractal program, Glow gives some interesting results.  Many similar results can be done in different programs, such as different filters in Photoshop, but they could require a bit more work.  Below are some videos about the product.

This is one in greater detail.

I like this next one because it shows a very clear way in which you can incorporate Glow into your workflow from Photoshop.

Using a program like this requires practice and time. Me, I don’t have a lot of it, but I really do think using videos to learn about something can be worthwhile. Companies often provide nice oversights of their products, but individuals can come up with incredibly creative ways to use a program.

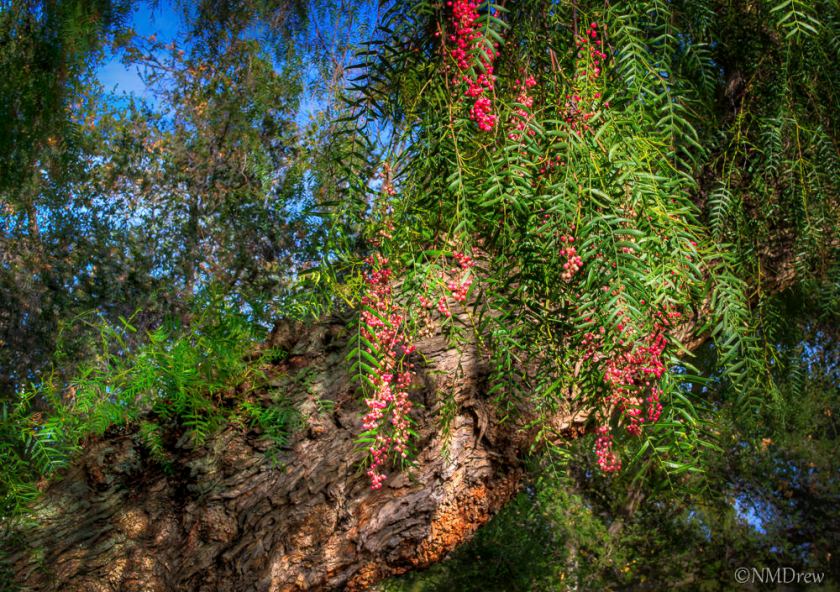
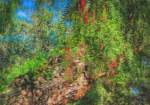
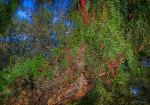
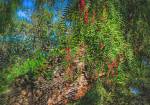
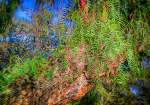
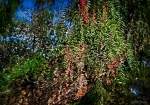
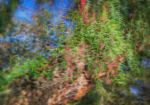
Below is my original picture.

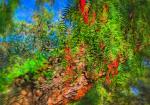
Pepper Tree

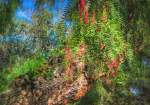
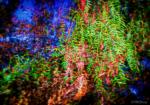
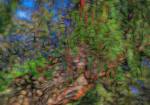
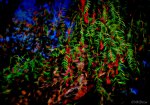
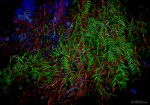
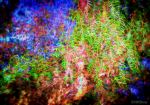
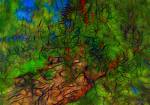
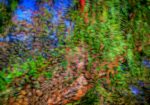
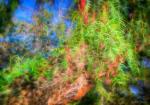
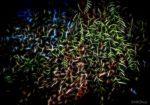
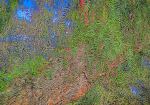
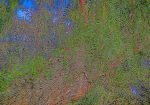
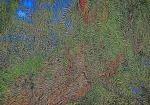
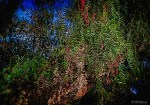
Here, I am simply going to show you some pictures using the default settings for all the presets that come with Glow. Many of the presets are similar, others have light or dark variations.  There is a lot of potential here for the creative . . .

Click on an image to begin a slide show.

Biscotti & Broken Glass

With a few weeks off for the holiday season, the upcoming new year, it is time to get things done that have been put off for a woefully long time.  One of them is cleaning the refrigerator very thoroughly, washing, rinsing, and sanitizing surfaces and nooks and crannies in all its dark recesses.  And dropping a glass shelf, which shattered all over the place.  Hence, the first part of the title for this post.  Cleaned up, we move on to the best part – the biscotti!

Rum-Soaked Dried Fruit & Candied Peel

Holidays are about baking and cooking and eating and celebrating with friends and family and those you love, near and far.  This year, Christmas day will be spent with family elsewhere, so the baking has begun.  For a small contribution, we are bring praline bourbon cake to go with the annual gumbo, along with some biscotti, the recipe for which I found here at Foolproof Living, a cooking blog with a creative approach and lovely photography.

Adding the Fruit, Coconut, and Pecans to the Batter

The recipe is easy enough.  I used leftover candied peel from King Arthur, and chopped up dried peaches, cranberries, and cherries, all finely diced.  The coconut was slightly sweetened and I used pecans instead of walnuts or macadamias.  I also used up a very generous amount of rum.

Yo Ho Ho and a Bottle of Rum!

Follow the recipe – it comes out quite nice.  The batter may seem a bit dry, but when you add the macerated dried fruit, it moistens up quite a bit.  Also, patting out the dough onto the parchment is really necessary as the dough is sticky.  I found putting some water on my hands helped a bit.  Also, our knives are very sharp, so I used a straight-bladed knife (my husband tests the sharpness of our knives by shaving a spot on his arm or cutting paper with the just-sharpened knife) to cut the biscotti.

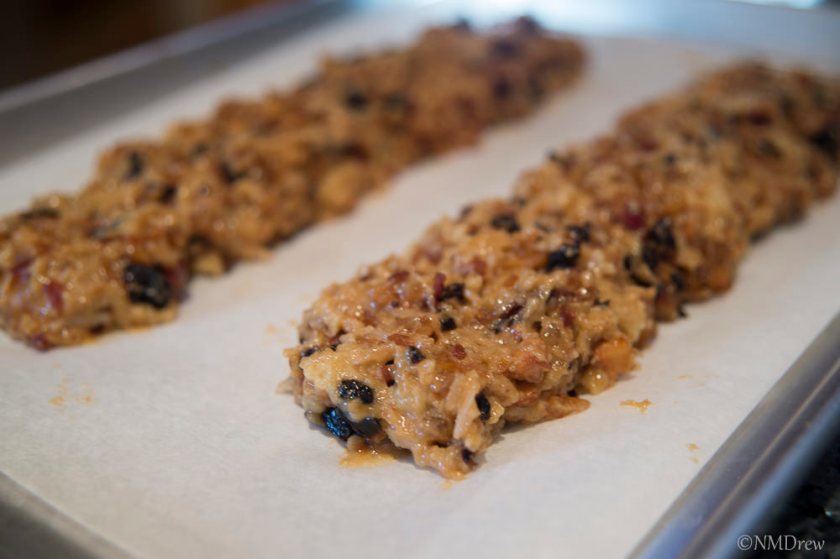
Biscotti Ready to Bake

Check out Foolproof Living – it has become one of my favorite blogs just because it has such a wonderful variety of recipes and interesting posts.

Biscotti Ready to Eat

Happy Holidays!

Panorama, Anyone?

Raven Looks

Panoramas are a really fun thing to do in photography, and there are a lot of ways to do them, and why or when to do them.

For me, the panorama is best for landscape, just because I do not tend to do portraits.  Bokeh panoramas are the brain child of Ryan Brenizer – he uses them specifically with his wedding photography.  (If you go to his website, scroll to the very, very bottom – there are some links for his methodology.)  Panos can have great DOF, or shallow – Brenizer specializes in shallow to isolate his couples in a landscape or cityscape.  Be aware, that a shallow DOF can work in a landscape, too, to isolate your subject.

Only one rule, in my opinion:  set your camera to manual, focus on your subject, set your technique (iso, f/stop, time), and then shoot.  And shoot.  And shoot.

Overlap those pictures!  Use the guidelines in the viewfinder to help you.  Go back and take some extras if you think you missed an area – but even then, you might.  Oh, well.

Below is a mosaic of all the images I took for the final panorama shot seen at the end of this rather long post – there were about 45 in all; here I reduced them to 1000 pixels for easy viewing from 16 meg images.  If you click on an image, it will pop into a slide show for you.

For landscapes, you can handhold your camera.  Bokeh panoramas can also be handheld.  There may be some distortion when you look up and click, or look down; the end result can be interesting or awful, but it can be cleaned up in post.  For longer exposures, though, the tripod is best.

HDR panoramas can be done a few ways.  Set up your camera to do the +, 0, – images and take them that way, or do three different panos at different exposures, and blend the final ones in your software.  You can also create different exposure levels in LR, such as +1, 0, -1 and then merge them.  I’ve been happy with the results all 3 ways, but find that the ones which require the least work (the last two) are less frustrating.  If you have to sort out a lot of bracketed photos to create the initial panos,  it can get a little crazy-making.  The point here is find what works for you.

For a bokeh panorama, put your area of interest into focus.  For Brenizer, the couple is in focus.  Use your largest f/stop, such a f1.8 or f1.4.  My suggestion is to take the couple first, or the main area of interest.  From there, keeping the same exposure, click away, developing some kind of grid pattern – like right to left, up and down.  Get more into the photos than you think you need because . . .

. . . because when you do a panorama, you can crop it into a lot of different pictures!  I like doing this to look at compositional elements, such as lines and color.

That said, here is what I do when I shoot:

  • Find the place I want to shoot.
  • Determine exposure factors.  Set everything up in manual mode.
  • Make sure that if handheld, I can avoid blur.  This means at least the reciprocal of your focal length (on a full frame 50mm, use at least 1/60; for a crop sensor, multiple your lens length by the crop factor, such as 1.5 crop would need about 1/80).
  • Shoot my main areas first.
  • Shoot around my main areas.

But, if you are out on a photo shoot and have a lot of pictures that are not a pano, you need to separate things.  I take a picture of my hand in between the panos – totally out of focus but it shows me a beginning and an end point.  Here is an example of my blurred-out hand.

My Out-of-Focus Hand

So, back to the laboratory to process those pictures.  This is my process, using LR and Photoshop.

  • Separate each photo series into a subdirectory of wherever I have put my photos on my computer.  I sometimes end up with “Pano 1,” “Pano 2,” etc.  If I have shot bracketed images, the subdirs become “Pano 1a,” “Pano 1b,” and so on.
  • If I have only a few pictures for a pano, I don’t reduce them in size.  However, 90 images of 16 megs can become an issue.  I usually reboot my computer when I begin processing, to clear its memory.  I like 2000 – 3000 pixels per image.
  • Using LR, I collect all the images I want in each subdir, using the Library.  From there I export them into a subdir of the subdir, naming the new subdir “2000” to show the size to which I have changed the image.  I use the rename function to include “x of y” to know how many images I am using in the pano.
  • Once done with this, in the Develop module in LR, I highlight all the resized images, right click on Edit, and Edit in Photoshop as a Panorama.  I take the default settings and wait.  If you haven’t done this before, find a video to follow, or just take each step at a time.  Let Photoshop work its magic – be patient – it can take some time depending on both your images sizes, number of images, and your computer’s setup.
  • When done, save, and name your new pano – it will also return it to LR for you.  If you cannot find it, use your Import when in the Library.
  • Make your adjustments and edits in LR, Photoshop, or whatever.  Merge them for HDRs if you want.
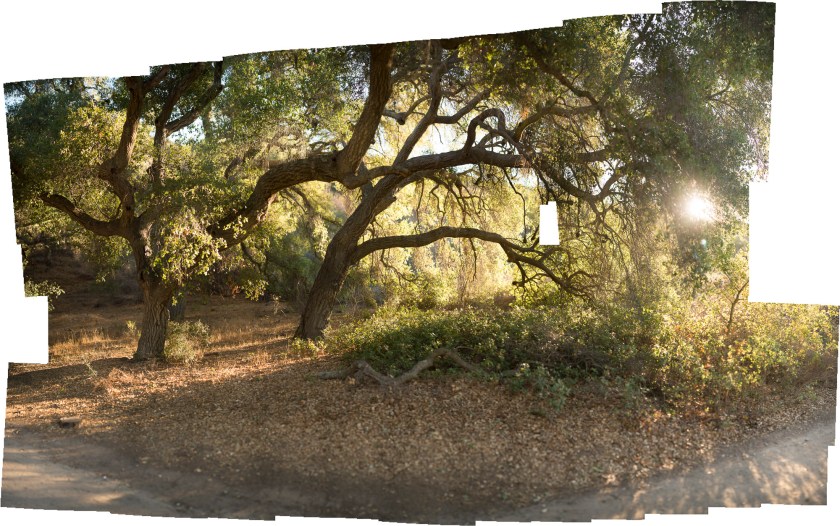
Unfinished Pano_

You see a gap in the above pano – the Fill in PS did not do a good job – so, I ended up cropping around it.  This next pano was pretty nice – no gaps.

Unfihished Pano 2

Cropping the above image produced some gaps – but those are easily filled in with PS or just cropped out.

Pano 2 - With Gaps

Panoramas are really quite easy – all you have to do is play a bit.  I am not a sophisticated post-processor, and certainly cannot do the magic a lot of people do in PS, but I can do a few things . . . like use the Lasso tool and Intelligent Fill to fix gaps . . .  Below are my final edits, some subtle, some not too subtle, of my final image.  To see each one individually, start the slideshow by clicking on an image.

Depending on what I want to do, I do my post processing in LR, PS, PPS9, Photomatix, and Nik.  Every now and then, something else will stray in.


The Path Less Traveled

There is always something seen before that, seen again, is totally different.  Normally when I head out to Wildwood for an evening photo shoot and walk, I go toward the open spaces.  Last night, I decided to head toward the little creek that runs through a small oak wood, and went in both directions.  As I perambulated (isn’t that a great word?!), I looked ahead, and I looked back.  The sun was lowering in the western sky, and as I looked, the light was shifting and changing in beautiful ways.  The light was fun to capture as it bounced down the hillside and into the small canyon.  Click on an image to start a slide show.


The Making of the Mushroom

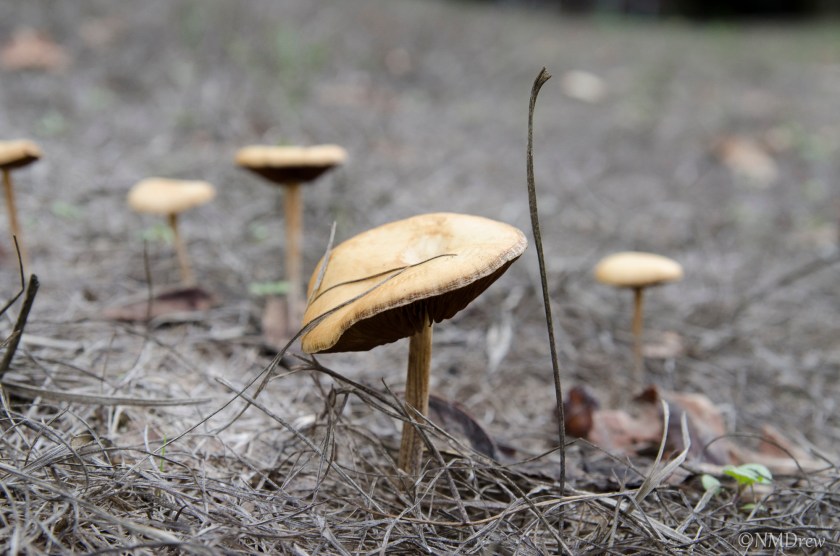
Making of the Mushroom - Original

I am not really sure how to write a tutorial for a software program, but I think it is interesting to read about people’s processes in photography, whether it is in approaching a shot or processing it later on. Often, I find, when I look at pictures with a bit of distance from the time of the shoot, other perspectives emerge. These include composition, points of interest, how to process. Of course, tomorrow, the same picture could become very different!

Above is the original picture. I shot it using a Tamron 17-50mm on my Nikon D7000. This was taken in the fields surrounding the Paramount Ranch in Agoura, CA. The day was rather dull and overcast, the lighting was not spectacular, and it was in the middle of the day. Lots of things about that day made for very poor lighting conditions.

This next picture is my first crop of the picture. The biggest mushroom was the one I liked the best. The bit of grass to its right is an eyesore, and I guess now I would be more inclined to squash it out of the way or just uproot it. Still, software can work its magic to remove it. I tried it in LR and did not like the results, so used the eraser in the Layers portion of Perfect Photo Suite 9 (PPS9).

Making of the Mushroom - First Crop

Moving along, once I had removed the grass in Layers, I also used Clone Stamp to copy some texture from other areas in the image to hide where the grass had been removed a bit more. From there, I moved to Effects. In Effects, like many of the video-makers I have watched on the OnOne tutorial site, the first Effect I choose is Dynamic Contrast, using the Natural formulation. A few adjustments here and then.

Next, I used Color Enhancer twice; the first was Darken Sky, and the second was Increase Color. Layer Opacity for each was adjusted to my liking.

Moving from Color Enhancer, I used Shadows Darker, Midtone Contrast Boost, and Lighter, adjusting each. From there, I went to Texturizer, using Earth (which seemed the best, and certainly appropriate given the conditions under which mushrooms flourish!). Finally, Vignette and Big Softy with a few adjustments.

To me, the most important element of the post-processing was the use of the texture. The picture itself was okay, but not interesting to my eyes.

And below, the final result . . .

Mushroom