For Christmas, there were a few photography accessories on my list, one being the MagMod 2.0. I must have been a good girl, because I got one. It is an attachment for your speed light, and allows a grid to be added to the flash, along with colored gels, to focus and change the light of the camera. It is made of rubber – or a rubbery substance – that stretches to fit the speed light. I put it on my SB600 as well as the SB400 (which is smaller than the SB600) by stretching the MagGrip.
From there, using the MagGrid 2 and the MagGel 2 systems, I could change my image’s character. Coupled with extra lights from the side, or backlighting, the results were rather nice. What I liked was the fact the MagMod 2 is very easy to use and is modular – hence the “mod” in MagMod. The grid reduces the divergence of the light spread from the flash and focuses it to 40 degrees, per the MagMod website; add another, and it reduces it to 20 degrees. (Will a third halve it to 10 degrees?) In looking at this site, it appears they are now developing a bounce and a diffuser, but they are not yet for sale on the MagMod web page.
")
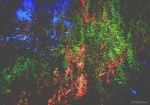
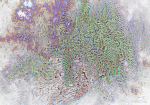
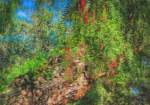
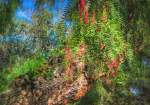
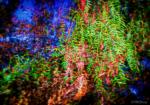
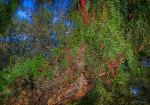
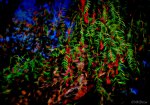
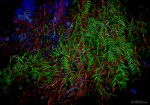
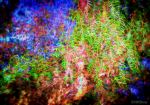
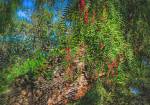
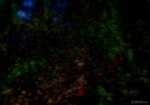
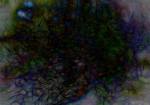
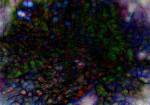
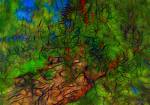
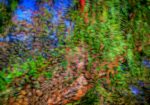
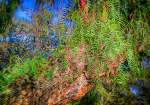
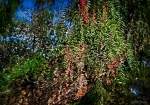
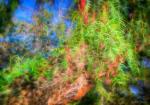
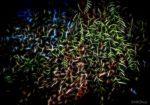
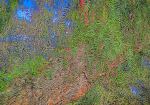
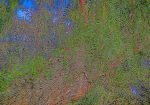
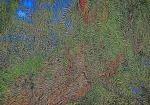
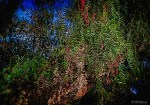
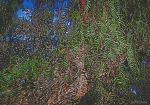
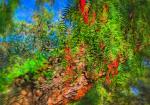
Images taken using the MagMod 2 Grid and Colored Filters
The MagMod 2 is easy to use – and rather fun! The magnets do have north and south poles, and they will remind you of that when you line them up wrong. Quality seems to be very good. I am not sure how the filters are made. There are air bubbles in them, which move around, but they do not affect the image at all from what I can see. Also, a few months back, I emailed them with some questions, and I was very pleased with the promptness of their replies. For the price, some people may find this an expensive item, but the kit is a good place to start, and from there, you can add what you want. Modular they are, and you can buy pieces individually.
Finally, here is a video done by someone in the studio, using a number of them.
And here, you can see all their products in production and available for pre-order. Altogether, this is a rather exciting product, I think, and look forward to the continuing development of the MagMod system.


")
")
")
")
")
")
")
")
")
")
")
")
")
")
")
")
")
")