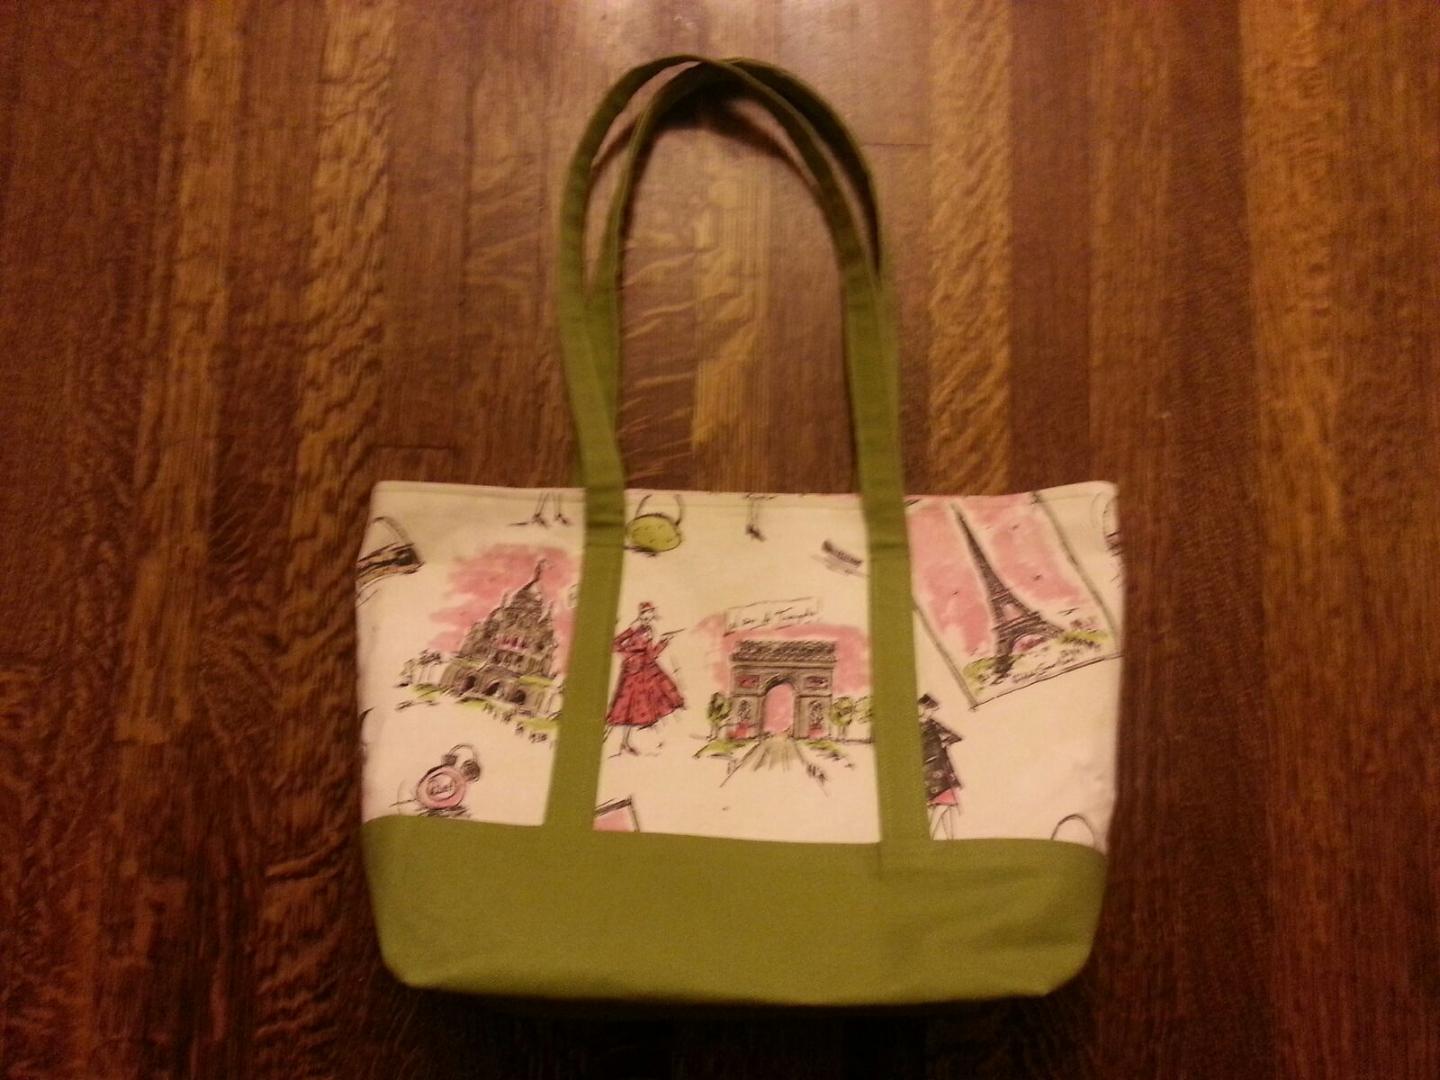
This year I made a lot of Christmas presents – hats, bags, and a robe. Here is the bag I made for my sister-in-law, Marguerita, who kindly sent me some photos of her bag as I forgot to take some.
After the complexity of the other bags I made, as well as the hand sewing they required, this was a pleasure as it was super easy to make! I was really burnt out by Christmas Eve, but also felt really good to have accomplished making so many presents for those I love! This season I knitted 3 beanies and made 4 bags, and one robe. You won’t get to see the beanies and all the bags (bean bags?), but you will get to see the robe soon enough.

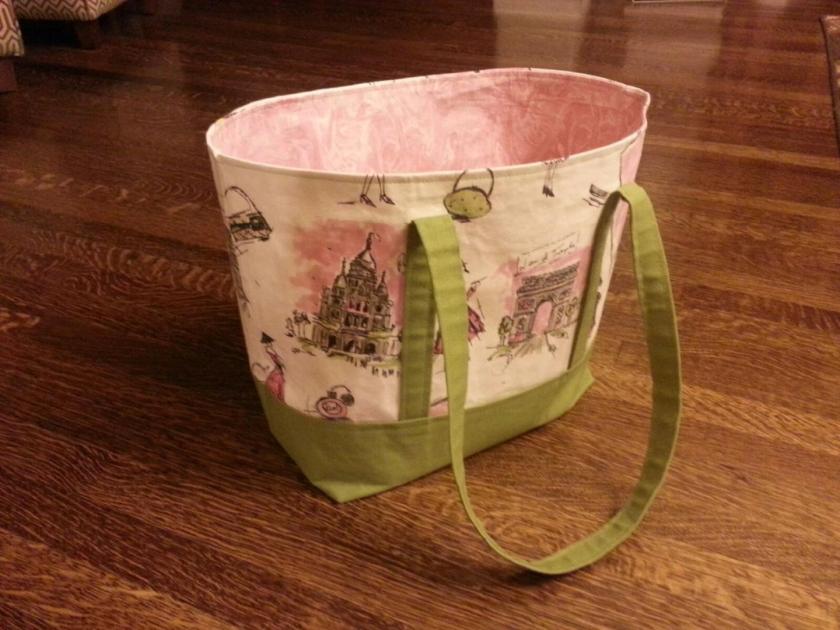

The materials were, for the most part, 100% cotton. The green is duck, rather coarsely woven as is the nature of duck. It’s stiffness was both a blessing and a curse. I also ran out of thread and had to go out to buy more – the result was nothing matched what I had used originally, so I had to remake the straps. No biggy.
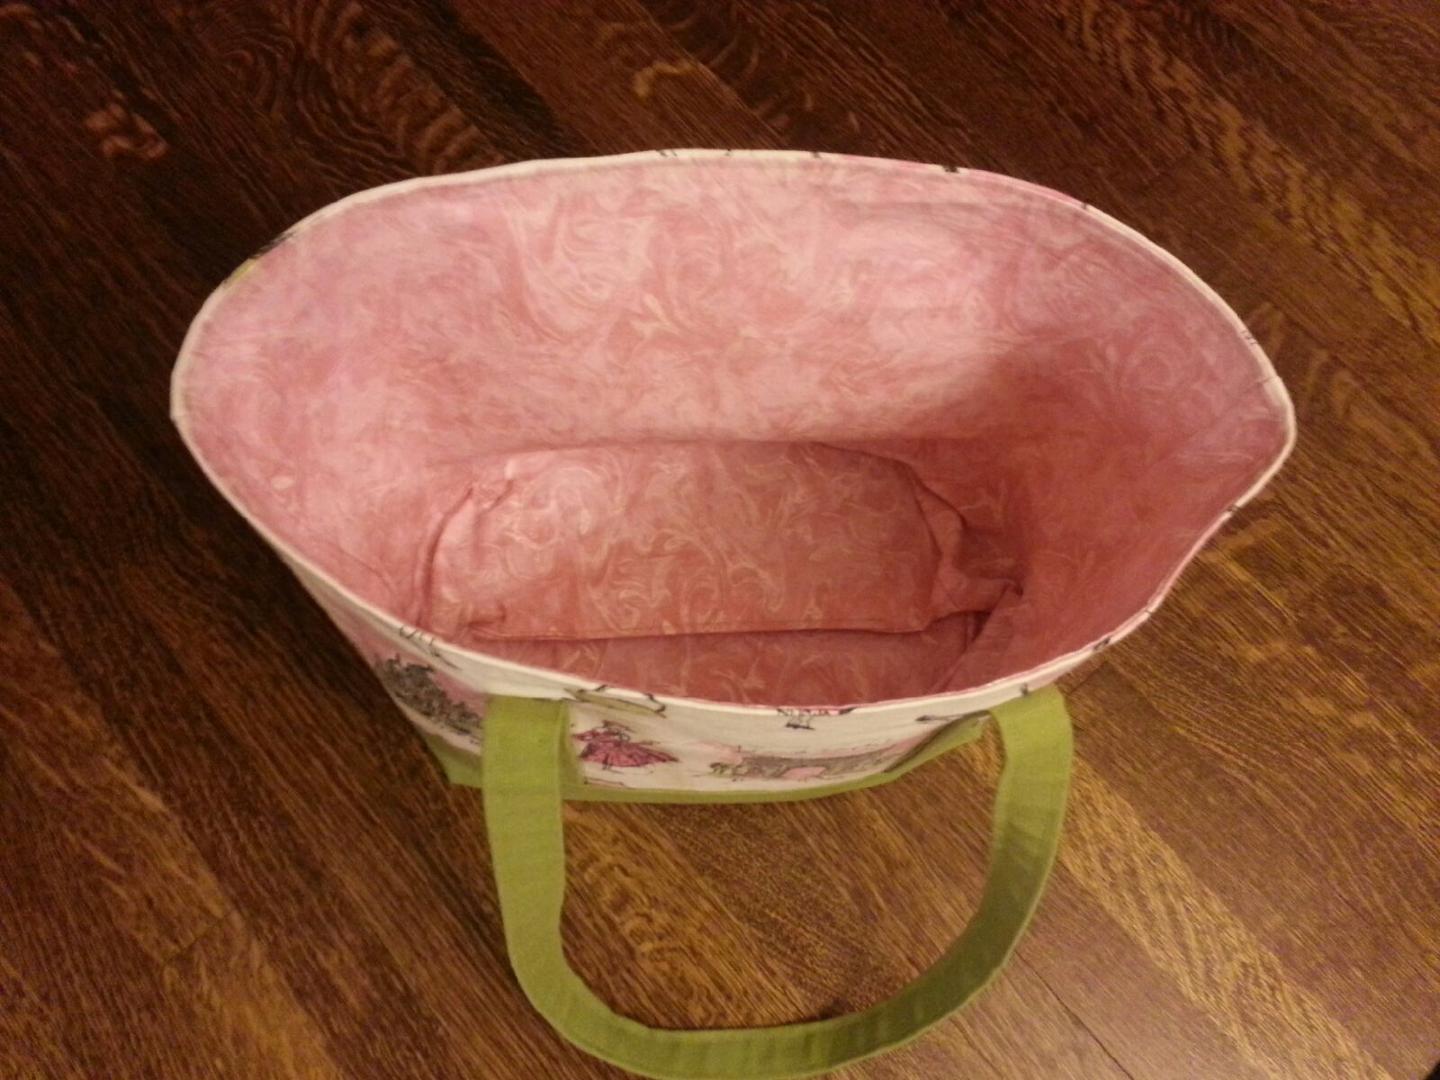
The bag lining was pure serendipity for the matching of the pink to the printed fabric. I felt really lucky to find it – so many shades of pink!
The Parisian scenes are some upholstery fabric, and it was the focal point of the bag. The pink and green matched perfectly!
I had enough material left over to make a sewing machine cover for the Baby Lock Presto II – it came with a lightweight vinyl cover, and I thought something more classy would be fun to design and sew.
I used my Janome 6500P to make M’s bag. I have not used this machine in a while, and since I plan to use it when I go to the class to finish up my quilt top, I thought it would be a good thing to dig it out, reread the manual, and relearn all its parts. As an aside, it is a more sophisticated machine than the Presto, but less portable simply because it is a lot heavier. The Tutto makes it easy to tote, so I am looking forward to testing it out in a classroom situation.
So ends 2018! I plan to continue sewing and learning to be a better sewist in 2019 by exploring new and different ways to sew, or things, such as using knits. Photography, painting, drawing, knitting, and designing are all in the plans. It is so nice to have time to do things – to not feel a horrific pressure to get things done! Savoring time to think, to design, to plan, to learn – those have been so absent for the last 5 years. Those 10-12 hour work days suck! And now I get to enjoy the leisurely activities of a housewife – some of which I like (cooking) and some I just tolerate (cleaning) . . .
Happy New Year to everyone! May 2019 bring you joy, health, and happiness!

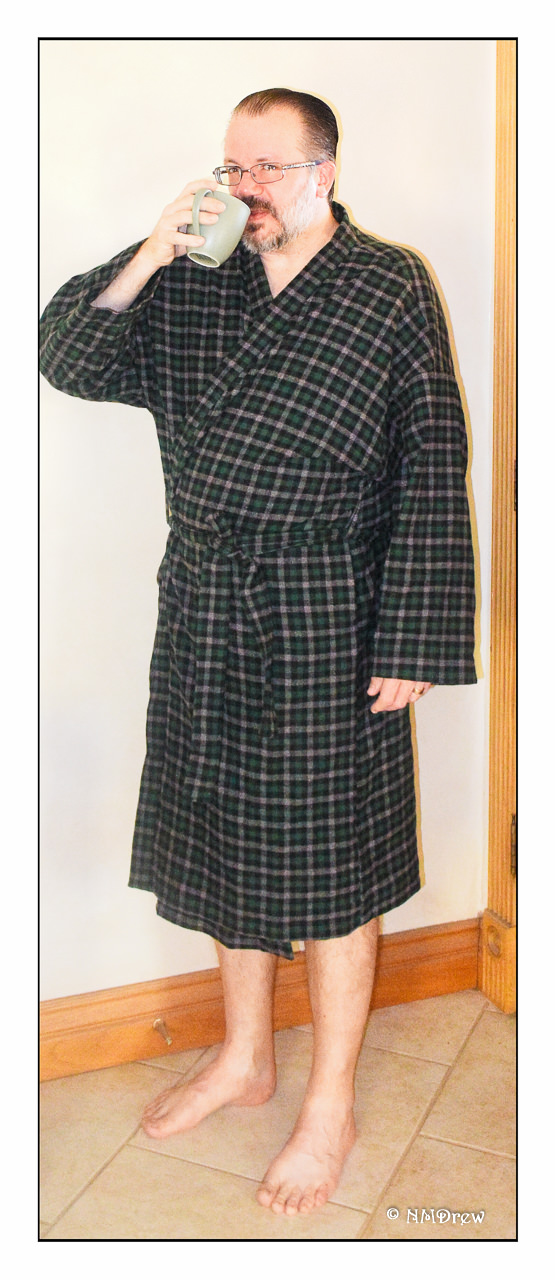
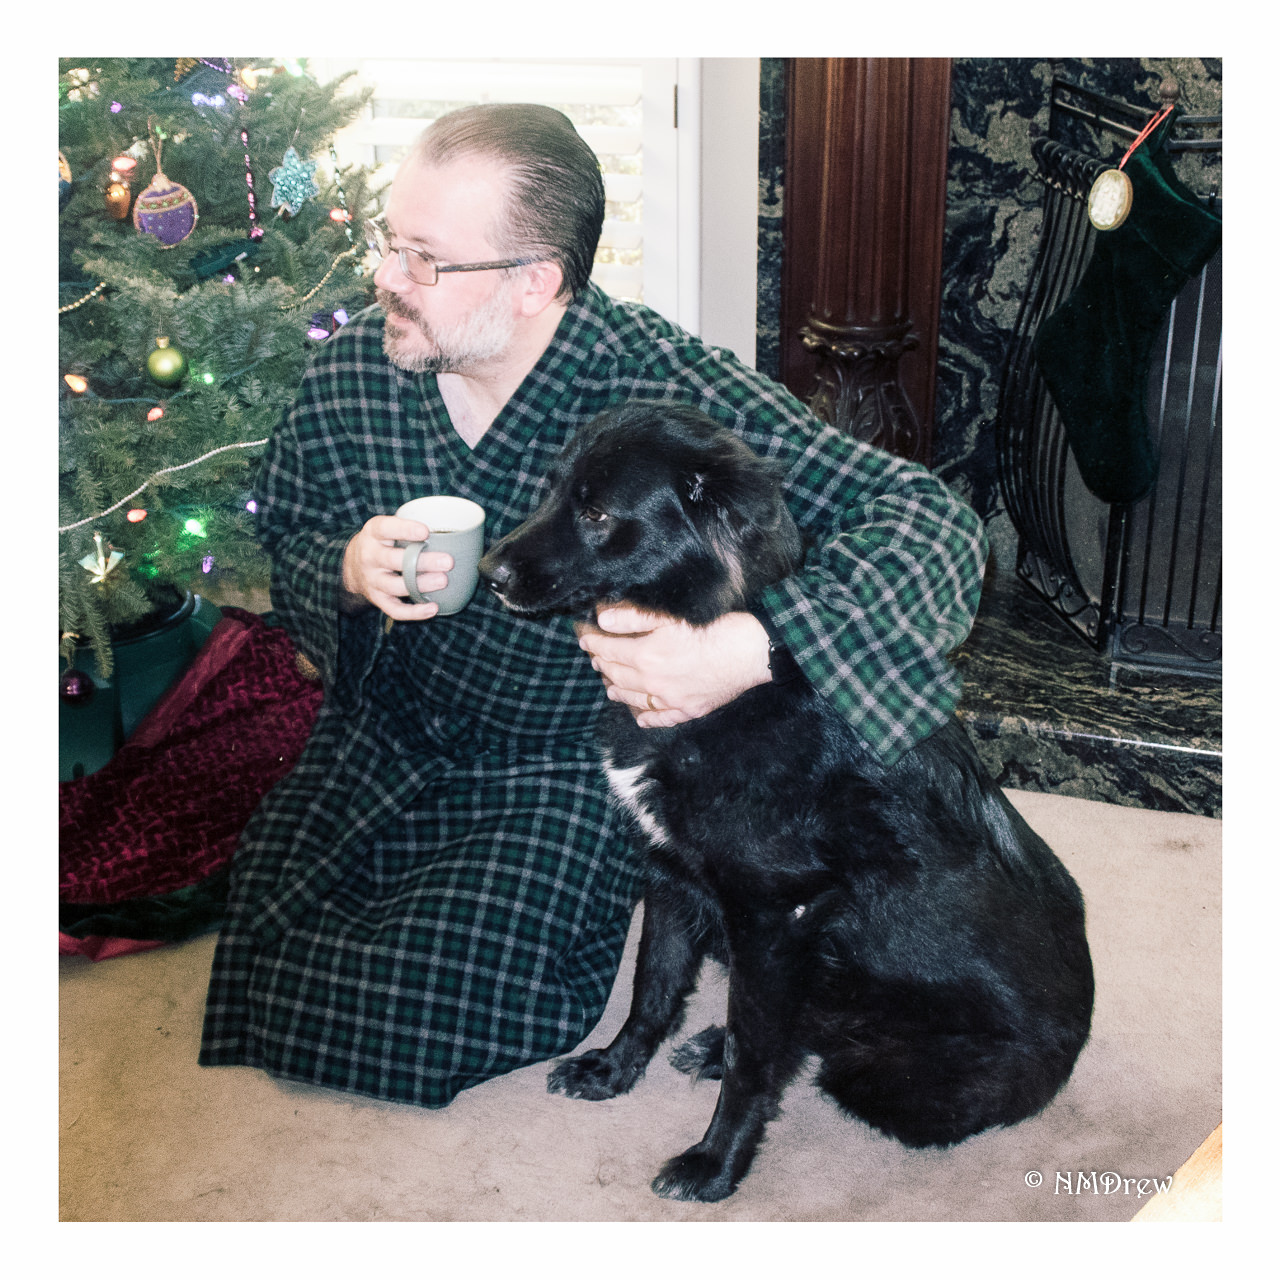
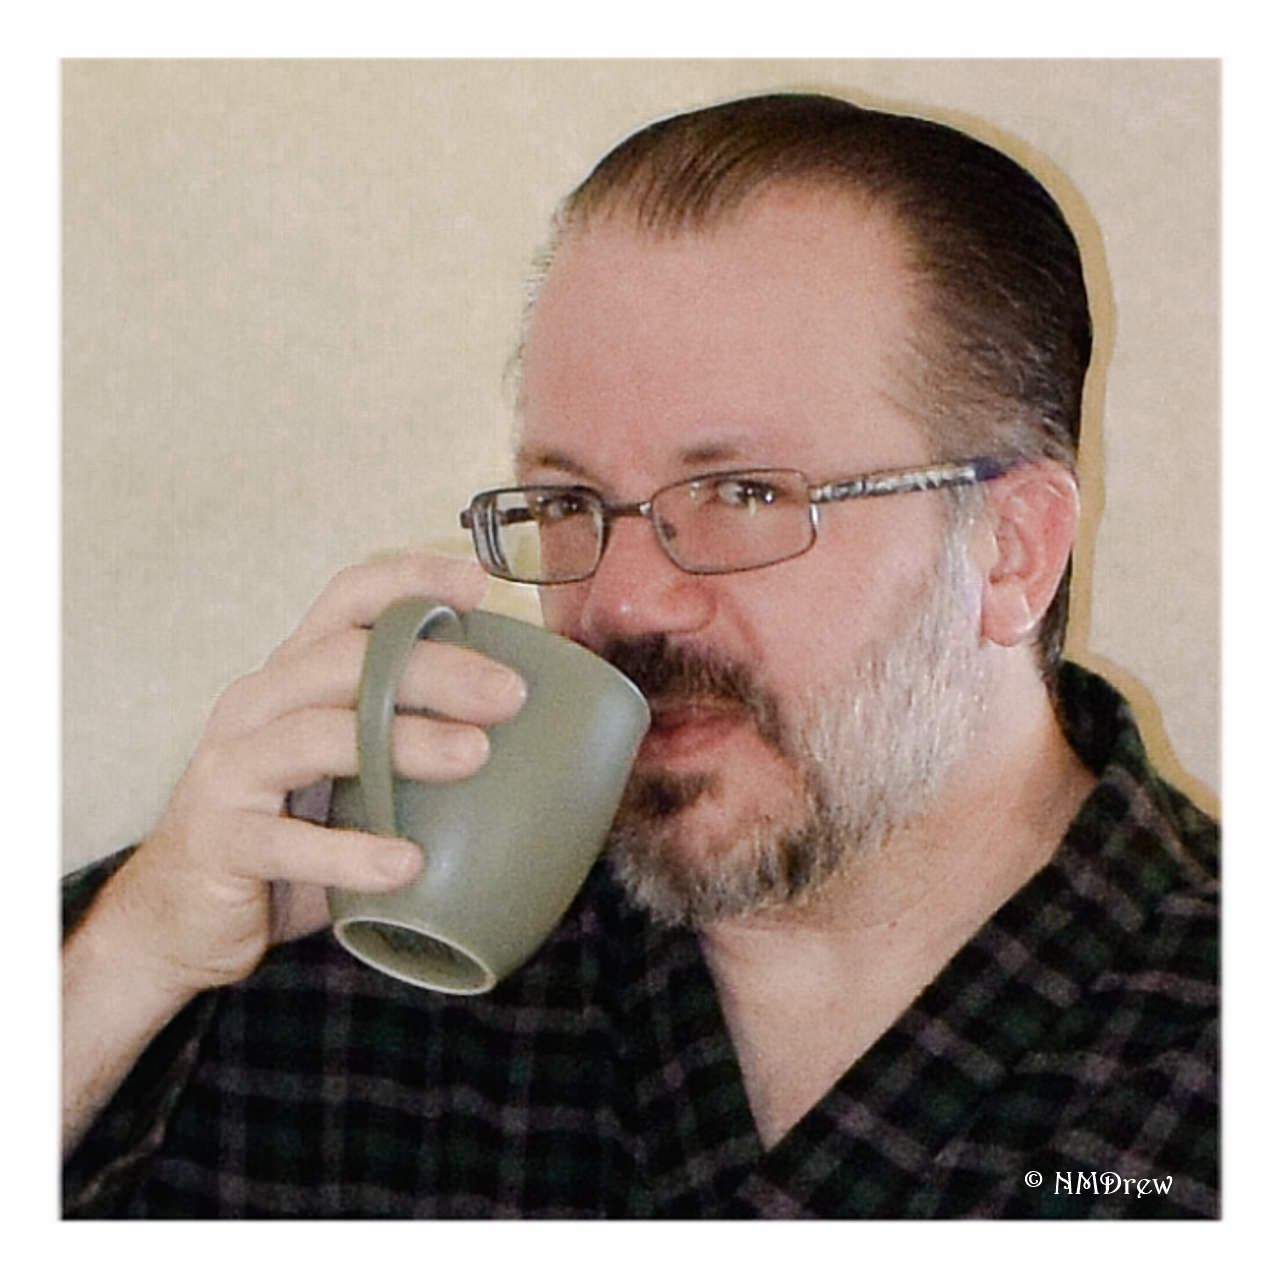 Here are a few pictures of the other half in his bath robe. It was a 2-hour Simplicity pattern, which is lying around here somewhere in the post-New Year debris!