Summer

This has been – and still is – a summer with heat every day.  Luckily, the nights cool off from 100F to 72F, and the humidity is low.  That is the only good news is that life is bearable.  But, with fires burning everywhere in California, the sky is not blue but yellowish, and the light that comes in has a orangish glow.  Ash is dropping out of the sky.

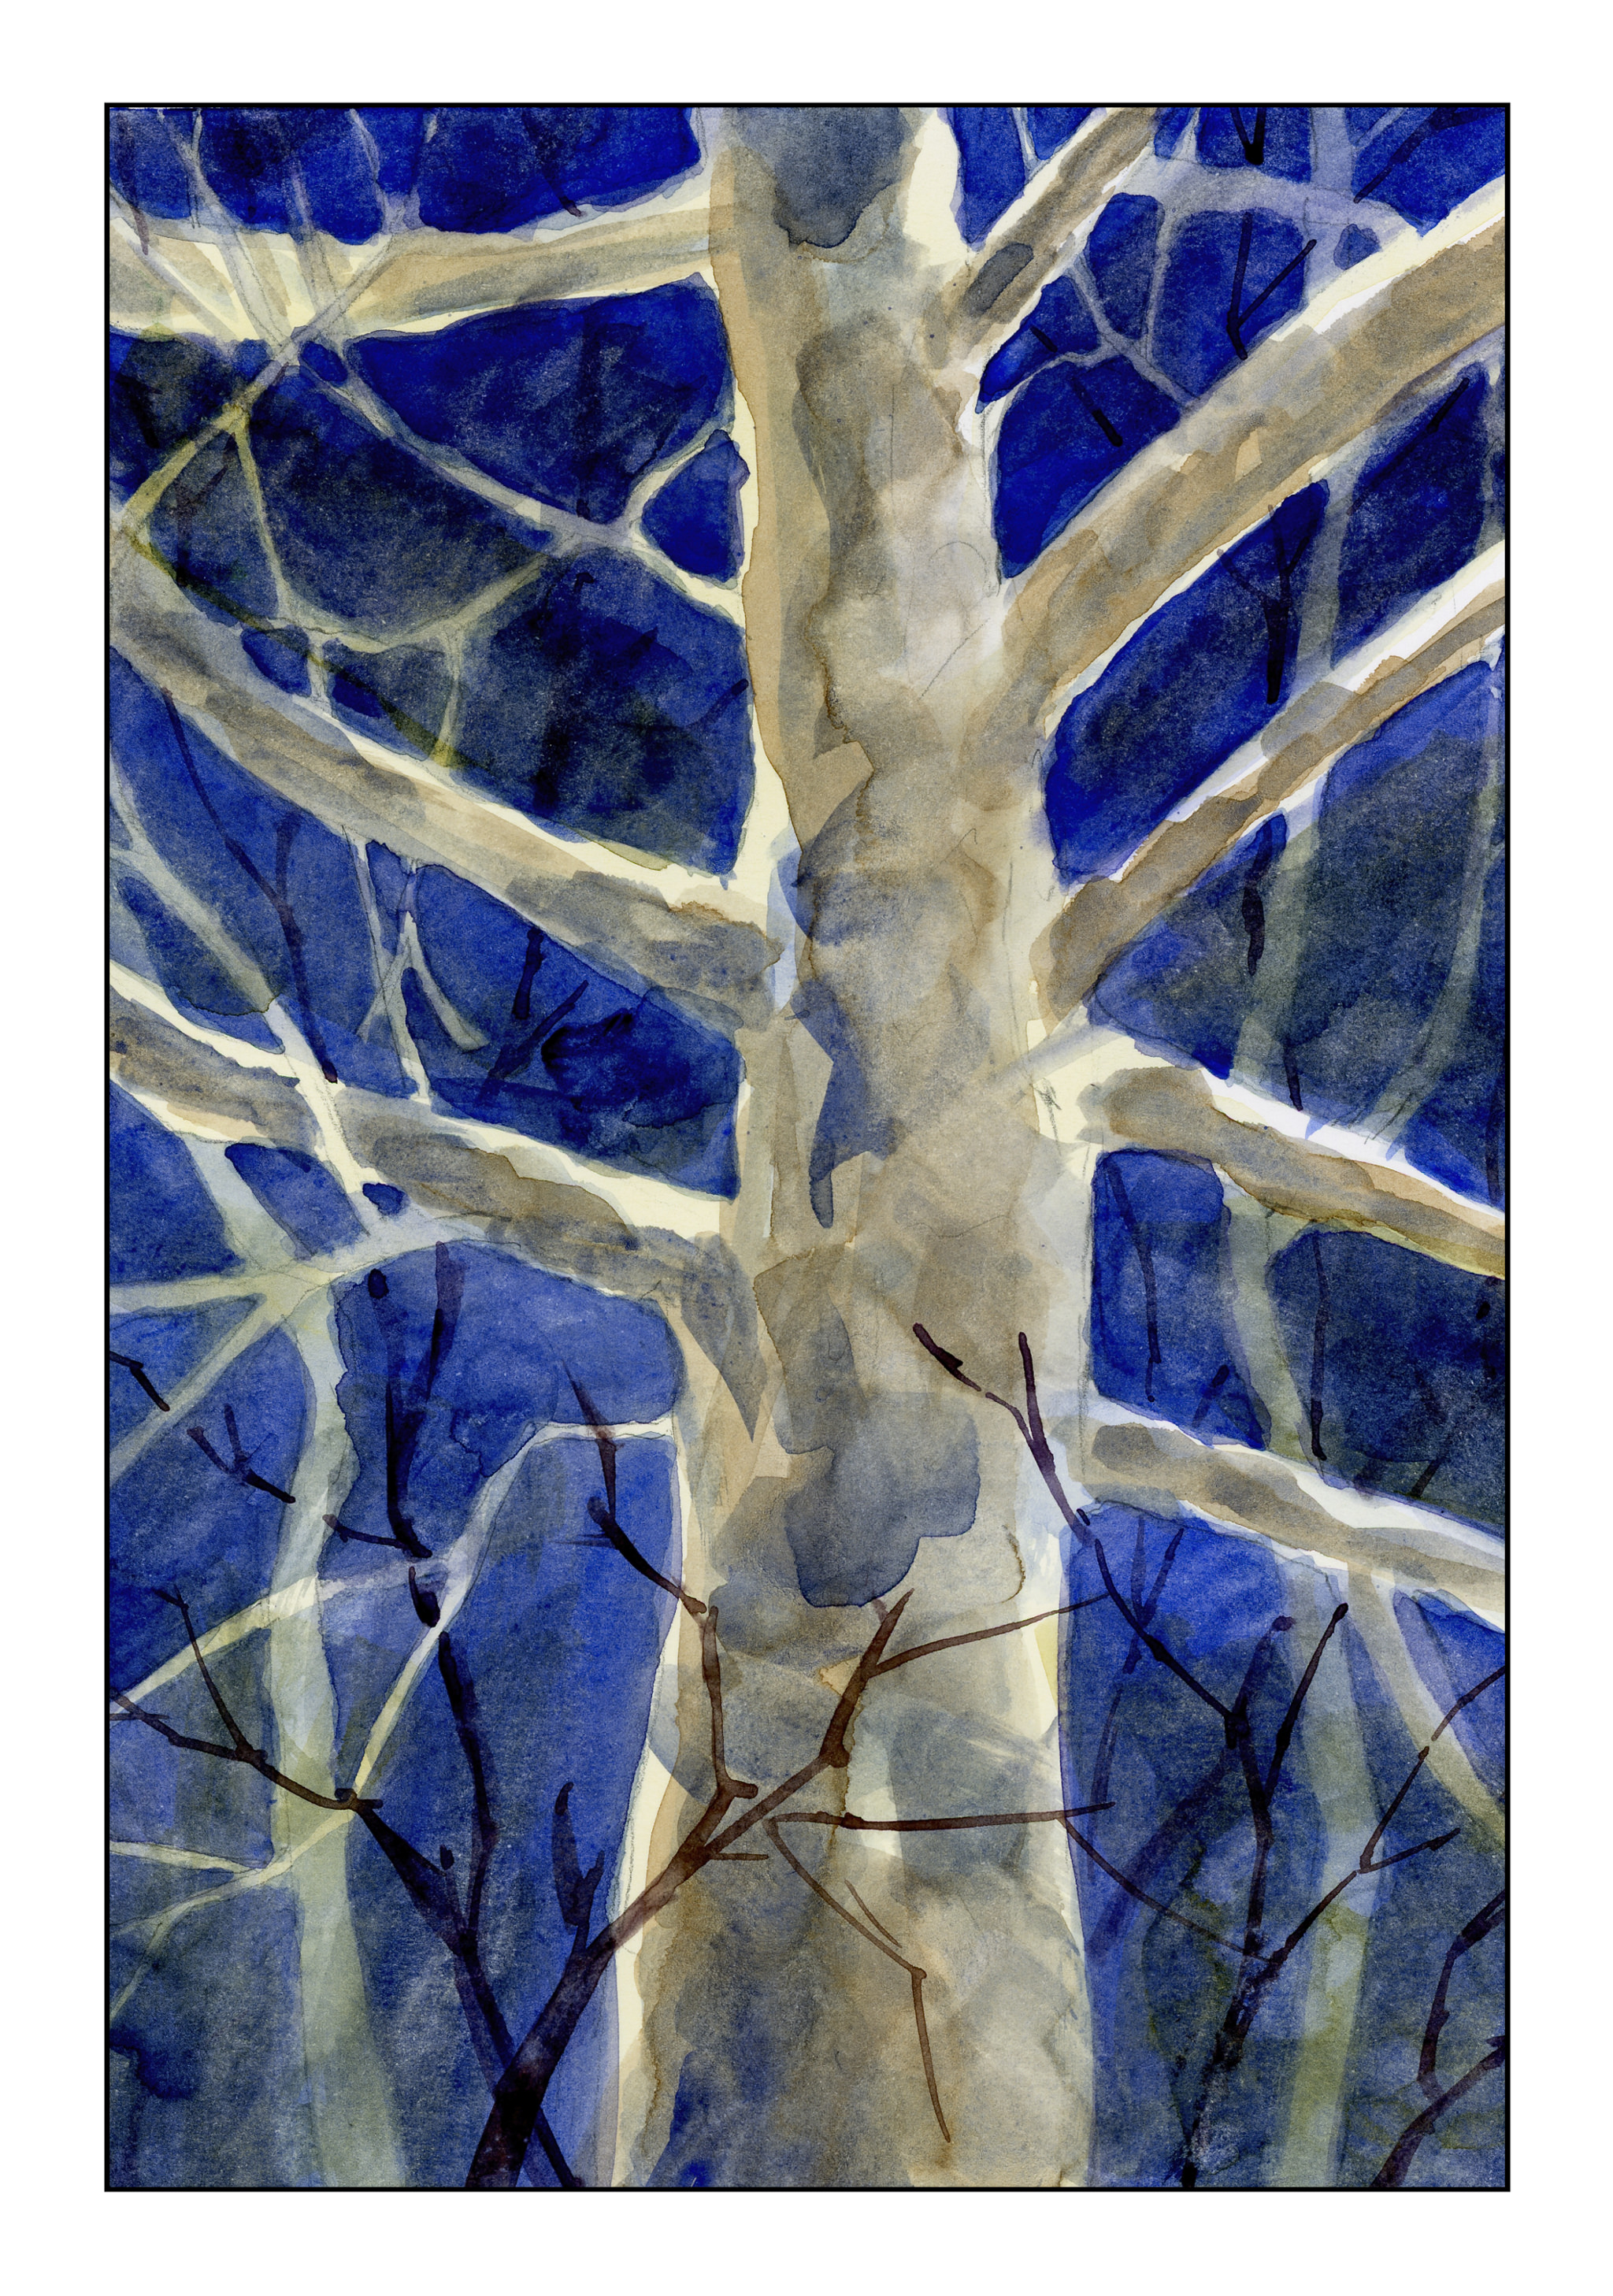
I haven’t been doing too much of anything for the past several weeks for a lot of reasons, but lately I’ve been struck with the urge to look at some of my pictures differently in post:  I don’t care what they “should” look like, I want them to “express” what I want them to look like!  And this heat is the perfect example of expression.

Taken with a Cosina CX-2, panorama of 9 images, stitched together and cropped in PS6 using Agfa Vista 200 film.

Negative Painting: Sycamore Leaves

Now that I feel a bit more accomplished in some of my watercolor skills, I have taken the time to think about a few things.  Specifically, what to do next.  I think negative space, or negative painting, seems like the next best step.  I am not sure why – it just feels right.  That is how I painted my two moonlit sycamores.  Now it is time to paint their leaves.  Below is a photo I took the other day, which is my reference point.

I started out with three primary colors:  Cobalt Blue, Cadmium Yellow, and Permanent Rose.  First, I wet the paper and then made a few distinct areas for each color.  Then I tipped the paper around (it’s mounted on a board) so the colors would blend and bleed.  As it is probably only 90# paper, there was buckling and pooling, but decided to just let things happen.  After it dried, I drew in the shapes of the leaves, and then worked around the leaves and twigs with a wash of varying strengths that combined Cobalt Blue and Burnt Sienna.  The veins were a bit of Hookers, Sap, and Cobalt Green.  Altogether, there are multiple layers of washes / glazes – some successful, some not.  The final overlaying wash was a mixture of Carbazole Violet, Cobalt and Ultramarine Blues.

This painting has a lot of problems – too tight, too overdone – but the problems also present future solutions, which I hope to visit in the not-too-distant future.  I feel like it is moving toward mud, too, which is something I always have to watch out for.


A Bit of Dishonesty

I’ve been editing photos for a while now.  One of my favorite tools is spot removal, from spots on a dirty digital lens to lint in film.

The other day I was comparing my second edition of the Moonlit Sycamore with the first edition of the same.  I liked the first one better, but did not like all the little twiggy lines I put in to represent a tangled undergrowth at the base of the tree.

Then the thought hit:  edit it out!

So I did.

For your viewing pleasure, here is the before, and then the after.  The third image is the second real painting of the same subject.  What do you think?

Moonlight

My original “Moonlit Sycamore” is below.  I like it a lot – except for the squiggly black lines I put into it.  They ruined the painting for me.

So, a second attempt, this time on 12×15 paper rather than 9×12.  No squiggles in front of the main trunk.  Instead, this new version is much darker, and the squiggly lines don’t exist, but dark lines, to suggest other trees and branches, exist, but not across the main trunk.  Here is the new version below.

The scan doesn’t really do it justice – the burnt sienna is a bit less intense in the original.

Both painting were designed to work on negative painting.  This is not easy and I expect it takes a lot of practice to do it well.  Years ago, I did take a workshop and saw negative painting and masking fluid for the first time.  It was quite impressive and looked deceptively easy.  I am finding it is not – but it will improve with time!  Funny how a scan makes you see a painting so differently . . . flaws are more apparent, as are areas of success.