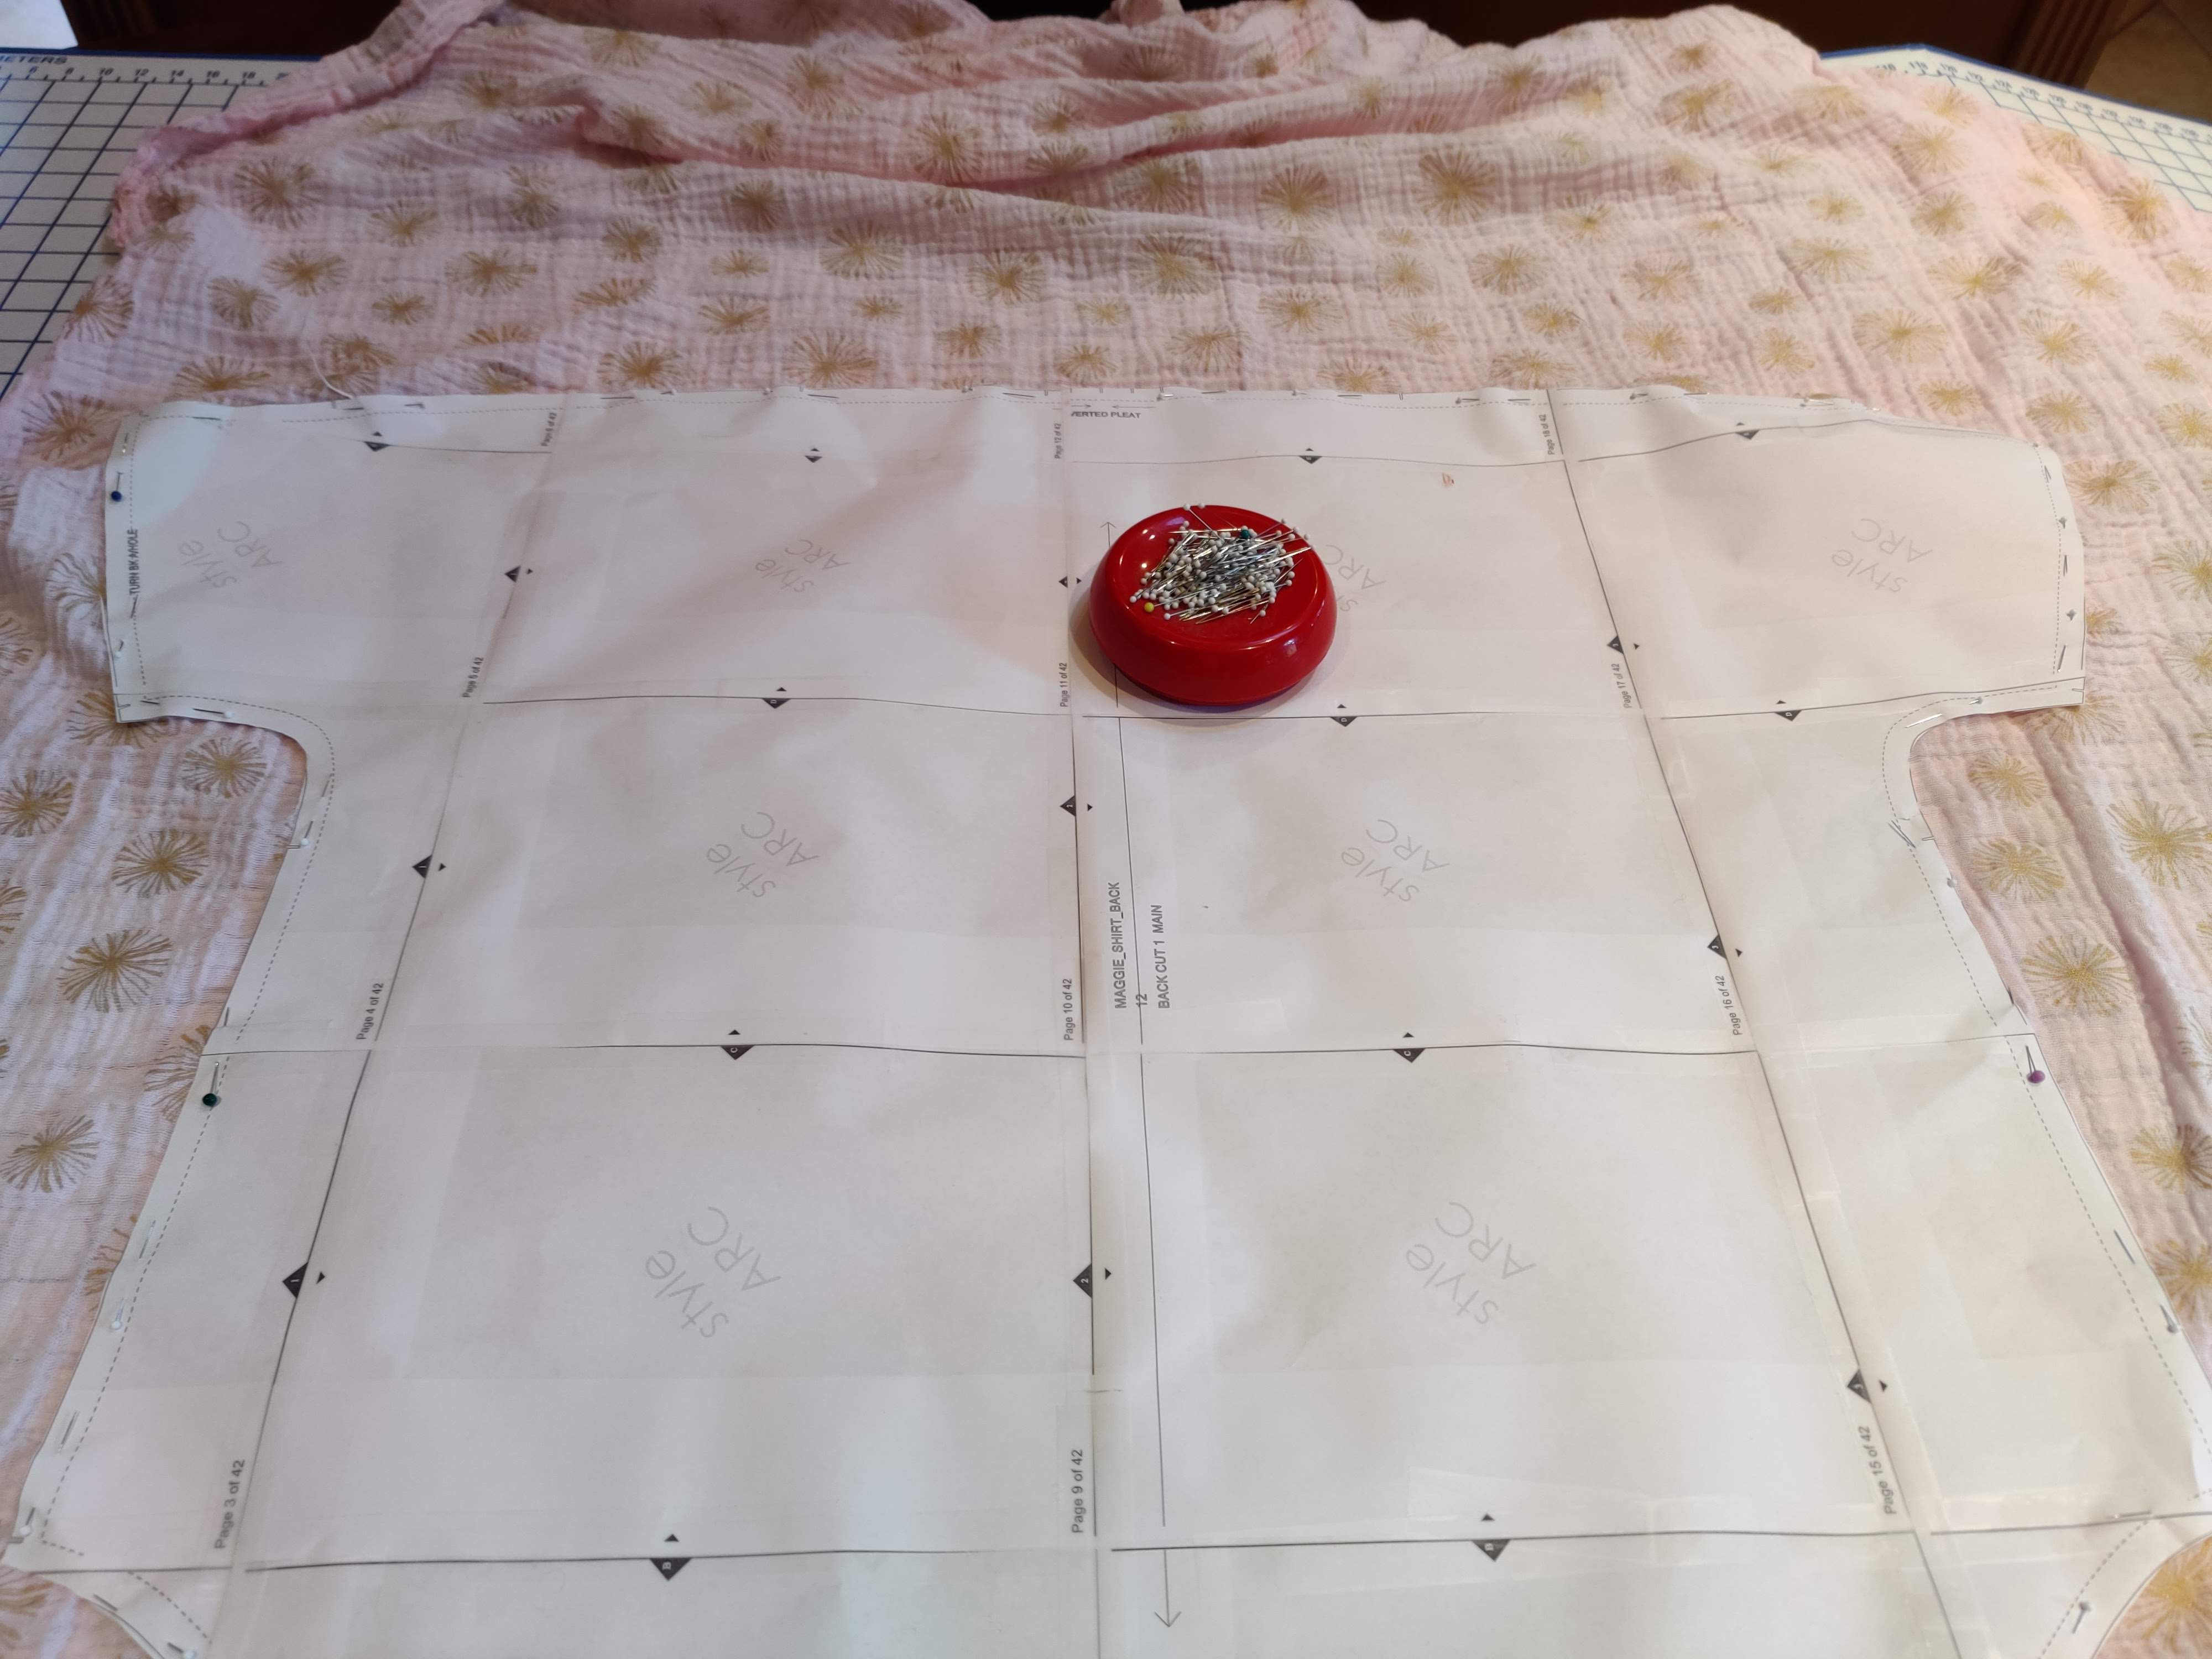
I think it must be about 100F (38C) where I live, so the air conditioning is on and not going out until it is dark. My dogs aren’t mad, nor am I a Brit, so I am staying indoors, drinking water, and prepping the Maggie Shirt . . . and I am sewing it on my vintage Singer 403a,
I think these machines (the Singer 400 series) date from the mid to late 1950s and into the early 60s. Mine is like it was never used. When I bought her, she needed some TLC, heat and oiling, as well as a bit of gear grease, before she was off and sewing. Unused machines freeze up, but once they have been given the right attention, I think they are the best! I’ve had my 403a for awhile, and as I cycle through my machines, she hasn’t been out for a spin in quite some time. Time to put her to work!
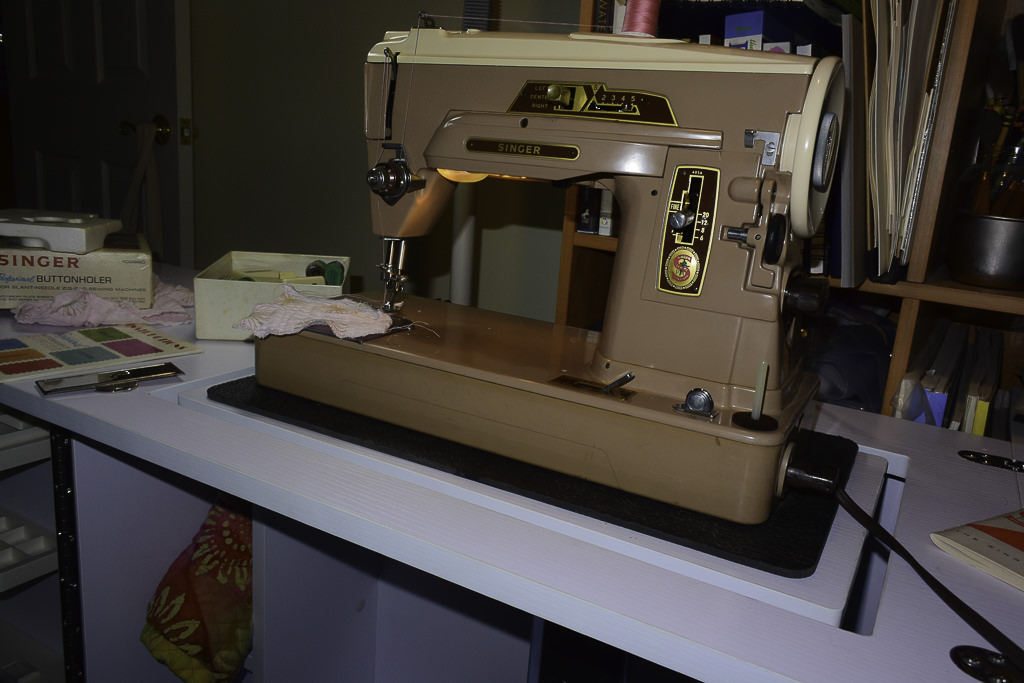
There is something to be said for the old Singer sewing machines. They are well made and pretty straightforward. The ingenious attachments are fun to play with and many collectors are nutso for them. I have some, but usually rely on my more modern machines for things like fancy stitches and buttonholes. Nonetheless, this machine is a blast. It has cams for stitch patterns – the #0 cam is required to do a zig zag stitch – as well as straight stitch.
The 403a is a member of the “slant-o-matic” series of machines Singer made. I like the slanted needle – it pushes the needle more into your line of sight. Many newer computerized machines have the needle tucked back under rather fat upper portions, so they are harder to see. Still, that doesn’t act as a deterrent. For the 403a, as it is a slant needle machine, it is important to have the slant-o-matic attachments. The one I have is the professional buttonholer, but I also have numerous feet that came when I got the machine.
")
")
")
Click on one of the images to open up the slide show . . .
The first two images are of the buttonholer – just a quick picture, really. The first shows you the box with directions, the second is the feed dog cover plate. The 403a has a rather interesting system to remove the throat plate – it is lifted up by a lever and slid out. The buttonholer cover slides in to its place – kind of complicated until you get the feel for it. The last picture shows you the box of feet and cams that came with the machine. The manual shows you just how unused the whole machine was when I got it.
When I buy an old machine, I want one that I know will work. I like them to look good and to run well. Some people get off on restoring machines, and while I can work on most of my machines for general maintenance, I really don’t find it a lot of fun to try to fix an ugly, rusted, beat up machine that is covered with rust and has electricals of suspect quality. Prima donna, yes!
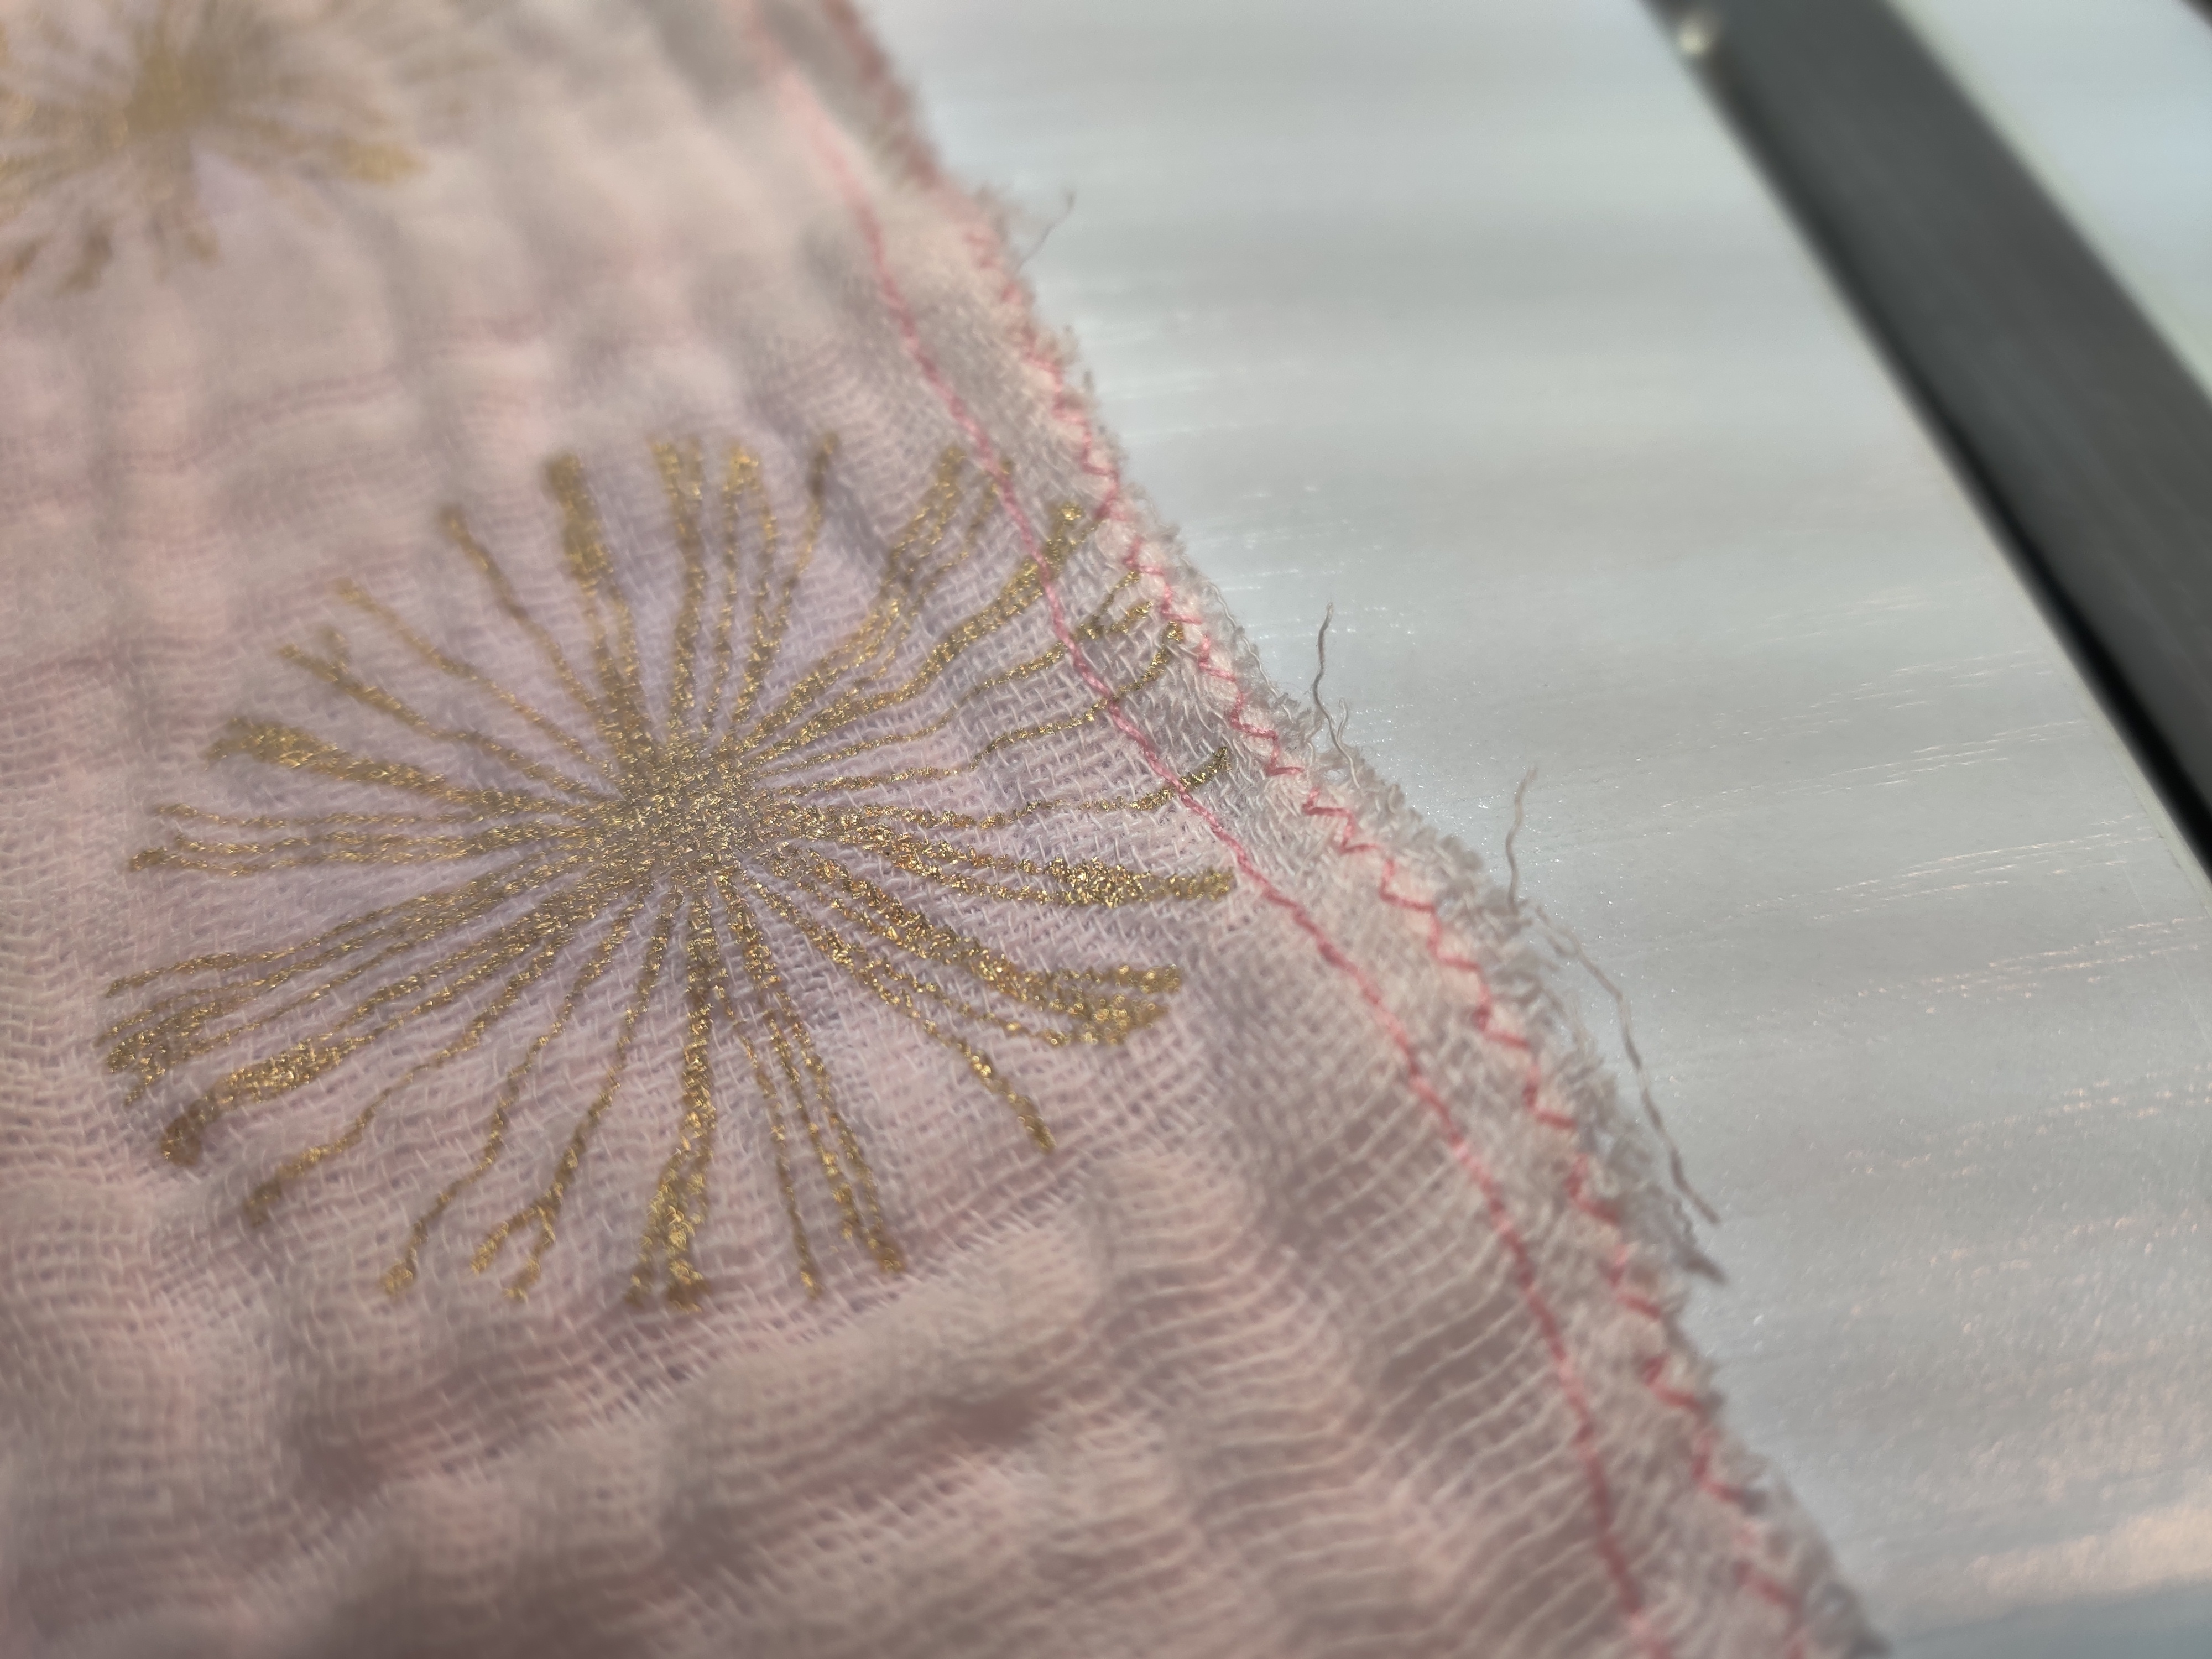
Finally, here is how I spent a few hours this afternoon. The gauze for the Maggie Shirt is soft and stretchy, as is the characteristic of the critter. It is also very ravelly. Perhaps it is a bit of overkill, but I decided to stay stitch (the straight stitch) all around each piece, and zigzag to finish the edges. I may need to cut out another collar stand as it seems to have gotten a bit warped by all this attention, but I have an extra yard. Never having sewn with gauze, I bought a bit more to play with and to be sure that I didn’t lose so much to shrinkage that I would not be happy.
To be continued!