
 While we wait for the ink to ferment, along with kimchi (more later!) and the current batch of beer, I have taken some quills to begin to re-learn how to cut them. What an adventure it has already proven to be.
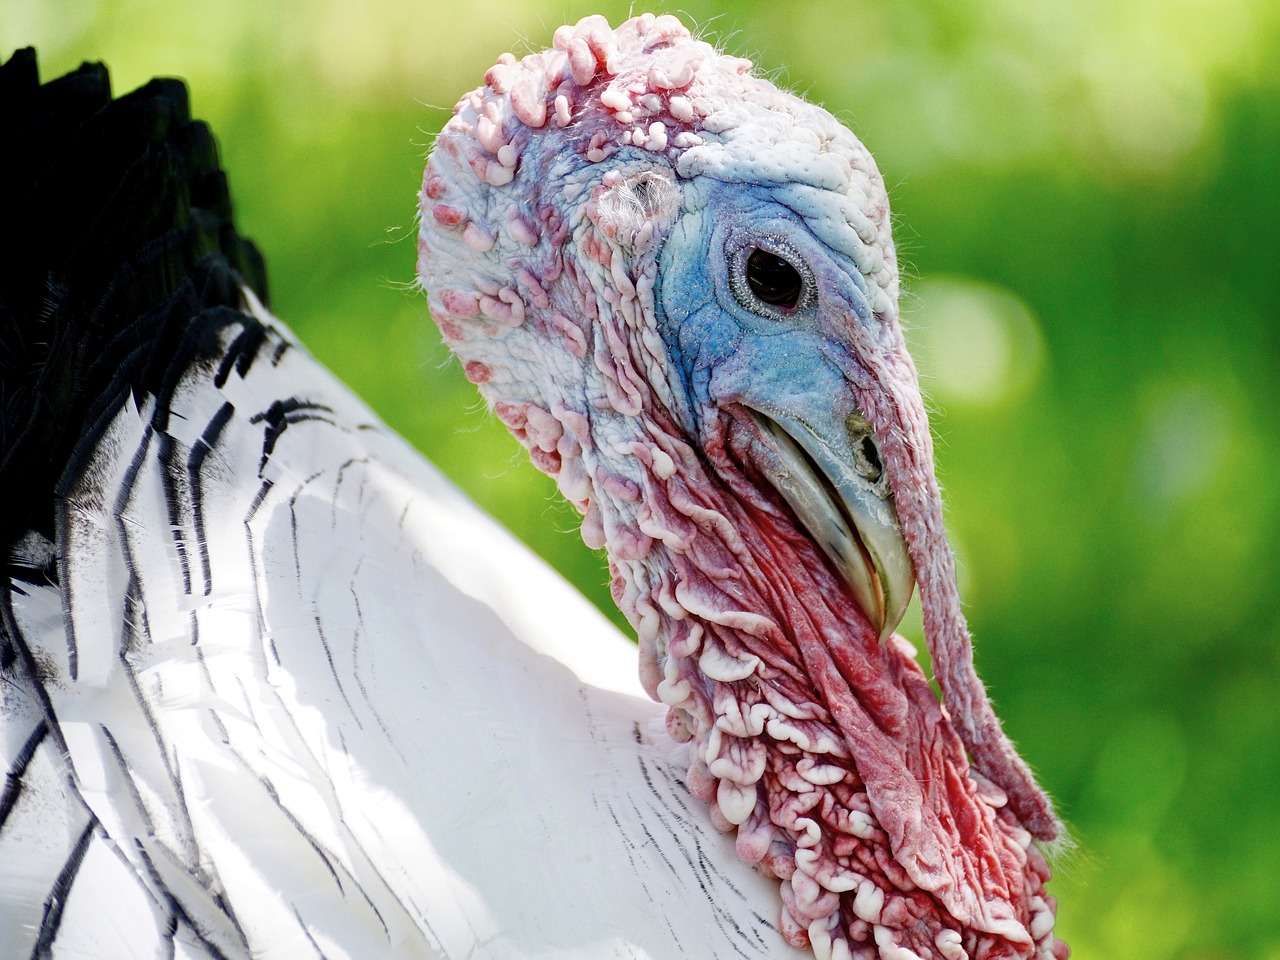
To begin with, I bought a quarter pound of white turkey feathers from a local feather company. They are white, and what I was able to do was to look at the diameter and width of the quill part – not the feathers, as they are not important – but the thickness and length of the lower end of the feather, the part to create the nib of a quill pen.
Yesterday, I stuck the quills in a glass of water to soak overnight. I made sure there was enough water to cover the lower end of the quill up to where the first barbs begin. One feather had its tip intact, but the remaining four had been cut away or removed. According to varying sites, the end should be cut away prior to soaking. After soaking the quills, I attempted to do the following, in this order:
- Scrape out the membrane within the quill. I used a variety of things, some of which were more satisfactory than others – in particular, I used a couple of threading hooks for my spinning wheels. They weren’t especially good. Nor was a bent paper clip or seam ripper. I have seen scraping tools fashioned out of bicycle spokes and mounted in a handle – I will try to devise one over the next few days. The soak in the water gave the feathers a rather fowl (yes, deliberate pun!) smell – light and rather disgusting. Perhaps they soaked too long. The next round of quills, I will try to remove the membrane without soaking them overnight, and then move into heating them, as in Step 2 below.
")
")
")
- After scraping out the membranes – none really seem to become clear as suggested by varying videos on YouTube – I hardened the quills in hot sand. I put some fine sand into a sauce pan on the stove and heated it up. I heard you can spit on the sand (or sprinkle some water drops if you are disinclined to spit) and if you hear a hiss, the sand is hot enough to harden the quills. I measured the temperature of mine, aiming for 350 F, and ended up with a bit more. From there, I moved the pot onto a trivet on the patio, and inserted sand into the quill tips and left each quill to clarify (what it is supposed to do) for about a minute. I cycled through the quills. At times I could hear the quills hissing in the sand – water evaporating or the sound of scorching from touching the bottom of the pan? Three quills were scorched, and two were not.
")
")
")
- After the hardening / clarifying process I looked at my quills. They looked kind of sad and did not smell delightful. After choosing a scorched quill, I watched this video by Dennis Ruud, a master quill cutter.
- While I did not follow all his steps, I did attempt to create a quill as he did – with some success. My first quill was not at all clarified, nor was it especially good. Still, the process of learning was most important. The fact the quill was rather scorched and deformed meant I had to cut off a lot of the area that would become the nib. Wah! Still, I made the attempt – and was really rather pleased with the result. I used different Xacto blades for the final product.
")
-2")
-2")
-2")
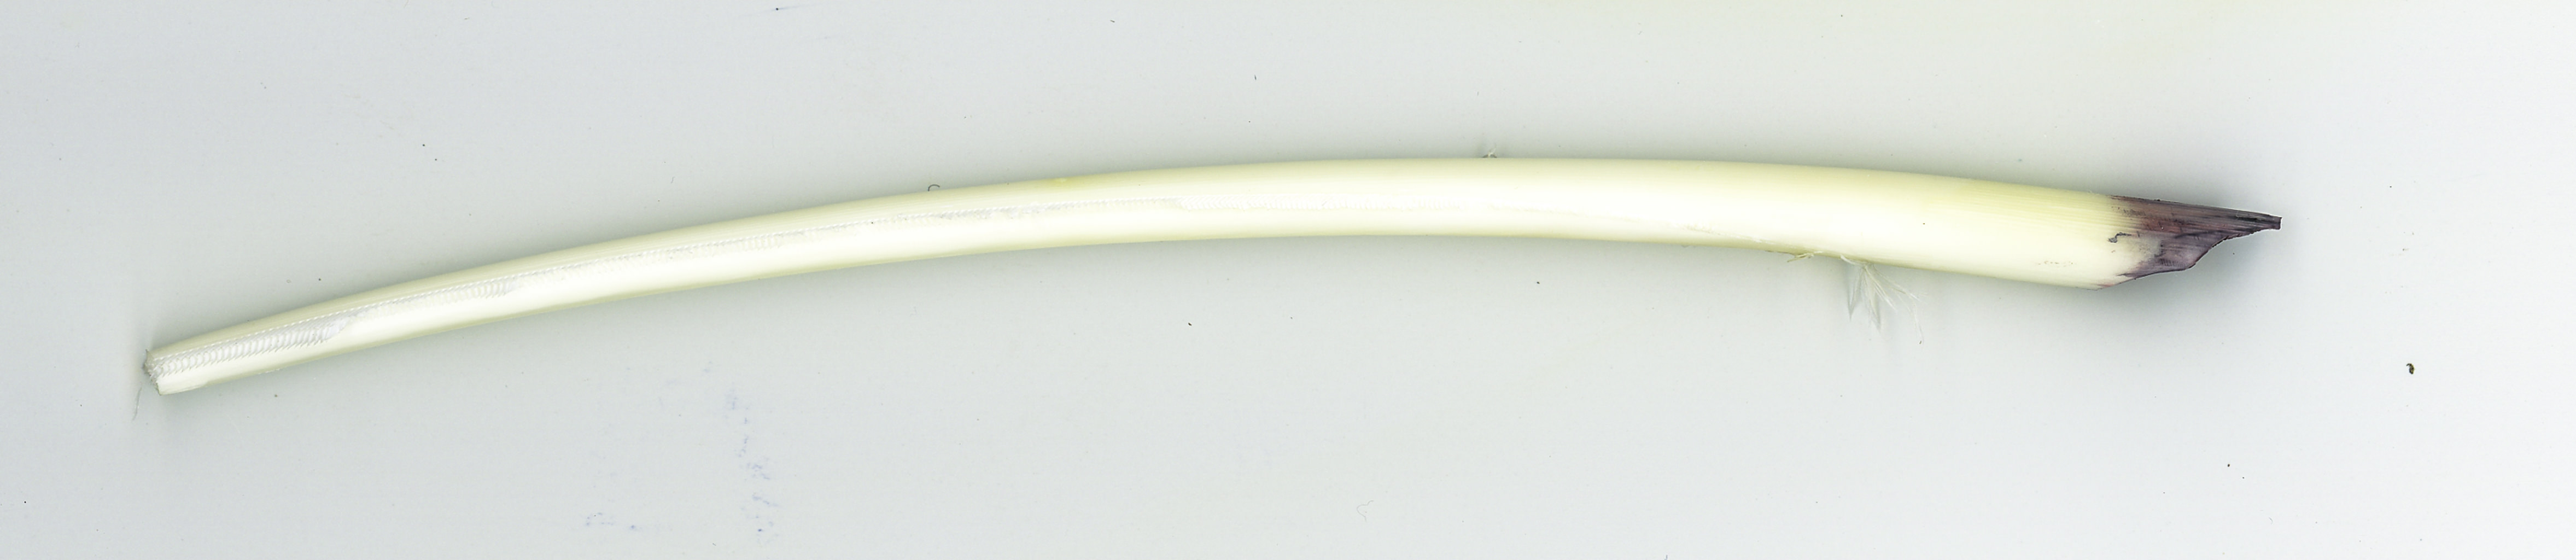
- Finally, I stripped away all the feathers using slices from the Xacto knife as well as trimming them with scissors. Ultimately, all I was left with was the shaft and a nib, total length about 8 inches / 20 cm.
- And then I practiced writing . . .
")
")
")
The quill nib was broader than I would have preferred, but the pen held up well despite all the flaws. The paper itself is very smooth, and having a hard finish, not especially absorbent. As a result of both the hard finish on the paper and the broad nib, it took a bit of time for the ink to dry. I tried script and printing using the quill turned to about 35-45 degrees to create a thick-thin element. Still, for my very first quill in ages and ages, I was pretty darned pleased with it!
