
This was taken a year ago, in March. It caught my eye last night, so putzing a bit in LR I used VSCO 02, Polaroid 690 warm. In PPS9 I replaced the sky and used various effects. This is the final result.

This was taken a year ago, in March. It caught my eye last night, so putzing a bit in LR I used VSCO 02, Polaroid 690 warm. In PPS9 I replaced the sky and used various effects. This is the final result.

This is another photo, taken last year at the Garden of the Gods Park outside of Colorado Springs. The rock formations are wonderful; at times, the drama of the sky is amazing as the Garden abut the Rocky Mountains. The day I took this picture, though, the sky was flat and colorless. Thus . . . I used a sky out of extras in PPS9, and refined the edges using the Perfect Brush, the Refine Brush, and the Chisel tool. Once done, back to LR and a VSCO preset with adjustments to reduce color and work until the colors worked together. For me, the best results were somewhat odd, but in looking at them, they became to resemble post cards from the 50s and 60s because of the colors – not quite right, but expressive of the environment. Rather pleased with this one.

I have been playing around a lot with Perfect Photo Suite 9, taking past images and doing something different. Sometimes I like what I get, sometimes I don’t.
I shot this picture about two years ago. To see from whence this image is derived, please read about it here.

I am not really sure how to write a tutorial for a software program, but I think it is interesting to read about people’s processes in photography, whether it is in approaching a shot or processing it later on. Often, I find, when I look at pictures with a bit of distance from the time of the shoot, other perspectives emerge. These include composition, points of interest, how to process. Of course, tomorrow, the same picture could become very different!
Above is the original picture. I shot it using a Tamron 17-50mm on my Nikon D7000. This was taken in the fields surrounding the Paramount Ranch in Agoura, CA. The day was rather dull and overcast, the lighting was not spectacular, and it was in the middle of the day. Lots of things about that day made for very poor lighting conditions.
This next picture is my first crop of the picture. The biggest mushroom was the one I liked the best. The bit of grass to its right is an eyesore, and I guess now I would be more inclined to squash it out of the way or just uproot it. Still, software can work its magic to remove it. I tried it in LR and did not like the results, so used the eraser in the Layers portion of Perfect Photo Suite 9 (PPS9).

Moving along, once I had removed the grass in Layers, I also used Clone Stamp to copy some texture from other areas in the image to hide where the grass had been removed a bit more. From there, I moved to Effects. In Effects, like many of the video-makers I have watched on the OnOne tutorial site, the first Effect I choose is Dynamic Contrast, using the Natural formulation. A few adjustments here and then.
Next, I used Color Enhancer twice; the first was Darken Sky, and the second was Increase Color. Layer Opacity for each was adjusted to my liking.
Moving from Color Enhancer, I used Shadows Darker, Midtone Contrast Boost, and Lighter, adjusting each. From there, I went to Texturizer, using Earth (which seemed the best, and certainly appropriate given the conditions under which mushrooms flourish!). Finally, Vignette and Big Softy with a few adjustments.
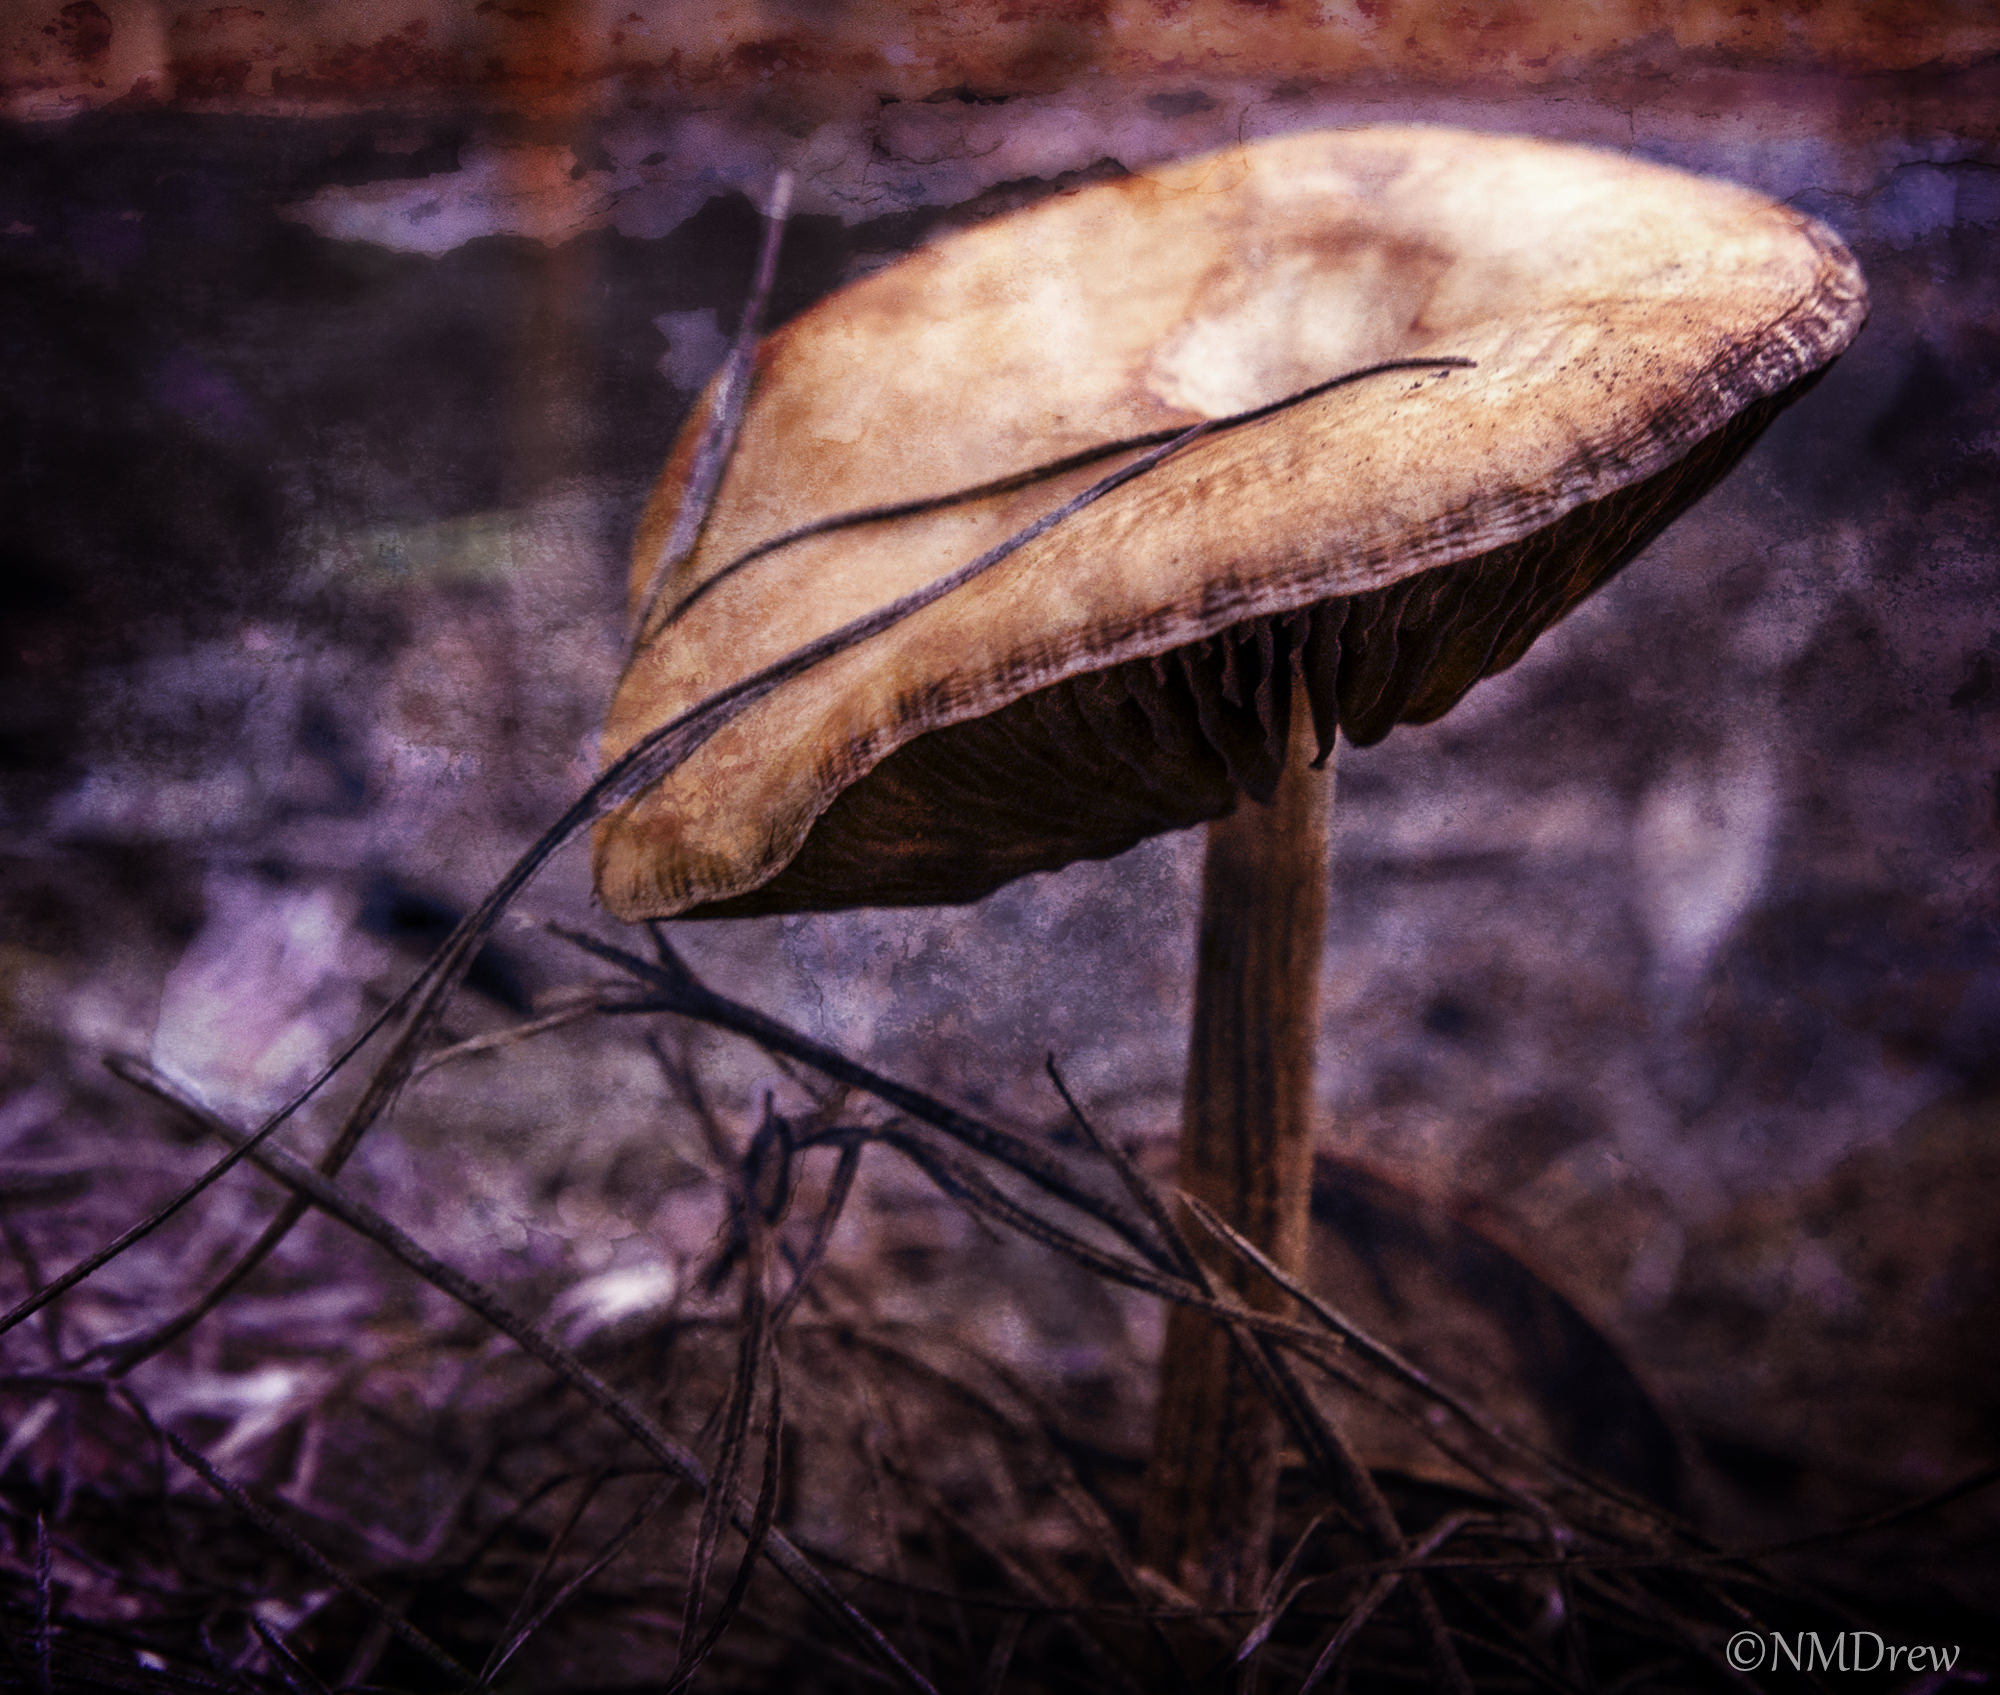
To me, the most important element of the post-processing was the use of the texture. The picture itself was okay, but not interesting to my eyes.
And below, the final result . . .

