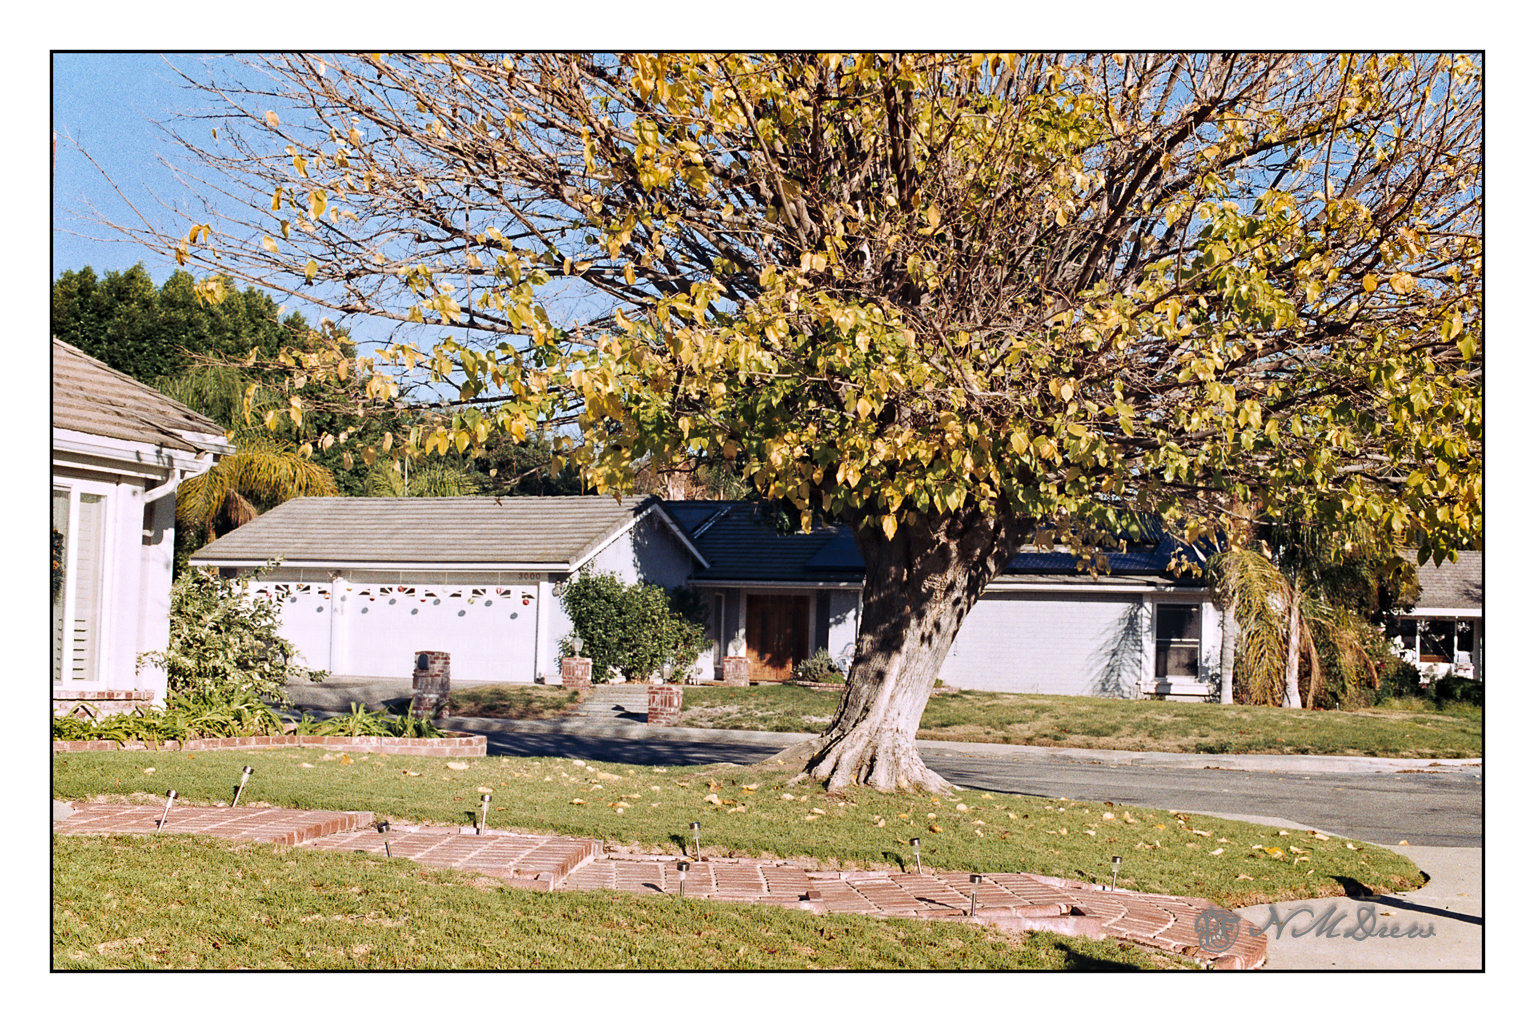
Putzing around a bit, I decided to take an image I had developed a week or so ago and take it somewhere. No idea about the camera, but it is Fujicolor film. I desaturated it and then pushed it to extremes in black and white – I like to do this when considering a subject for value studies, whether I painted it already, or plan to paint it. Below is the color version.
Just as an aside, this is my favorite tree in the neighborhood. In the fall all the leaves are scattered around, bright yellow. In the spring, they come back slowly, little bright bits of green and then a full canopy. The shape is very symmetrical at the height of summer.
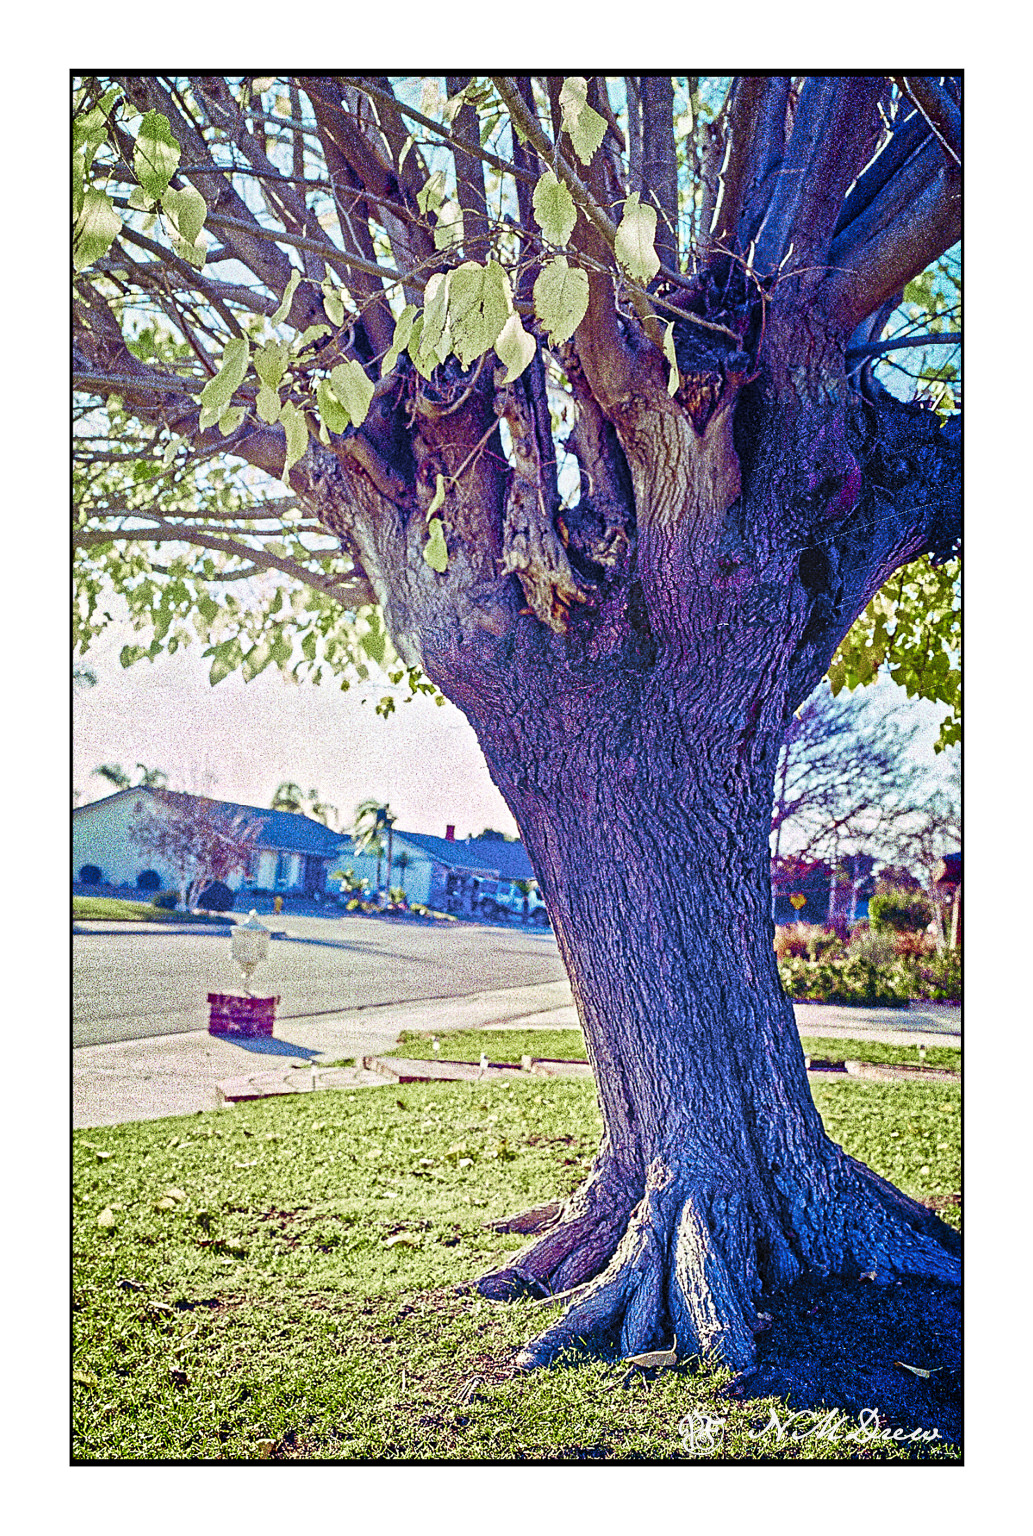
The above was a series of five or six pictures fused together into a panorama. The original pano was not as detailed – the image was a bit soft – but I wanted the texture of the trunk to show clearly.
35mm Fujicolor 100 film, scanned with a Pakon 135, and again with a PrimeFilm XA Super using Silverfast 8e.
I haven’t done any film photography for about 2 years, but I finally took a roll of FujiColor 100 I had finished awhile ago in to the lab to be processed. No idea what camera I used. I asked for only processing, no scans or prints.
Once home, I ran the film through both my Pakon 135 scanner and then my PrimeFilm XA Super Edition scanner using SilverFast 8e (free version for this scanner). I ran it as negatives but used the infrared clean up on all of my images. Once all processed, I merged the 5 images which make up this one without doing any clean up post Negative Lab conversion. This image is the one I used with SilverFast, and I am pretty pleased with the end results. I didn’t do any color shifts or anything in post, just used my standard frame and trimmed the raw edges down a bit.
I really like my Pakon scanner – I got it in the days of yore when cheap – and have a dedicated XP laptop for use with it. However, when I went looking for a scanner which was not consigned to the world of XP only, I came across the Prime Film on recommendation by a video on YouTube by “Shoot with Coops”. I have scanned negatives with VueScan, but there is not clean up. This roll of film was horribly scratched and really would have not been worth any time in removing the dots and scratches by hand. SilverFast works really beautifully, I think, and even though I had to putz around to get things working, straight out of scan and Neg Lab, I like the results.
I plan to get out and do more film photography as summer progresses. Film just has an extra something which digital lacks. I like scanning my own film – it saves a lot of money for one thing – but there are a lot of frustrations which go along with it. Dirt, scratches, and software. Yes, film can be scanned, but the quality of the scanner and the software can make or break it for you. Silverfast is often offered as a free scanning software. What I like about it is that each scanner has its own specific version, and the free one is really, really good. I use the Epson V600 for 120 film, and that works well enough with the native software, but not for 35mm.
So . . . no drawing today, but a foray into another picture making process.
I re-scanned some Portra 400 I took in 2015 with my husband’s old Ricoh XR-10 camera from the last century. I have a Pakon 135 scanner that digitizes 35mm film. It is a real life saver, slow, and overall, reliable. There are some quirks that go with it, such as crippled software which I have worked around, but it makes scanning film very easy.
A few days ago, my husband replaced the old hard drive with an SSD in the vintage laptop I use exclusively with the Pakon. He removed the old HD and mirrored it. After that, he used an interface of some variety to make the old machine – an eMachine from 2005?? – running Windows XP (the only software that the Pakon software will work with) – think it is using an old HD. Yeah, techie stuff. So, I needed to see if the Pakon would still work – and it does! Now let’s just hope the old laptop will continue until I die, and the Pakon, too. What is interesting, too, is that my wireless mouse dies and resurrects itself periodically on the eMachine, so I ordered a USB cabled mouse and a USB hub to see if some of the other laptop quirks can be resolved. The laptop has a touchpad, but I don’t like them at all.
Besides checking out the workings of the new HD and the Pakon, I finally got around to seeing how to save the scans as negatives so I can process them using Negative Lab Pro 2.3 and Lightroom Classic. The Neg Lab Pro website gives very good directions – far better than when Nate began the product – and this scan, which you can enlarge on Flickr, shows how nice it all works out. The beauty of the film is still there, even digitized.
I think this combo is a ball hit out of the park! More to come.
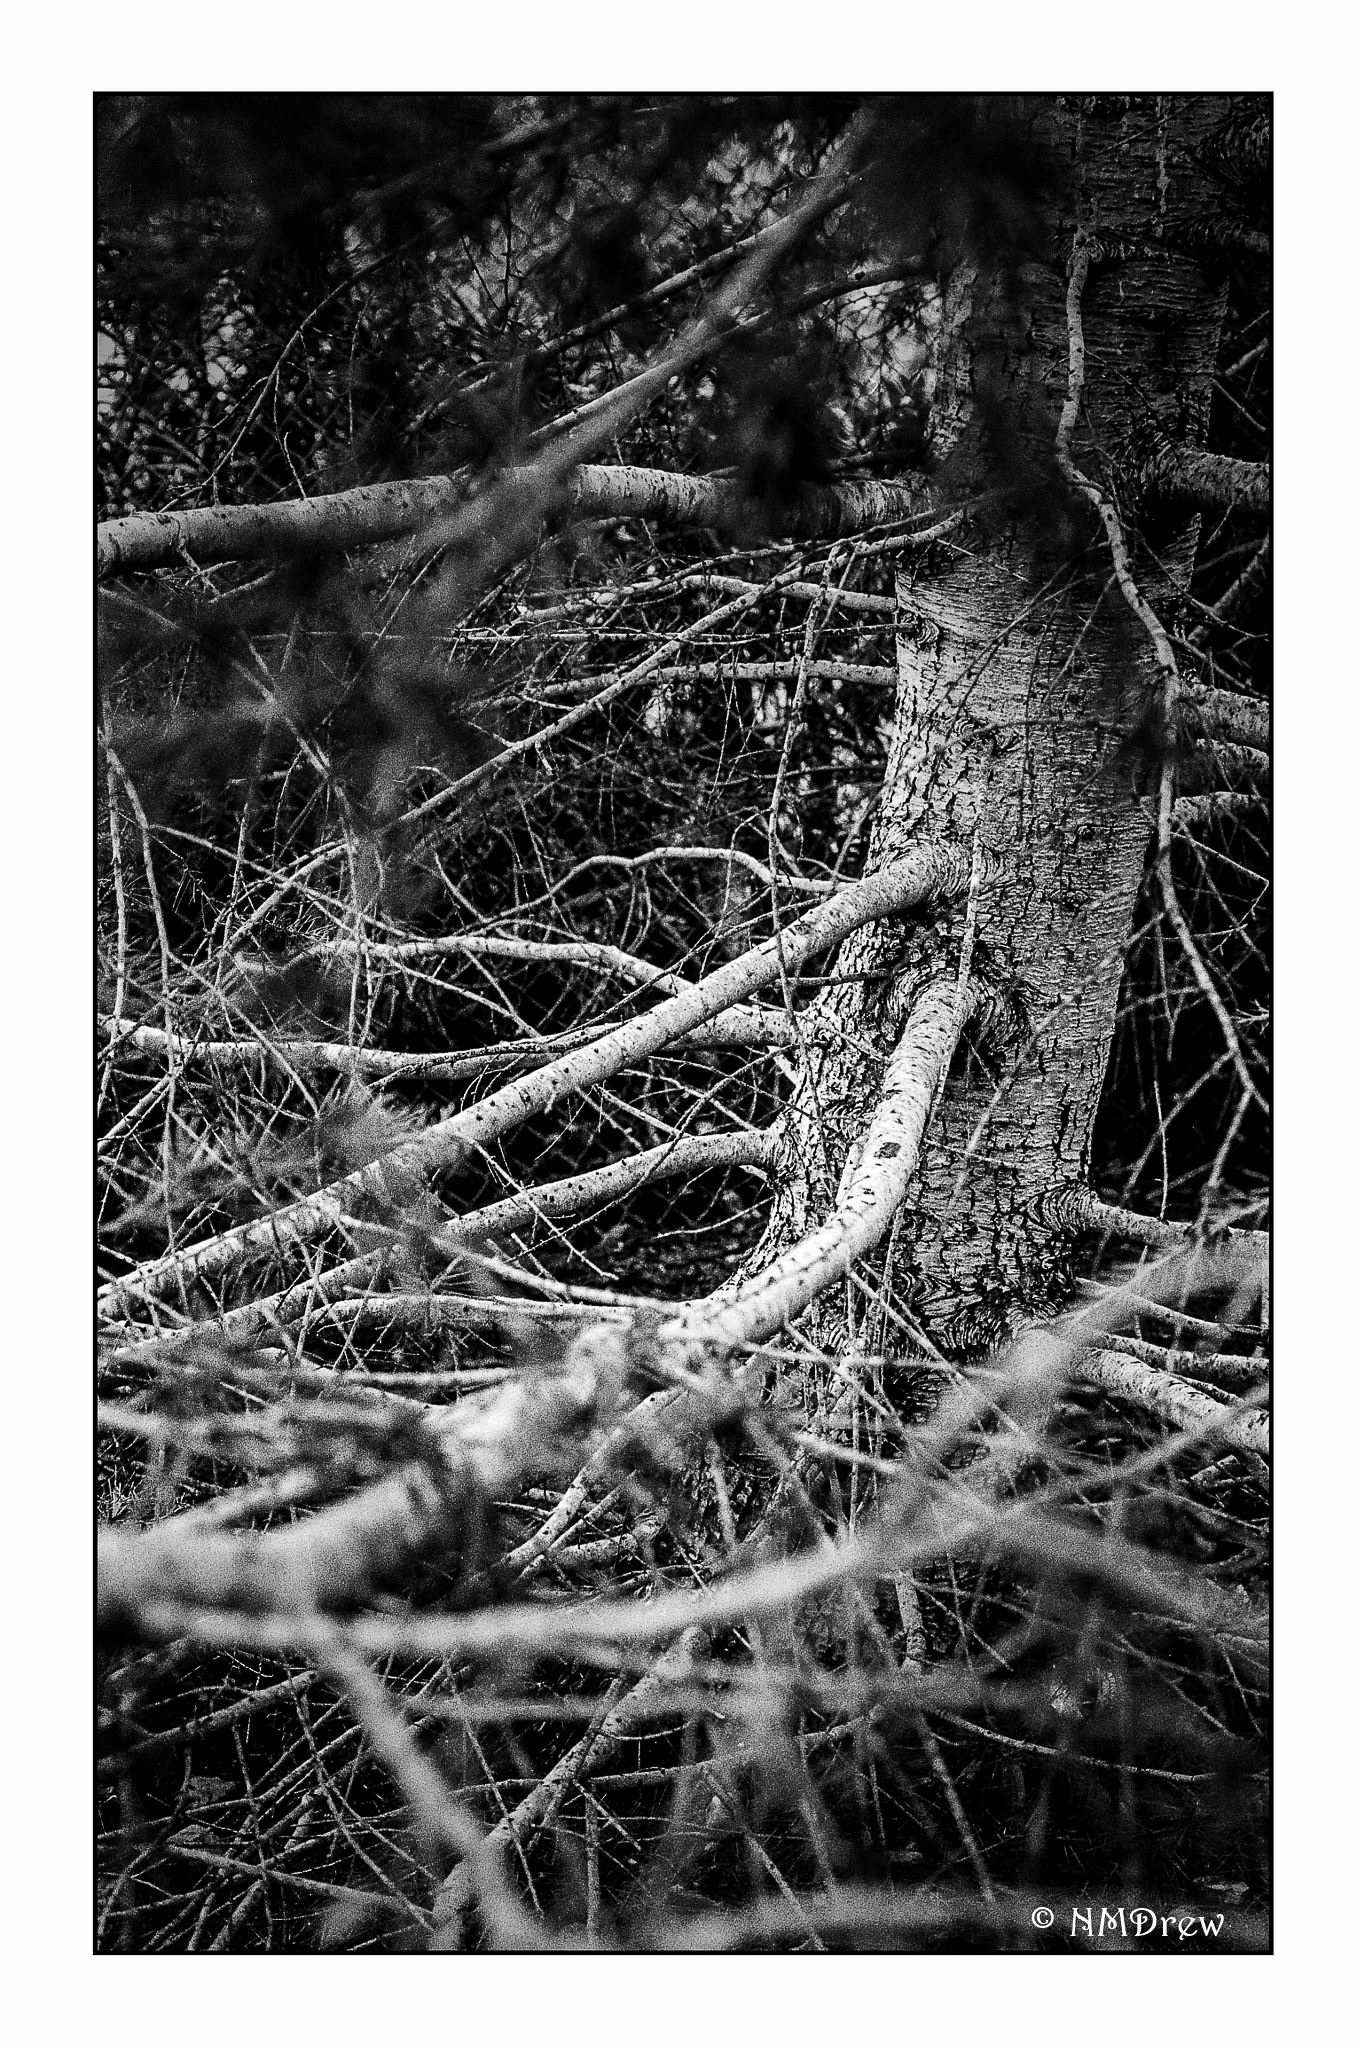
I’m a bit behind on the BW project, but all because of working on the scanning software and getting it to process black and white. I have a Pakon scanner, which is fab for 35mm film. I spent a couple of days ironing out and learning the software, as well as applying patches which allow more than color negative and C-41 black and white film.
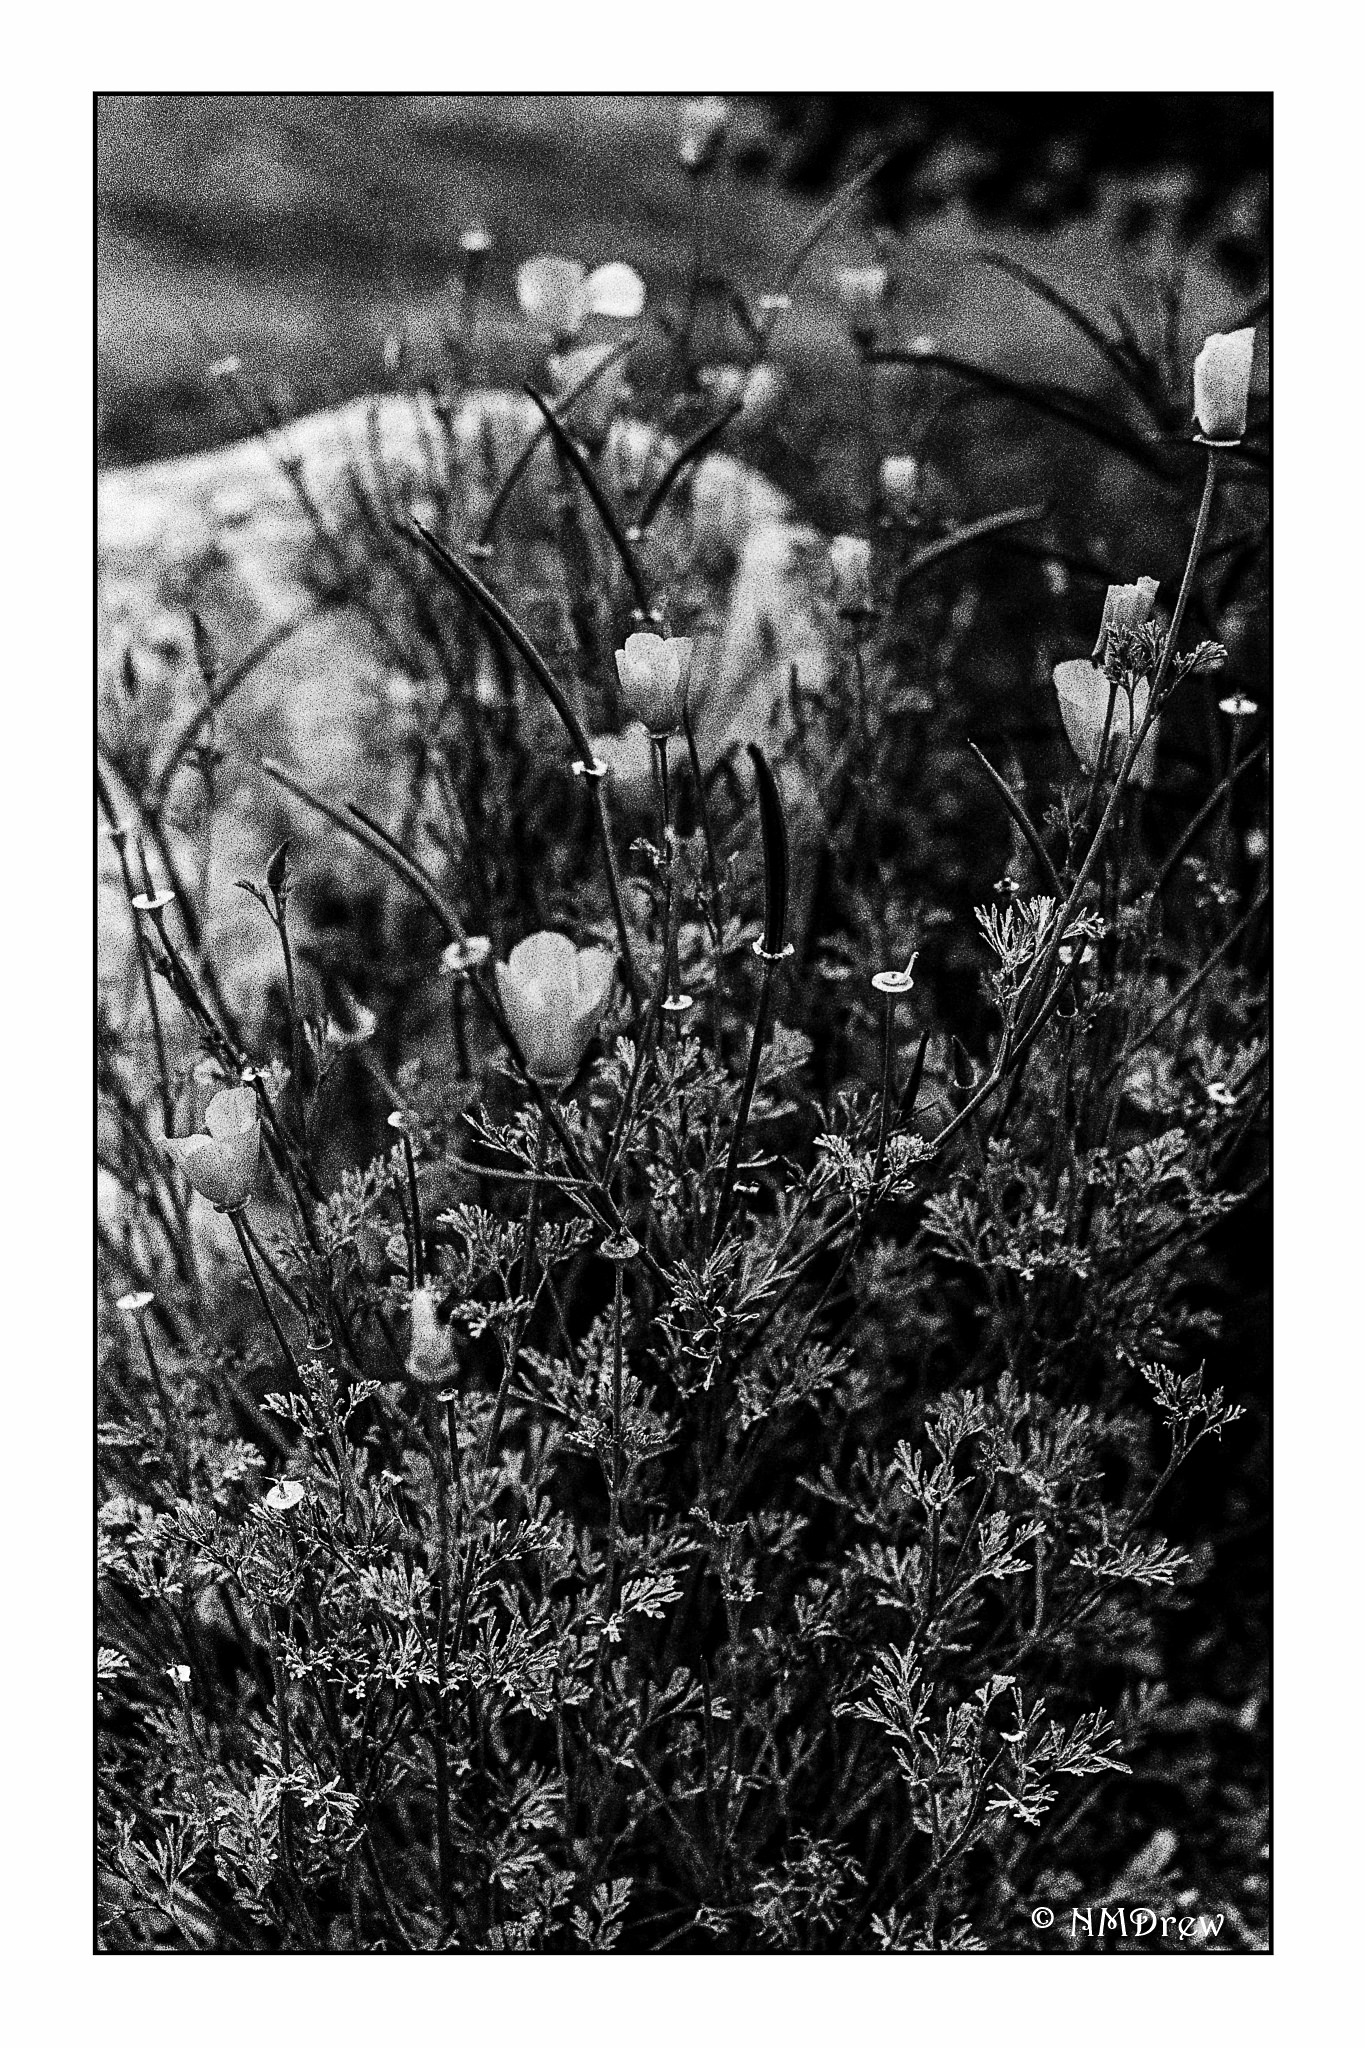
This is the first image I have gotten back from the developer doing something I have never done before – pushing film. Mark at If Time Stood Still made a wonderful picture of his youngest daughter, specifically the image called The Lunch Date. He shot Ilford HP5+ and pushed it.
Using his instructions, I did the same. The result is really pleasant, and seems to push contrast to level I like. Since I prefer shorter scaled B&W to longer scale in general, this is a good technique to know.
Mark processes his own film B&W, as well as color, and scans his film, too. (Altogether, I think he is an amazing photographer, especially of his family.) Go visit his site!
Today I am going to break the silence of the Silent 365 project. I’m a bit behind, but I’ll tell you why.
I have been working for hours on managing the software quirks for the Pakon 135 scanner I use for 35mm film. I finally have it working where I can do color negative film, positive / slide film, C-41 black and white, and genuine black and white. Post processing is done primarily in Lightroom and On1 Photo Raw. It’s a good feeling that I can scan my film in a good scanner which produces better results than a flat bed.
Ah, the benefits of retirement! Time to solve problems and stay focused on them for a long time!