Awhile ago I decided to try my hand at sashiko, a traditional Japanese embroidery used for both practical and artistic reasons. Originally it was used to quilt layers of cloth together, old clothes to make new ones. Patches were pieced onto already patched clothing. Today it is hard to imagine that clothing had to last generations, but this art form was for practical reasons. The artistry of it – the creation of patterns – shows the fact that, despite hardship and poverty, the need to express and create, to add beauty to the world, exists at many levels.
Today, we don’t patch clothes like that, to make them last for ages. We don’t need to for the most part. Instead, we call it “visible mending” and use it to enhance our clothes or show off our skills. It is a tradition that is now becoming a fabric art, much as quilting. However, these stitches are made by hand (although Babylock does have a machine which mimics hand sewn sashiko) and add character to jeans or old denim, or are used as a way to enhance something, such a purse or towel or whatever.
I bought sashiko thread, needles, a palm thimble specific for sashiko, and from there watched a few videos. I have some denim that I am cutting up to practice on. My stitches are uneven and I am trying to find a rhythm first in creating a running stitch. It is far harder than you think. So, first, the rhythm and comfort with the stitches.

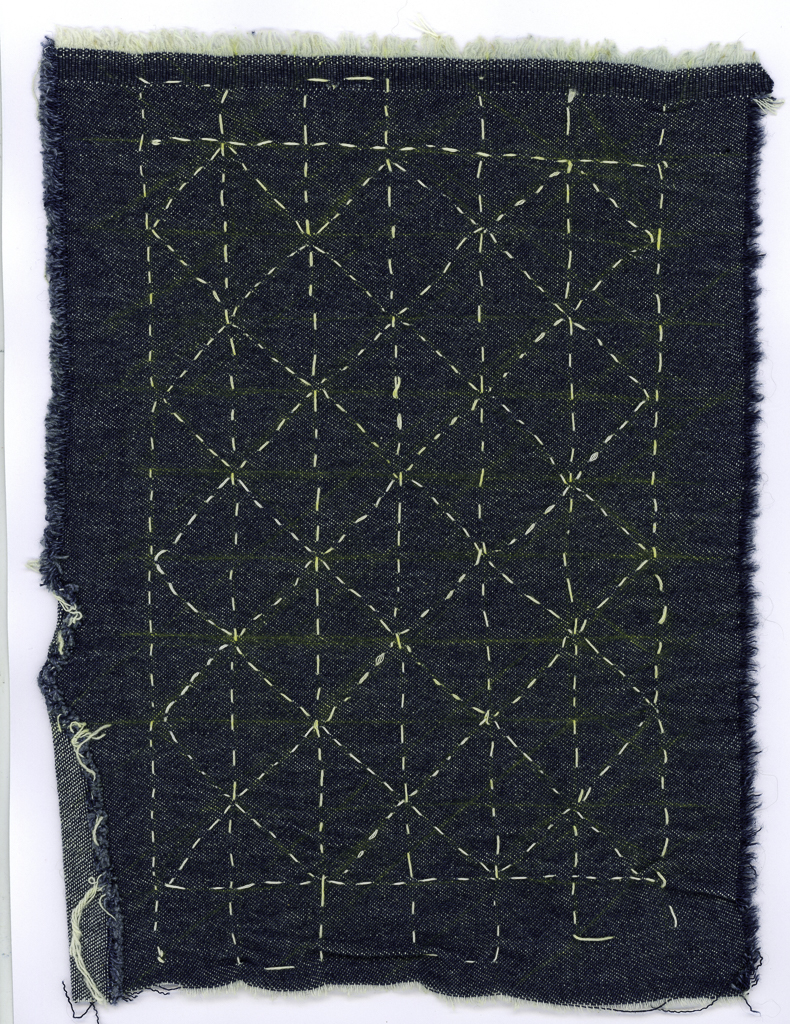
Above is my first attempt. I just drew straight lines by hand, but later got out my pica stick and used it. Loops are left so that the fabric does not pucker as the rows are stitched, and as each row is done, I attempted to straighten and flatten out the fabric – a running stitch is great for gathering!
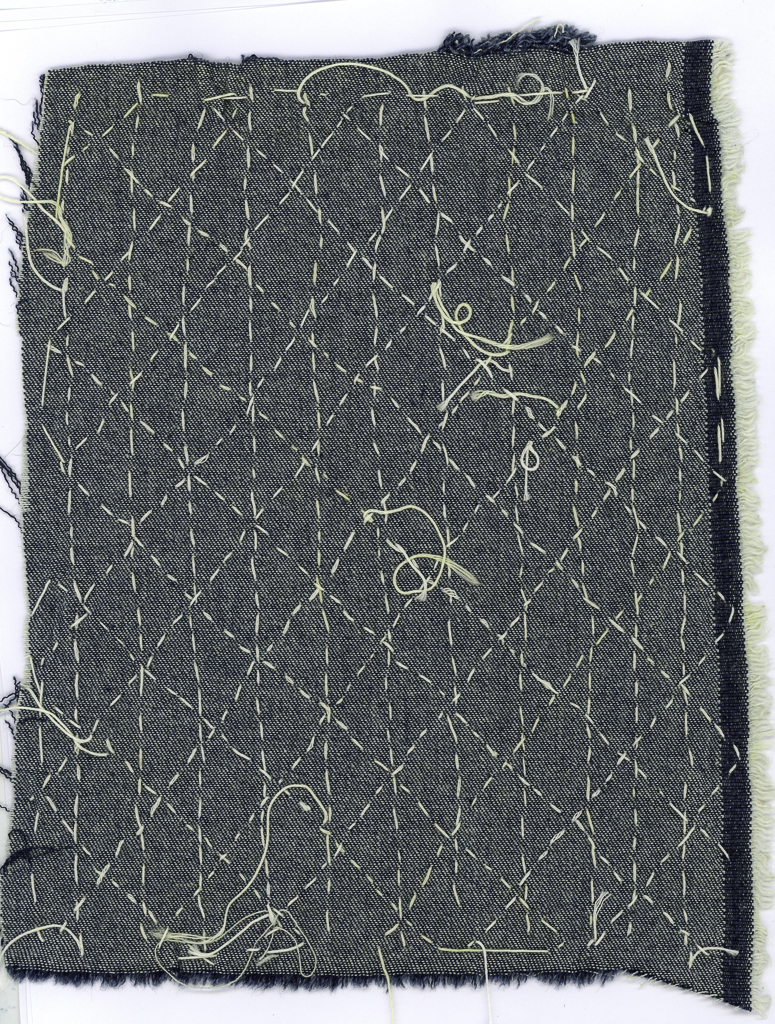
Above is my second attempt. More running stitches, but I tried different ways to begin and end rows. The loops prove to be important is not getting puckers – I got rid of a few with a hot iron, but you can see at the bottom a pucker across the left side.
Securing stitches is important. I tried different ways – many involve stitching over other stitches. I am still exploring that element – I want to figure things out on my own!
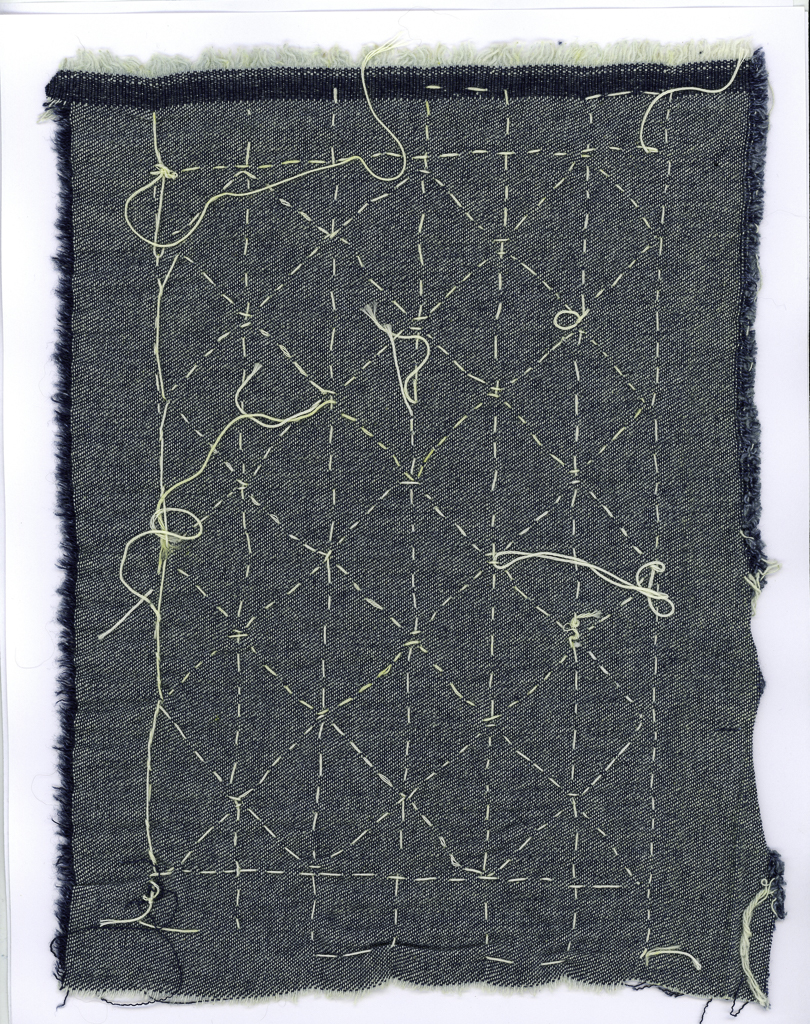
Above is the reverse of each of these samplers. The one on the left is the first; the one on the right is the second. The second one is neater as i carefully used a Chaco chalk pen to mark lines as I moved along.
Currently I intend to stick to straight lines and figure out how to connect them in different ways to make patterns. Tradition holds many patterns to be explored – many straight, geometric, circular, a combination of both, and many can become pictorial if you desire. Not all are done in a running stitch is my guess as I have seen some designs with completely solid lines of thread – backstitch or a running stitch then redone in between and in the reverse direction with another running stitch?
Mysteries to be explored!