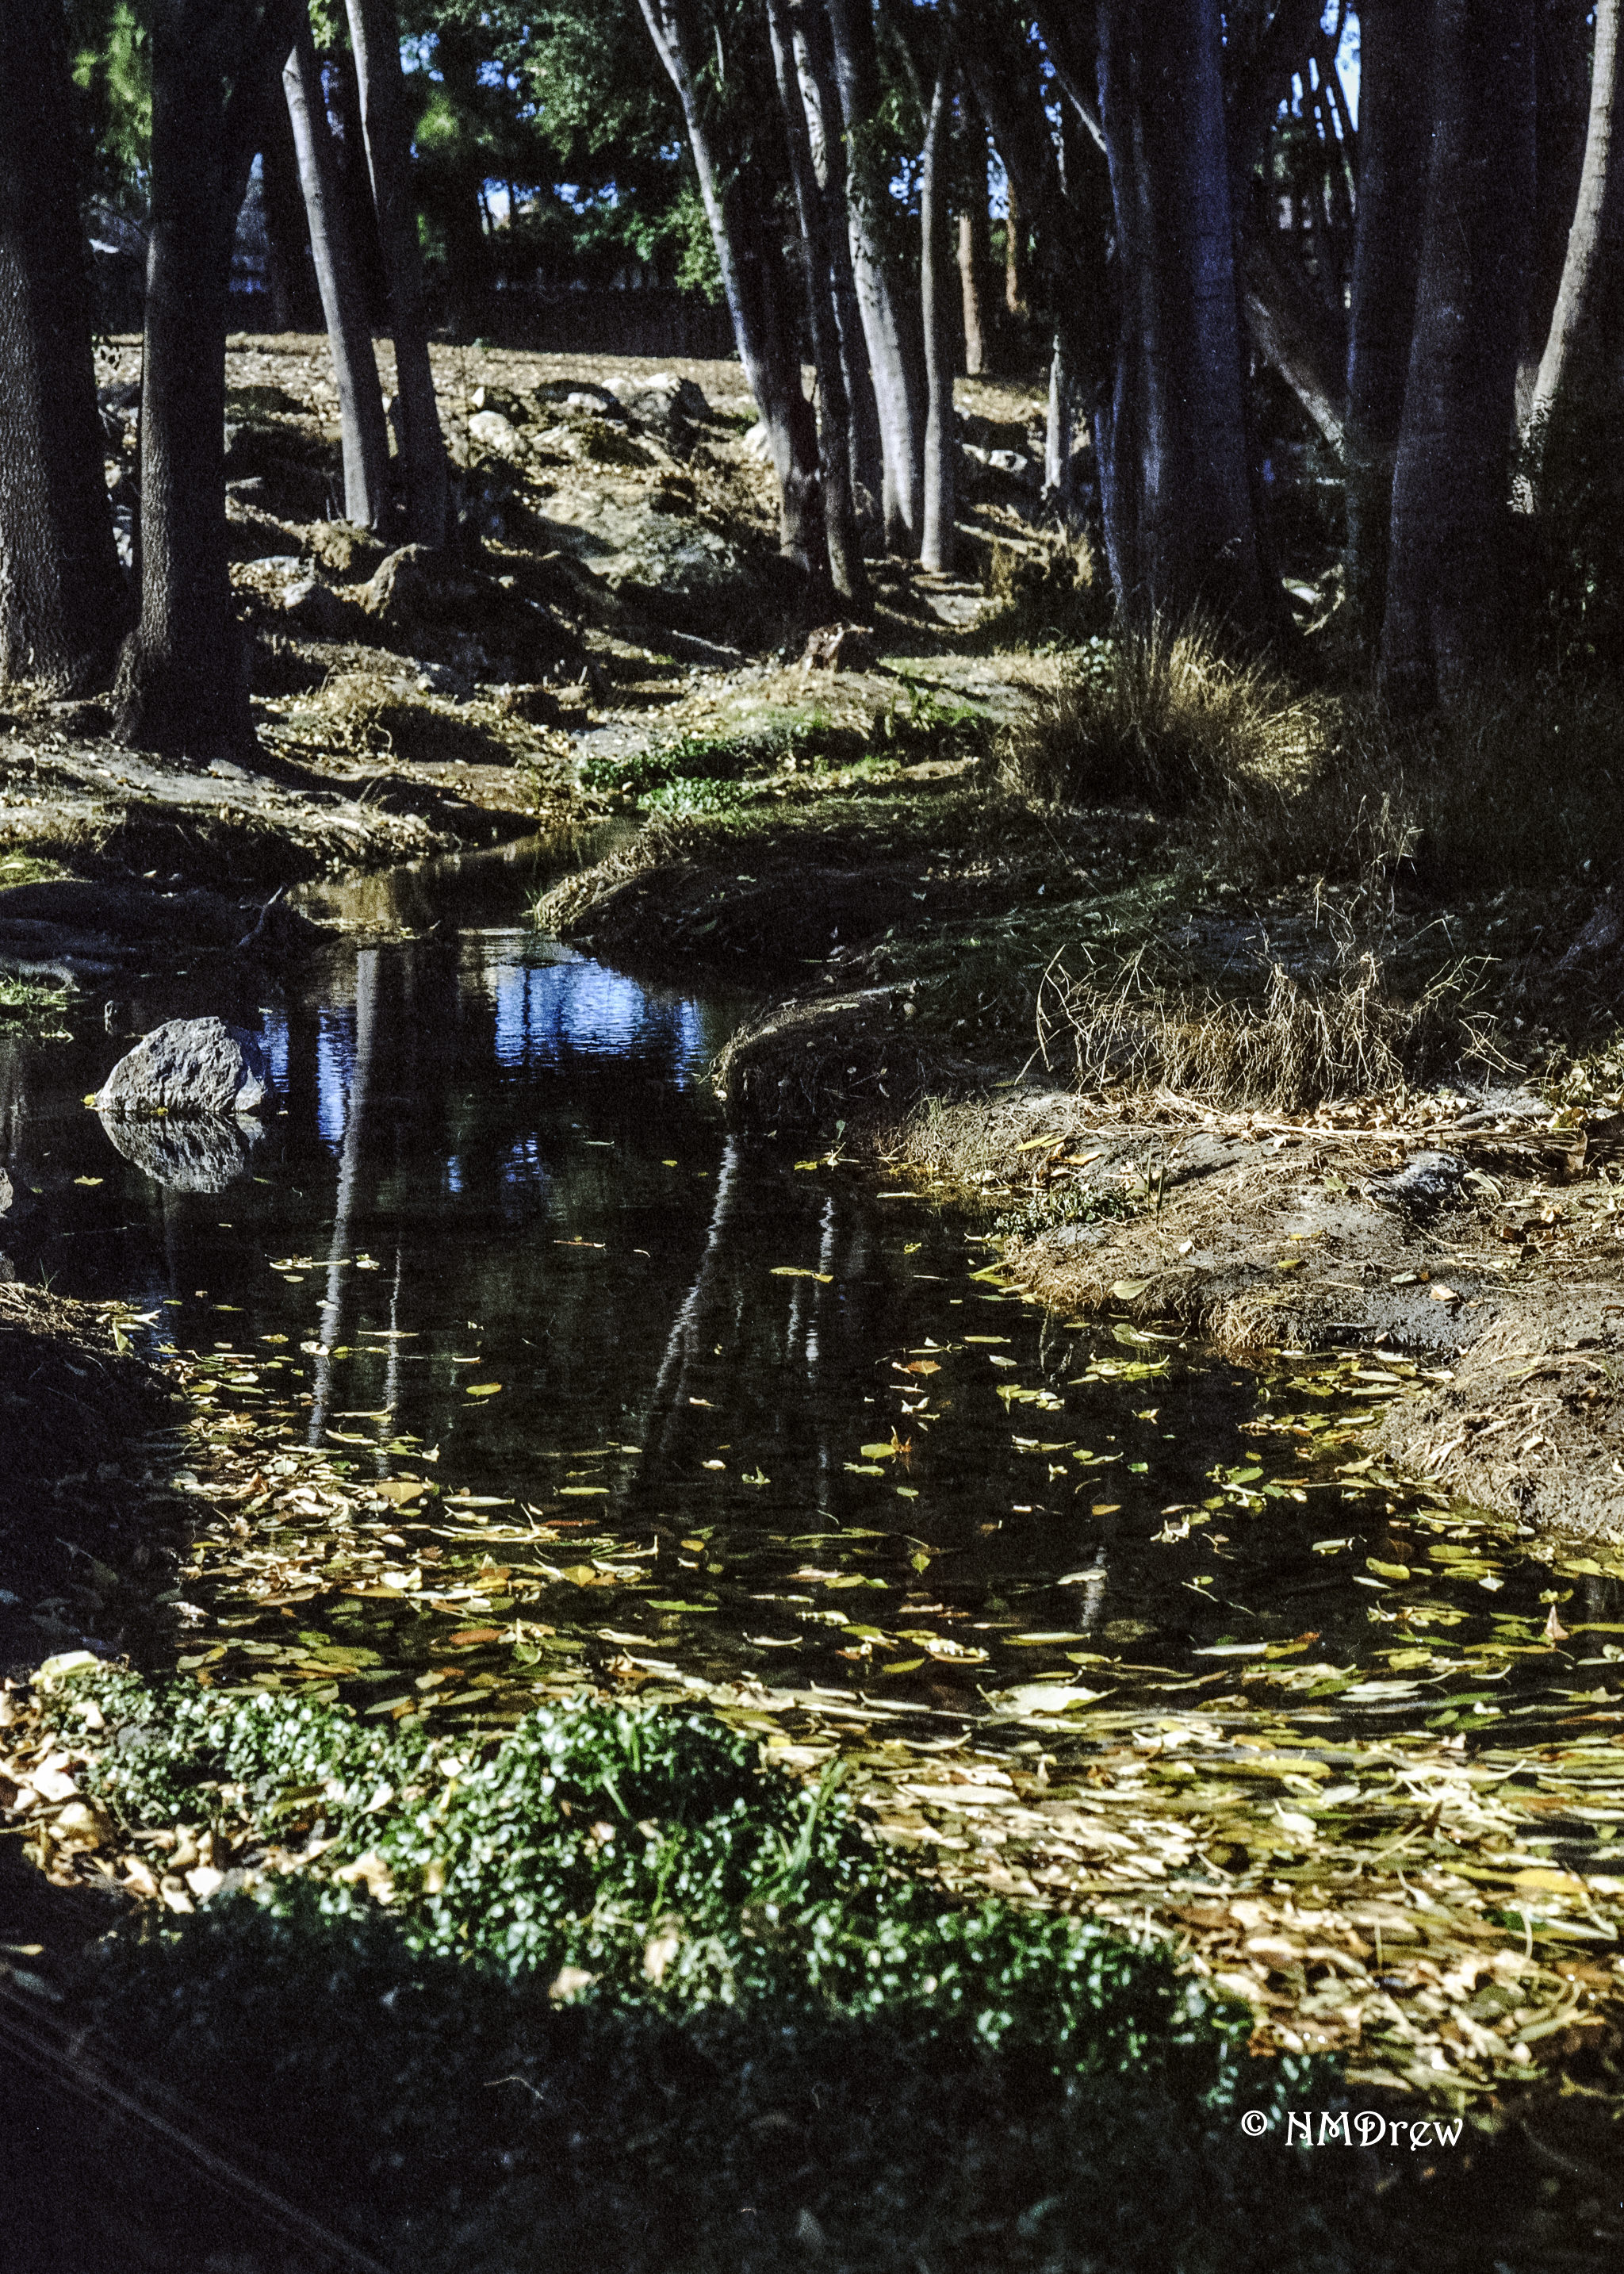
This is from a summer or two ago. We drove along Hwy 49 in the central coastal area of California. It is a lovely drive – quite unpopulated in many ways. The hills and valleys spread out on either side of the road, with trees dotting the grassy slopes. Grapes are grown here, and the Paso Robles area is known for its wines. If you take some of the side roads off the highway, which is a nicely paved two-lane roadway, you can find yourself under the canopy of old oak trees, deep in the gloom of shade on a bright summer’s day.
Zeiss Ikon Ikonta, Tri-X 400 by Kodak. Scanned and processed with Epson V600, VueScan, and Negative Lab Pro.
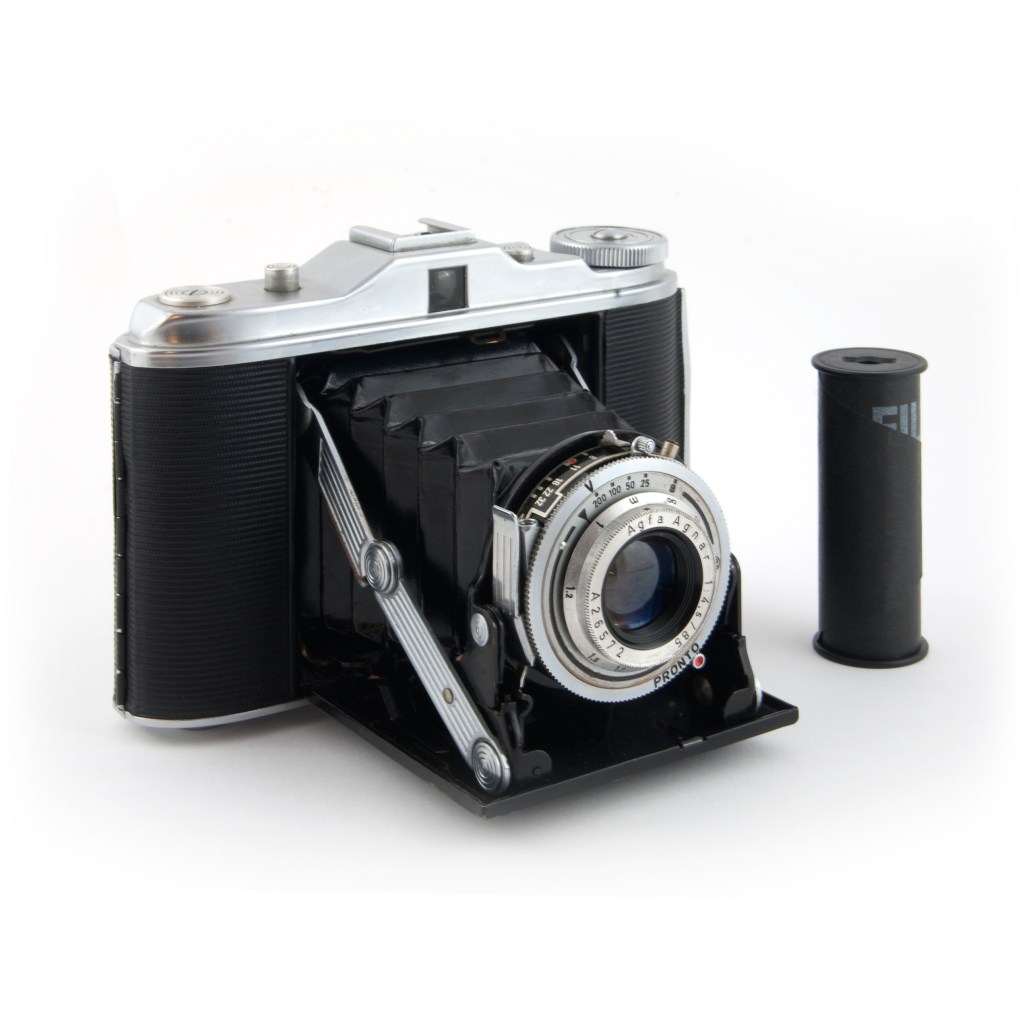
Image of an Isolette I, Agnar Lens, from Wikipedia
The Agfa Isolette was made over a number of years, sold in the US under the Ansco brand, and is a rather nice camera overall. The issue many of the later ones have is the fact the bellows have deteriorated. Apparently the later models had plastic bellows which developed pinholes and creating, of course, light leaks. I bought my Isolette II from Certo6, from whom I have purchased a number of vintage folding cameras and accessories. I have never been disappointed with the quality of cameras I have from Certo6, so here is a plug for Jurgen Kreckel!
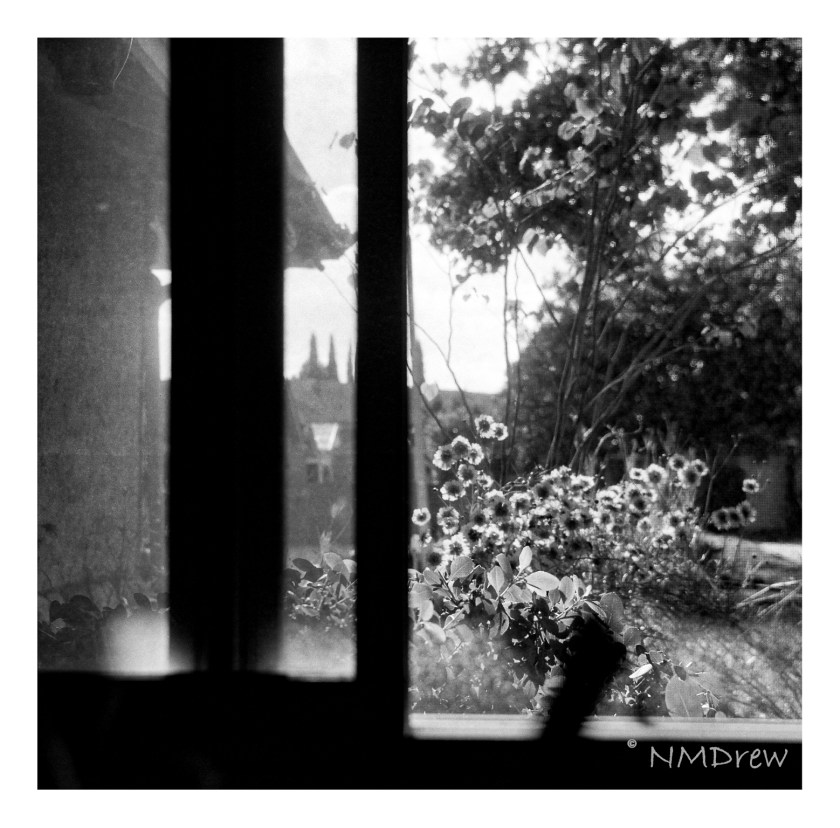
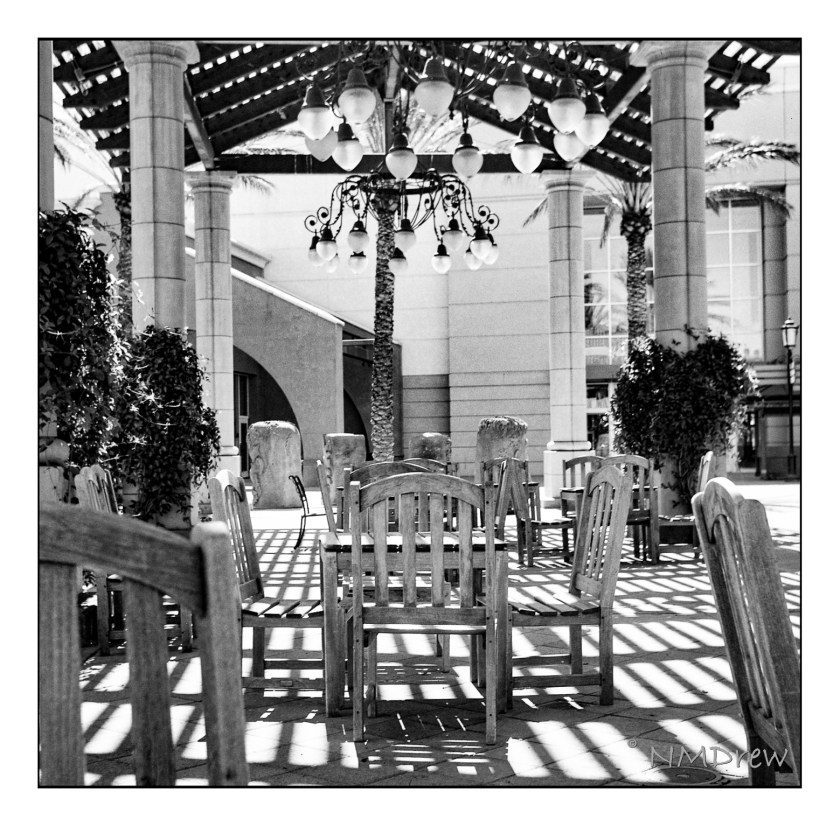
I don’t know about you, but I wander around with my interests – sometimes sewing or knitting, painting, spinning, then on to photography or drawing. It varies, in part with the weather, in part with my mood. Photography has taken a long time out of late, but with summer coming in and a pleasant spring ending, I decided it was time to re-evaluate and re-explore photography. So, with a new-to-me red skinned, black bellowed Agfa Isolette II, a roll of 120 Ilford XP2 Super 400 film, I spent a day wandering around the house and neighborhood, guestimating exposures as well as using a light meter. I got the images back a couple of days ago. All were usable, but below are the best of the lot (I think).
Up front, these photos are not SOOC – I did work on them in post. The Apotar lens is not in the same league as a Tessar, but it is a rather sweet lens. I think the issue more than anything could have been my fault in exposure. The details visible are the result of editing with LR and such, working to bring out detail, increasing contrast, and changing the image to meet my desired goals. Altogether, I like being able to take a folding camera with me – I had it in my pocket while I was oot-and-aboot.
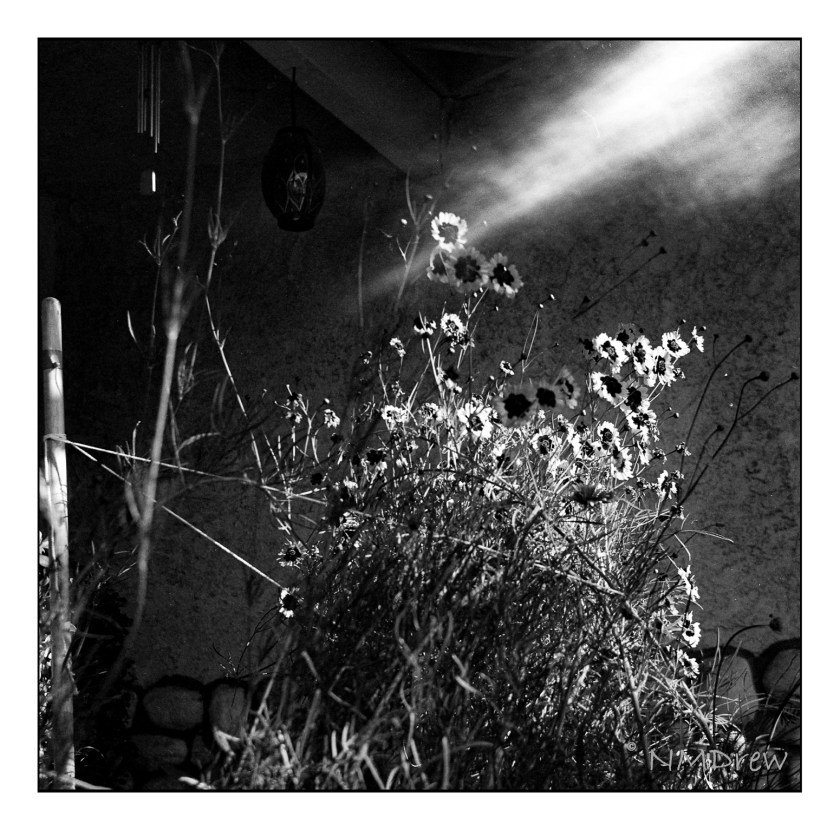
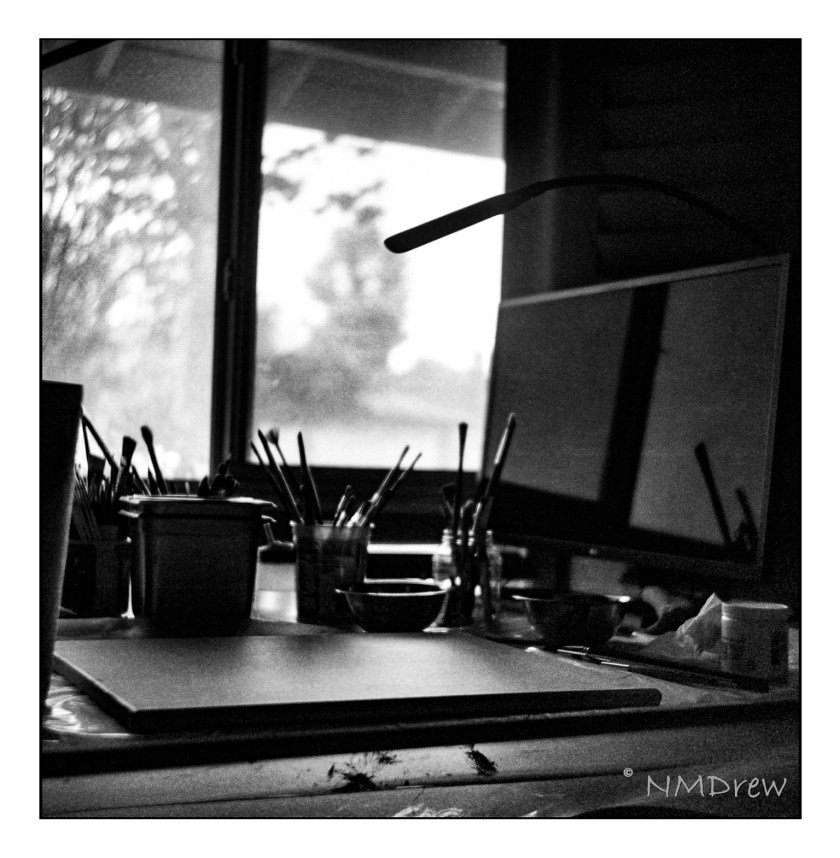
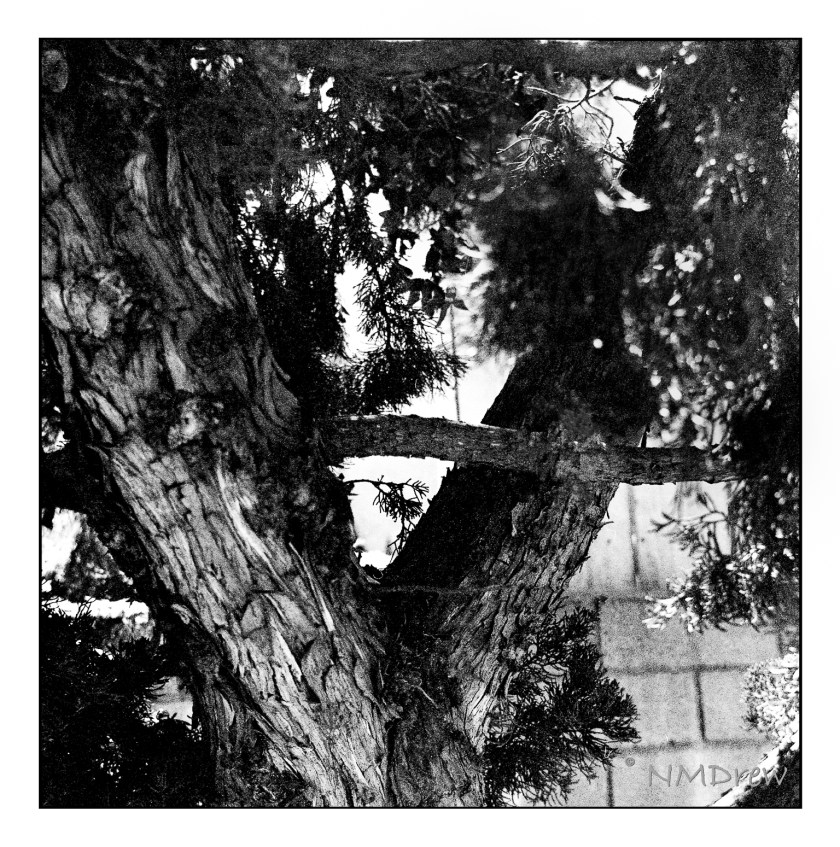
Sunflowers Empty FieldChurch SchoolPatio SeatingSunflowers and Sun FlareReady to WorkTree TexturesDill Flowers
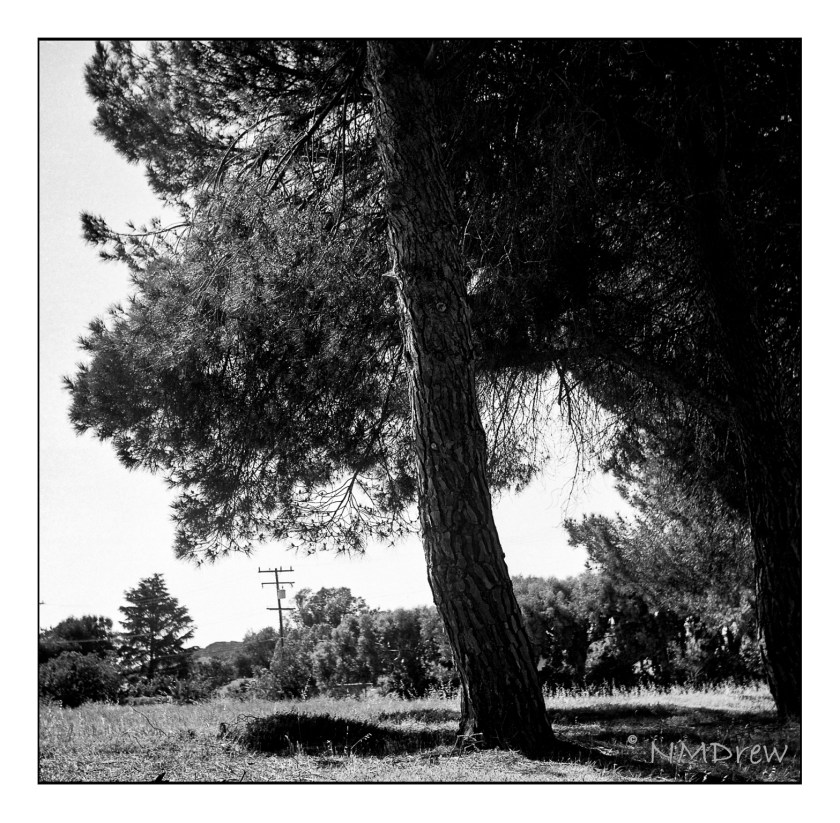
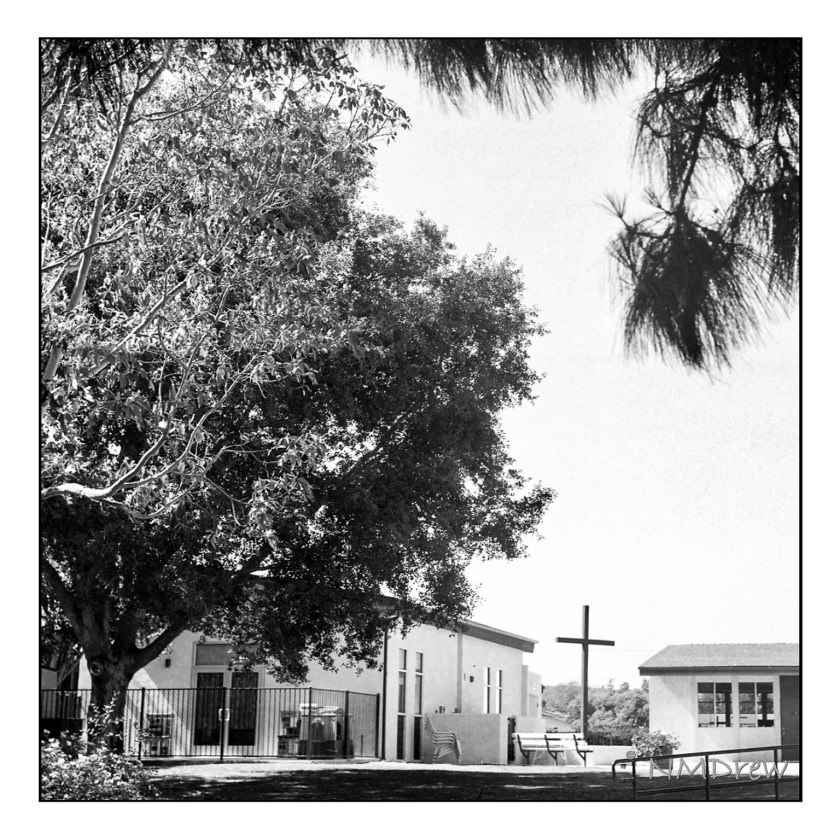
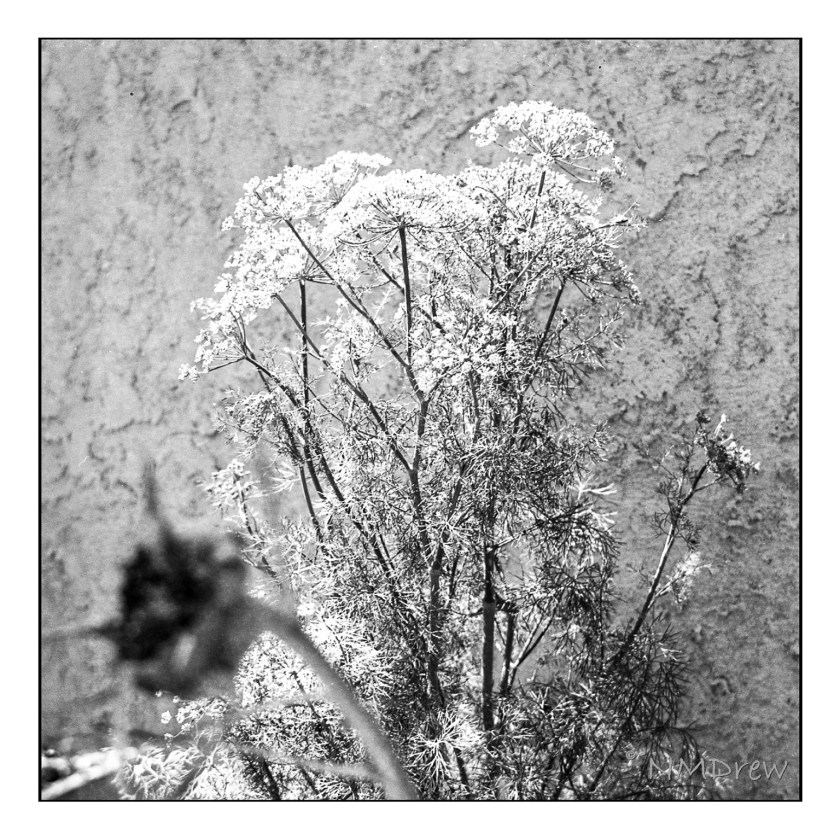
The Apotar lens is uncoated (I believe) and as a result is prone to flare. You can see it in one of the sunflower pictures. I did not use a filter at all. In particular, I think the last one of the Dill Flowers would have benefited from a yellow, orange, or red filter; the dill flowers are yellow and similar to the foliage of the plant. When I looked for pictures to make, my goals were to look for small details, such as the dill leave, strong contrast, as with the trees, and texture, as in the bark.
Altogether, the camera worked beautifully, was simple and direct. Aperture, time, and distance all need to be determined by the user. I used the Sunny 16 rule for the most part and guestimated the distances. Outdoors the usual exposure was f/11, 1/100, and about 6-20 feet (2-6 meters). Inside, most likely f5.6, varying distance, and about 1/50.
Recently I acquired a Pentax 6×7, probably from the earliest manufacturing date of 1969. It came complete with a 135mm f4 macro lens and an eye-level viewfinder. Of course, other lenses are available, as well as a waist-level viewfinder.
The first roll of film I shot was rubbish. Only 3 of 10 images emerged, and all were dreadfully under exposed. Having read that the loading of the 120 into the Pentax 6×7 could be tricky at times, I loaded up Lomo 100 color negative film into it twice. Light meter and tripod.
The results were very good. I had a very limited number of images as the goal was to bracket and see how upping the f/stop and dropping the exposure all worked. I am of the opinion that the shutter needed to be warmed up simply because all my images were exposed.
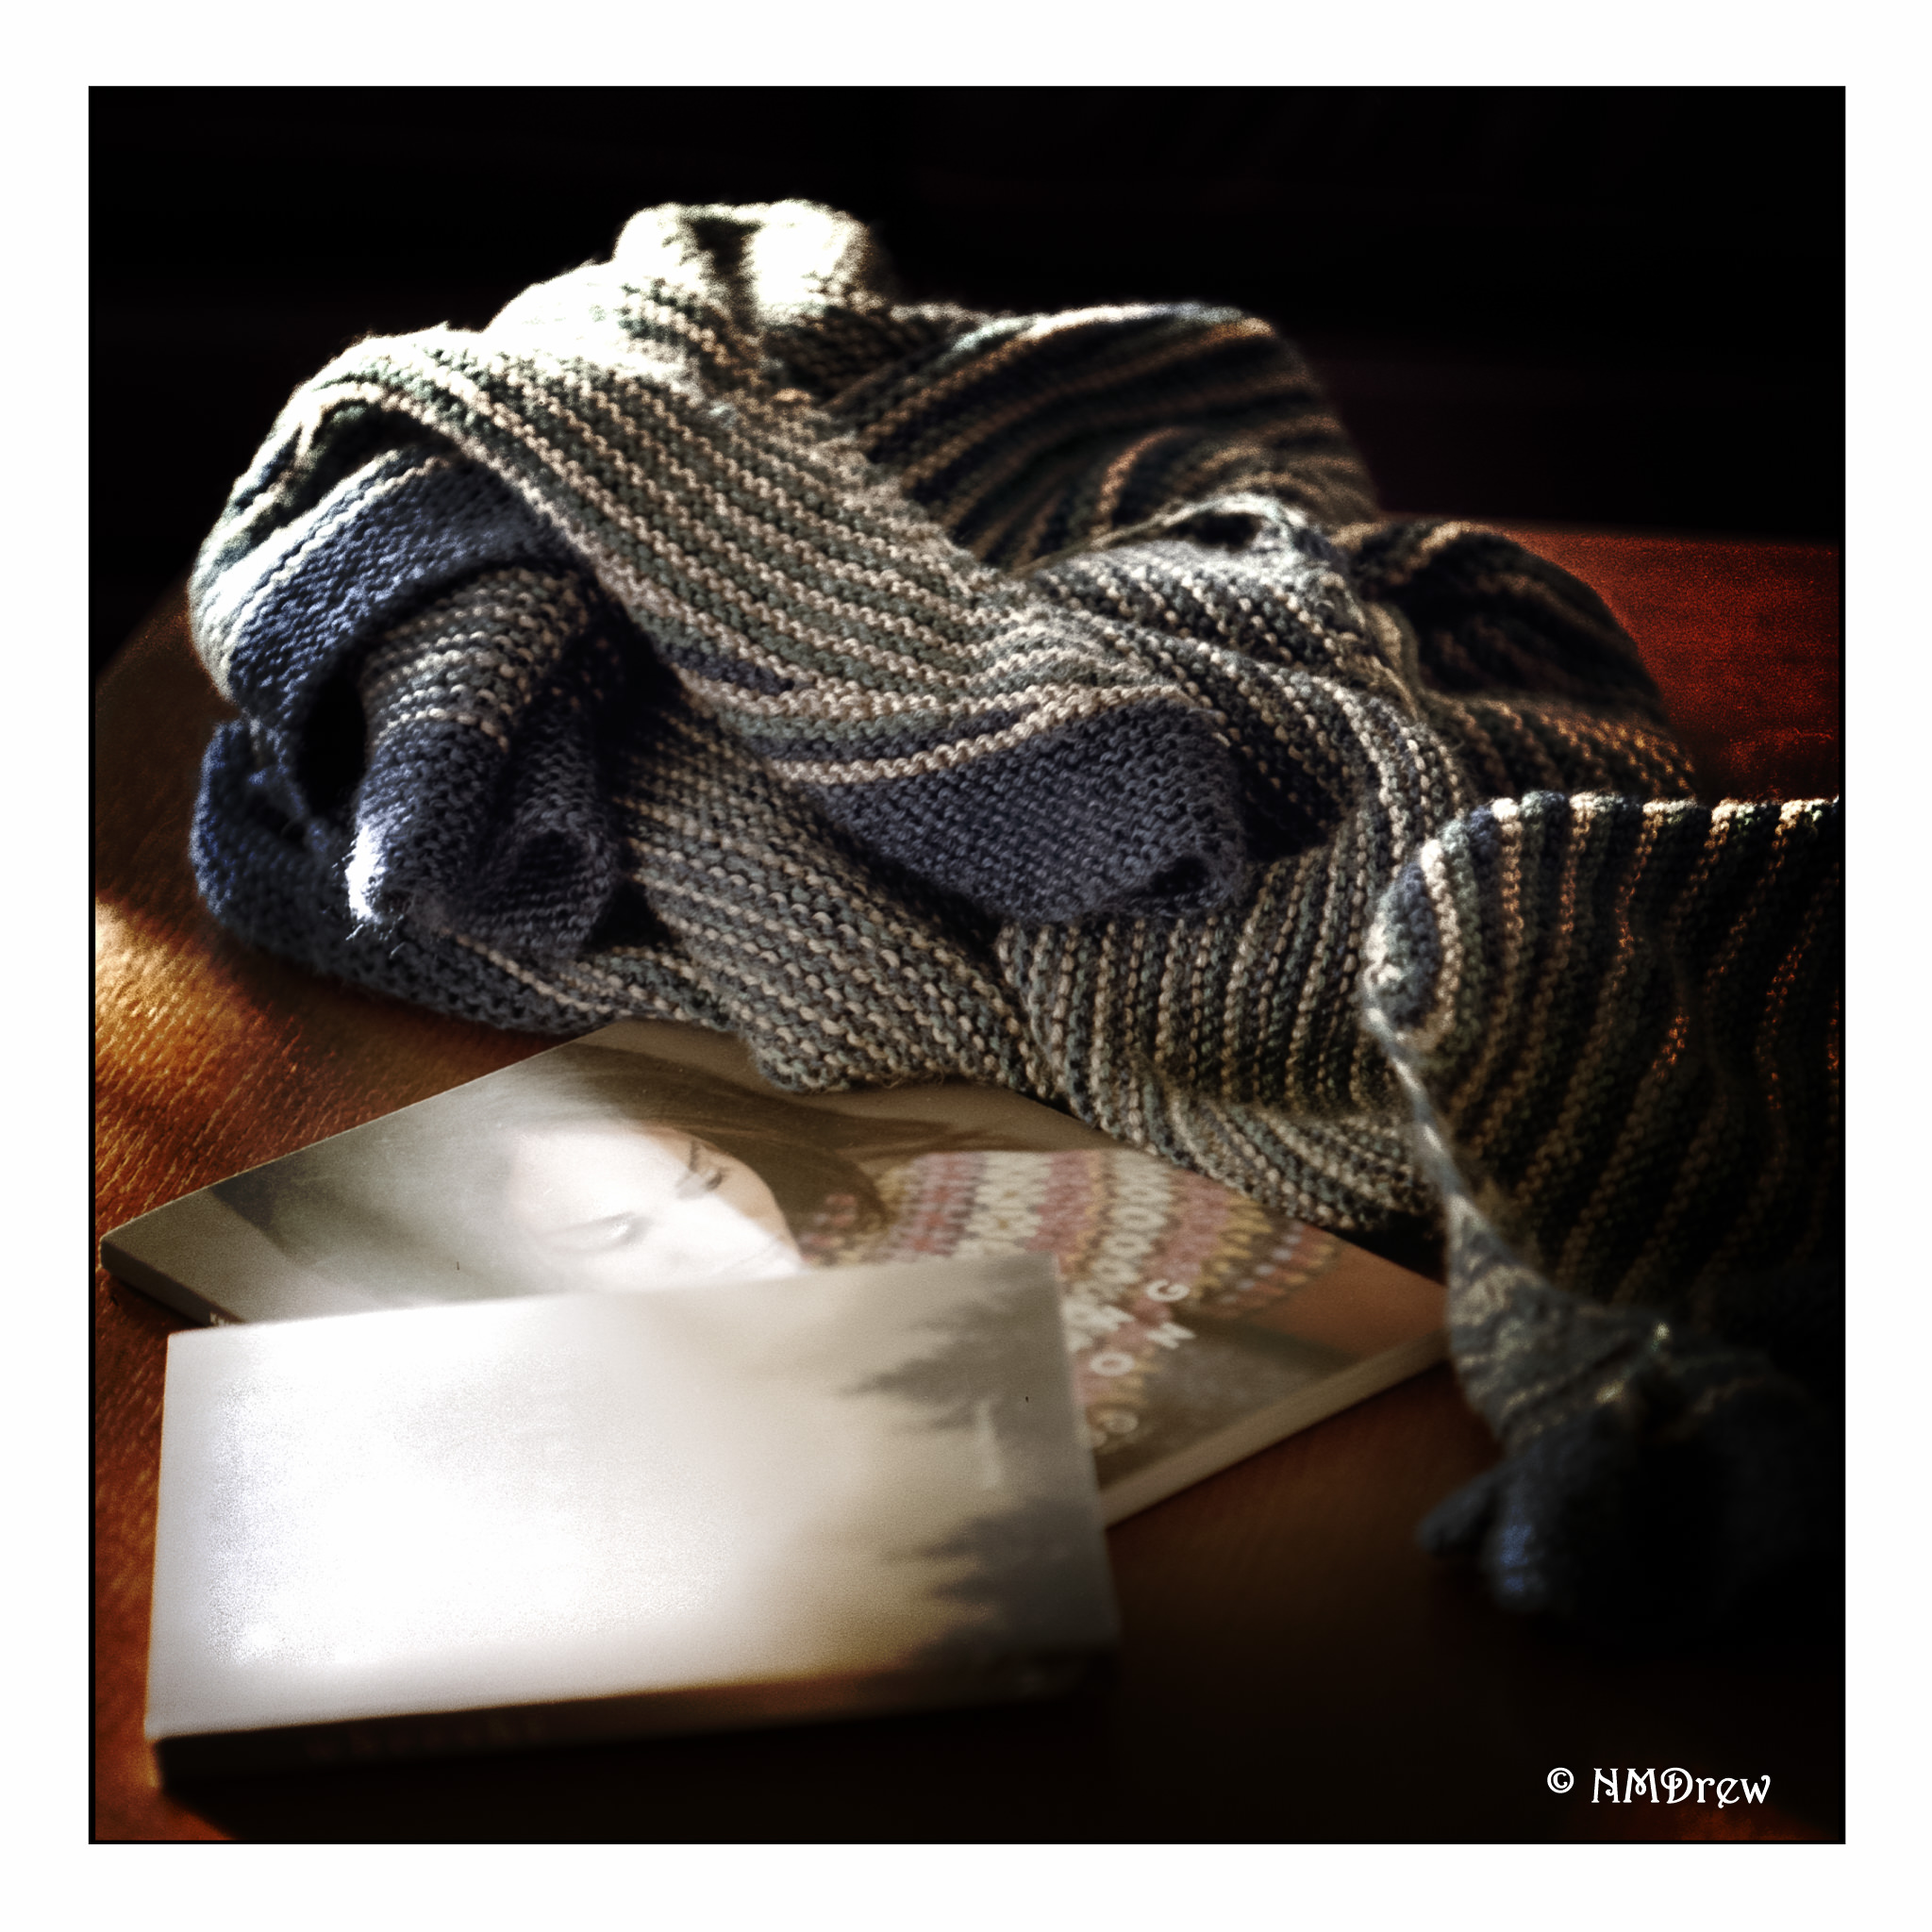
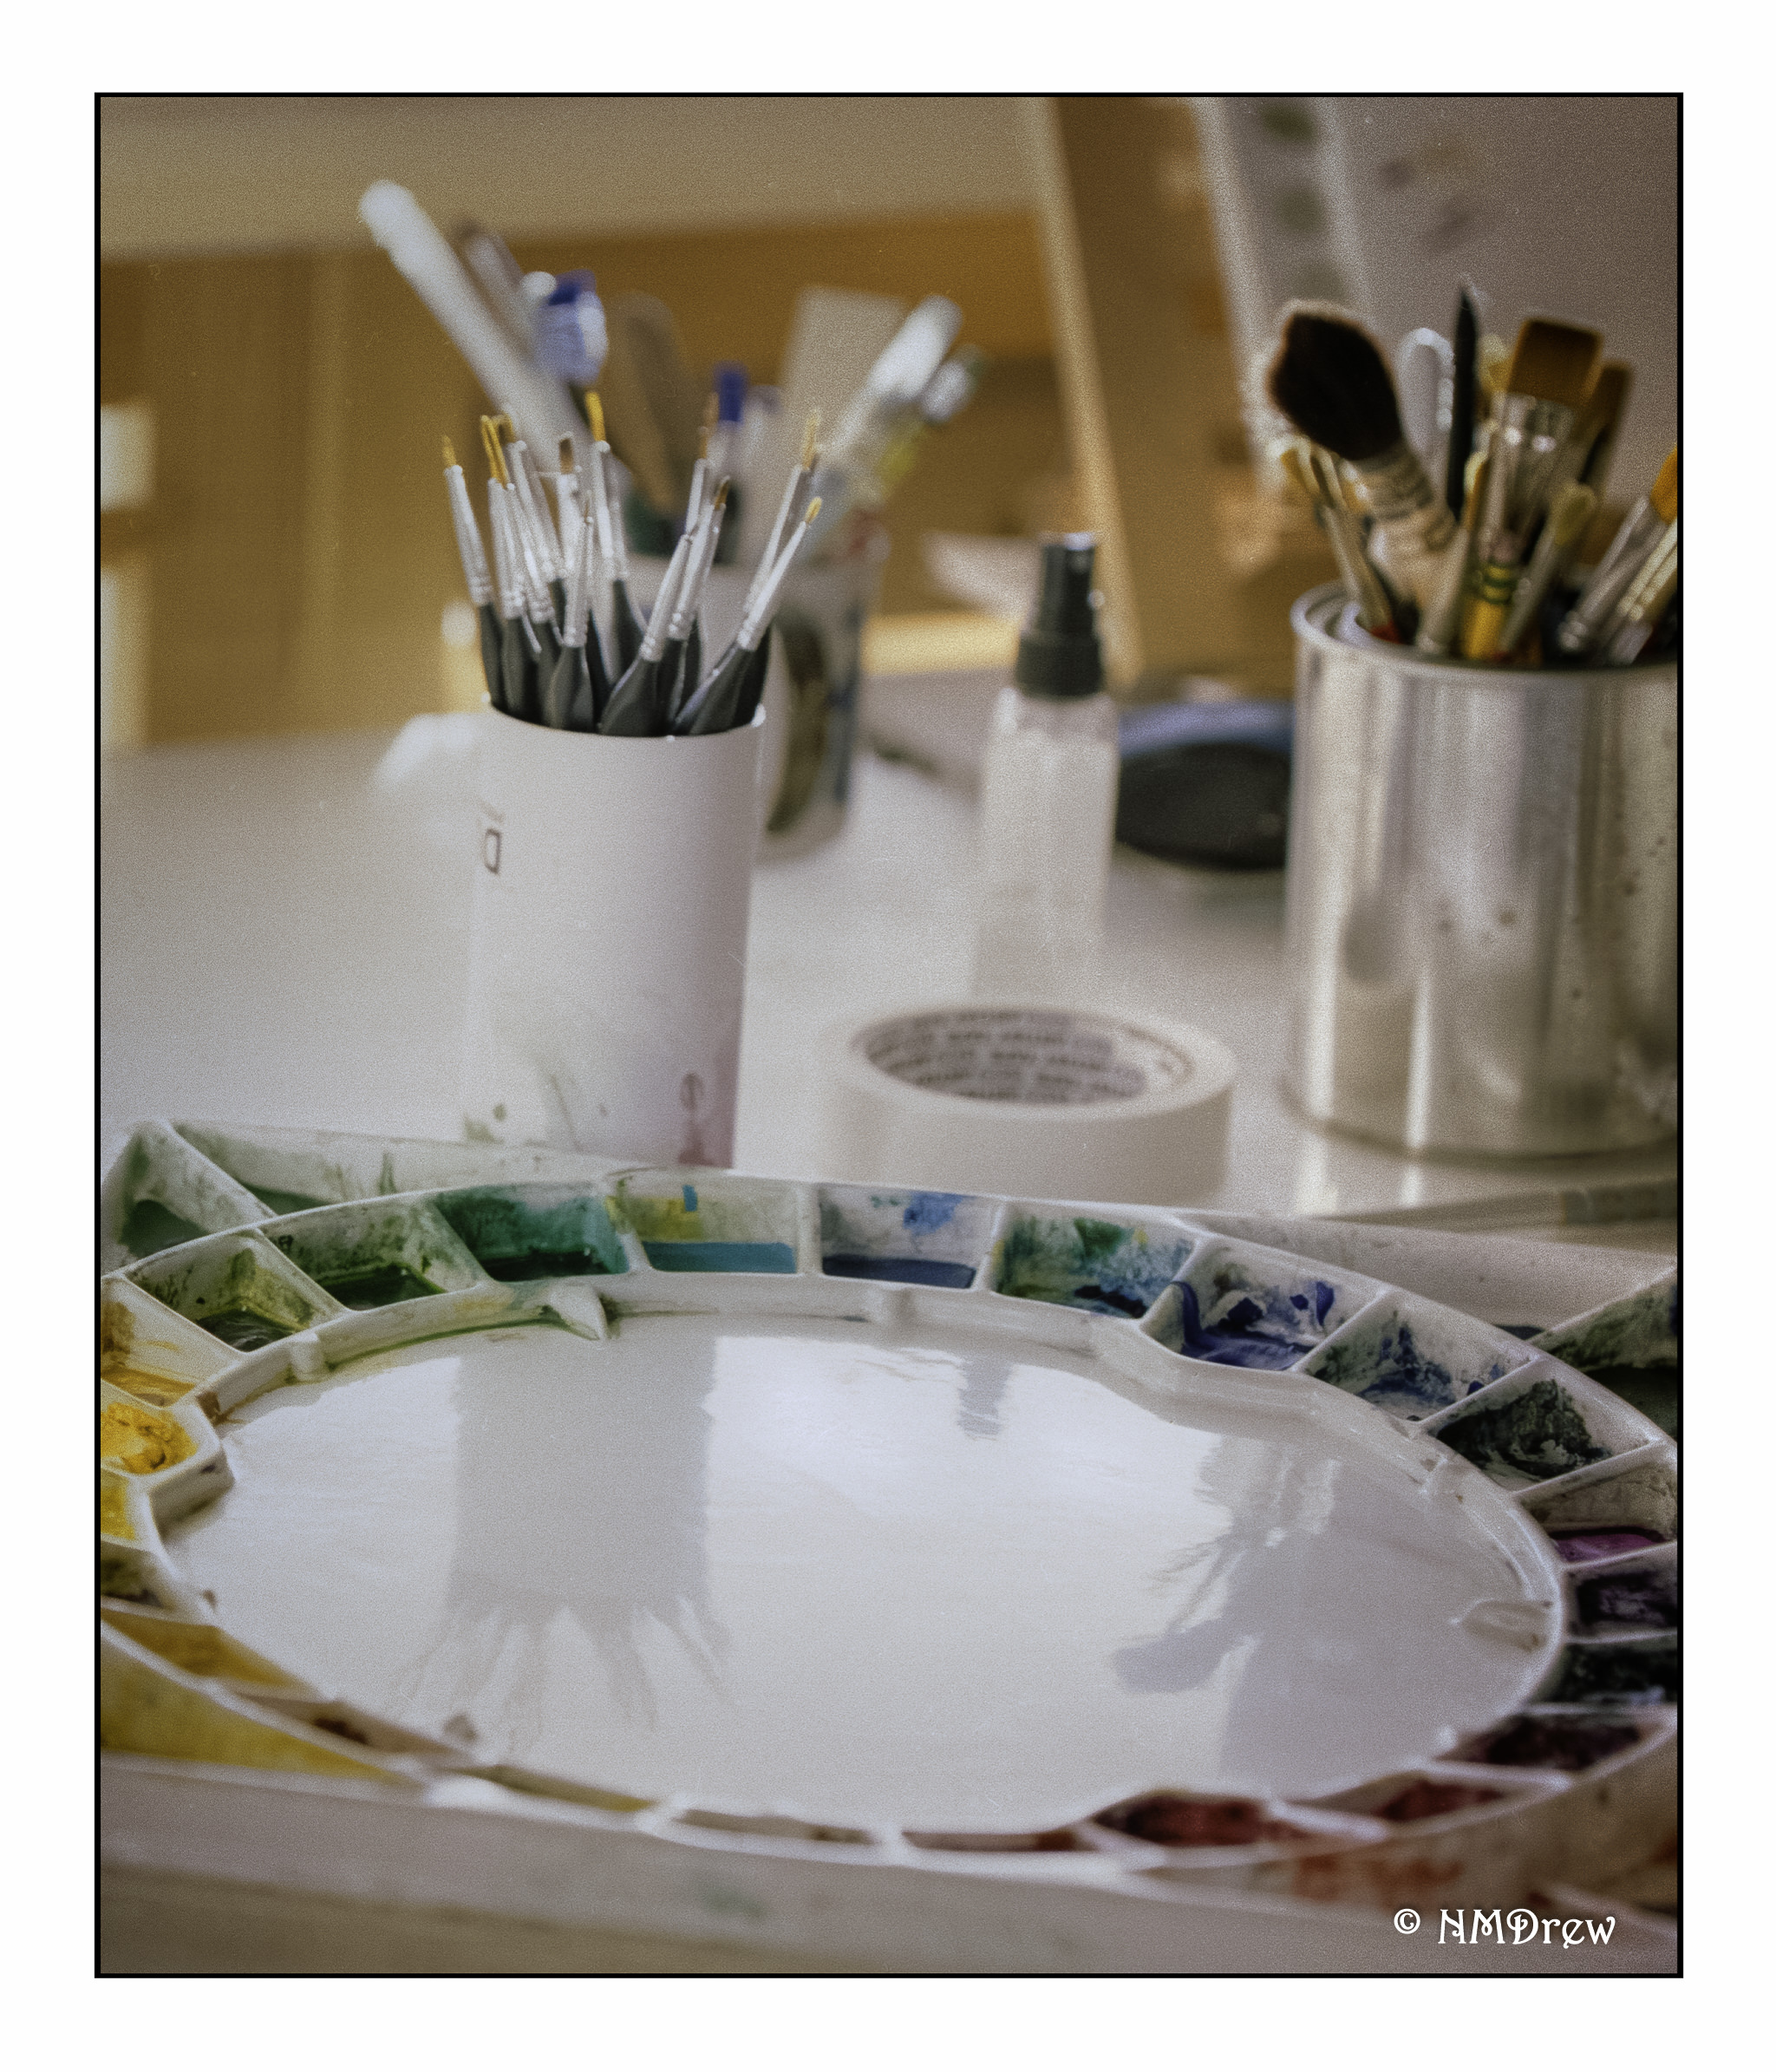
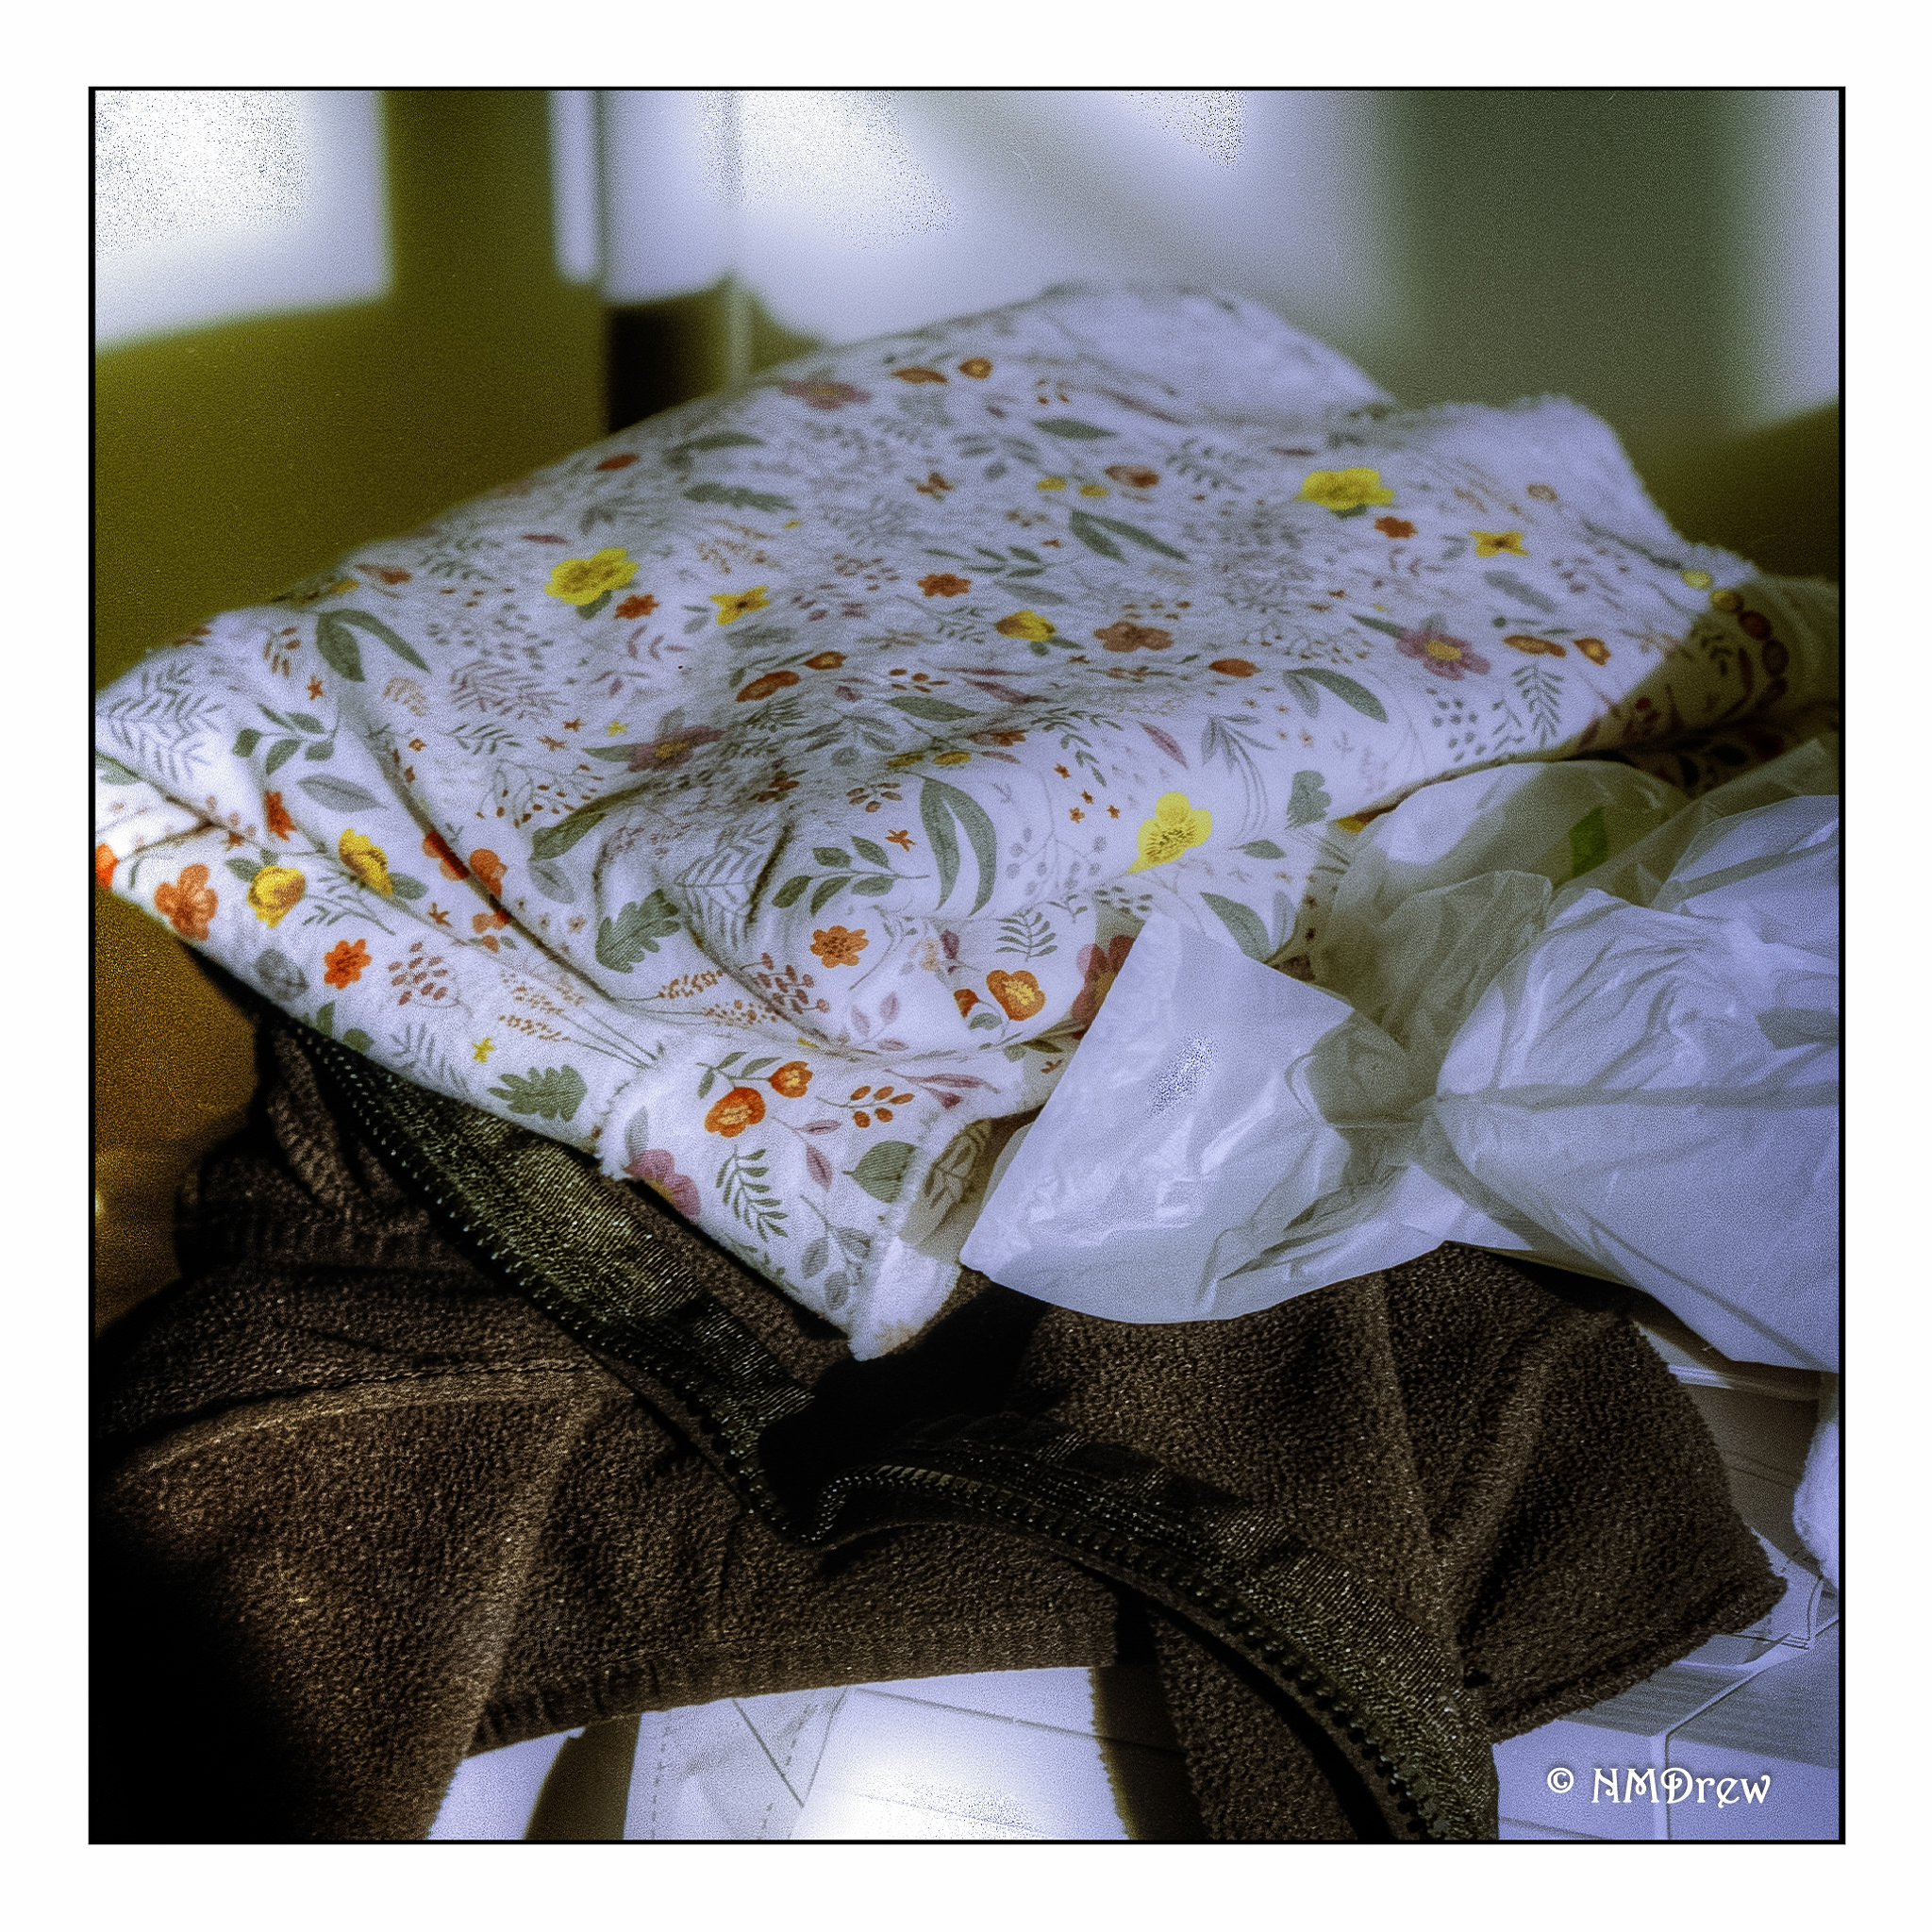
I took this picture to capture the light falling on a table, a couple of books, and a shawl early in the morning. There are 3 or 4 images of this, bracketed, so I decided it would be fun to merge them into an HDR. Photomatix did the trick. Composition isn’t great, but the colors are good. The sharpness of the lens also becomes evident.
The end result is the camera is being kept – I seriously considered returning it. Now I see adventures ahead for the two of us!
Awhile ago I decided to move more into the medium format world of film photography. I have a Yashica D TLR (6×6) and a number of 6×6 folders from varying years, a 1930s 6×9 Voigtlander folding rangefinder, and now have a Mamiya 645 (6×4.5) and, the latest, a Pentax 6×7 beast with a 135mm f4 macro lens. This last one is the subject of today’s commentary. You can google it, as well as read about it here on Wikipedia. It’s not something to take lightly – it’s quite the weapon!
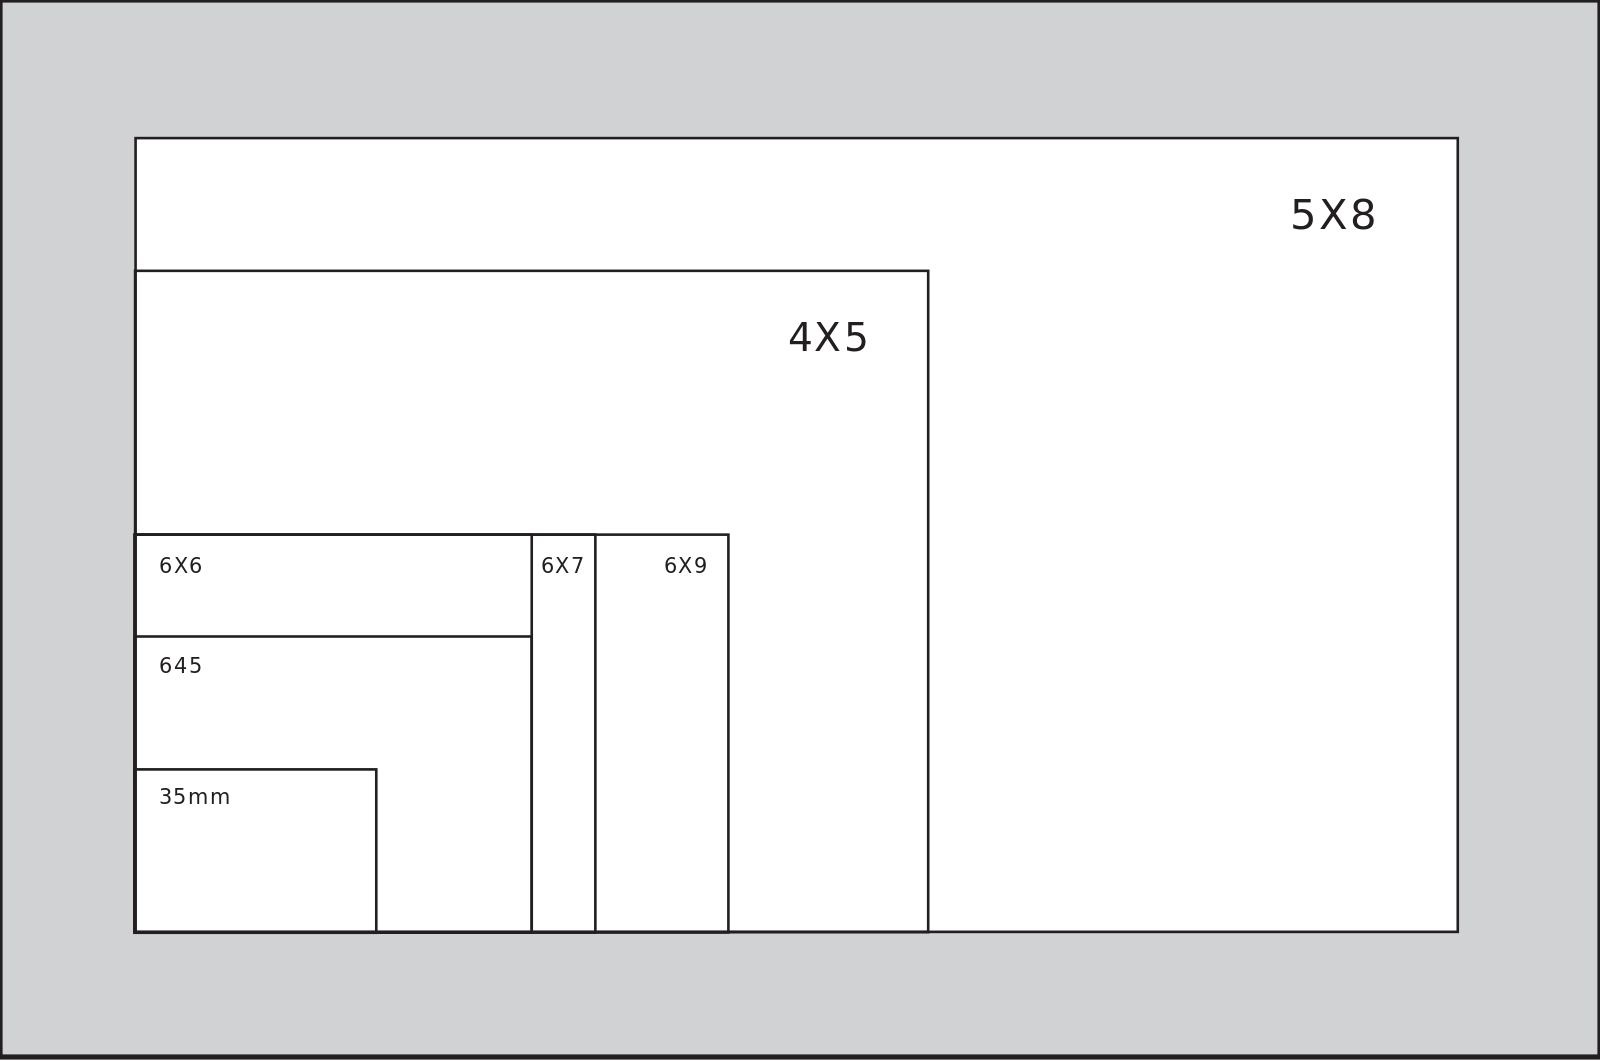
Okay! First, as the name implies, it takes a 6×7 size negative, which is big, big, big. Not as big as a 6×9, but still bigger than a 35mm by a lot. Here is a good article on the size comparisons, complete with images.
I would imagine that, as with digital, the larger the negative, the more important the quality of the image – focus, sharpness, and so on. Of course, film is not digital and has its own personality, but it still needs to meet certain criteria, I am sure.
The first roll of film I ran through the camera was basically a disaster. 3 out of 10 images were there, and all were under-exposed. For Portra 400 film, they were trash. This made me wonder about the camera – does it work, are there problems? Having read about the camera and the trickiness of loading the roll of film, I gave it another try with two more rolls. The first three photos below are the first roll.
The one above was worked on in post, just to see if anything could be done with it. Not much could be to save it from its ugly self. The ones below are SOOS (scanner), and they are really awful, too.
To make the decision to keep or return the camera meant I needed to do some photography in a very controlled environment. I needed to check the aperture and exposure factors. Out came the tripod and the light meter. Bracketing and moving things around. I took about 20 pictures in about that much time – maybe longer – and documented what I did. In doing so, I learned a bit more about the camera and the lens, as well as had a rather scientific bit of testing.
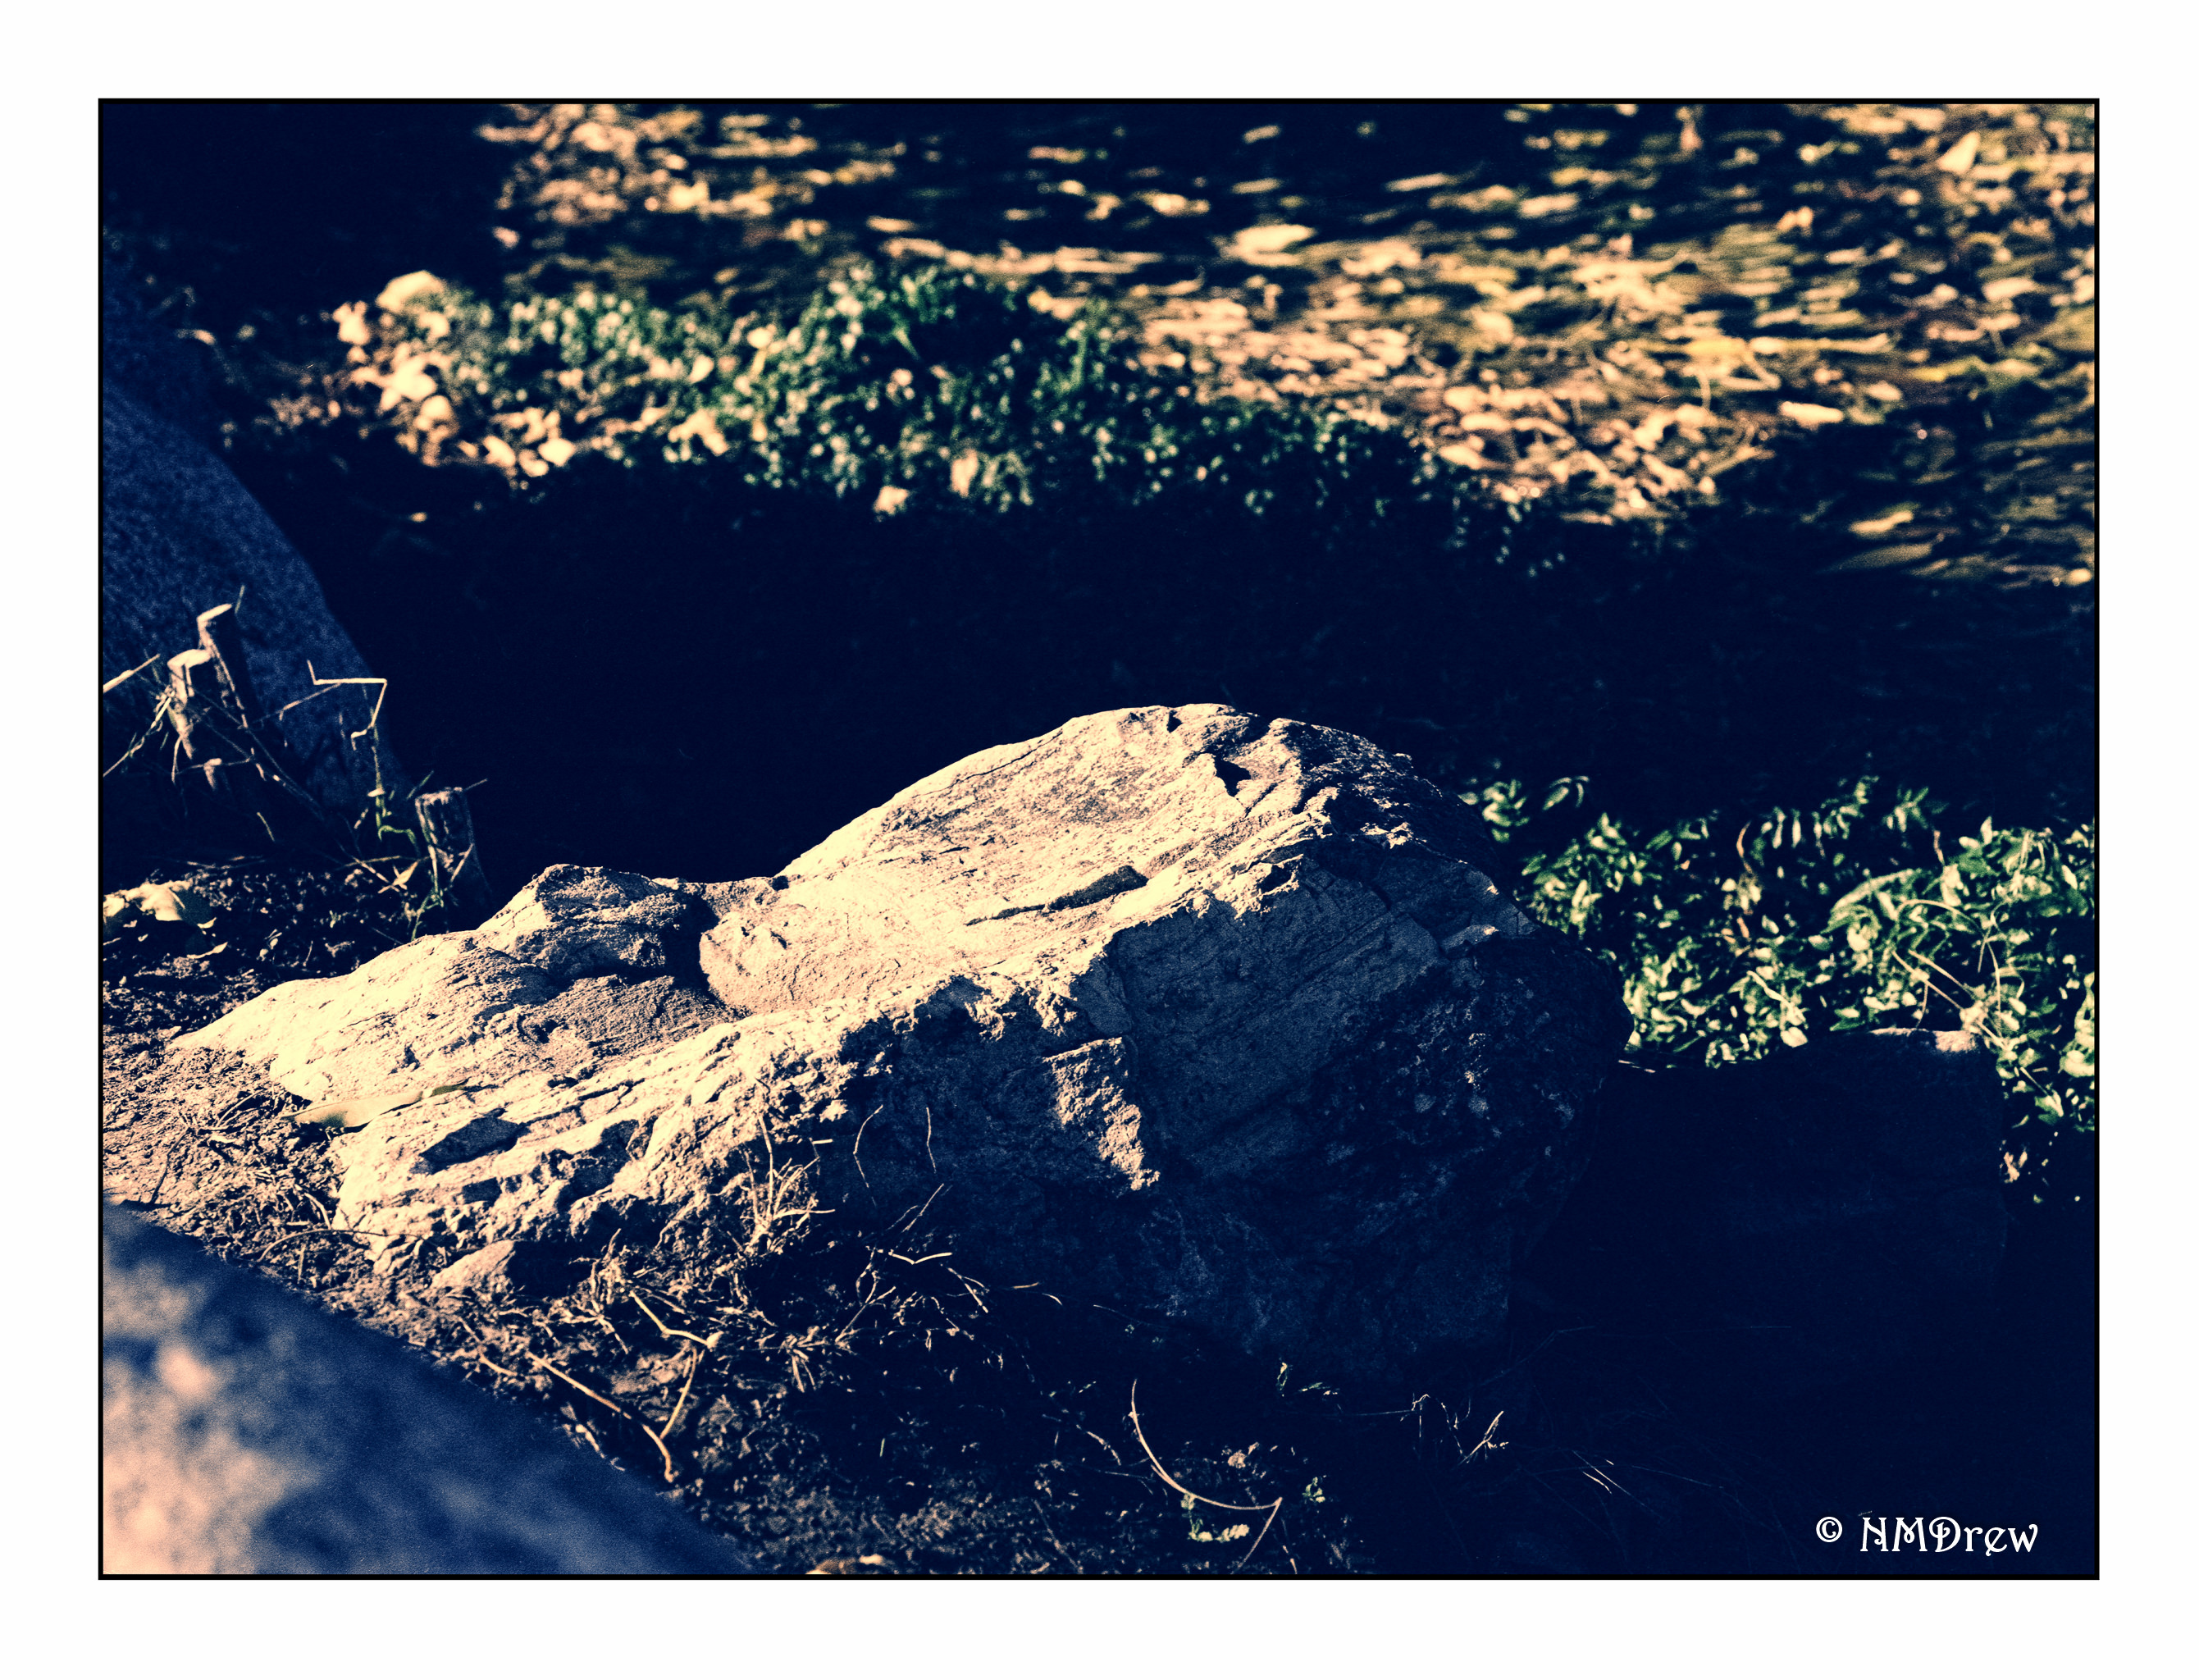
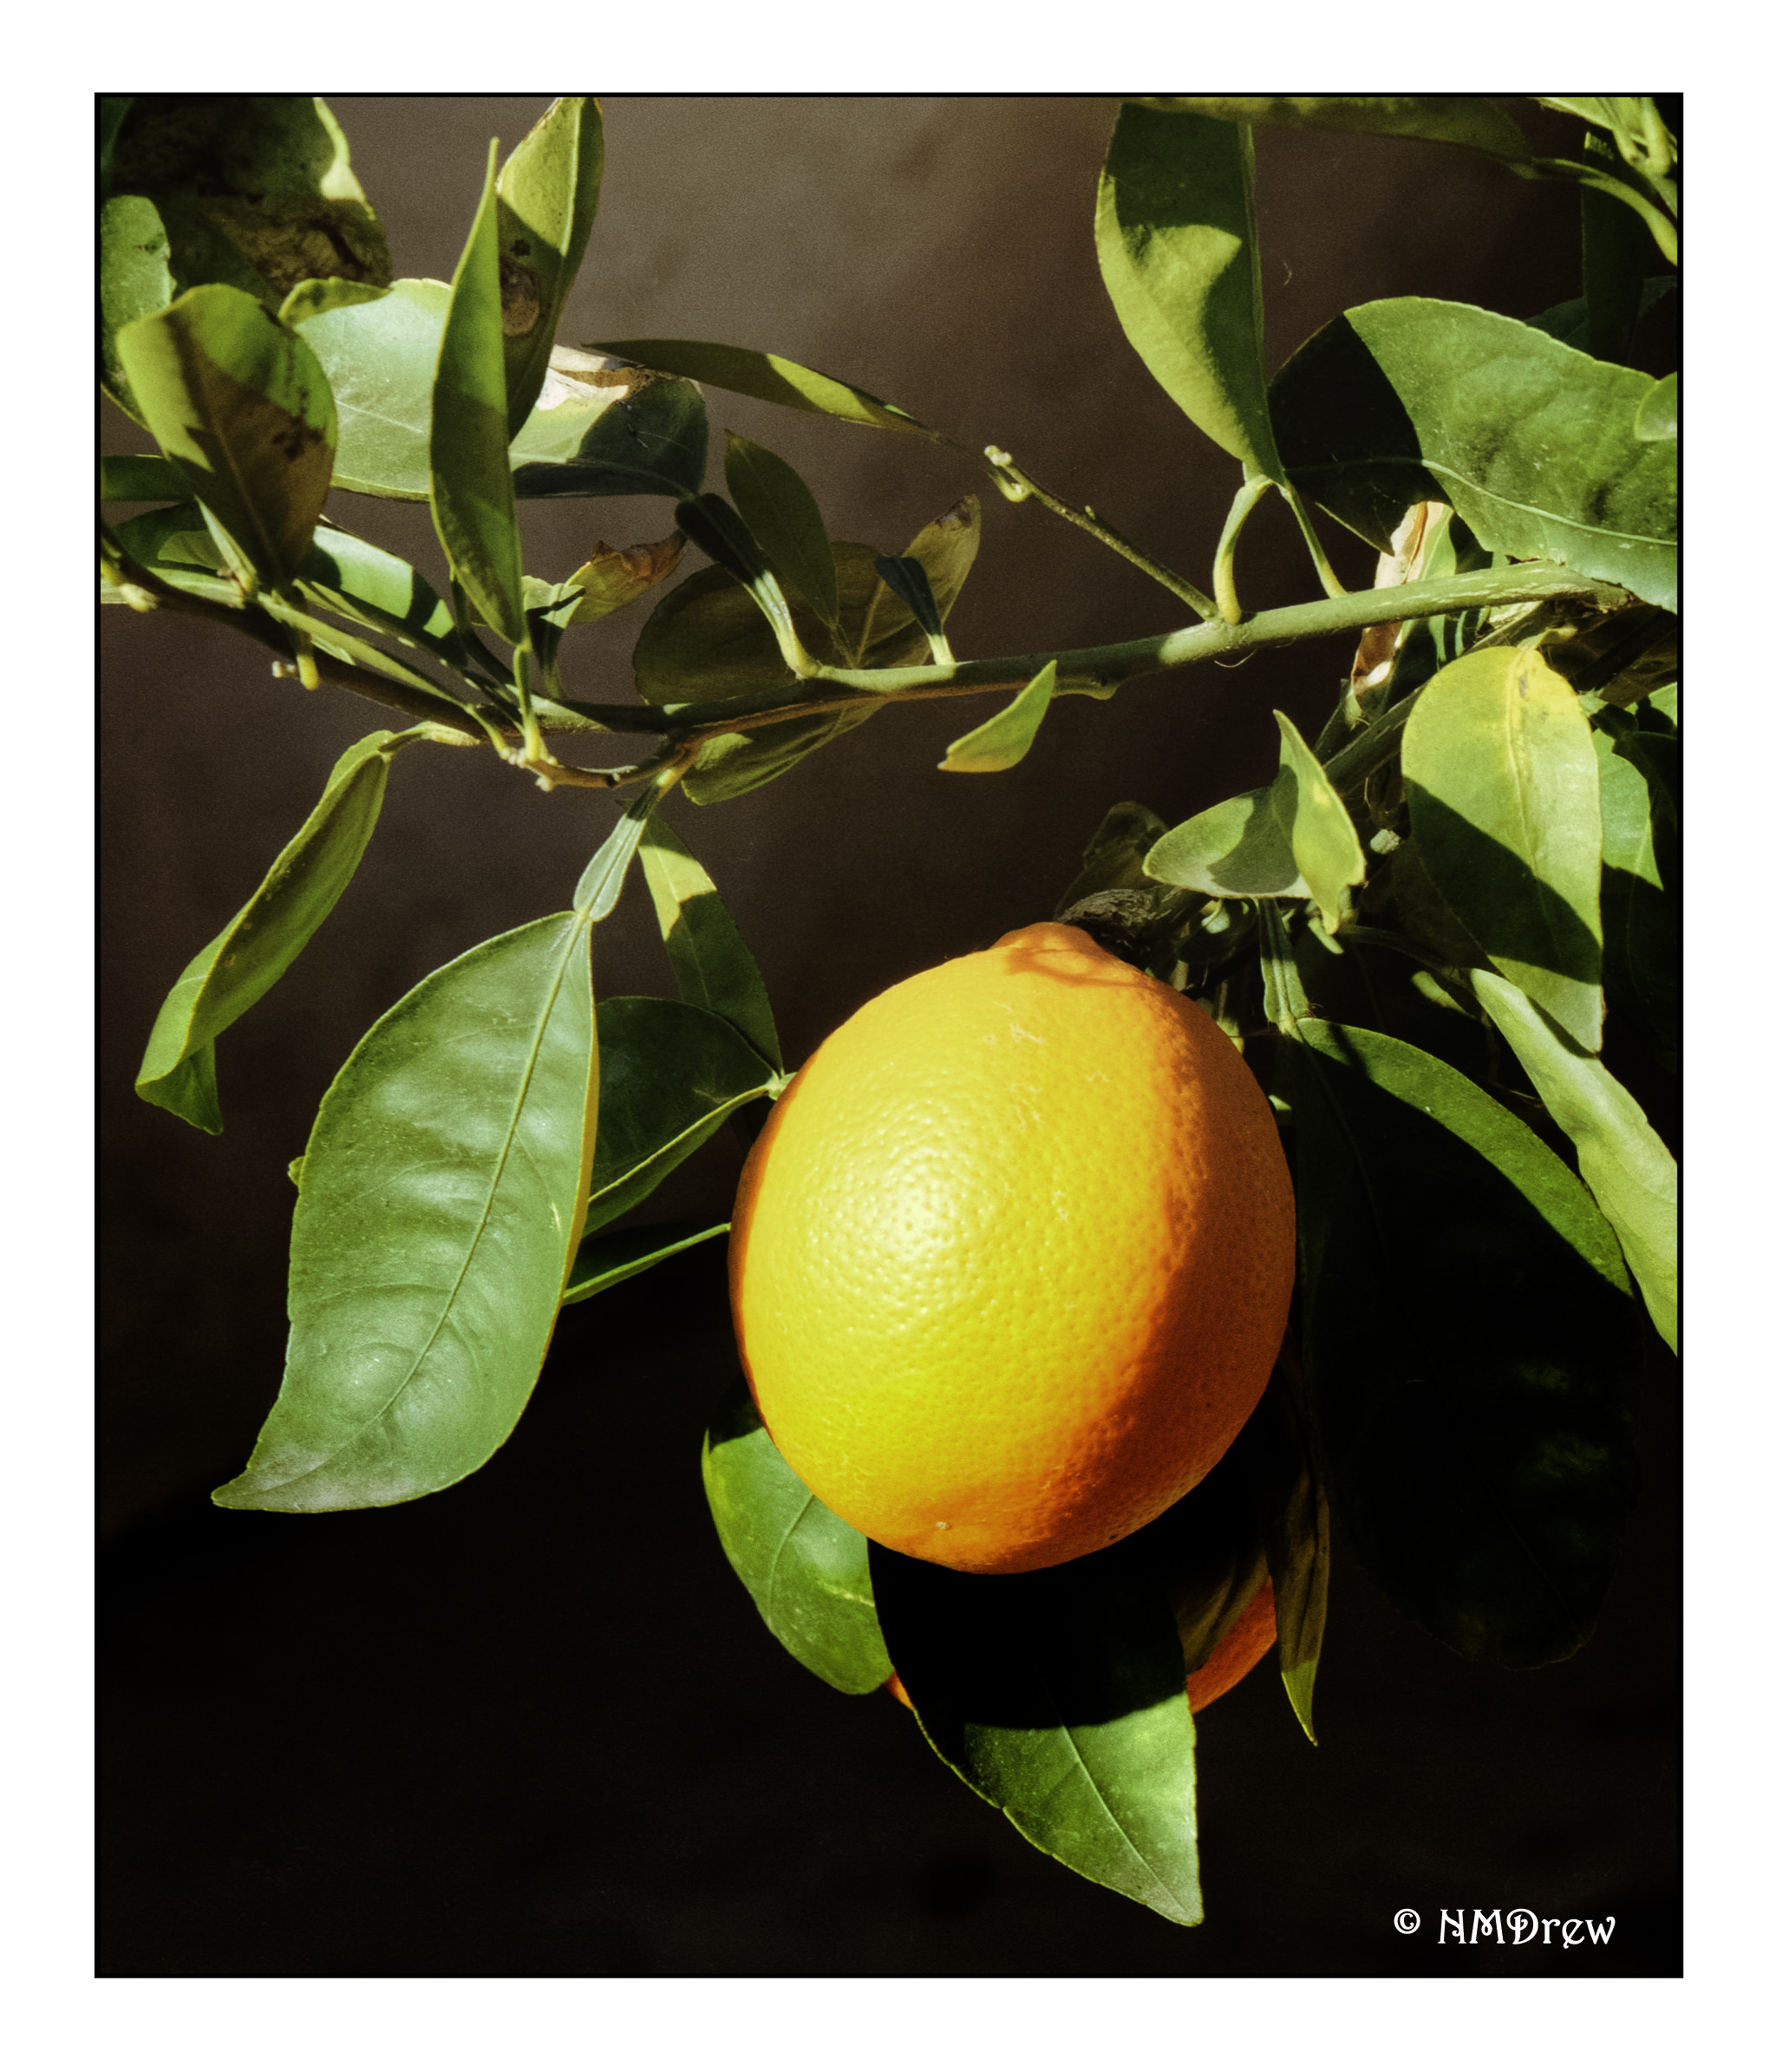
The effort was worth it, and I think that this beastie is going to be fun, and a challenge to my normal scatter gun approach to things. Below are the results, taken using Lomography 100 Color Negative film (120), with some cropping and touching up in post. I didn’t check for spots, come to think of it, so I may need to do that, too. I did clean the negatives before scanning, and used Digital Ice in the scanner . . .
Pentax 6×7 – Lomo 100
Pentax 6×7 – Lomo 100
Pentax 6×7 – Lomo 100
Pentax 6×7 – Lomo 100
Altogether, very pleased with this camera and the lens. Lomo 100 did a fine job. It’s doing quite well for a camera that dates from ca. 1969 (older than my husband!). I think I want to get a waist-level view finder for it and probably some shorter lenses. The Yashica TLR is a waist-level viewfinder camera, and I really enjoy that; hence, a waist-level viewfinder for the Pentax, and perhaps the Mamiya. Unlike all my other medium format cameras, the Mamiya and the Pentax allow for lens changes and other bits that the Yashica and the folding cameras do not have. That is for the future, though, as I think this camera has a lot to teach me in the meantime.
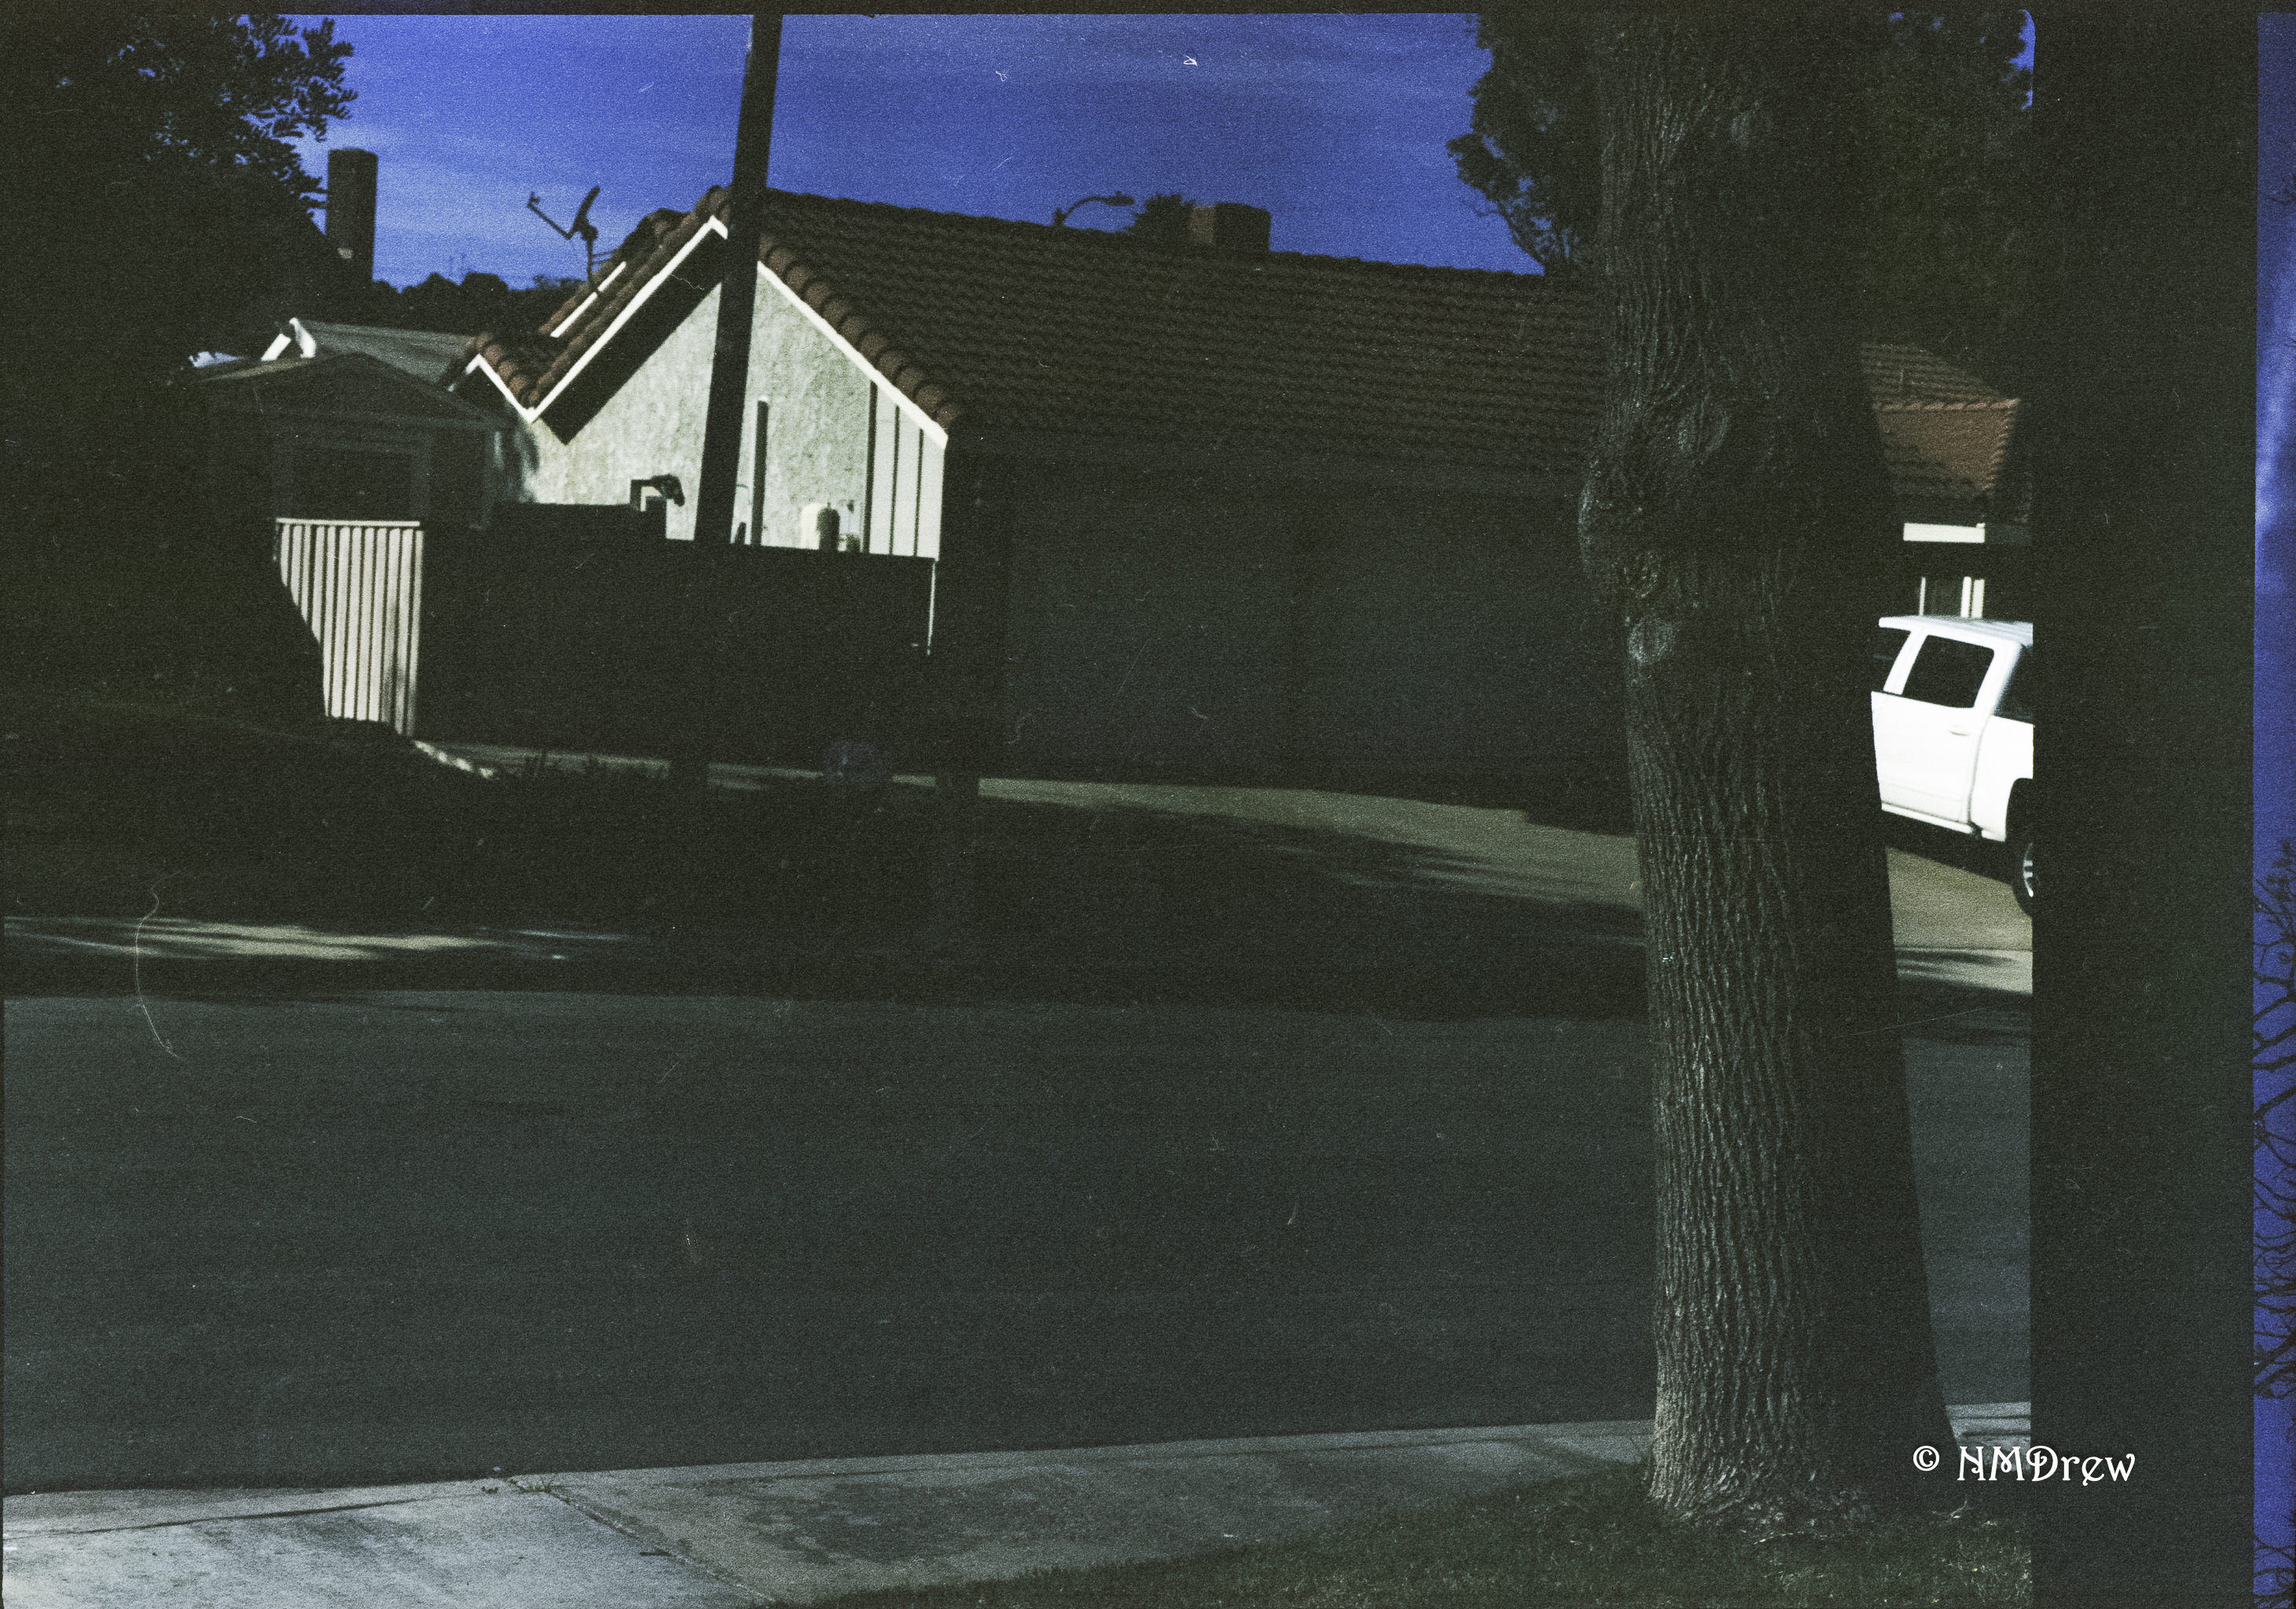
This was an automatic exposure of several seconds to see if the AE function of the Mamiya 645 Pro TL was working. It is! I think a longer exposure brings out the grain.
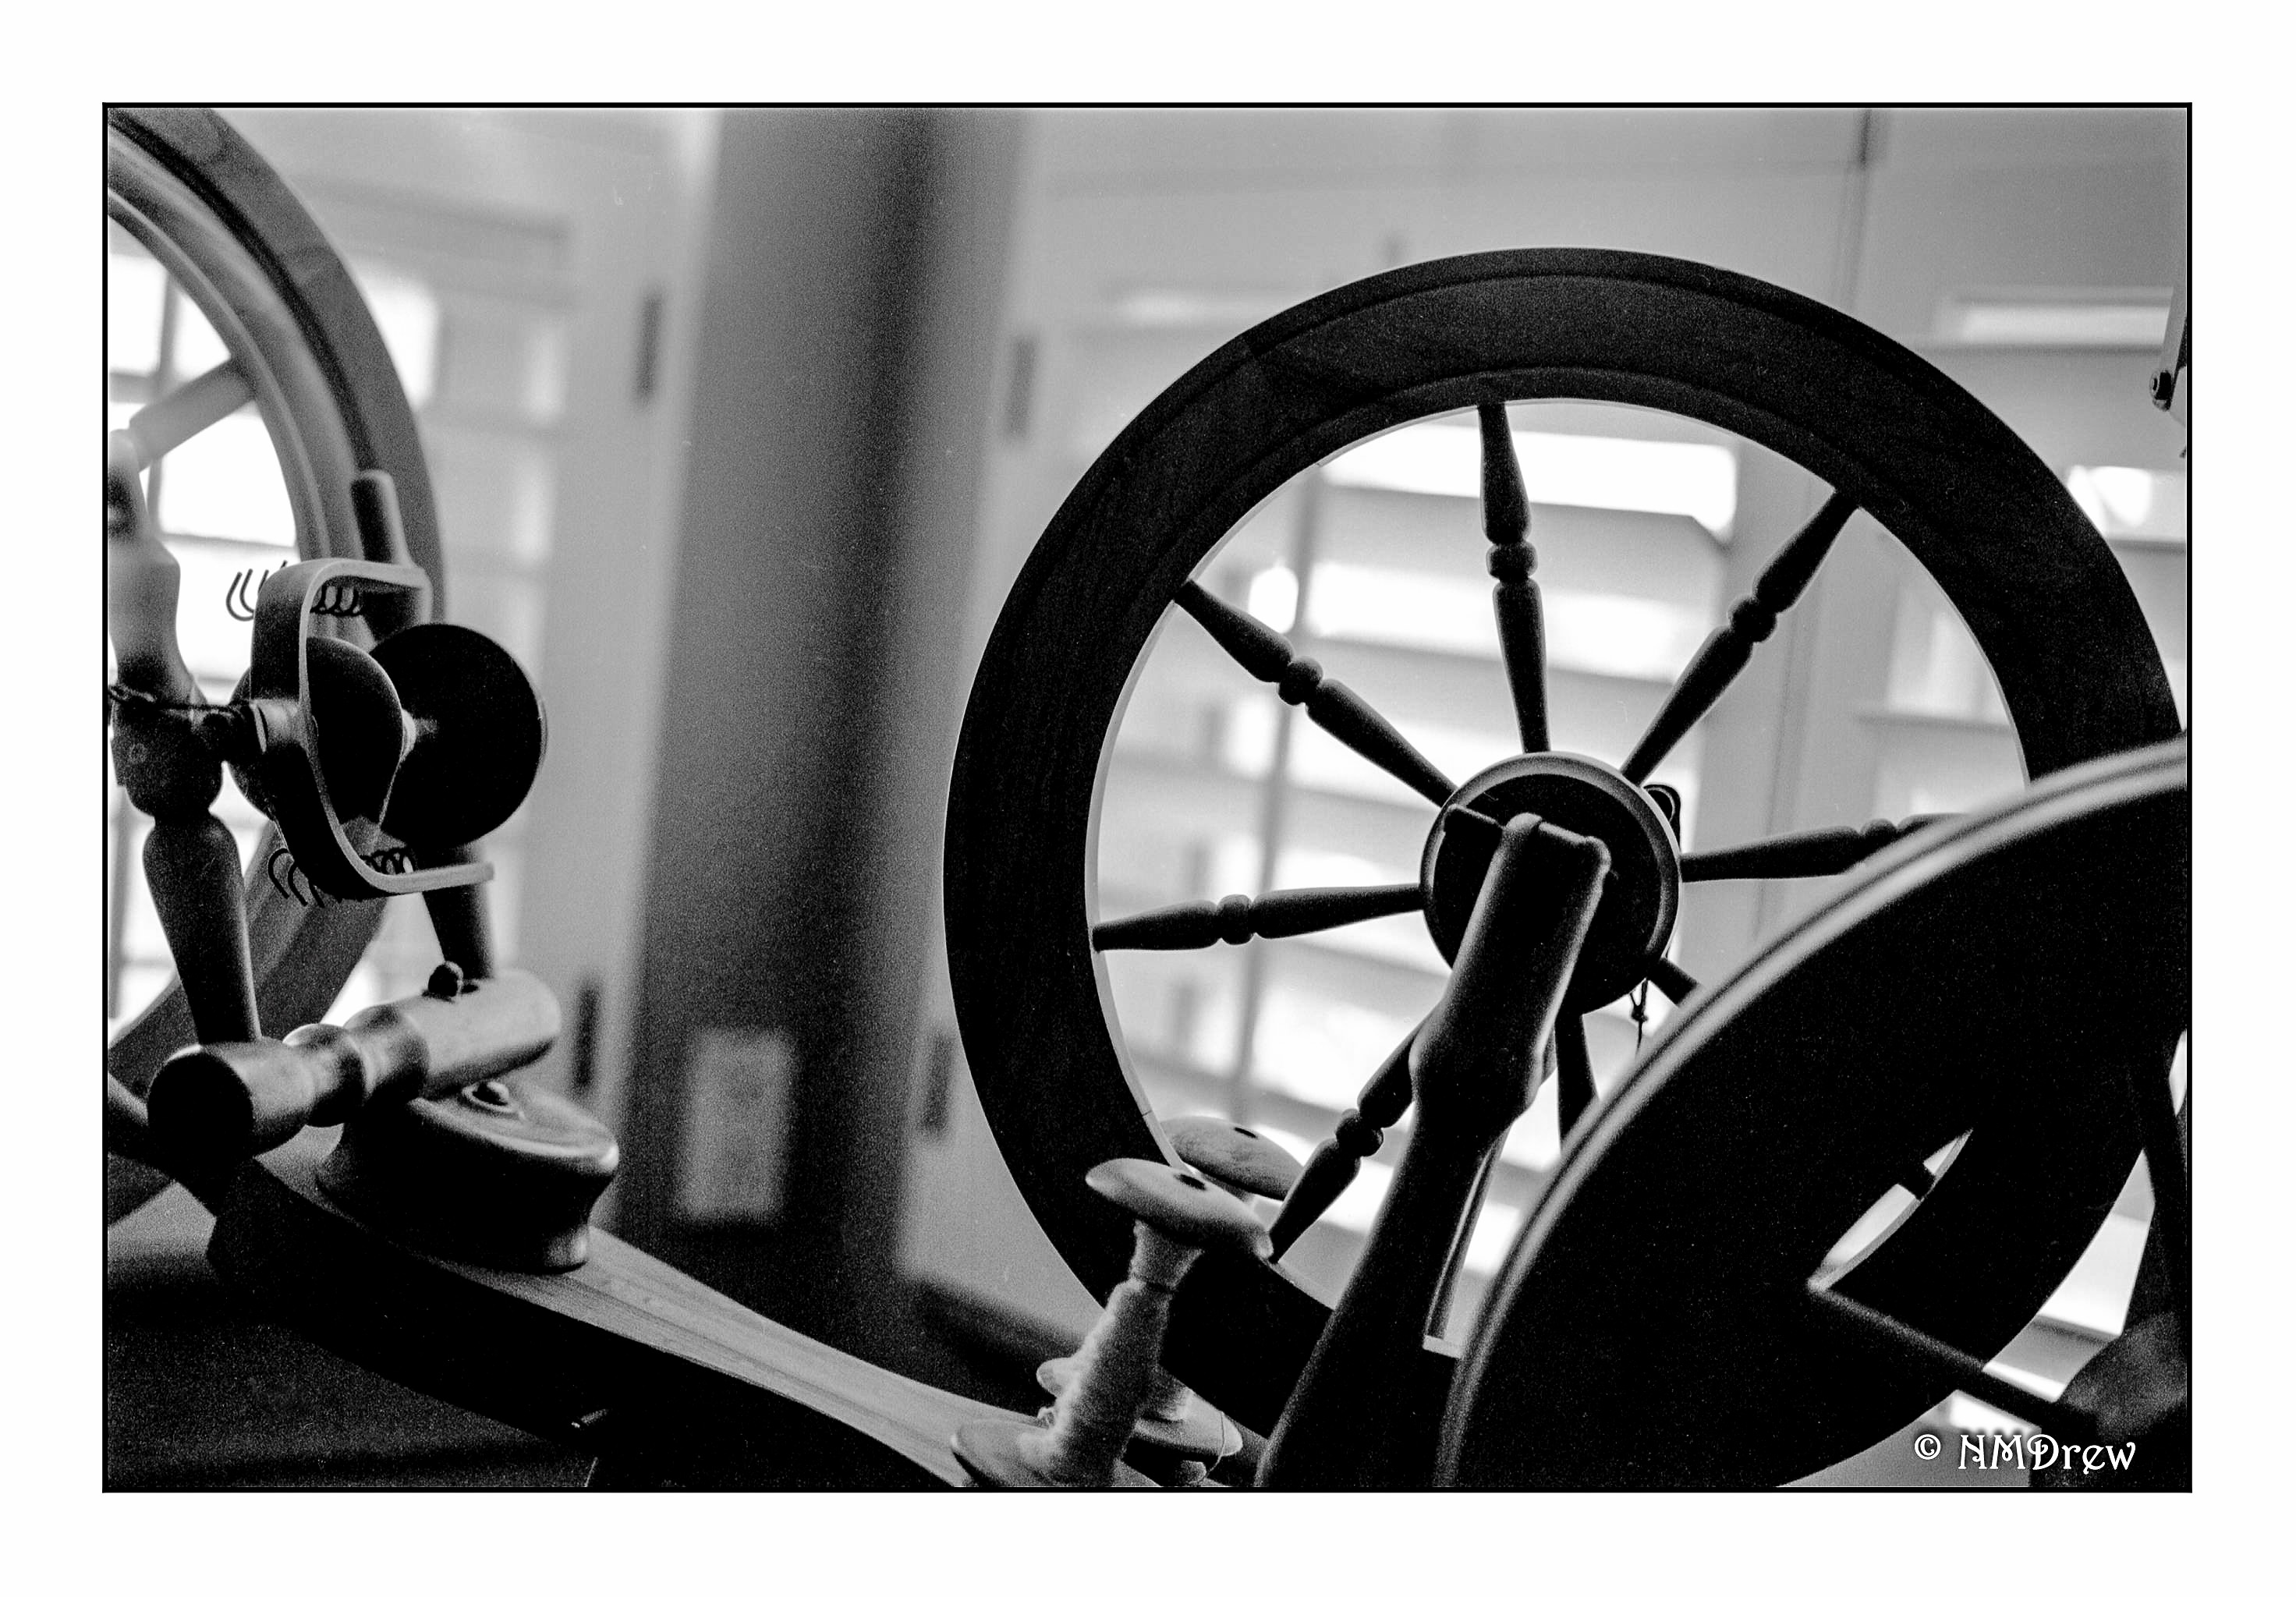
These spinning wheels really work, if you are interested, and I do use them.