Film Star Tomatoes

I bought the Pentax 17 half-frame camera soon after it came out. And only a couple of weeks ago did I finally finish the roll and get it processed. I scanned the film myself – the first roll in what seems ages – and it took me awhile to get familiar with my film scanners. I have a Pakon 135 which I use with my very old XP eMachine laptop, and my newer Pacific Image PrimeFilm XAS scanner which works with Windows 11.

Tomatoes - Pakon 135 Scan
Pakon 135 Scan

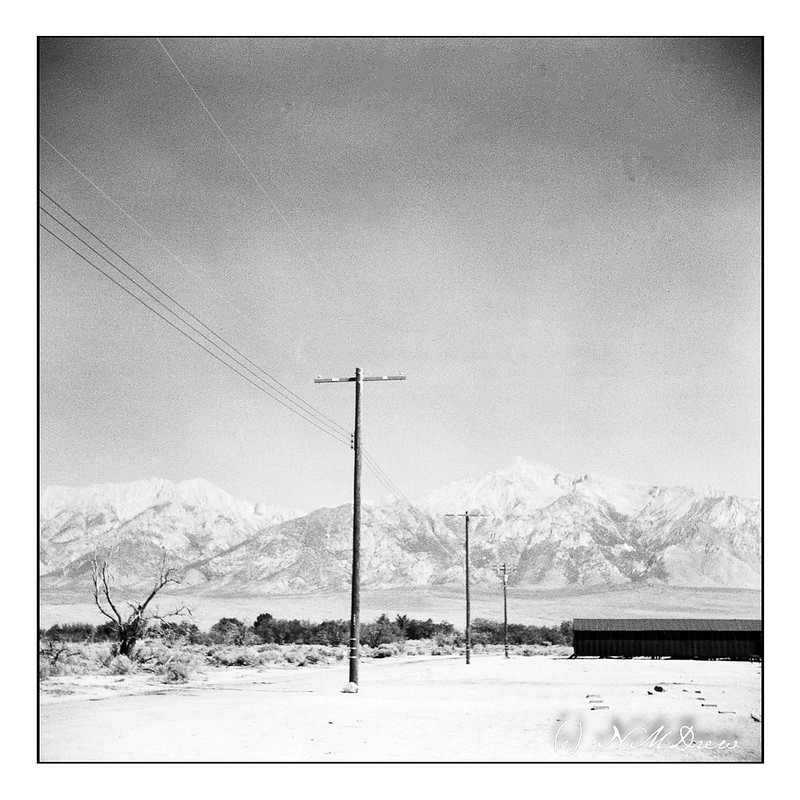
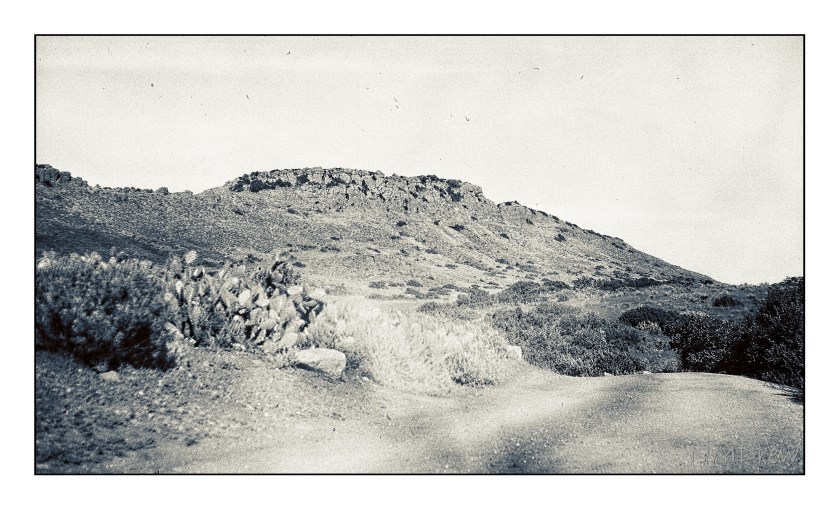
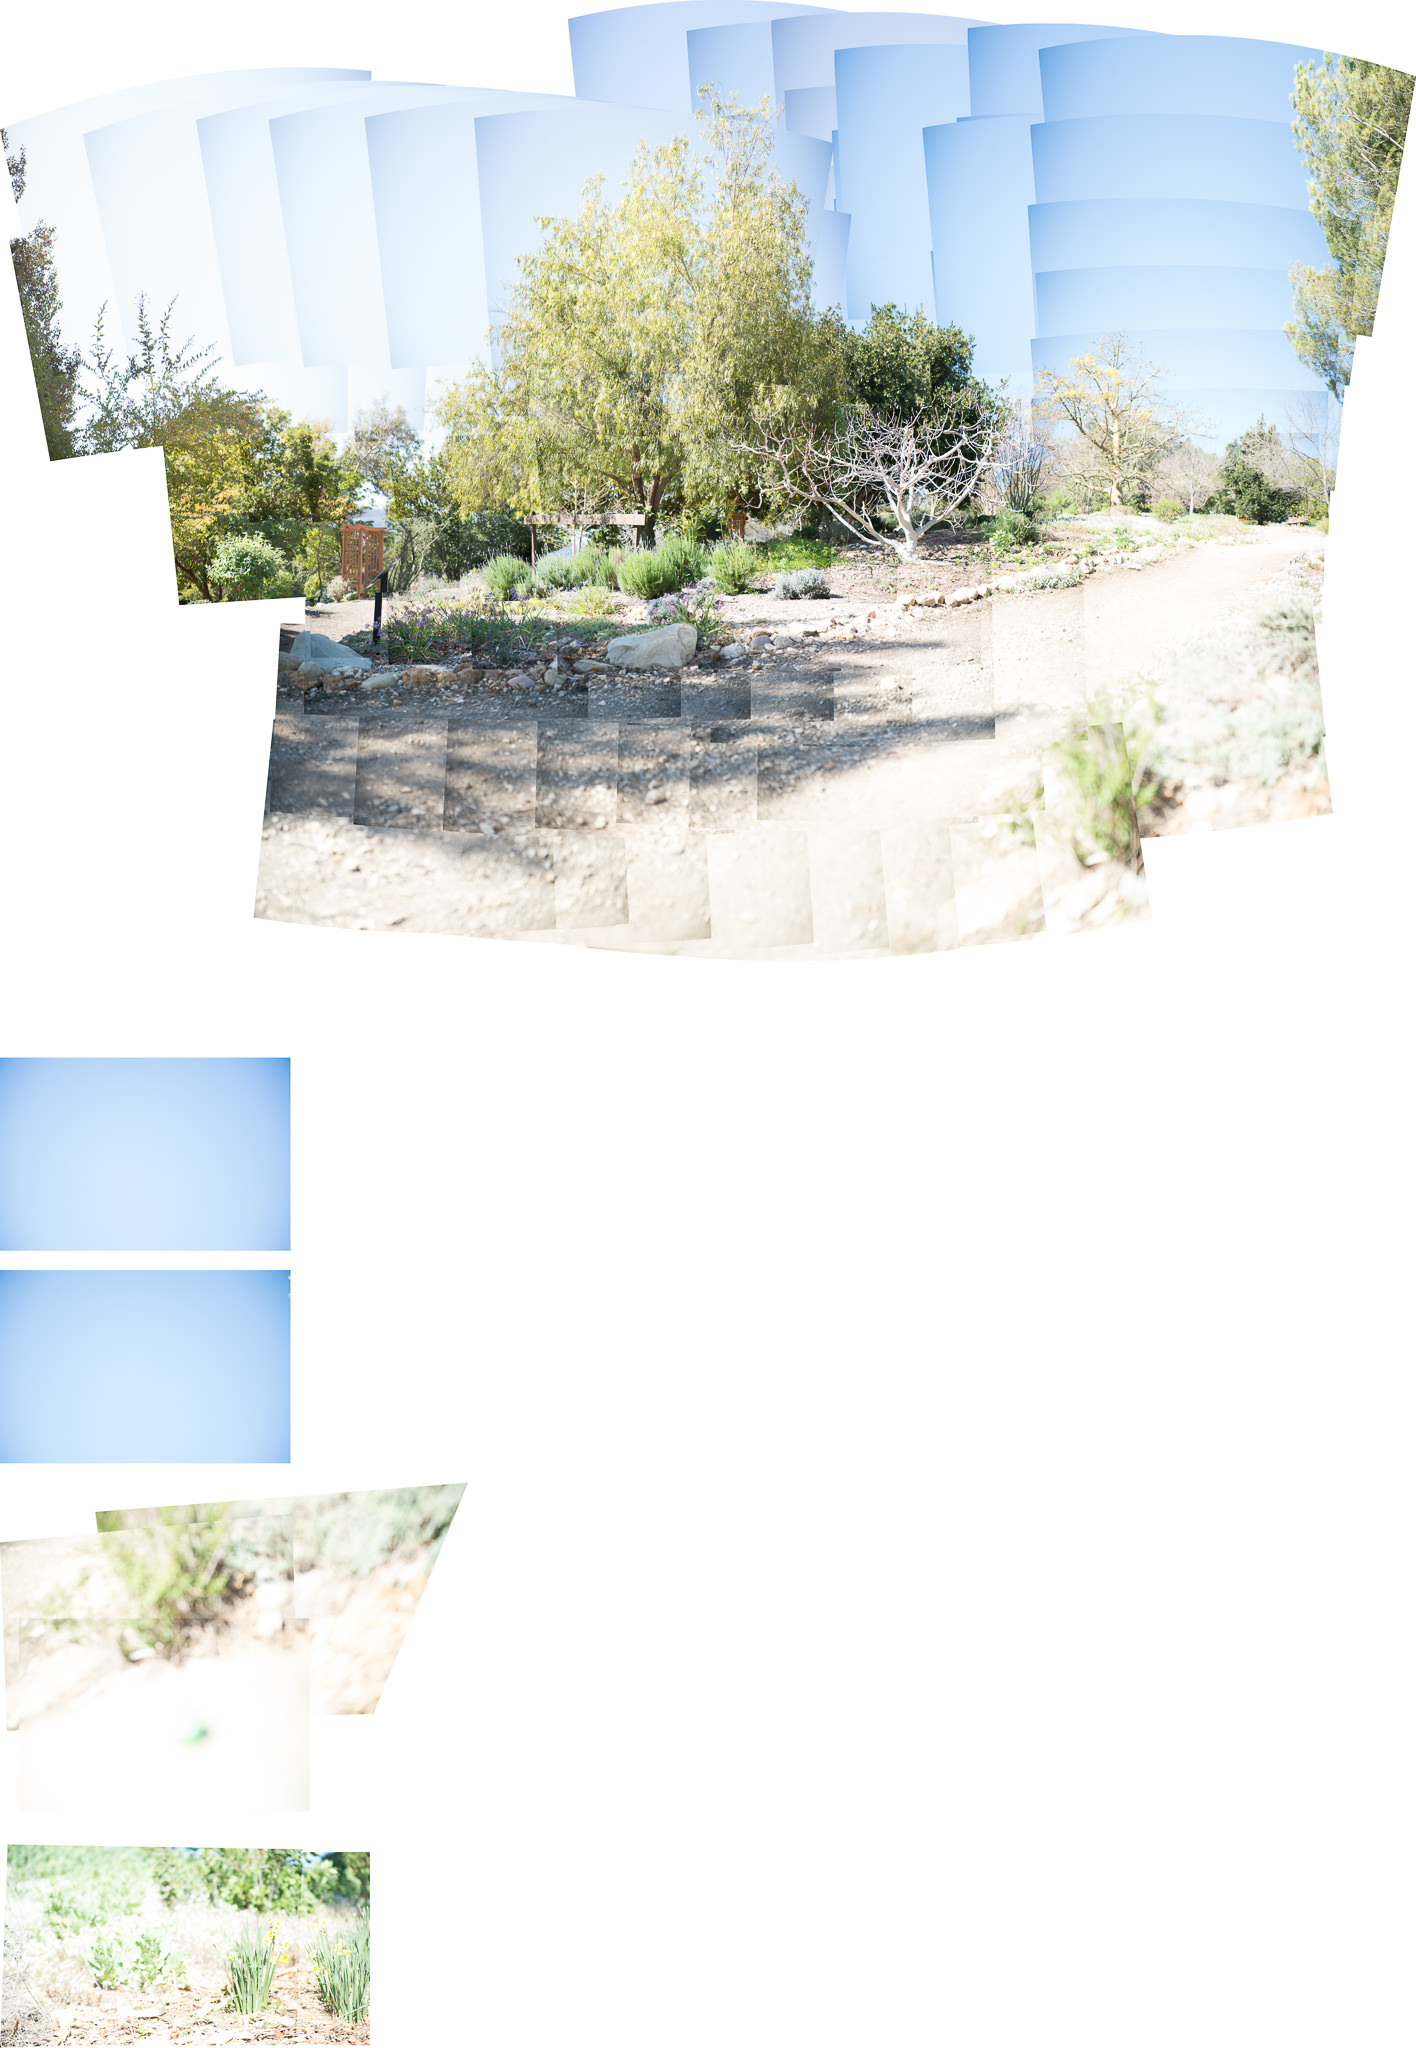
The above image was done using TLXClient (the professional part of the Pakon software – may have the name a bit munched), a part of the Pakon software. It is limited in size for the final scan. I used it with scratch and dust removal along with whatever else was in the arsenal. The image was a tad dark so I lightened it a bit in Lightroom. It has a warm cast which is very nice to the eye.

Tomatoes - PrimeFilmXAS and NegLabPro

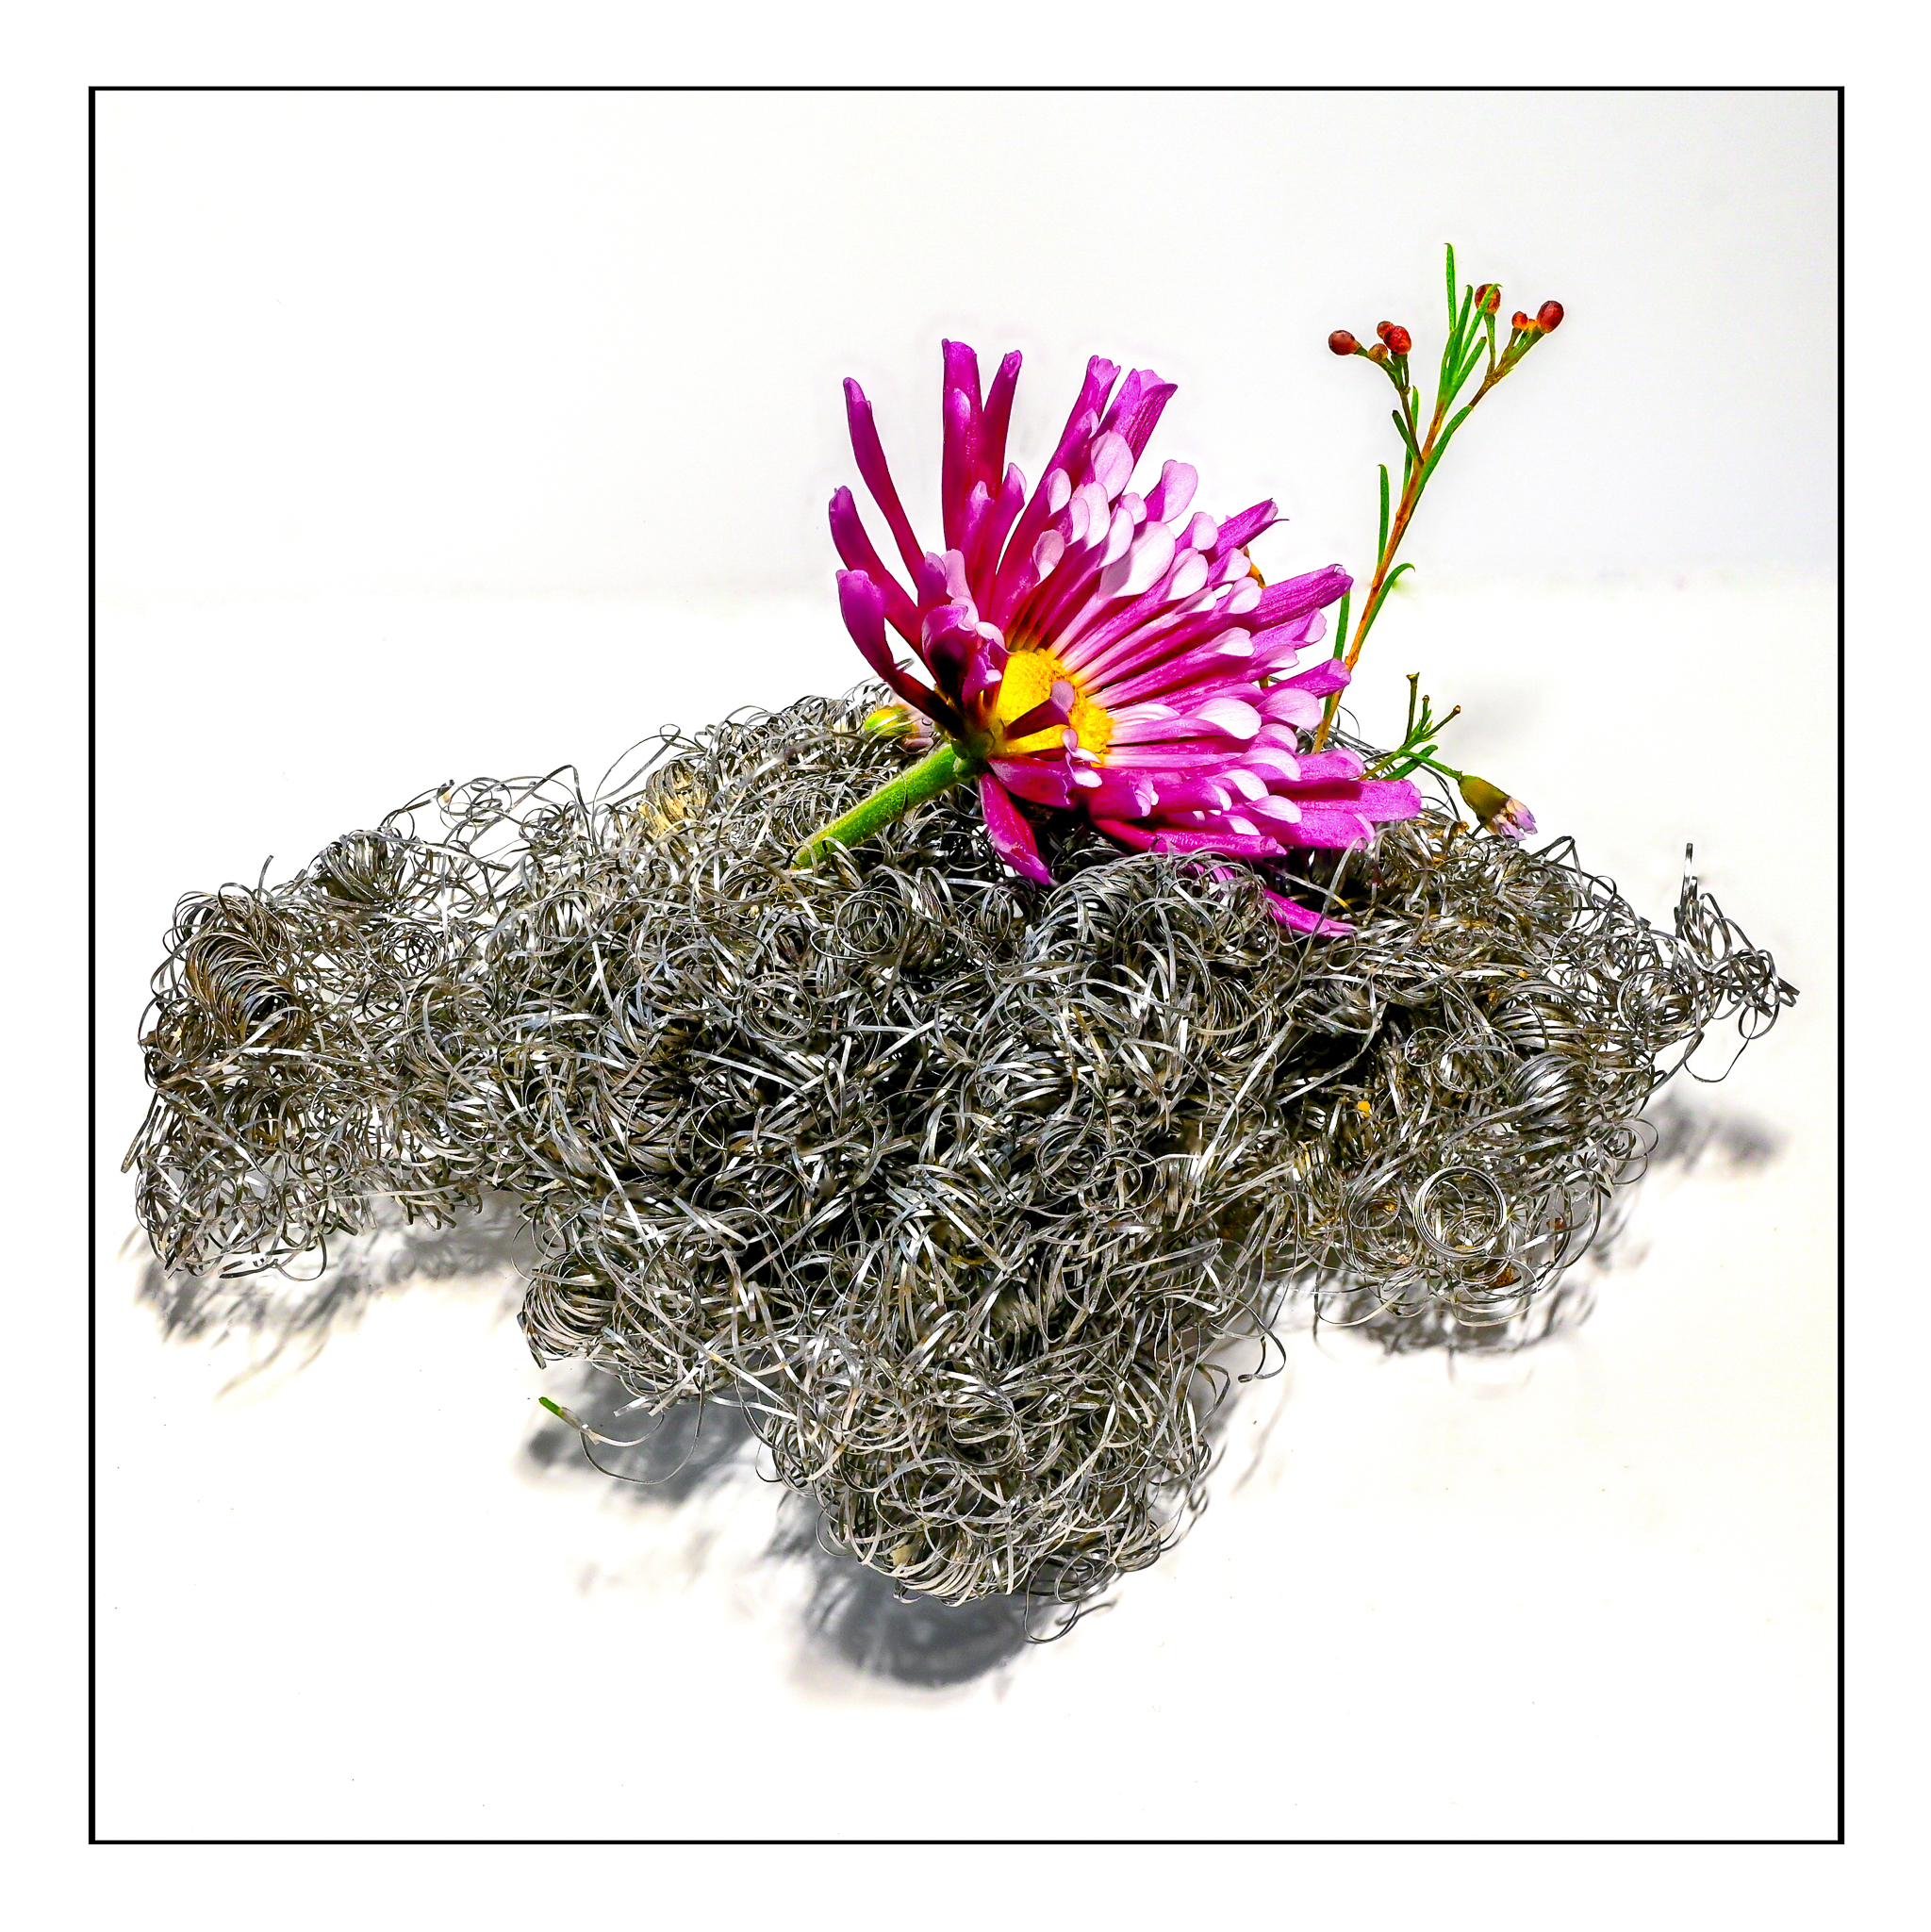
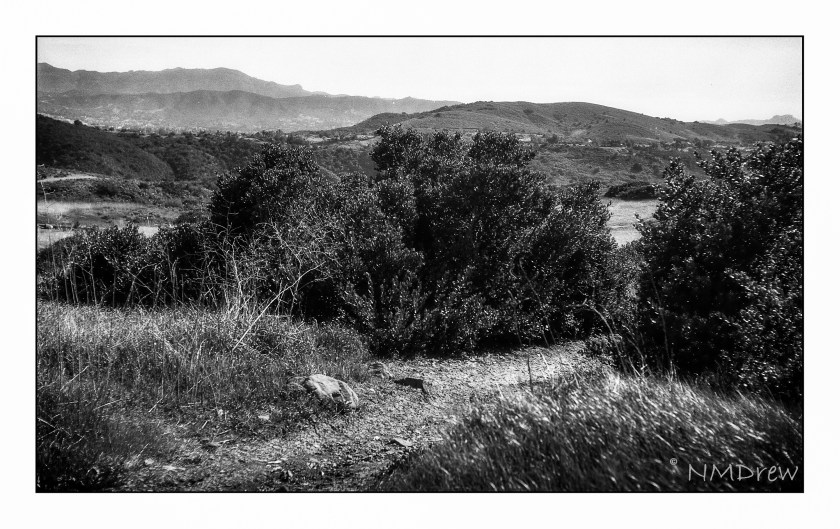
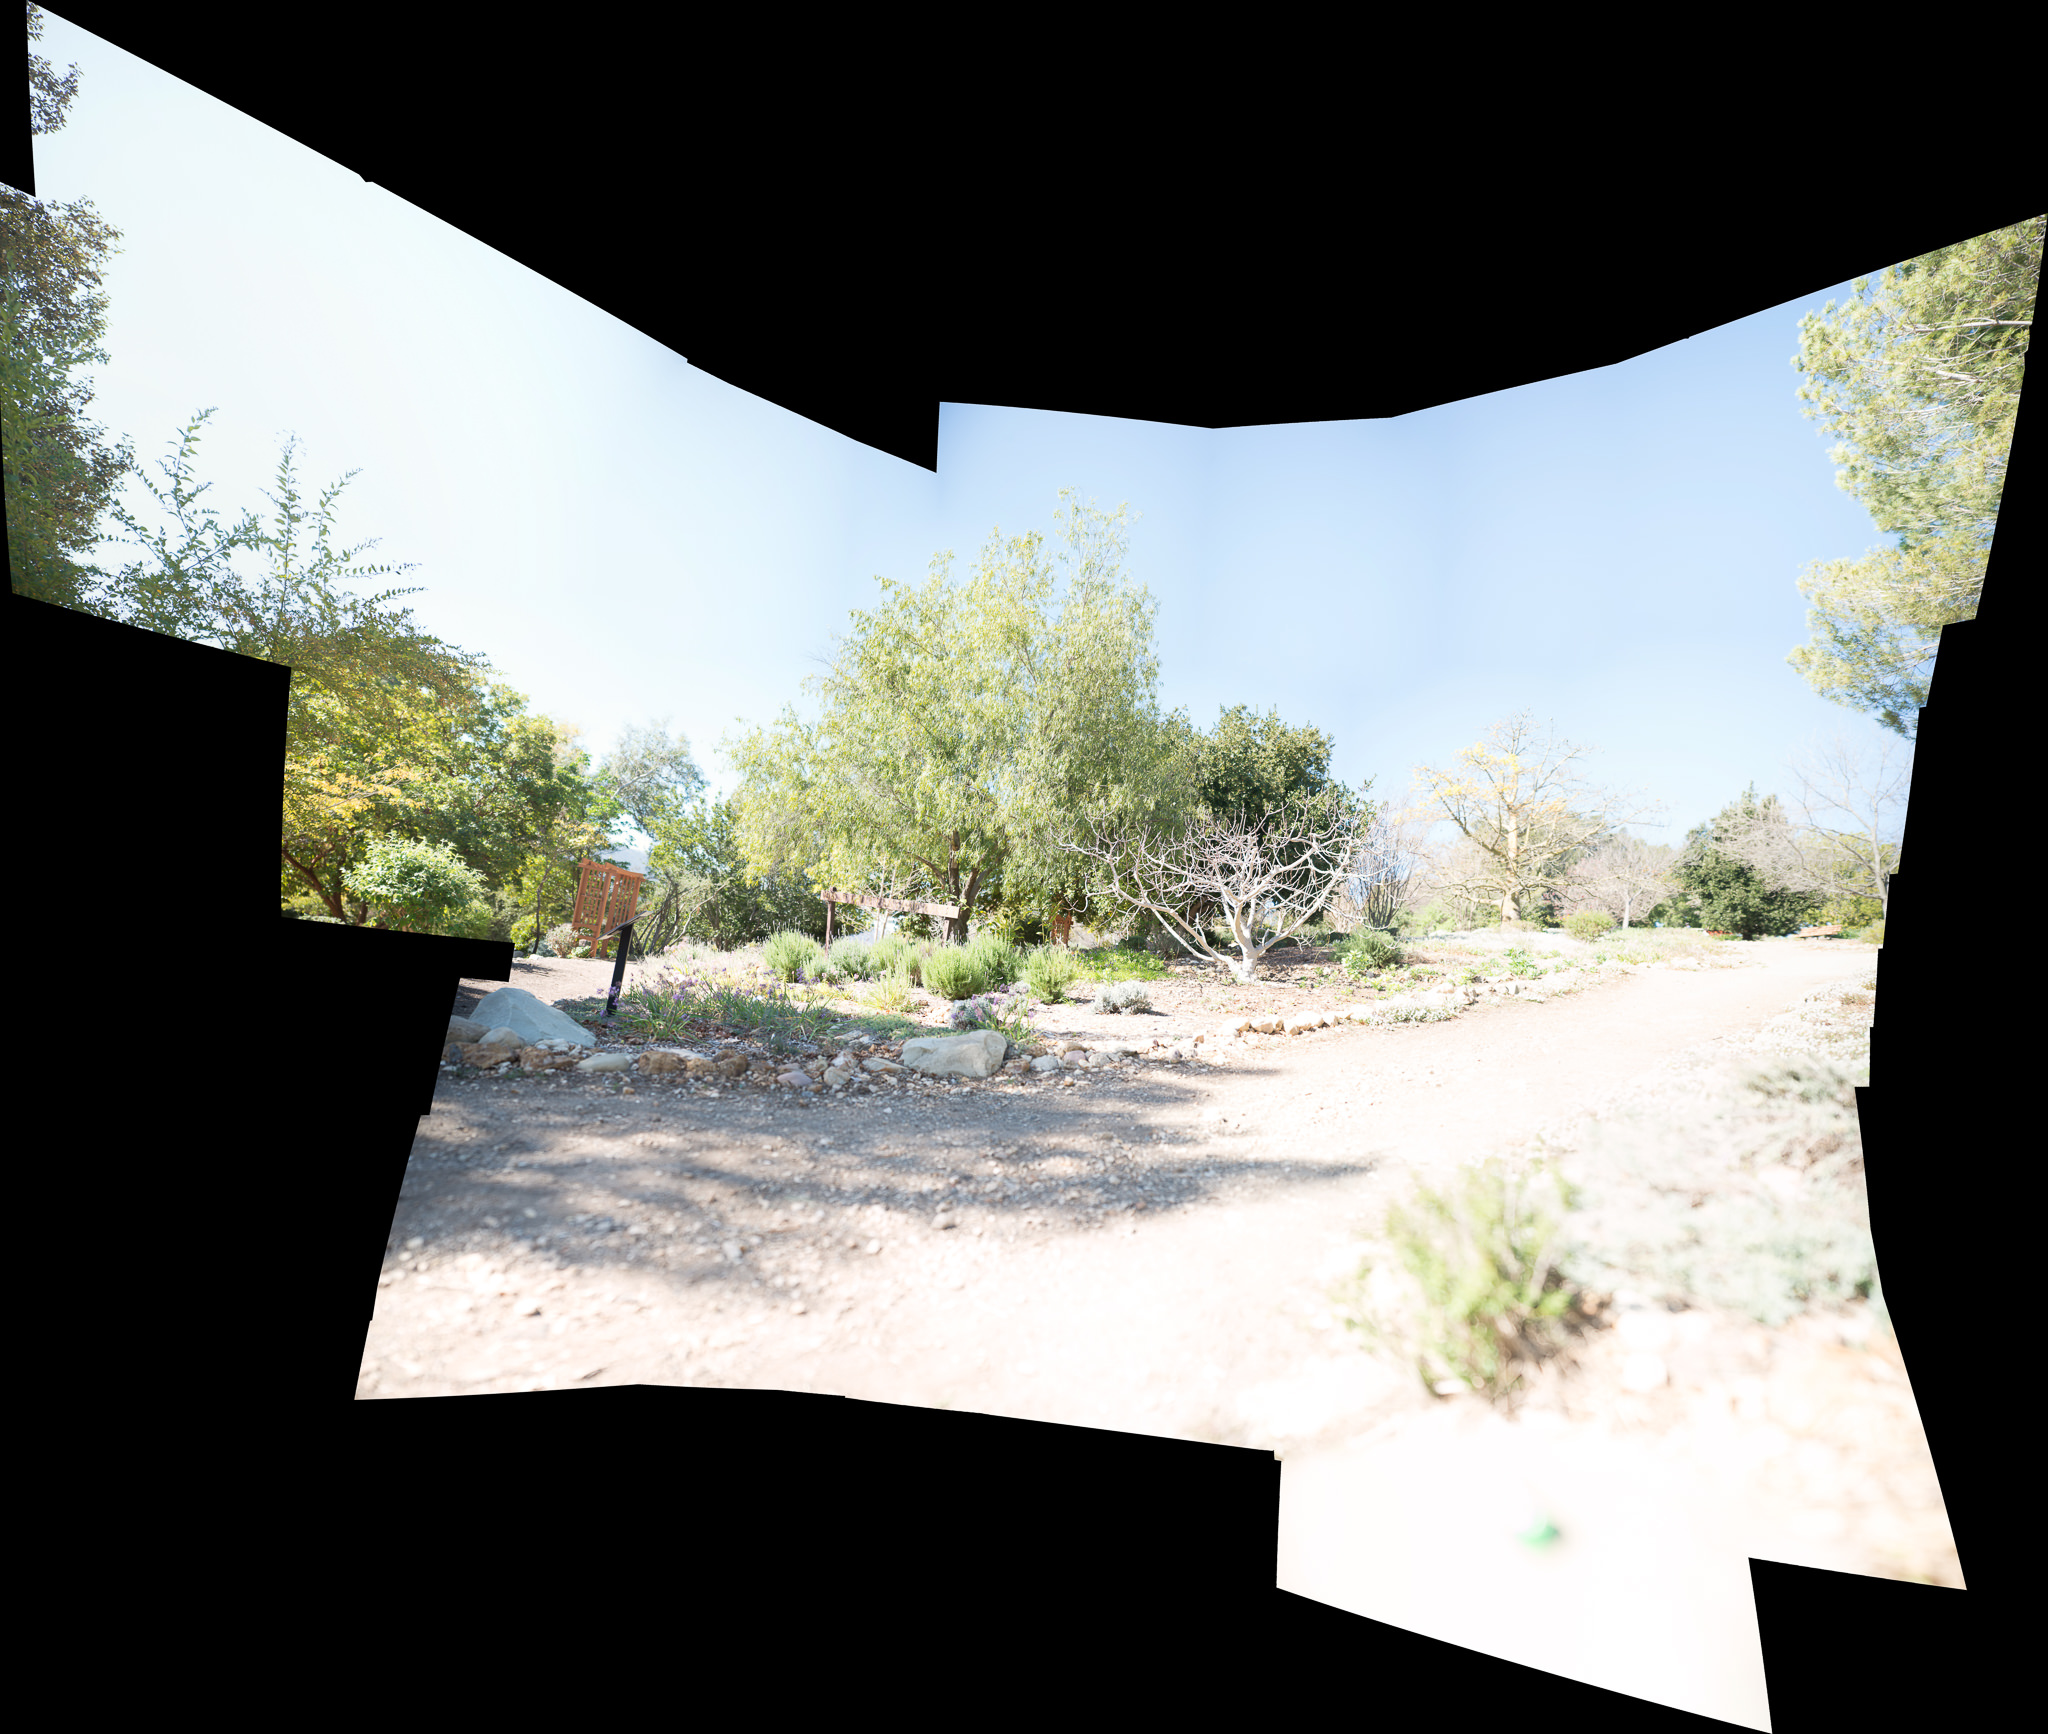
The above image was scanned as a negative – not a negative turned positive as the Pakon does. From there I converted it to a positive image using Negative Lab Pro and the “Cine” color interpretation. It is a lot colder and more blue of an interpretation. I rather like it. Post-processing of film images is a lot like painting – you can interpret things as you wish.

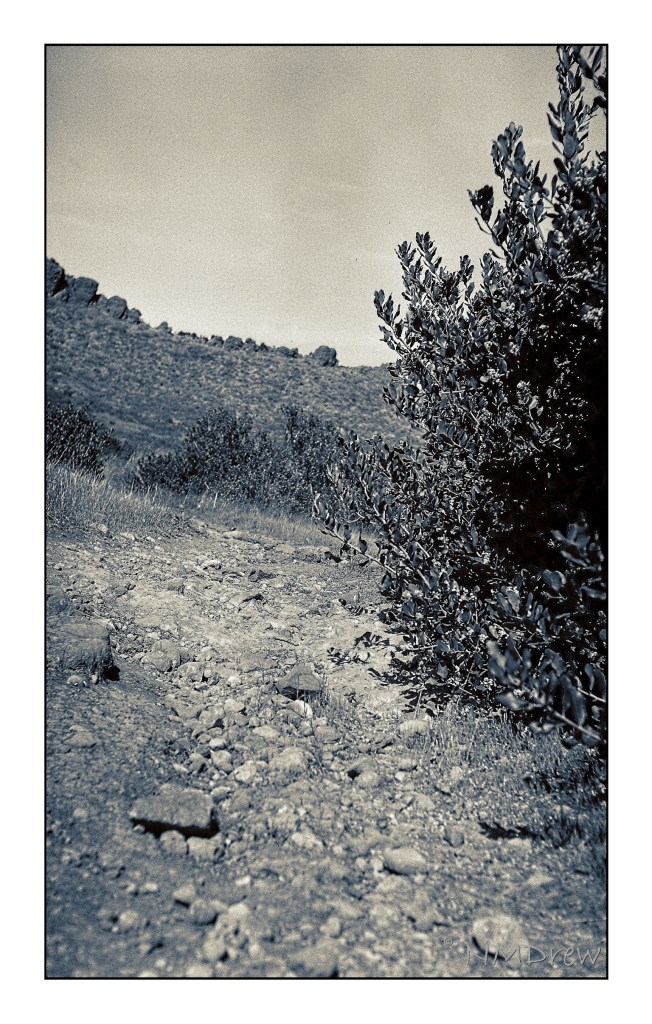
I used the Pentax 17, one of the two newest film cameras manufactured in the past couple of years. It is a simple camera which uses zone focusing but is automated in a lot of ways which make for some fun times. What I have seen so far in image quality is pretty good – and when you remember to take the lens cap off, you get pictures, too! (There is a light on the viewfinder which blinks at you if you have no incoming light – but I forgot that!) The biggest thing is that this is a “half frame” camera, meaning instead of one image, you get two. Thus, a 36-exposure roll should net you 72 images.

Image quality has been discussed back and forth for different film sizes, so I will leave it to you, dear reader, if you want to find out more. The link above takes you to the Ricoh website for the Pentax 17, and if you use the tabs on the web page, you will get a lot of information. I think the pictures I got look great – when I remembered to do things right! Using the Pentax 17 is easy and fun, and its compact size makes it easy to take with you.

Fujicolor 100, Pakon 135 Scanner, Pacific Image PrimeFilm XAS scanner, Lightroom, Negative Lab Pro, Pentax 17 camera.

Zinnia & Steel Wool: Focus Stack with the Nikon Z6ii

Focus stacking – also called focal stacking, photo stacking, and who knows what else – is taking a series of images of one object and focusing at a slightly different distance from the previous photo. From there, you merge all the images to create one highly detailed image.

I’ve done this before using a manually focused set up, but after looking things up, it turns out the Nikon Z6ii has a built in focus stacking set up where everything is automated. It doesn’t take very long. I decided to try it out, following instructions on YouTube. They were easy to follow. My parameters, if you are interested, were as follows: 100 images, set apart by “1” in the Nikon menu, and an interval of “1”. What all this means, no idea, but I did it, and in a few minutes I had 100 images. My lens is 50mm at f/8.

Zinnia & Steel Wool

This is what the original stacks looked like after using Zerene software. Zerene is a software I have used years ago, and it works great. It takes a bit of time, but I think a dedicated program helps a lot. Photoshop does focus stacking as well, and so does another program, Helicon, but this requires an annual license or a lifetime license, and comes with various grades of licensure. For me, Zerene is just perfect for what I want to do.

First of all, if you want more detail of the above picture, click on it and enlarge as big as you can get it. You will find the little hairs on the zinnia stem as well as flaws in the photo stacking, but it is worth looking at methinks.

Obviously I did a bit of post production! I had to use the spot fix in LR and On1 to get rid of the line where the 2 pieces of foam board met up. I also had to get rid of spots and splodges. I increased the exposure a bit, upped the whites, blah, blah, blah. Let’s just say it took some time, but made me think that perhaps investing in a light box might be a good idea. I tried to make this look as nice as possible without going nuts and getting picky to the point I was ready for the zoo.

Kris over at Wicked Dark Photography does a lot of outdoor focus stacking of small things, like moss or mushrooms, and her lovely work made me realize there is a lot more potential here than getting nice photos of things to sell on eBay. Kris’s work as a photographer just really appeals to me as she knows a lot about nature, enjoys trees and water and even spiders (which I like outdoors and not enlarged!) and small plants. I look forward to her weekly posts as she is often out on an adventure with which I can travel along, especially on her videos.

Manzanar #1

Manzanar 1

In 2021 we headed out on what was to be a 3 week long road trip. The first part was up the Eastern Sierra along Hwy. 395, stopping and staying in Independence, CA. One of the most notable places to see along this route was Manzanar National Historic Site – a not very nice part of US history. It is a Japanese internment camp which was built for imprisoning Japanese Americans, natives of this country, and therefore citizens, as well as immigrants.

I took along a digital camera, and a folding camera, the Zeiss Ikon Ikonta 521/16. Only now am I scanning the film – it took quite some time to finishing up the roll! I used Kodak TriX 400 and got twelve 6×6 images out of the roll, which is 120 film. To process the film, I took it to a local lab and then scanned it myself using the Epson V600 and Negative Lab Pro in Lightroom.

However, the trip ended when we got breakthrough Covid. We headed back home, sadly, but better safe than sorry, eh?

The Olde West

Living in California meant traveling across country to move. We did this when I was 12, and I did it as an adult in my 30s.

Driving through the vast reaches of this country always amazes me. First, it is just BIG. Open miles of open land, a house or ranch or roadside attraction.. Huge mountains seen across miles. Winding roads where dust behind you flies in a cloud as you bump along, looking for rocks and holes. Freeways, local highways, dusty country lanes – this is what I enjoy when I travel. This fall we plan a trip across northern Nevada and into Utah, when the weather is cooler, and perhaps we will even enjoy colored leaves at the higher altitudes.

Awhile back I loaded up one of my old cameras – a Voigtlander Bessa RF 6×9 with a Heliar lens, ca. 1935 – with Ilford Ortho 80 Plus film. I forgot about it until I opened the back of the camera and slapped it shut as quickly as possible. As the camera only gets 8 pictures per roll, I lost a few – like 3. One image was too dark for use. But, the remaining 4, while not great, were fun to manipulate in post.

The Ilford film had just been released, so I bought a few rolls to test out. In my 35mm film camera, it worked beautifully, but my exposures were marginal in the 6×9 at best. I worked on them a lot to bring in discernible contrast – most were over-exposed. The lens on the camera is a beautiful Heliar, but my guestimates with 80 speed film were too high. As well, I used no filter since I don’t own one to use with the lens. So, above, a test shot to look at contrast – white flowers on dark green foliage. I created a preset in On1 Camera Raw that I liked; it brings out the details but doesn’t create too much contrast.

This photo makes me think of old dirt roads and stagecoaches jouncing along – like you see in 50s movies! The image got a light leak, but the details of the distant mountain – Mount Clef – and cacti are worth a look

Again, more detail and a bit of LR dodge-and -burn. This is the dried landscape nearby. When the winters are wet – which ours was not this year – the grasses and mustard can grow up to 8 feet. Easy to get lost in, but don’t – stick to the paths or ticks and other critters will get you.

Backcountry is beautiful and dangerous. I remember turning back here – a rattler was basking in the sun. That’s another good reason to walk where you can see ahead of you!

So, a bit of my West with my old camera and newer film and technology. The Voigtlander did not let me down, nor did the film. I am looking forward to taking this camera with me up to Morro Bay next week – along with more modern cameras – and out to Nevada and Utah. More Olde West to come!

Making Panoramas in LR and PS

My interest in panoramas was sparked by the wedding photography of Ryan Brenizer and what has become called the Brenizer Method.  Essentially, Ryan Brenizer became famous for creating a very narrow DOF in panorama portraits of couples.  I think they’re great!  I have used it in landscapes and still lifes with some success.  It’s where digital cameras are so good to have in your camera collection.

Taking panoramas is fun with a DSLR or whatever D style camera you use.  I think smaller numbers of pixels help if you tend to shoot a lot of images.  I know I do.  My Df is a 16 megapixel camera, and sometimes i just take a scattergun approach to shooting – lots of images covering more area than I think I want.  I try to take a picture of my hand to show where my pano pictures begin and start.

To get consistent image exposure, it’s necessary to use manual exposure and turn off auto focus.  Consequently, I like to take an image using my preferred f/stop and do everything else on auto.  Test images are important and worth the few minutes required to do. This will give me my shutter speed and iso.  If the image is too light, I might drop the EV and so on.  Once I like what I see, I set up the manual techniques, take a picture of my hand – often out of focus – and begin to take pictures.  On a conservative day, I take maybe 20 images; on others I have taken as many as 130 or so.  Fewer images taken  works out better – easier on you (that camera gets heavy) – and easier on your software and computer when stitching the images together.

I have also done panoramas using digitalized film images.

Once done, I import my images into LR.  Looking for my hands, I export the images into subdirectories labeled, conveniently, Pano 1, Pano 2, etc.  Use whatever you like.  During the export, I change everything in size, using, for instance, 1024 as the length of the long side of the image.  When you have a 100 images, reducing in size is important.  You can also apply filters globally across these smaller images.  These details I assume you know how to do, or learn.

After reducing all the images in size, I do a Cntl-A in the subdirectory to get all the images, and do, in LR, Edit, Merge to Pano in PS (down at the bottom of the pop-up menu).  Off to PS and after clicking OK, the magic begins.  It can take awhile.  The nice thing about using PS as opposed to LR for a photomerge is that any ones which cannot be used in the pano are kicked to their own spots in the final image.

Here is an example of a panorama I took the other day.  All told, 137 images.  You can see that PS decided some did not belong in the final merge.

This pano was also just plain bad. I redid it and this was the result:

The panorama in PS can be more than huge! Make sure you go to Layers and choose Flatten Image. If you try to save it without doing this, PS will bug you to remind you. Do it. Then save it and it will go back to whatever directory you have the original images in LR.

After cropping and editing, the final result was this one you see at the top of this post.