Honey-Sweetened Cheesecake Recipe

Once more, dietary changes are forcing cooking and baking changes.  Some results are rather dreadful.  Others have proven to be quite good!  So it was with this cheesecake.  No sugar, no gluten.  The biggest problem was finding the dry curd cottage cheese. also known as hoop cheese or farmer’s cheese.  I found the cheese at the local Whole Foods, and neither my husband nor I had ever tasted it – but we did, and liked it.  It is a rather dry cheese, not sweet or salty, with a bit of a curd, but very fine, like ricotta.  The original recipe is from this blog, but I changed it so that I made one 8″ cheesecake, instead of 4 individual ones.  The only thing beside pan size that I changed was the baking time.

Honey Cheesecake

Preheat oven to 300 F, and by the time you have your crust ready, you can pop the crust in to bake.

Crust
1 1/2 c. almond flour
1 t cinnamon
3 T melted butter
1 t honey

Mix flour and cinnamon together. Melt butter, mix in honey. Stir together to form a soft dough. I used a fork to really work the ingredients together. Place the crust mixture into an 8″ spring form pan, lined on the bottom with parchment paper, and sides buttered. Working from the center out, press the dough onto the pan. Build a shallow edge along the rim of the pan. Bake for 15 minutes at 300 F. Remove and let cool completely.

When you are ready to make the filling, preheat oven to 350 F.

Filling
1 lb. farmer’s cheese
1/2 c. SCD homemade yogurt
3 eggs
1/3 c. honey
2 t vanilla extract
1 t lemon zest

In a blender or with a hand mixer, combine cheese and yogurt. Cream for about 5 minutes – texture will change and become more creamy as you work. Add the rest of the ingredients, and beat until very smooth. Batter will be very thin. Pour carefully into cooled crust. Bake at 350 F for 45-50 minutes. Check to see that the center of the cheese cake is set. When set (the cake no longer jiggles when shaken lightly), turn off oven and open door. Let cheese cake cool about an hour, and then move to refrigerator. Serve with fresh berries.

Comments
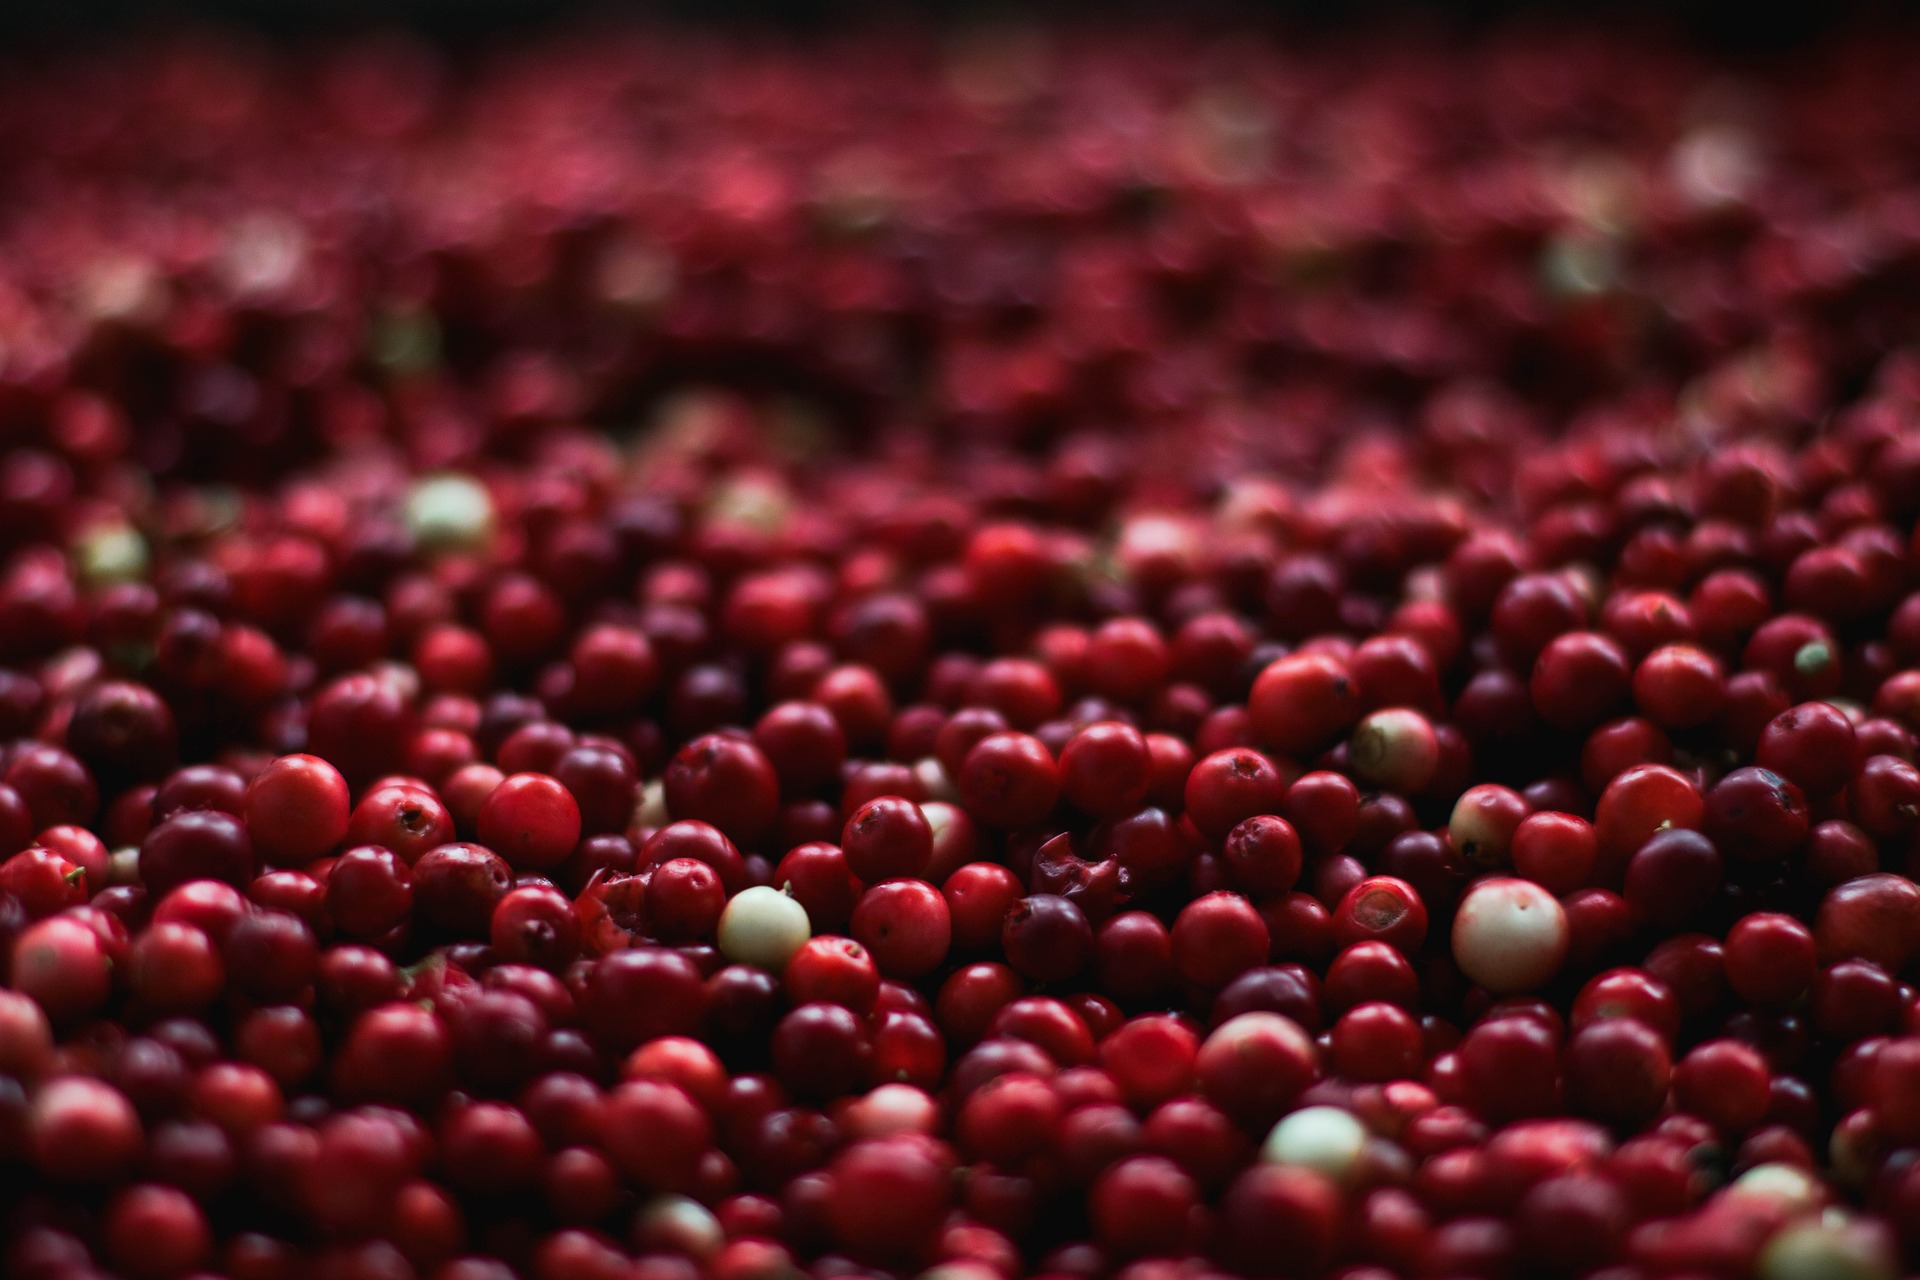
I had no idea what to expect from this recipe, but those who tasted it (served at a dinner party) really liked the flavor and lightness of the cheesecake. It wasn’t very sweet, which can happen with many honey-based recipes. The lemon zest complemented the fresh fruit – we used blueberries and raspberries. Without the fruit, the cheesecake might be a bit unremarkable if you are used to big, thick slices of New York cheesecake.

This, for us, is a definite winner!


Cranberries & Yogurt

This is, admittedly, a rather odd title for a post, but in few minutes, you’ll see why.

Sugar is in everything, and so I decided I would try to make some cranberry sauce that has a good flavor, but is not filled with a cup of granulated white sugar.  I came across a number of recipes.  Some used stevia, the flavor of which I don’t like.  Others recommend aspartame or other synthetic sweeteners – all of these are horrid.  Sucralose is also suggested.  The fact is, I really don’t like the flavors of artificial or substitute sweeteners.  So, what is left?  A bit of research found some recipes using sweet cherries and cranberries, or adding apple sauce.  Orange flavoring via orange juice and zest.  Pineapple juice.  And honey, which is an easily digestible sweetener, and if not too strong, is okay with me!

So . . . I made up my own recipe for non-sugared cranberry sauce!

Cranberry Sauce Without Granulated Sugar

12 oz. cranberries
1 bosc pair, peeled and chopped
1/2 c. water
1/2 c. unsweetened apple sauce
zest and juice of 1 orange (I used a large navel orange)
2-4 T. honey

Simmer all the above together, and after cranberries have slowed their popping, pour in the juice of one orange, and its zest. Cook another 10 minutes on a low temperature. Sauce will be tart with a strong orange flavor. You may want to use less zest, or none, and just the juice. This is not a very cranberry sauce, but you do not want a sauce so sour your lips pucker!  Add some honey if you want (I added about 3 T – still tart, but not puckery – and I do like sour!).

Okay, now the yogurt part. Years ago I used to make my own yogurt. What? Yes, you can, and you can make it without an expensive yogurt maker. If you have a gas oven with a pilot light, there you go – home for your yogurt until done. My current stove is gas on top, electric inside, so I use an ice chest filled with a few bottles of boiling water to keep the yogurt warm, and I check on it periodically to make sure it is still warm. I let my yogurt set for 24 hours. Once done, you do need to cool it down so it won’t continue to ferment – too much is not a good thing.

There are two types of cultures for yogurt. Some are thermophilic, needing heat, and others are mesophilic, meaning room temperature is the best environment. I like Bulgarian yogurt, made with lactobacillus bulgaricus, and lactobacillus acidophilus. These days, with the increased knowledge about probiotics and prebiotics for gut health, it turns out that the acidophilus bifidus is not considered to be a “good” one for adults. Apparently breast fed babies gut flora is primarily acidophilus bifidus, but if it continues to flourish in the gut biome past weaning, it could set the individual up for digestive issues, such as celiac and other similar diseases. Here is a link to some interesting information about acidophilus bifidus.

So, I have some yogurt in my fridge.  It has bifidus in it.  A search for bifidus-free yogurt in the store to use as a starter yielded only one yogurt that does not have bifidus in it!  It is Siggi’s Sheep Yogurt, expensive, but bifidus free.  I bought some to use as a starter (it also tastes good!).  I also purchased a starter from Amazon for $8.00 which states it “contains live active bacteria like ”Lactobacillus delbrueckii subsp. Bulgaricus” and ”Streptococcus thermophilus” – there ya go!

My Yogurt Recipe

1 qt. whole milk
1/4 c. Siggi’s

Bring milk to simmer – hot to the touch. Watch on stove to be sure it does not burn, so stir it! Reduce to about 75 F. Take 1/2 c. cooled milk and whisk into the starter. Pour into 1 qt. container (or smaller containers, such as 2 pint jars, etc.). Place in ice chest filled with a few bottles of boiling water. Set aside to ferment for 24 hours.

Now you understand “Cranberries & Yogurt”!