Another view from the Poppy Reserve in California. Kodak Ektar 100, Olympus XA4, scanned using the Pakon 135.

Another view from the Poppy Reserve in California. Kodak Ektar 100, Olympus XA4, scanned using the Pakon 135.
Panoramas allow me to capture the grandeur the vast outdoors has . . .
There are a number of different programs which do panos, one being a leap from Lightroom to the pano functions of Photoshop, MS ICE (image composition editor), and so on.
Most people do panos in digital. I like to do it with film, too, as it is a bit of a challenge – and it requires a bit of thought . . . after all, there is only so much film, far less than the room on an SD card!
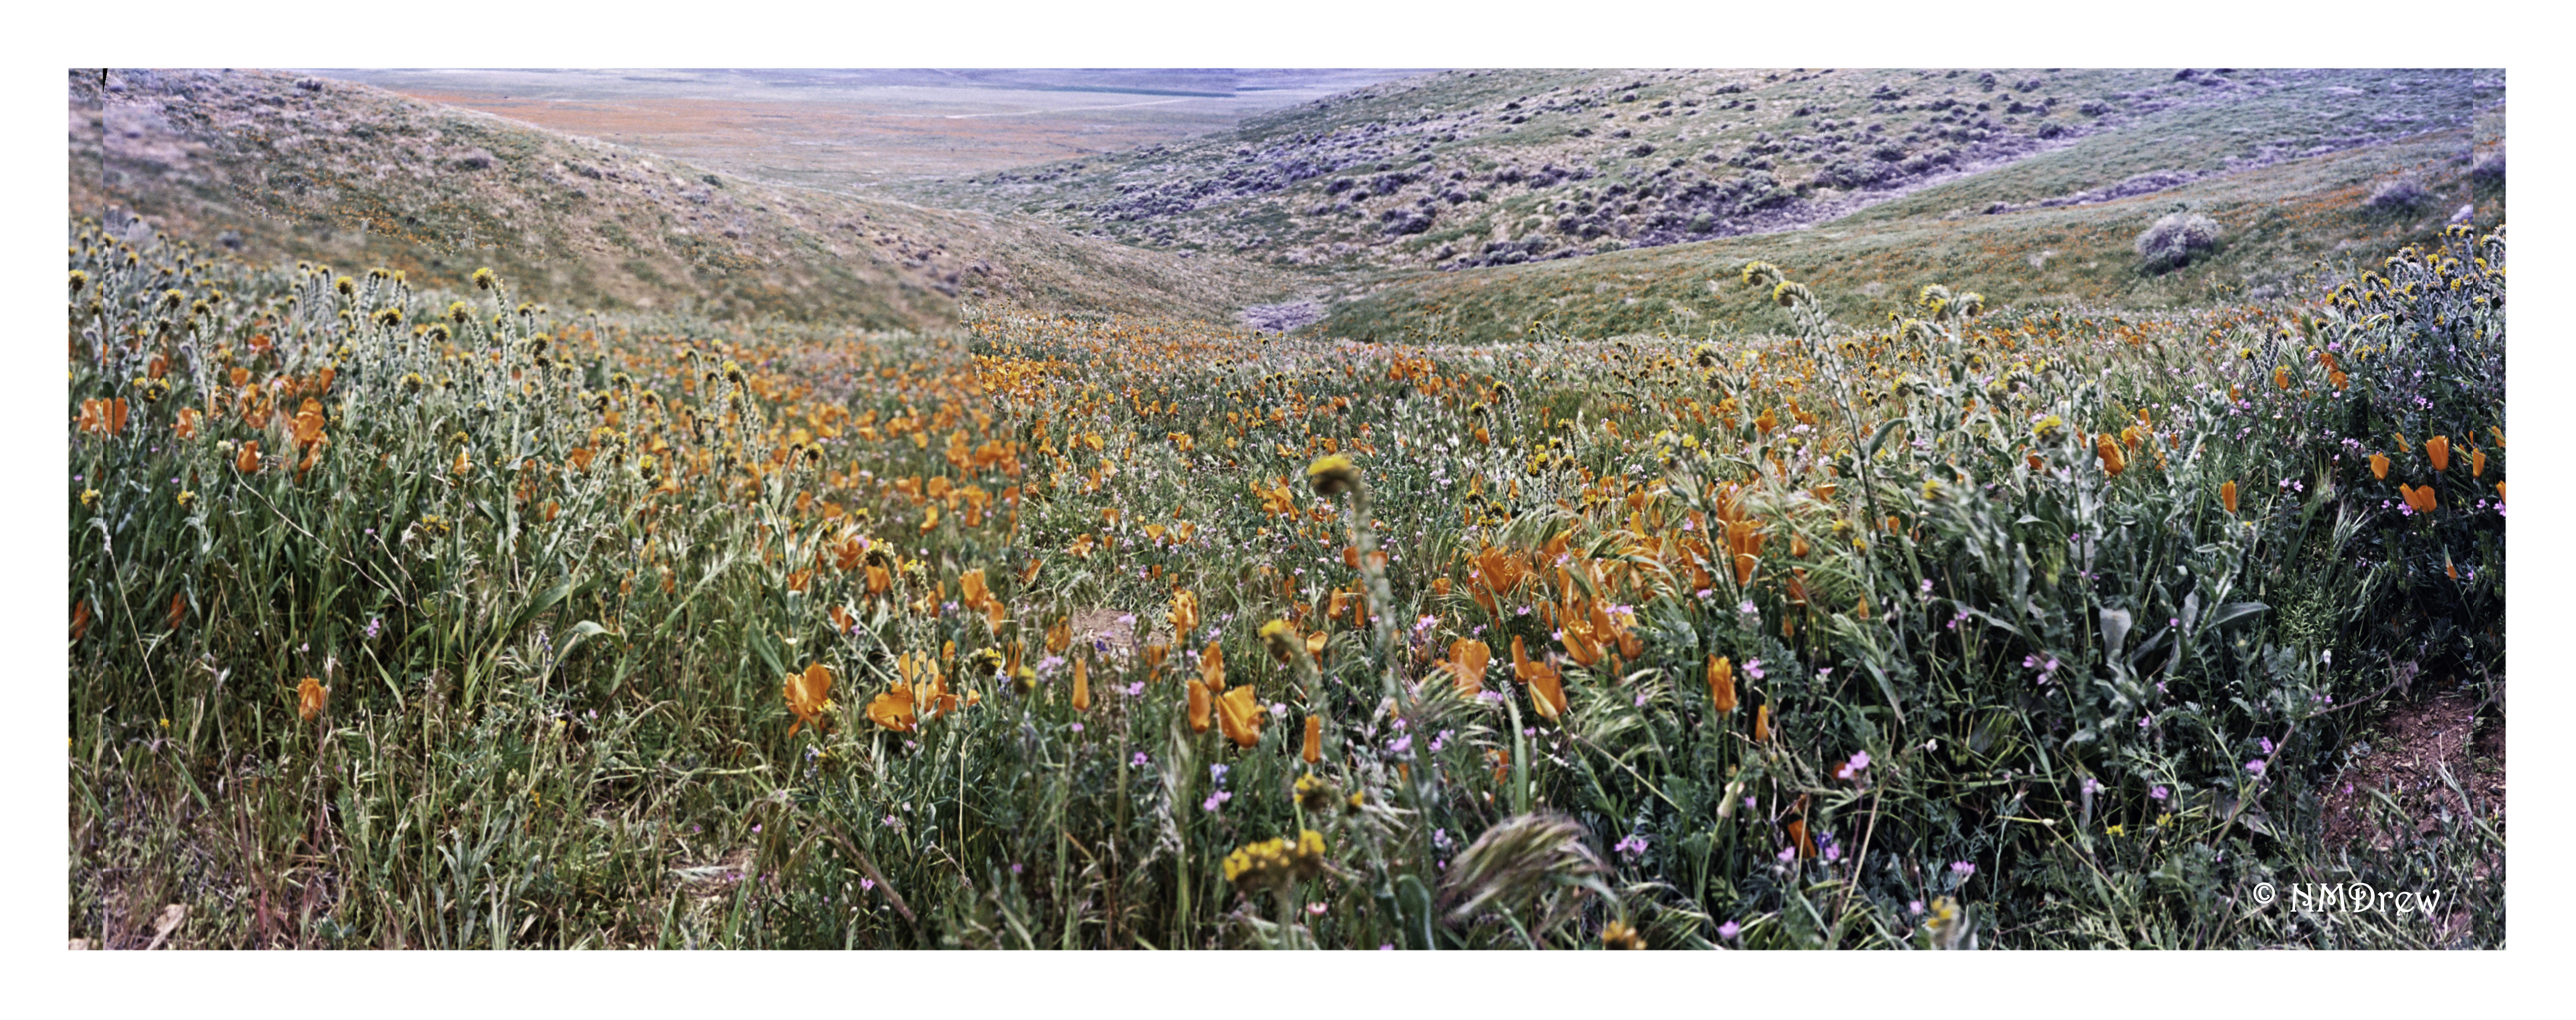
And here we are: A 5-image pano of the poppy fields at the California Poppy Reserve last March, in the 50mph winds. The middle of the image doesn’t look too bad when smallish, but if you click on it twice, you will see a lot of blur in the center. Not a fab job, but the job it does is there – it shows you the stunning beauty of the fields. With less wind, the picture would have been a lot more successful.
Today is the very, very first day that On1 Photo Raw is available for usage. I think the original idea was to have a product ready to roll in October 2016, but rather than have a “finished” product full of bugs, they realized they had more on their plate, and held off until today, November 23. I’m glad they did – and I am glad, too, that they realize that this really is a “work in progress” as it stands.
Personally, I love On1, and have been using them since version 8, which was a while back. I use it with Lightroom. What makes On1 great as a company is their support, ongoing consistent development, tutorials, and so on. On1 products are sophisticated, and while they do not rival Adobe Photoshop for complexity, On1 products are far easier to use. I prefer their brushes, spot and blemish removal tools, as well as the fact I can create presets which I can store. At this point, the presets from On1 Photo Suite 10 cannot be used in On1 Photo Raw, but I expect they will have the ability to port them later on. The one-up that Photoshop has is its “content-aware” fill.

The image above, Waiting for Lovers, was edited using On1 Photo Raw. It is a film image using Kodak Ektar 100 in a 1930s Welta Weltur rangefinder. The lens is an uncoated Xenar – probably about 75mm – which has an ethereal quality to it that I really love. Scanning the image with my rather dirty Epson V600 (I have since cleaned it), I ended up with a blue streak across the entire image. On1 took it out quite nicely. Spots and threads were also easy to remove. I think On1 did something to their processing algorithm (or whatever), as the spot removal works very quickly.
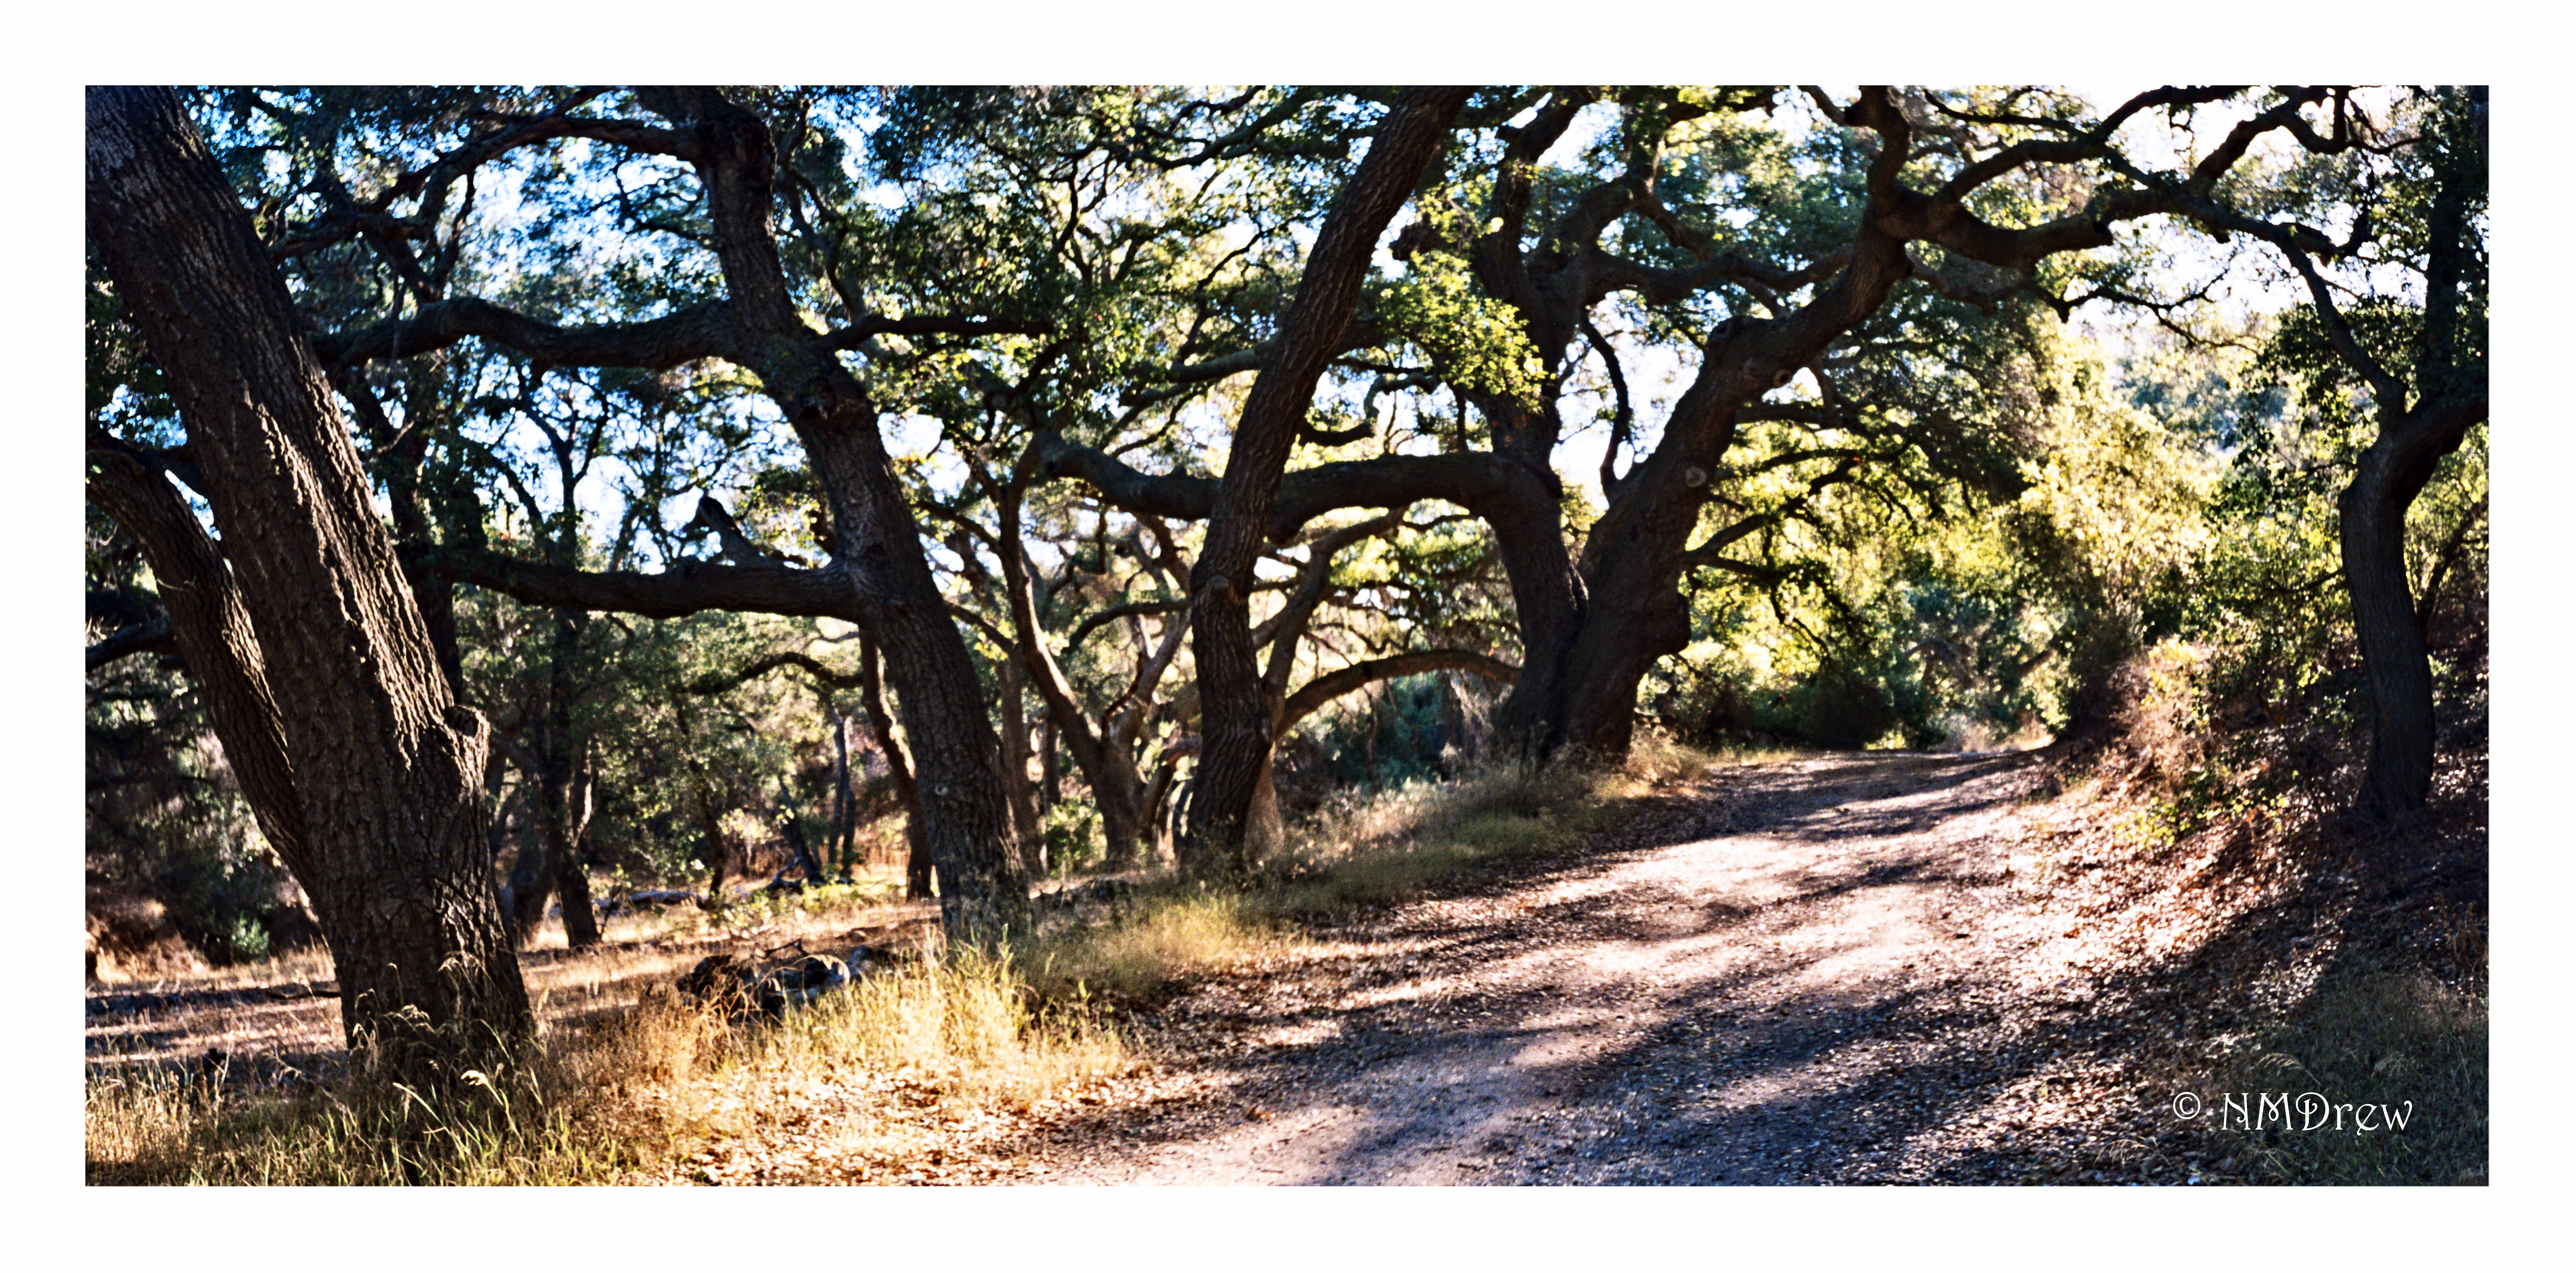
This image is a pano stitched together in LR, and consists of two images taken with the Olympus XA4 and Lomography 100 film. The only thing I did was perk it up a bit with some detail, in LR and in Photo Raw. It is nearly identical to the SOOC image.
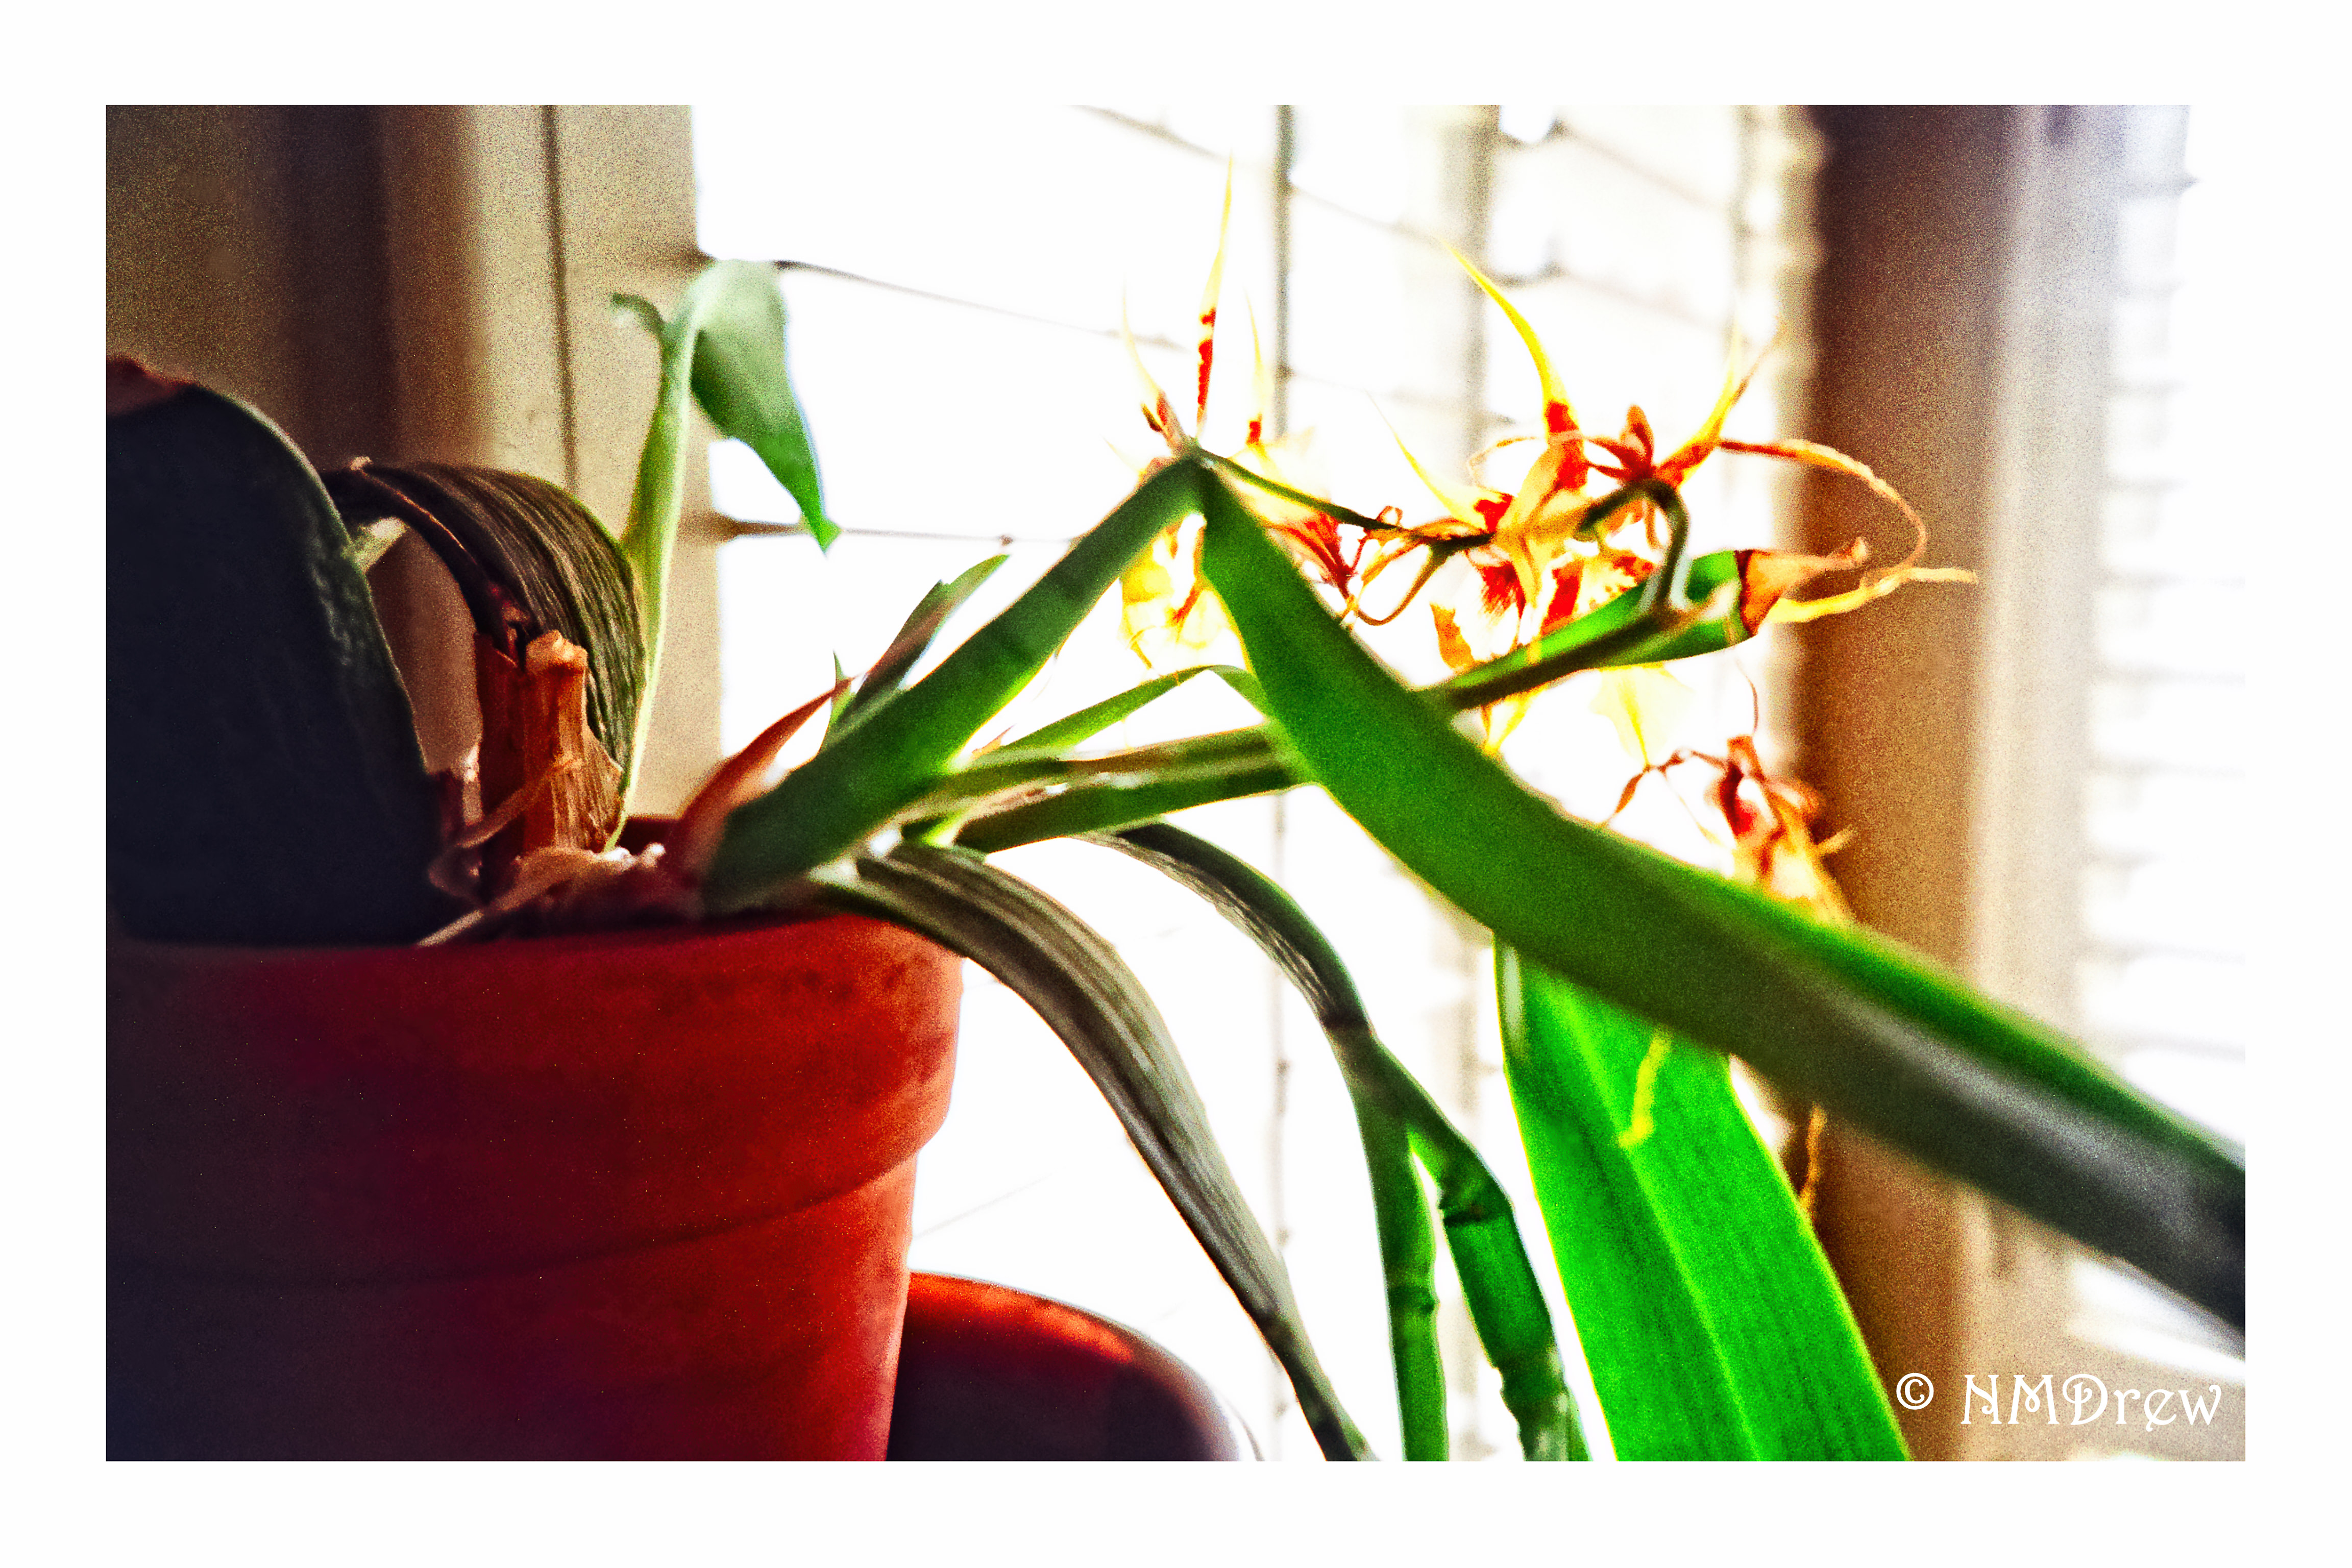
Finally, the above image was really pushed in On1 Photo Raw. Spot removal, brush usage, presets, whatever. This was an overall high-key, pale image, but I set it up to be contrasty and bright – possibly too much so – but wanted see what I could do. This was also taken with the XA4 and Lomo 100 film. Both of these two images were scanned using a Pakon 135 scanner.
There is so much software out there for photographers, that competitors to Photoshop seem to come and go. My favorite and most consistent programs are Lightroom and On1. I also use DxO v. 11, and while it is good for some things, it lacks the diversity of On1. Capture One is good, too, but it makes me crazy as it does not make sense to me at times . . . but I admit, I have not put in time to using it as it has a higher learning curve, and is not, for me, very intuitive. So, two thumbs up to On1 for its Photo Raw software – I think it will prove to be a real winner as they continue to develop it.

Today is the very, very first day that On1 Photo Raw is available for usage. I think the original idea was to have a product ready to roll in October 2016, but rather than have a “finished” product full of bugs, they realized they had more on their plate, and held off until today, November 23. I’m glad they did – and I am glad, too, that they realize that this really is a “work in progress” as it stands.
Personally, I love On1, and have been using them since version 8, which was a while back. I use it with Lightroom. What makes On1 great as a company is their support, ongoing consistent development, tutorials, and so on. On1 products are sophisticated, and while they do not rival Adobe Photoshop for complexity, On1 products are far easier to use. I prefer their brushes, spot and blemish removal tools, as well as the fact I can create presets which I can store. At this point, the presets from On1 Photo Suite 10 cannot be used in On1 Photo Raw, but I expect they will have the ability to port them later on. The one-up that Photoshop has is its “content-aware” fill.
The image above, Waiting for Lovers, was edited using On1 Photo Raw. It is a film image using Kodak Ektar 100 in a 1930s Welta Weltur rangefinder. The lens is an uncoated Xenar – probably about 75mm – which has an ethereal quality to it that I really love. Scanning the image with my rather dirty Epson V600 (I have since cleaned it), I ended up with a blue streak across the entire image. On1 took it out quite nicely. Spots and threads were also easy to remove. I think On1 did something to their processing algorithm (or whatever), as the spot removal works very quickly.

This image is a pano stitched together in LR, and consists of two images taken with the Olympus XA4 and Lomography 100 film. The only thing I did was perk it up a bit with some detail, in LR and in Photo Raw. It is nearly identical to the SOOC image.

Finally, the above image was really pushed in On1 Photo Raw. Spot removal, brush usage, presets, whatever. This was an overall high-key, pale image, but I set it up to be contrasty and bright – possibly too much so – but wanted see what I could do. This was also taken with the XA4 and Lomo 100 film. Both of these two images were scanned using a Pakon 135 scanner.
There is so much software out there for photographers, that competitors to Photoshop seem to come and go. My favorite and most consistent programs are Lightroom and On1. I also use DxO v. 11, and while it is good for some things, it lacks the diversity of On1. Capture One is good, too, but it makes me crazy as it does not make sense to me at times . . . but I admit, I have not put in time to using it as it has a higher learning curve, and is not, for me, very intuitive. So, two thumbs up to On1 for its Photo Raw software – I think it will prove to be a real winner as they continue to develop it.

Out of all the pictures I made with the Trip 35 and the first roll of film, this one pleased me the most. I really like the ship in the background – didn’t even see it when I clicked. The Santa Barbara Channel is a main shipping channel and route for migratory whales.