Poinsettia

Another morning with sewing ahead of me – but not too much!  Just a touch here and then, thread trimming, ironing, and finally wrapping.

To start my day – after coffee, breakfast, a review, and the news – I decided to use my watercolor pencils, InkTense blocks, and Neocolor II by Caran d’Arche to draw the classical Christmas / holiday poinsettia, and some permanent black ink.

Did you know the red is really the leaf and the little yellow dots in the center are the flowers?  Poinsettias are not only crimson, but come in pale pinks and whites.  And, they are easy to grow – just take a cutting, let it dry out until hollow, and stick in some dirt, and you may be ready for next year!  I think they may also be poisonous . . .

Happy Holidays, everyone!

Biscotti & Broken Glass

With a few weeks off for the holiday season, the upcoming new year, it is time to get things done that have been put off for a woefully long time.  One of them is cleaning the refrigerator very thoroughly, washing, rinsing, and sanitizing surfaces and nooks and crannies in all its dark recesses.  And dropping a glass shelf, which shattered all over the place.  Hence, the first part of the title for this post.  Cleaned up, we move on to the best part – the biscotti!

Rum-Soaked Dried Fruit & Candied Peel

Holidays are about baking and cooking and eating and celebrating with friends and family and those you love, near and far.  This year, Christmas day will be spent with family elsewhere, so the baking has begun.  For a small contribution, we are bring praline bourbon cake to go with the annual gumbo, along with some biscotti, the recipe for which I found here at Foolproof Living, a cooking blog with a creative approach and lovely photography.

Adding the Fruit, Coconut, and Pecans to the Batter

The recipe is easy enough.  I used leftover candied peel from King Arthur, and chopped up dried peaches, cranberries, and cherries, all finely diced.  The coconut was slightly sweetened and I used pecans instead of walnuts or macadamias.  I also used up a very generous amount of rum.

Yo Ho Ho and a Bottle of Rum!

Follow the recipe – it comes out quite nice.  The batter may seem a bit dry, but when you add the macerated dried fruit, it moistens up quite a bit.  Also, patting out the dough onto the parchment is really necessary as the dough is sticky.  I found putting some water on my hands helped a bit.  Also, our knives are very sharp, so I used a straight-bladed knife (my husband tests the sharpness of our knives by shaving a spot on his arm or cutting paper with the just-sharpened knife) to cut the biscotti.

Biscotti Ready to Bake

Check out Foolproof Living – it has become one of my favorite blogs just because it has such a wonderful variety of recipes and interesting posts.

Biscotti Ready to Eat

Happy Holidays!

A Crostata of a Different Flavor

Sunset Magazine is filled with interesting things. Recipes of all sorts may be found, and the holiday issues are some of my favorites. The Thanksgiving edition had a particularly intriguing recipe, which I made for yesterday’s family get-together. You may find the original recipe here; what makes it particularly interesting is the fact it is made with an artisan flour derived from a different wheat than is in your average flour.  It is made with

Emmer farro flour, made from whole-grain emmer wheat, gives the crostata a rustic texture and great flavor. Because it’s low in gluten, it needs to be mixed with all-purpose flour to hold the crust together

The flour is from Bluebird Grain Farms whose specialty is heirloom organic grains.  While I did not use their flour, I think I am quite likely to try it in the near future.  I’ve added a link to their site under the Farmers to Admire category.

Below is how I made the crostata.  I think that you can use this recipe as a basis for any fresh, seasonal fruit – the frangipane is a wonderful flavor!

PASTRY

  • 1 1/2 c. whole wheat white flour
  • pinch salt
  • 1/2 cup plus 2 tbsp. cold unsalted butter, cut into cubes (1 stick of butter, and 2 T more)

Use a food processor, as in the original recipe:  pulse flours and salt to mix. Add butter and whirl 3 seconds. Drizzle in 1/3 cup ice water, pulsing until mixture comes together in a shaggy ball but still has bits of butter showing. Form into a disk, wrap airtight, and chill at least 2 hours or overnight.

FRANGIPANE

  • 1/4 cup unsalted butter, at room temperature
  • 6 t. white sugar
  • 1/3 cup blanched almonds, finely ground
  • 1 large egg
  • 1 T flour
  • 1/4 to 1/2 tsp. almond extract
  • 1/4 teaspoon vanilla extract

Beat together 6 T. of sugar with butter until light and fluffy.  Mix in almonds (I used ground almond meal from Trader Joe’s), egg, flour, extracts, until smoothly blended.  Set aside.

CRANBERRIES

  • 3 cups fresh or frozen cranberries (1 12-oz. package)
  • 1/4 c. white sugar
  • 1 T. water

Mix together cranberries, sugar and water.  Set aside.

ASSEMBLING CROSTATA

Roll out dough on floured surface into a 14-inch circle.  Rotate and flip pastry as you roll it out.  Trim edges, and transfer to a round pizza pan or rectangular cookie sheet.  Line either with a sheet of parchment paper.   (I used a cookie sheet, only to find it was to big for my refrigerator, so I tilted it to fit, and had no problems with any berries escaping!)

Spread frangipane over inside of dough, leaving about a 3-inch border outside your circle of frangipane.

Place sugared cranberries over the frangipane mixture, pressing them in a bit to help keep the cranberries in place.

Fold the edges of the dough up and over the cranberries – do this gently! – and create pleats or folds as you go.  Once you do this, pinch the pleats in place a bit to seal the dough.  This will prevent leakage during baking.

Place crostata in refrigerator for about 30 minutes before baking.  While you do this, preheat the oven to 375 F with the cooking rack in the middle.  I used my oven on convection, but changed nothing as far as temperature or time.

Bake crostata for 45 minutes.  I checked mine at 35 minutes, and then continued.

Cool on parchment paper and cookie sheet, then transfer crostata and parchment paper to cookie rack to finish cooling.

Serve at room temperature, or warmed in the oven.  Great with vanilla ice cream!

94 Days Until Christmas

The Buttoned Cardigan is at a point where I have to focus and pick up stitches for the sleeves.  I like to do this when it is quiet, when there is good daylight, and I can listen to music that soothes the nerves.  Calmness.  Once I’m there, I will be able to work on the sleeves and watch a movie, but until that point comes, it is time to work on more mindless projects, or at least the sections which I deem mindless.  And, with only a few days left for Christmas, I felt it was a good time to begin work on projects for family members.

The two projects I have going on right now are Anemoon, by Lucy Sweetland, and Ishbel, by Ysolda Teague.

Lucy Sweetland is a very talented designer and photographer, with an eye for clean design combined with beautiful touches. Anemoon is an example (see below). Her Emerald Mitts are also another example.   Check out her blog, A Black Pepper.  There is a link for her under the “blogroll” to right, as there is for Ysolda Teague of Scotland.  Ysolda is another talented designer who creates everything from little mice and mushrooms to intricate sweaters.

Anemoon

A number of years ago I attended a conference at Asilomar in Northern California where I took a dyeing class with Nancy Finn of Chasing Rainbows Dyeworks. From this workshop, I have about 300 yards of single ply mohair-wool blend that is sort of a mottled purple. Knitted up, a stitch here and there stands out, bright against the rest of the stitches. It is this yarn that I am using for the Anemoon beret by Lucy Sweetland, author of “A Black Pepper” blog.

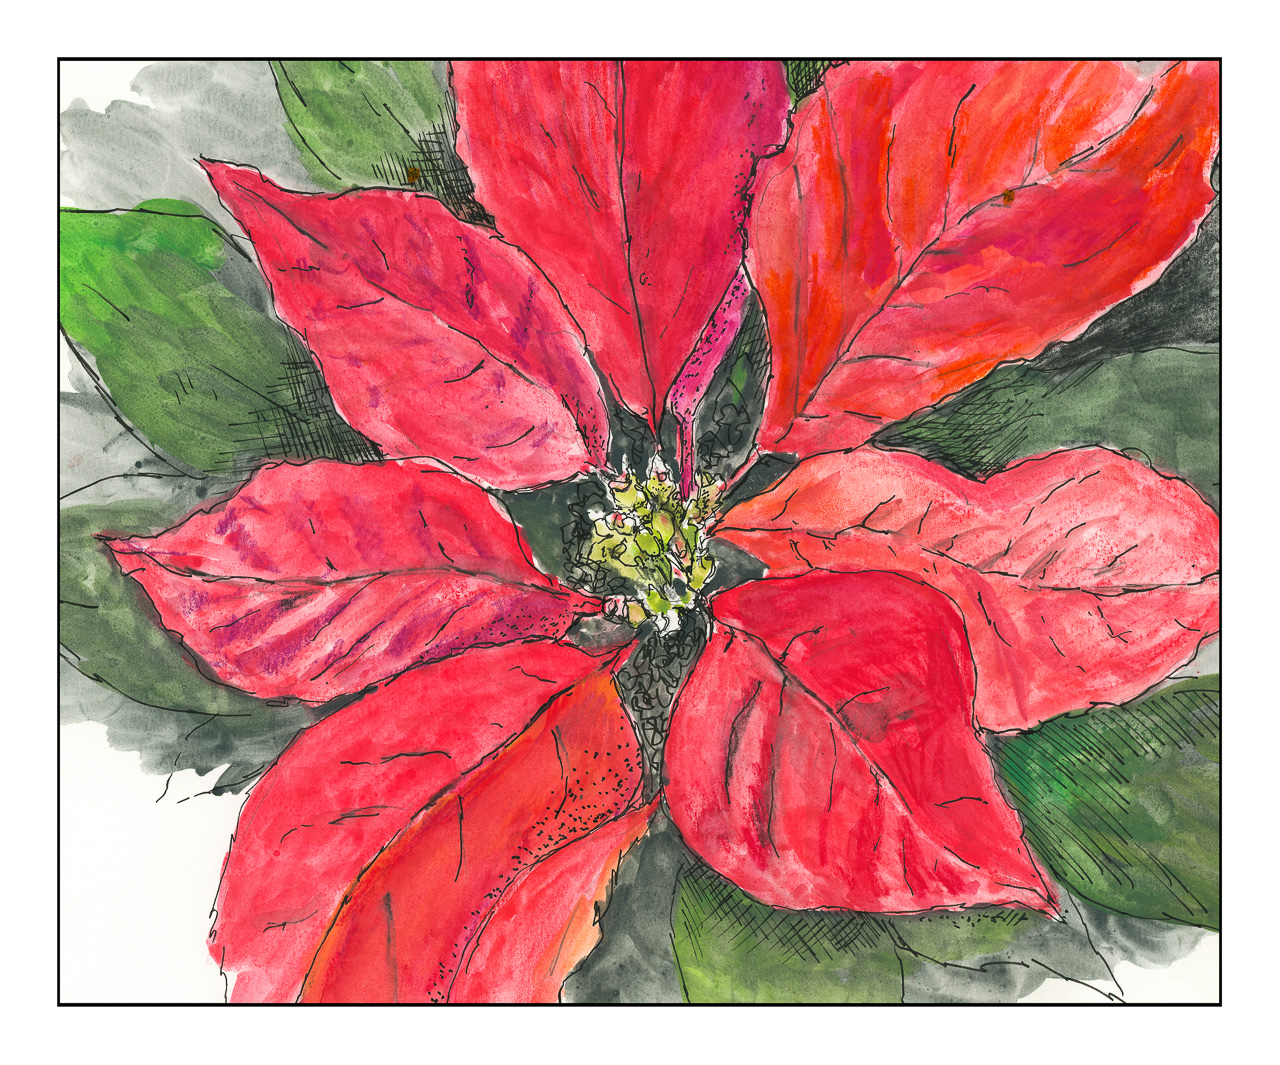
I think the word “anemoon” is Dutch, and means “anemone” in English. The anemone is a beautiful flower, elegantly simple.

This beret is like the flower – very elegant, simple, with a sophisticated design. Cables emerge from the body of the beret, not out of the ribbing as most cables do.  A number of plain, purled rounds are done, and then the cables begin, like a stem, to emerge and twine, with bobbles like flowers to add interest.

Straight out, cables annoy me! I really don’t like the idea of doing an Aran sweater at all. In a beret or hat, cables don’t go on and on and on. Much more fun!

Anemoon is intriguing because the cables weave in and out, yet are held within four panels which repeat themselves.  I’ve separated out the panels by containing them with different colored stitch markers setting up their boundaries, and a different one to mark the beginning of each round.  For someone like me who doesn’t like doing a lot of cables, Anemoon is the perfect project.  What you see here was accomplished, once the ribbing was done, in a few hours of a lazy afternoon. I’ve totally enjoyed the rhythm of the cables and watching them grow along with the hat.

This yarn makes me think of storm clouds as they fly across the sky. Colors shift and puddle, and then change in the blink of an eye.

Ishbel

I began Ishbel just a few days ago, and am in the process of doing the stockinette that leads into the lace. Pleasant, easy knitting – perfect for doing in front of the television. The color is a lovely turquoise merino-bamboo blend single-ply. I’ve got about 400 yards, so the small Ishbel may be the one I end up making. As a shawl, or neck scarf, the yarn will be very pleasant against the skin as it is not scratchy at all. I am making Ishbel for a family member who walks to work; she can wear it on those chilly mornings approaching so soon.

Who Gets Anemoon??

While I’ve got definite plans for Ishbel, I must admit, this Anemoon may end up on my head! I’ve got the ribbing of another started in a white tweed for another family member . . .

And for More Distraction   . . .

Look what came in today’s mail!  I’m in trouble now! I still have my Selbuvotter mittens to finish!